
Ticket Templates
What's on this page
About Ticket Templates
Tickets Tasks have so many options to choose from, from Follow-up Details, to Ticket Data, to default owner, and more. While this level of specificity can be immensely helpful in building tickets tailored to your program, it can be tedious to rebuild similar Ticket Tasks from scratch every time.
Ticket Templates allow you to save Ticket Task settings for reuse, making the creation of a Ticket Task fast and efficient. They can be used across tickets in a brand, even if they are being set up in different surveys.
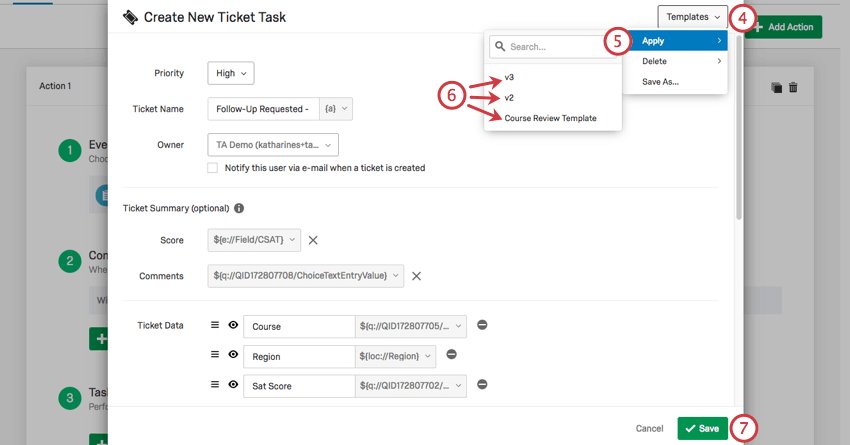
Using a Template
Qtip: All users with access to tickets are allowed to use ticket templates! However, if you are not a Brand Administrator, you will not be able to create new ones.
The templates you use can be layered. For example, if you have one template that determines ownership and priority, and a separate one that determines Root Causes, you can select both templates to get their components on the same ticket. If certain options override each other, the most recently selected template’s settings will be applied.
Creating a Template
Qtip: Only Brand Administrators can create and delete ticket templates.
Qtip: If you save a template with Piped Text in the name, summary, or data, the Piped Text may not work properly when applied to a totally different survey. Make sure your Ticket Data, Ticket Summary, and Ticket Names have Piped Text that fits the survey content.
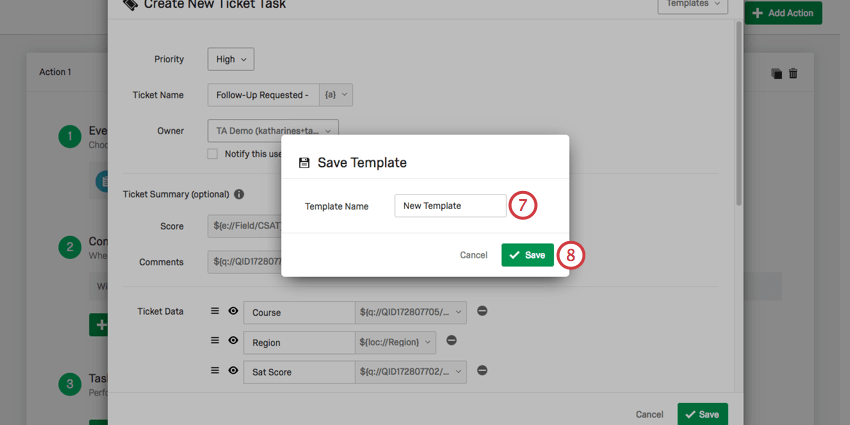
Qtip: You can edit a Ticket Task once you’ve applied a template, but you cannot edit an existing template. It is better to save a new template and delete any old templates you don’t want.
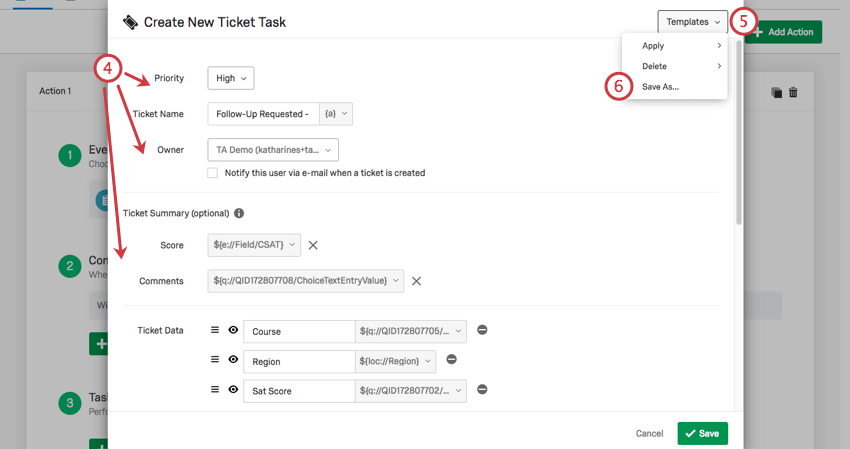
What Can be Saved in a Template
Qtip: If you save a template with Piped Text in the title or data, the Piped Text may not work properly when applied to a totally different survey. Make sure your Ticket Data and Ticket Names have Piped Text that fits the survey content.
Every component of the ticket can be saved in a template. This includes:
- Priority
- Ticket Name
- Owner
- Whether to notify the owner by email or not
- Ticket Summary
- Ticket Data
- Follow-Up Details
- Whether the Follow-Up Details are Force Response
- Root Cause Qtip: The order of options in a Root Cause is not guaranteed to be the same as the original template.

- Whether to allow users to close a ticket without selecting root cause
- Whether to allow users to view the full record
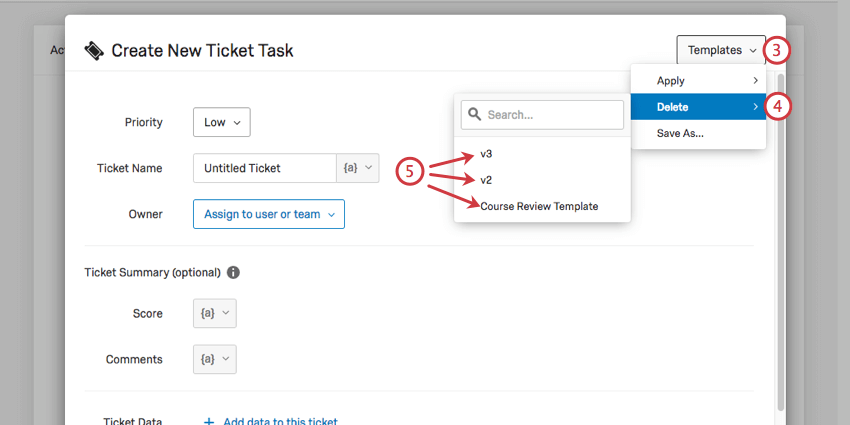
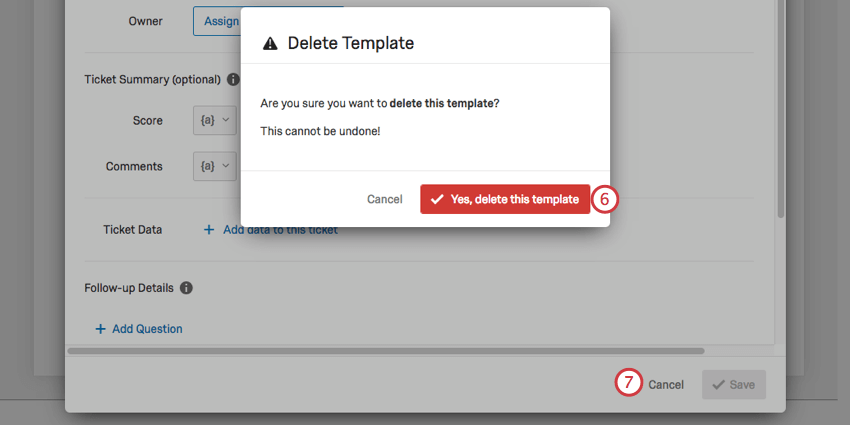
Deleting a Template
Qtip: Only Brand Administrators can create and delete ticket templates.


That's great! Thank you for your feedback!
Thank you for your feedback!