Loading...
Skip to article
  • Qualtrics Platform
    Qualtrics Platform
  • Customer Journey Optimizer
    Customer Journey Optimizer
  • XM Discover
    XM Discover
  • Qualtrics Social Connect
    Qualtrics Social Connect

Survey Director


Was this helpful?


This site is protected by reCAPTCHA and the Google Privacy Policy and Terms of Service apply.

The feedback you submit here is used only to help improve this page.

That’s great! Thank you for your feedback!

Thank you for your feedback!


About the Survey Director
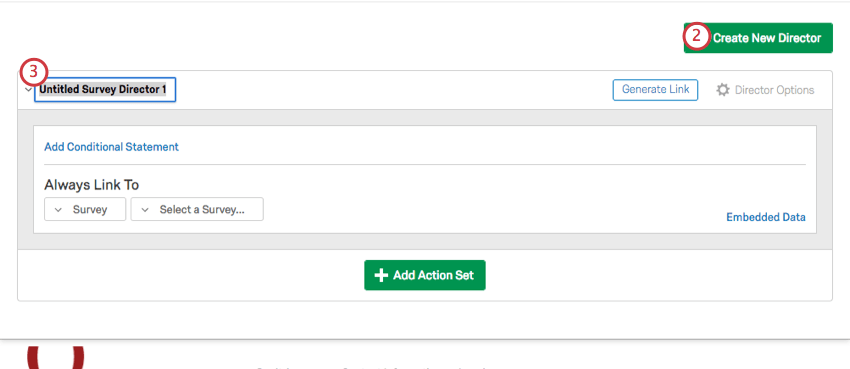
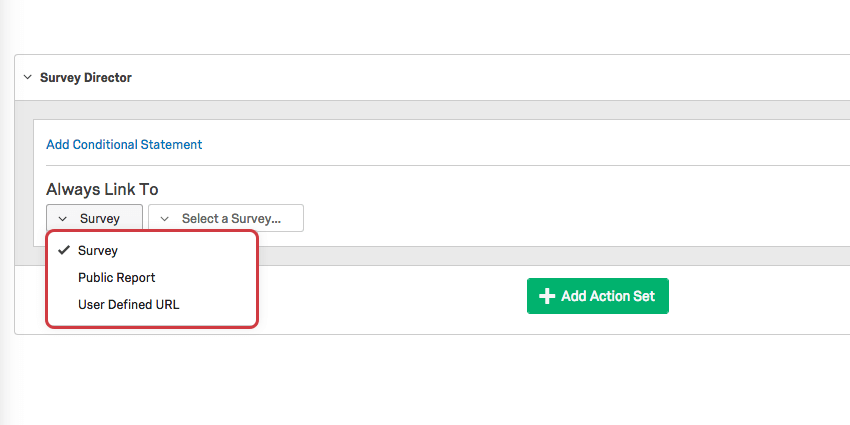
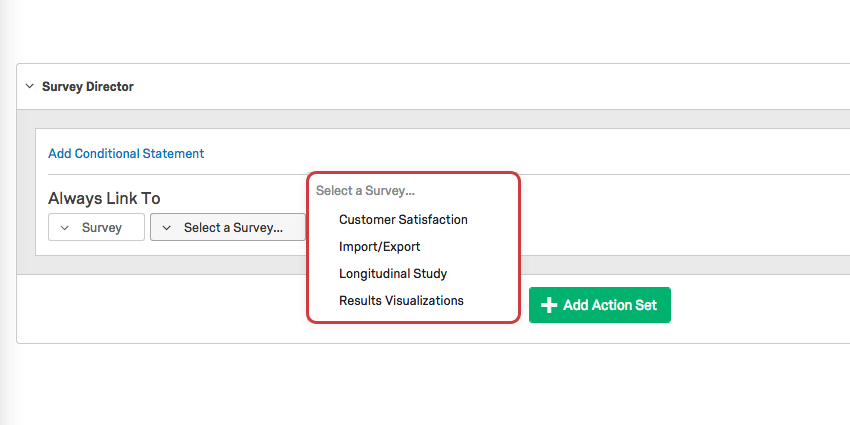
The survey director allows you to use 1 link to send clients to the anonymous links, reports of different surveys, or a user defined URL, depending on conditions you specify.

Example: You run a clothing company that posts a seasonal customer satisfaction survey on its website. Rather than changing the posted survey link at the beginning of each season, you can create all 4 surveys and connect each 1 to the survey director, then set the director to display each survey in its respective season. This way, you only have to post 1 link once, rather than 4 links 4 times.

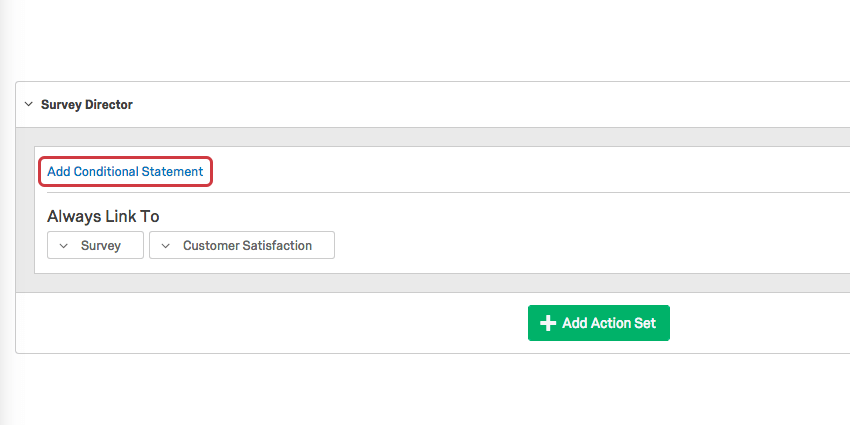
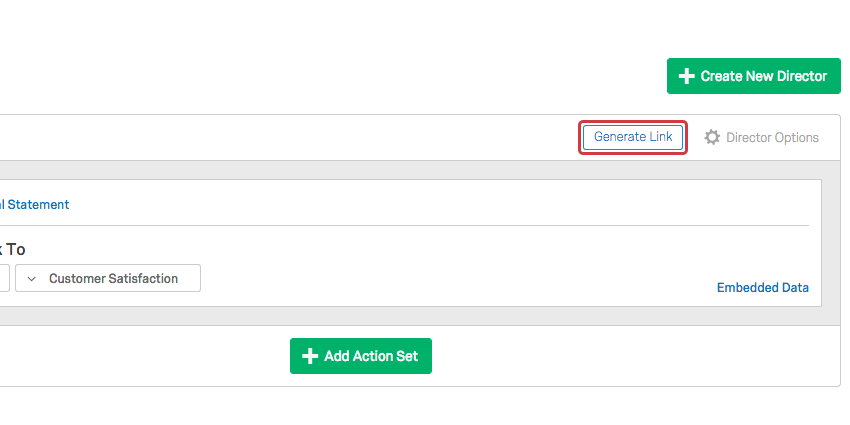
Using the Survey Director

  1. Select the Survey Director from the global navigation.
    Global navigation expanded and survey director selected

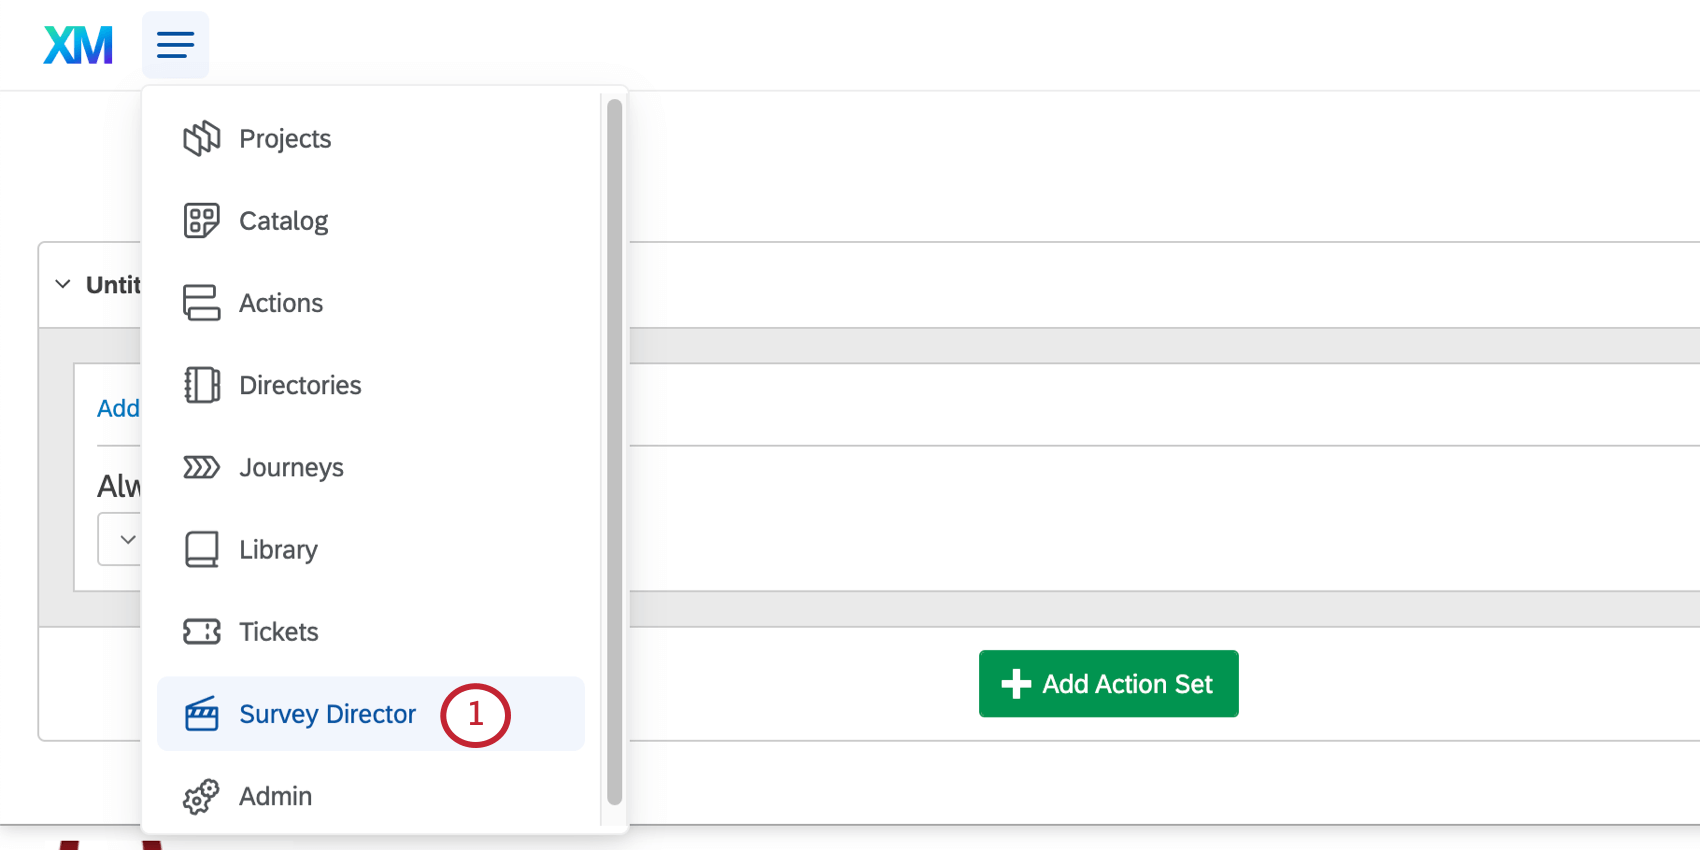
    Qtip: If you do not see this option in your account, it means you do not have that permission enabled. Contact your Brand Administrator to have this permission activated.
  2. Click Create New Director.
    Create New Director button in top-right corner of Survey Director page
  3. If desired, click Untitled Survey Director 1 and enter a custom name for your director.
  4. Under Always Link To, click the first dropdown to select the type of link you would like the Director to default to. The choices are Survey, PublicReport, and User Defined URL.
    Dropdown list underneath the words "Always Link To"
  5. In the second dropdown, select the specific survey (and if necessary subsequent public report) you want to direct to, or type the URL of the website you want to direct to.
    Select a Survey dropdown menu
  6. Click the blue Add Conditional Statement text to set a condition that must be met in order for that link to be accessed. This condition can be based on date, day of the week, time, status of a survey, whether a quota has been met, or device type (i.e., whether someone is using desktop or a mobile phone).
    Add Conditional Statement option
  7. Click the box on the left to remove the condition. Click the box on the right to add another condition.
    the options for adding or removing conditions

    Qtip: Interested in learning more about condition sets? Check out the page on Using Logic.
  8. Click the blue Embedded Data text to assign an embedded data field to the link. For example, if this link is for a particular location, you can make the embedded data name be Location and the value the location itself.
    Embedded Data option in bottom-right corner of action set
  9. Click the green Add Action Set button to add additional links and conditions to your survey director.
    Add Action Set button at bottom of page
  10. When you have added all the necessary links and conditions, click Generate Link.
    Generate Link button in upper righthand corner of page
  11. Copy this link to your website, onto a flier, into a Website / App Feedback (Site Intercept) project, etc.
    Survey Director Link pop-up with link provided
Qtip: Custom Link lets you create HTML for a hyperlink – it does not let you create your own URL.

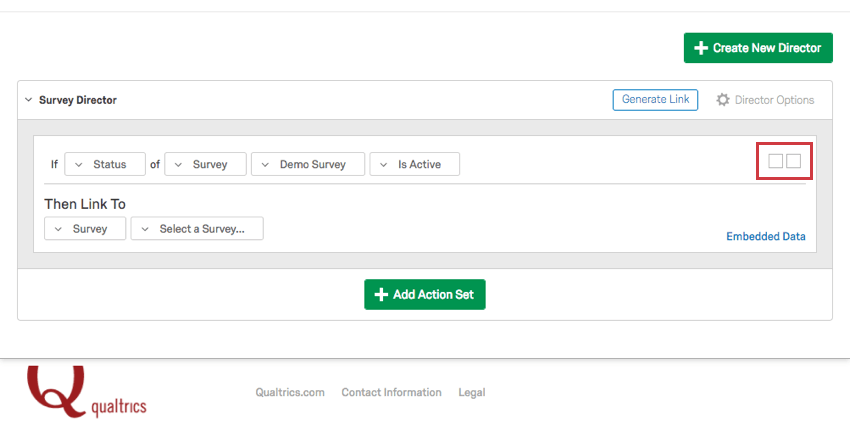
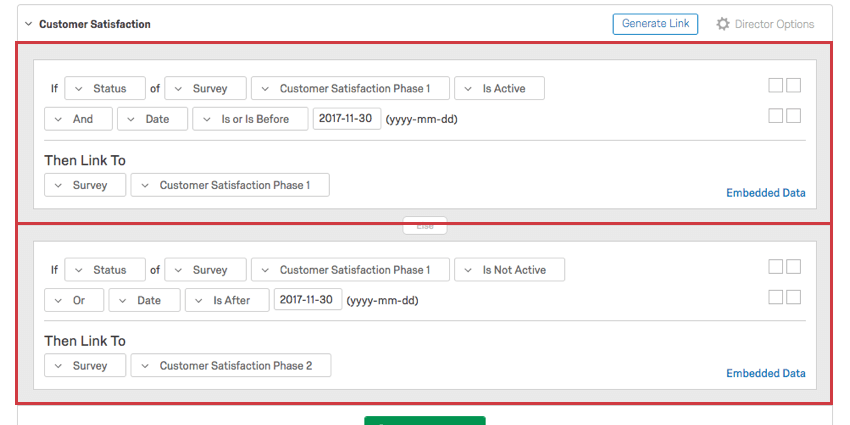
Example: The following survey director has 2 action sets. Each is boxed in red.

Multiple Condition Sets within Action Set

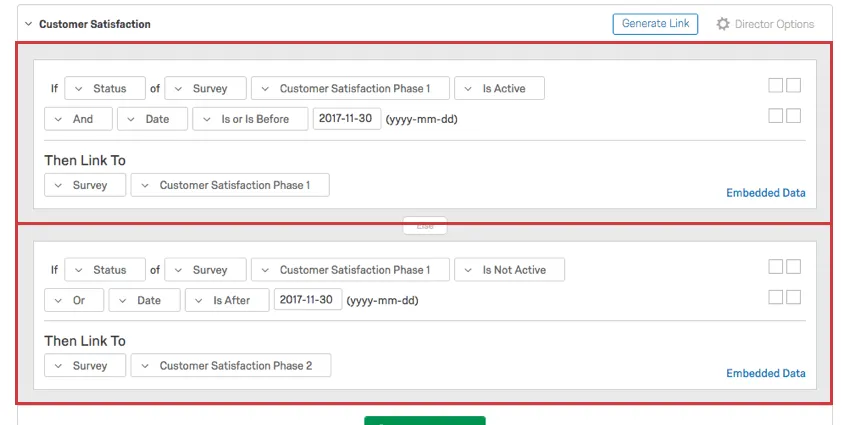
The first action set states that if the survey Customer Satisfaction Phase 1 is active and it is November 30th or earlier, the survey director will link to the survey Customer Satisfaction Phase 1.

The second action set states that if the Phase 1 survey is inactive or it’s after November 30th, the survey director should link to the Phase 2 survey.

Activating / Deactivating Directors

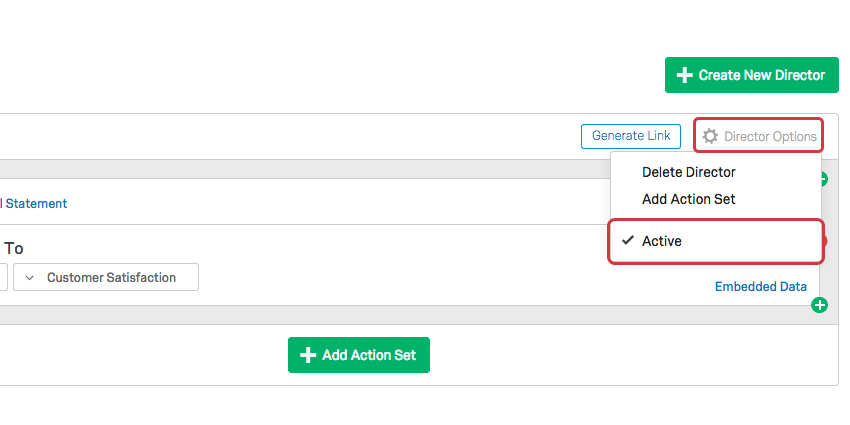
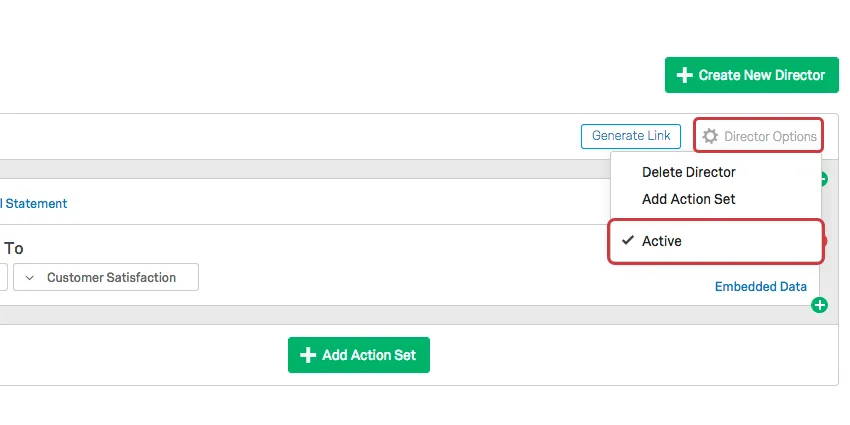
Similar to anonymous links, you can deactivate a survey director. Simply click Director Options on the top-right of your director and deselect the Active option. When someone clicks an inactive director, they will see a simple notification letting them know that it is inactive.

Director Options dropdown with Active option checked

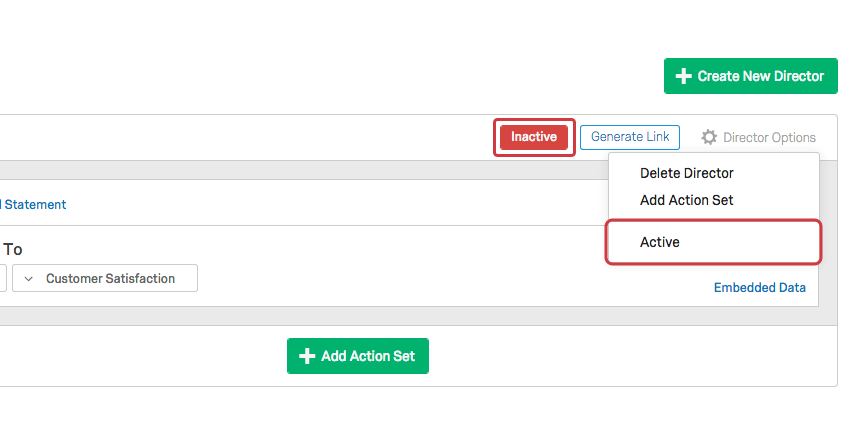
An inactive director will show an “Inactive” notice opposite its name.

Inactive button displaying at top of Action set