Health Connect Task
About Health Connect Tasks
The Health Connect task allows you to integrate with your Electronic Health Record (EHR) system in order to update records based on earlier events. For example, you can update patient health records based on a Qualtrics survey response.
Attention: This feature is an add-on to your Qualtrics license. For more information about access to this feature, contact your Account Executive. Your Technical Success Manager will assist in integrating your EHR system with Qualtrics.
Setting up a Health Connect Task
- Navigate to the Workflows tab of a project, or the stand-alone Workflows page.
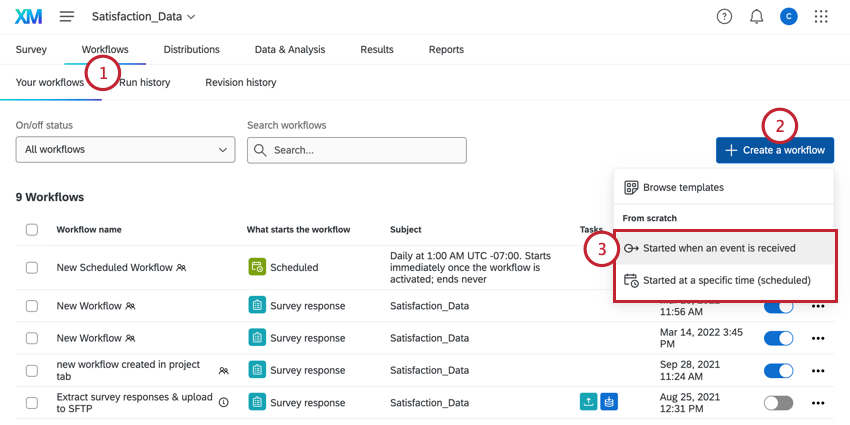
- Click Create a workflow.
- Create either a scheduled or event-based workflow. See Scheduled vs. Event-Based Workflows for more information.
Qtip: Usually, this will be an event-based workflow triggered by a survey response event.
- Determine the schedule for your workflow (if scheduled) or choose the event that begins the workflow (if event-based).
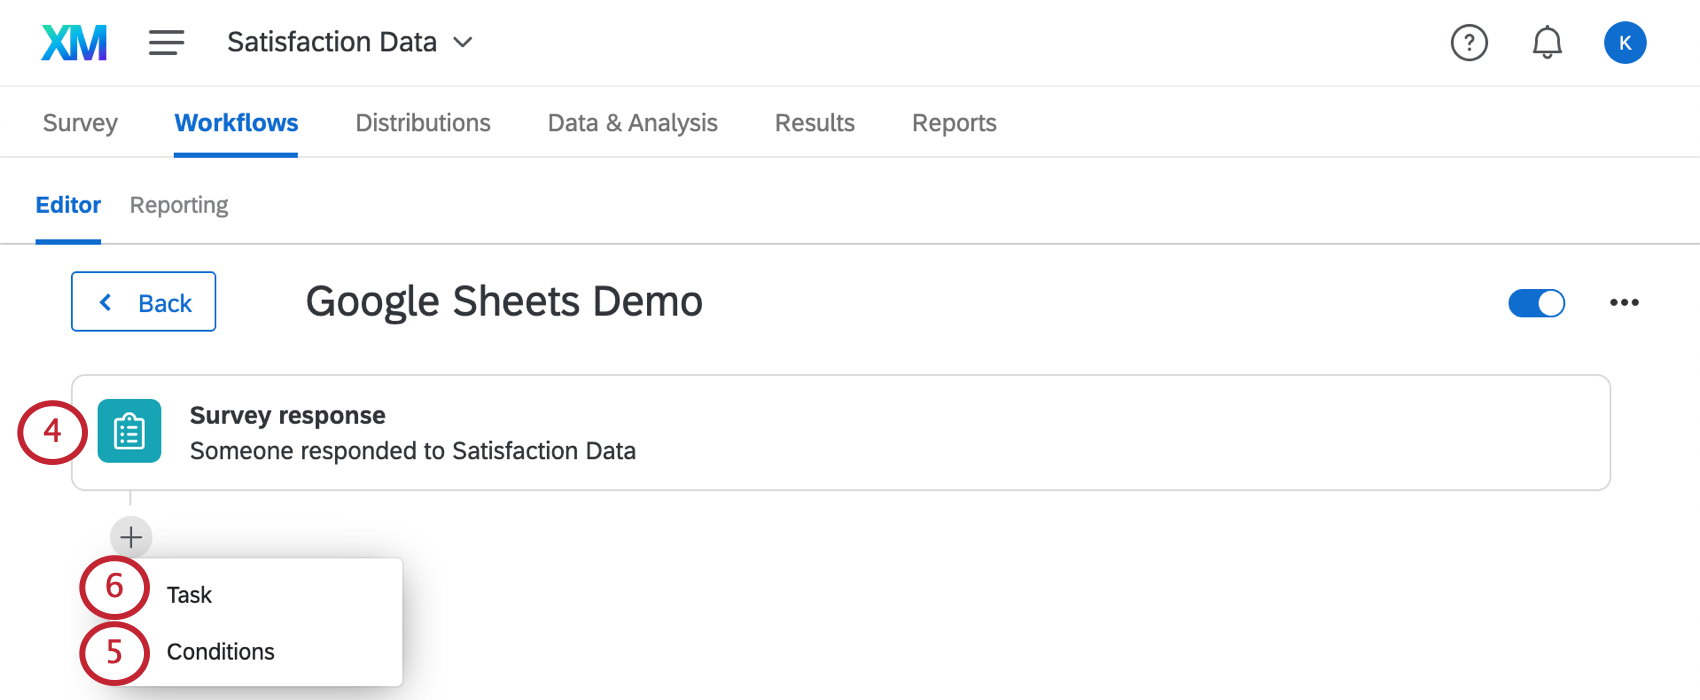
- If desired, click the plus sign ( + ) and then Conditions to add conditions to your workflow, which determines when the workflow runs.
- Click the plus sign ( + ) and then Task.
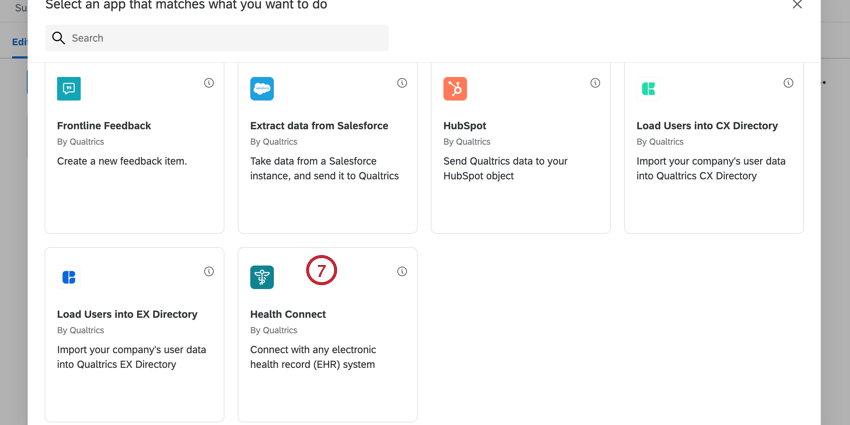
- Select Health Connect.
- Select the Message type, or the type of task you want to complete. Your options include:
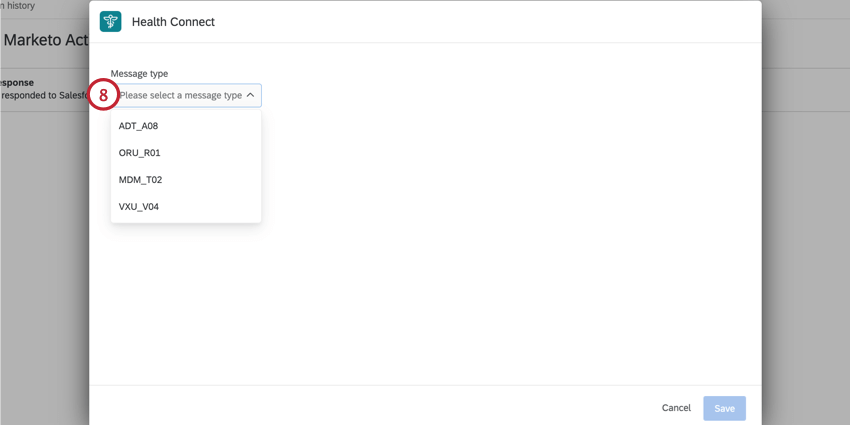
- ADT_A08: Manage patient admit, transfer, and discharge information.
- ORU_R01: Manage unsolicited patient observational results, such as a lab specimen
- MDM_T02: Manage medical records by transmitting important status information and / or updates for the record.
- VXU_V04: Manage vaccination records by transmitting important status information and / or updates for the record.
- Begin mapping fields by entering field values in the specified boxes. Any fields with an asterisk are required.
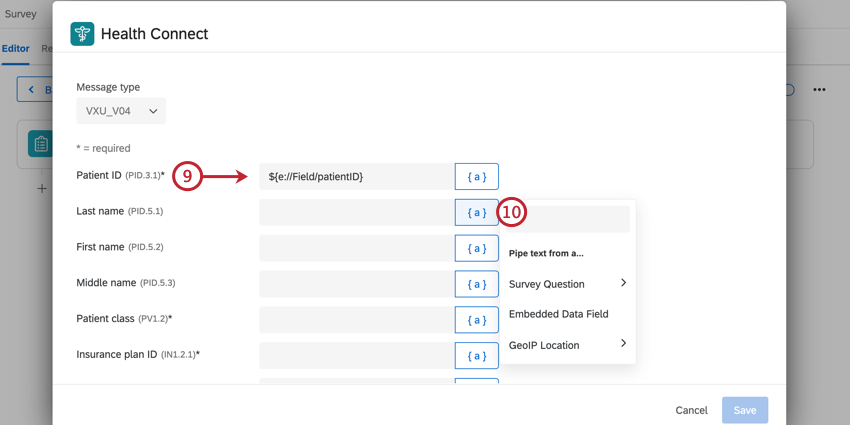 Qtip: Download this table for a mapping table explaining each field.
 - Click the piped text icon, {a}, to use piped text for your values. You can use piped text to carry values from your workflow’s event (e.g., the answers to a survey response if using a survey response event).
- To add observation values (i.e., an additional field for the health record), click Add observation value and then specify the field’s name and value.
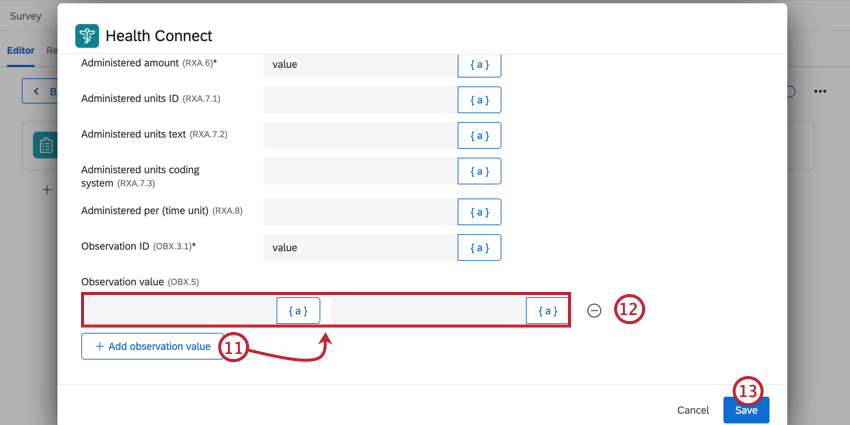 Attention: You may add up to 100 observation values.
 - To delete an observation value, click the minus sign ( – ) next to the value.
- When finished mapping values, click Save.