-

Qualtrics Platform -

Customer Journey Optimizer -

XM Discover -

Qualtrics Social Connect
Deleting & Restoring Jobs
About Deleting and Restoring Jobs
You can delete jobs you no longer need. By default, deleted jobs are saved for 30 days and then they are permanently deleted. You can adjust this timeframe, if needed.
Additionally, you can restore a job after it has been deleted if you decide you would like to use the job again.
Deleting a Job
To delete a job, select Delete Job in the job options menu.
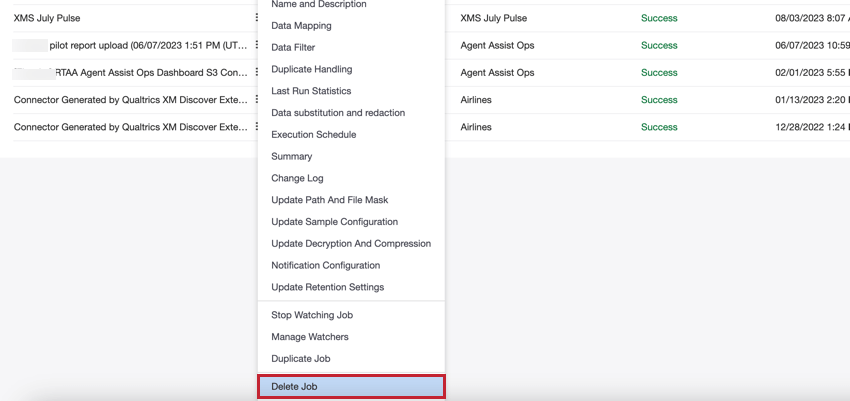
Qtip: You can use the Bulk Actions menu to delete multiple jobs at once.
When deleting a job, keep in mind the following:
- Any future scheduled runs associated with that job will be canceled.
- Deleting a connector job does not delete any historical runs associated with that job. You can view all the historical runs for a project even if the associated job has been deleted. If you wish to delete data that has been previously staged or processed for a job, then purge the historical run for that job.
Restoring a Job
After a job has been deleted, it can be restored in the Recycle Bin tab.
- Click the menu next to the job.
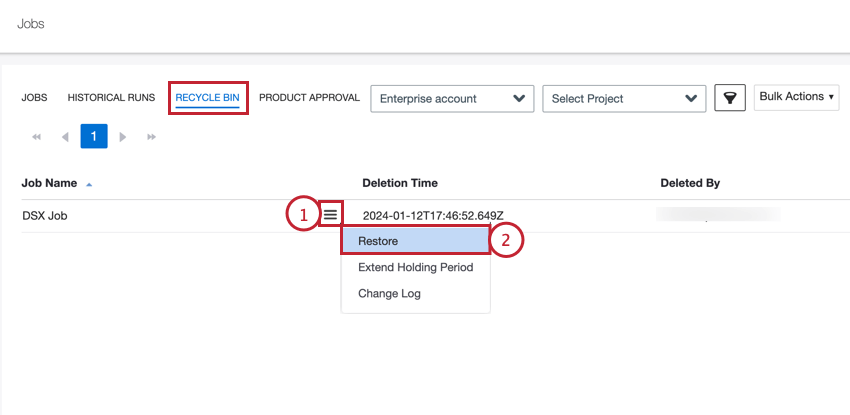
- Select Restore.
- Click Yes.

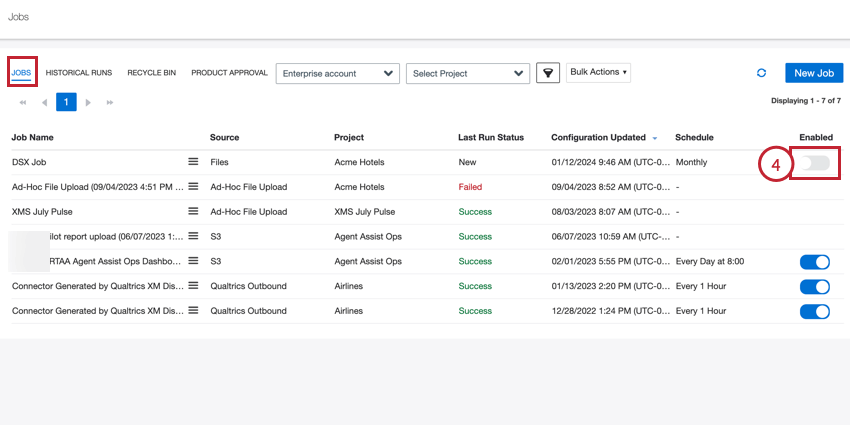
- By default, restored jobs are disabled and will not run. To enable the job, go to the Jobs tab and switch the Enabled toggle “on.”
Qtip: You can use the Bulk Actions menu to restore multiple jobs at once.
Extending the Holding Period
By default, deleted jobs are kept for 30 days before they are deleted. This time frame is called the holding period. You can extend the holding period for a job so that it stays in your recycling bin longer.
- In the Recycle Bin tab, click the menu next to the job you want to extend the holding period for.
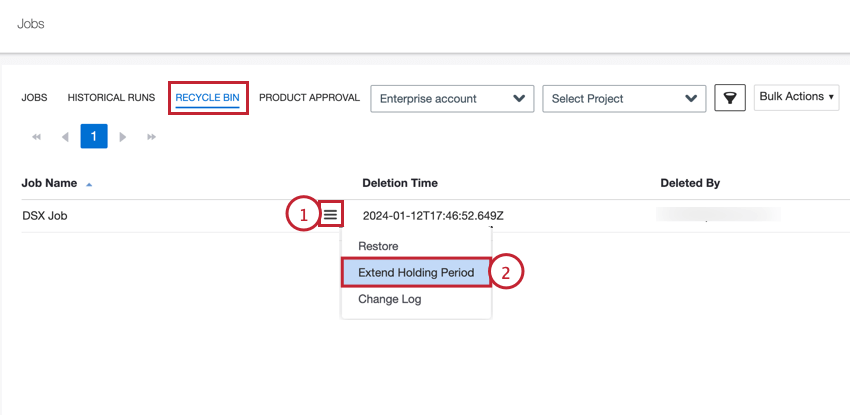
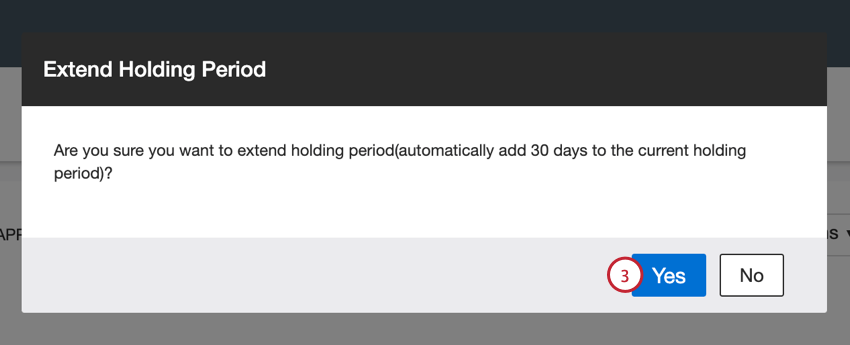
- Select Extend Holding Period.
- Click Yes. This adds 30 days to the current holding period.
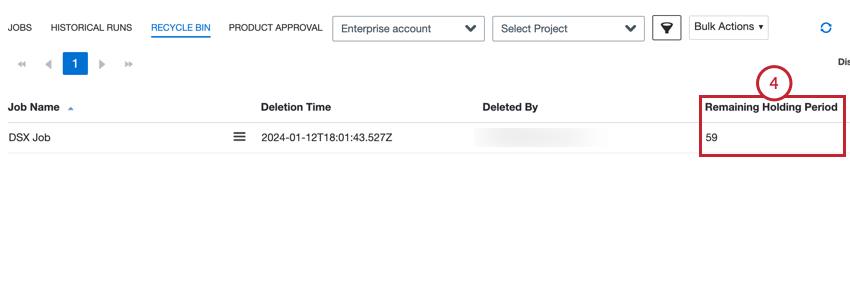
- You can view how many days remain for the job in the Remaining Holding Period field.
- Repeat the above steps as necessary.
Qtip: You can use the Bulk Actions menu to extend the holding period for multiple jobs at once.