
Collecting Offline App Responses
What's on this page
About Collecting Responses
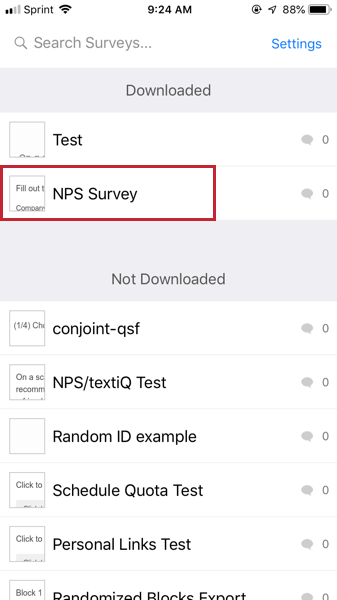
Once you’ve set up the Qualtrics Offline Surveys app on your device(s) and downloaded your surveys, you can start collecting responses.
Collecting Anonymous Responses
With the following method, you can collect survey responses that aren’t associated with a contact list.
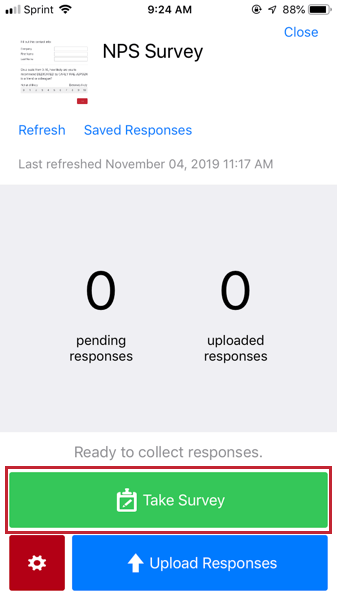
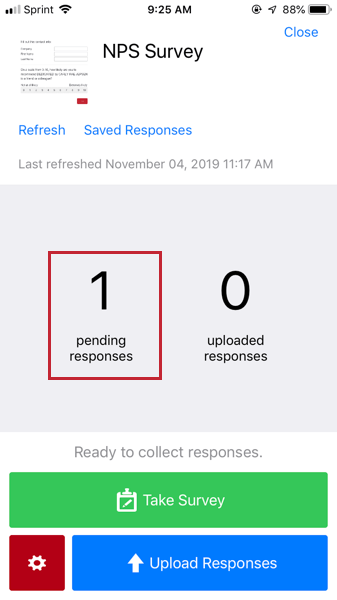
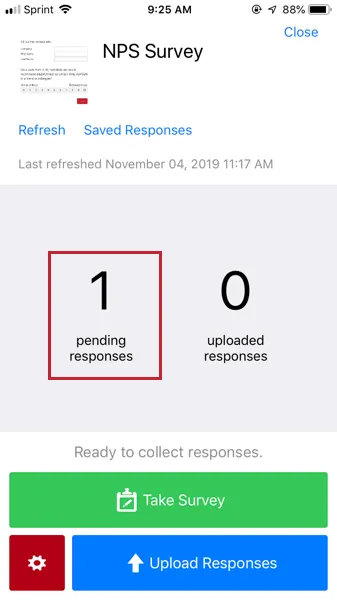
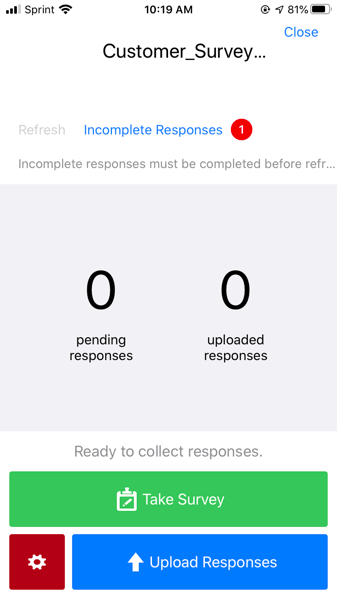
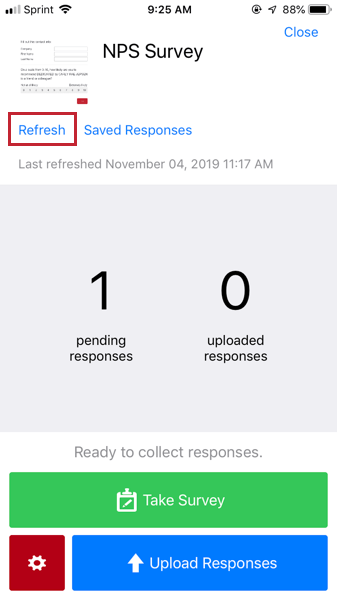
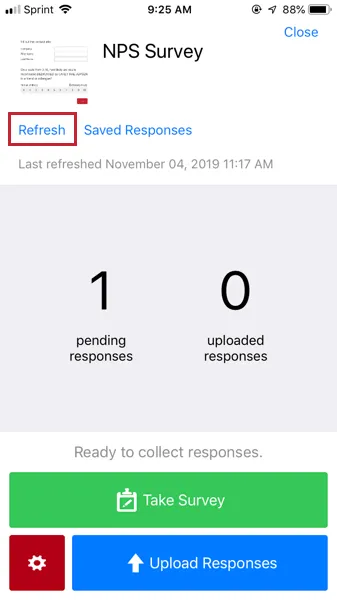
When a survey response is completed, the Pending Responses count increments.
Collecting Individualized Responses
Offline app responses don’t have to be anonymous. If you’ve created a contact list in Qualtrics, you can use this list to associate each offline response with a particular contact.
Qtip: For contact lists to display in the Offline App, your account must have the Access API permission enabled. Contact your Brand Administrator if you need this permission enabled.


This feature works much like emailing a survey to a contact list. If you’ve saved Embedded Data to your contact list, and added this Embedded Data to the Survey Flow, this information will be saved with the respondent’s completed offline app response.
Qtip: On the offline app, you can take the survey as many times as you want for a contact list member! If you are familiar with emailing surveys, this means that the offline app’s View Contacts feature functions more like a multiple completes link than an individual link.
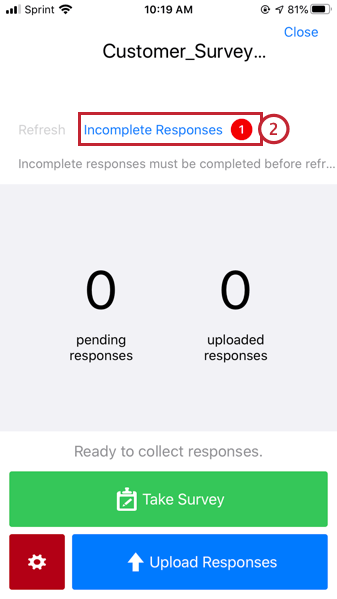
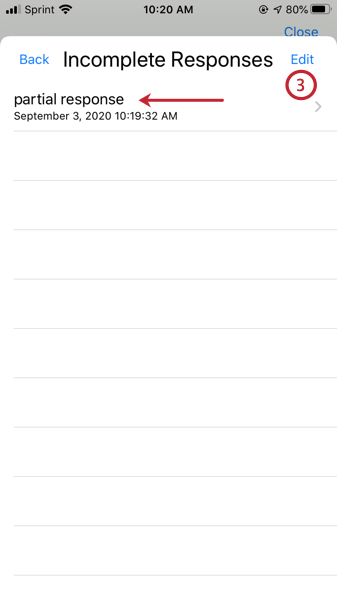
Incomplete Responses
Sometimes you or a respondent won’t be able to finish answering survey questions all at once. In these cases, you can save the response as incomplete and return to it later.
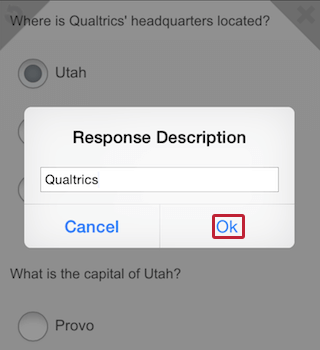
Saving an incomplete response
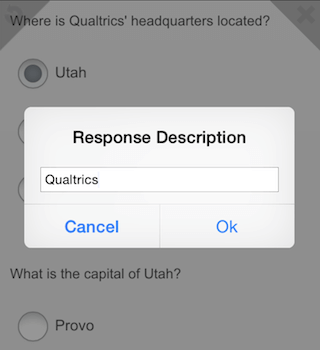
Qtip: Giving a clear description for a response in progress will help you later when you want to return and finish that specific response.
Managing an incomplete response
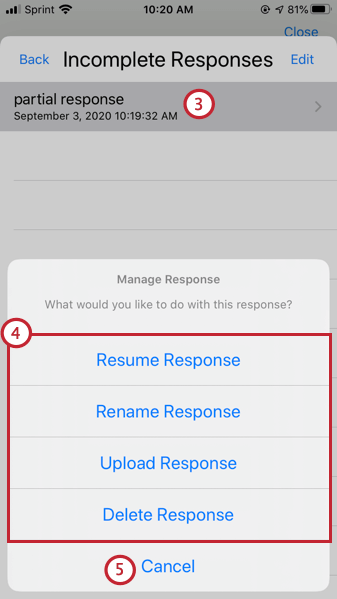
Qtip: If you tap Edit, you can select and manage multiple incomplete responses at once.
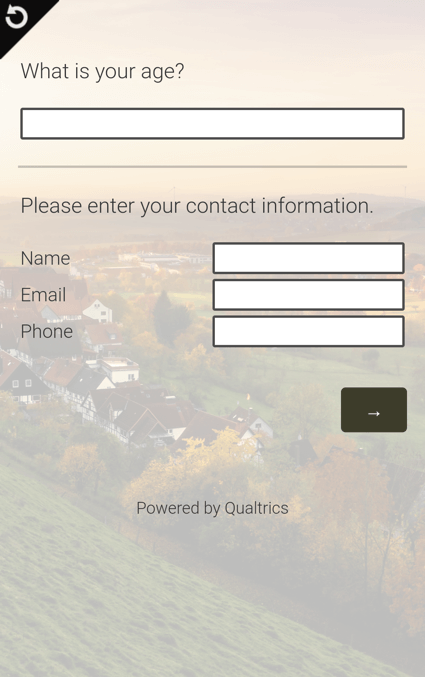
Respondent Experience
Surveys on your mobile device will function similarly to surveys on a full-size computer, though question layout may slightly change to accommodate the smaller screen size. For example, some mobile devices will show a selection box as a drop-down list.
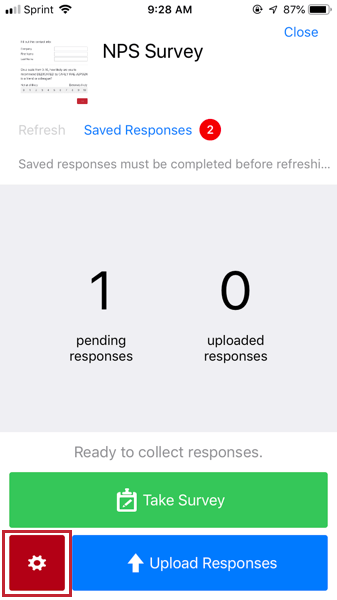
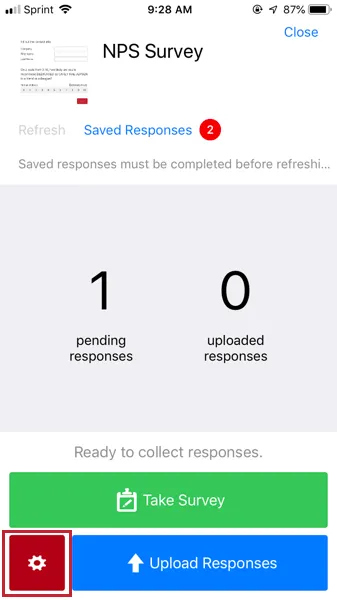
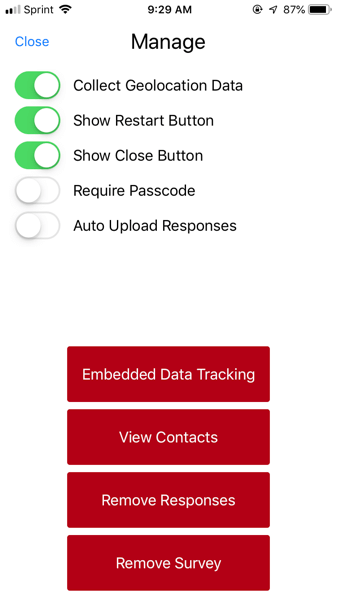
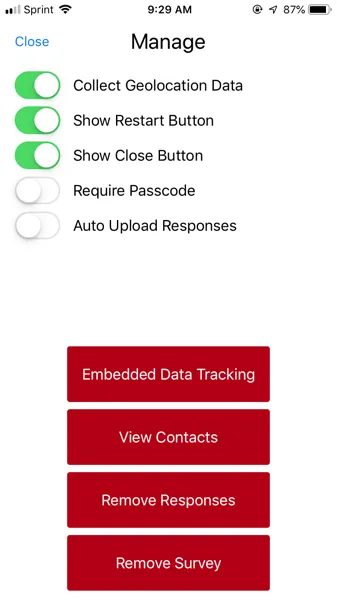
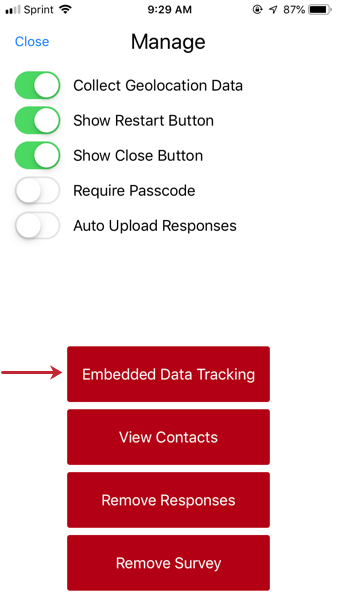
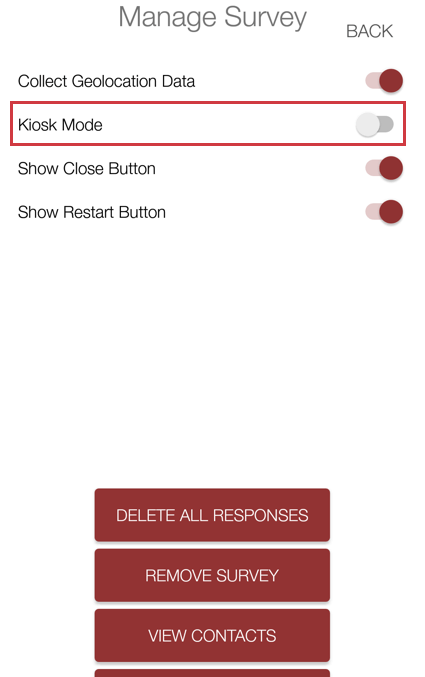
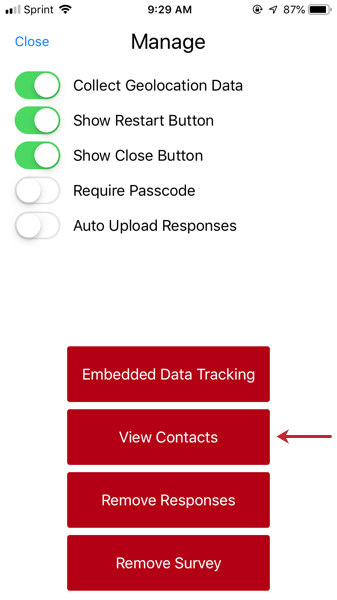
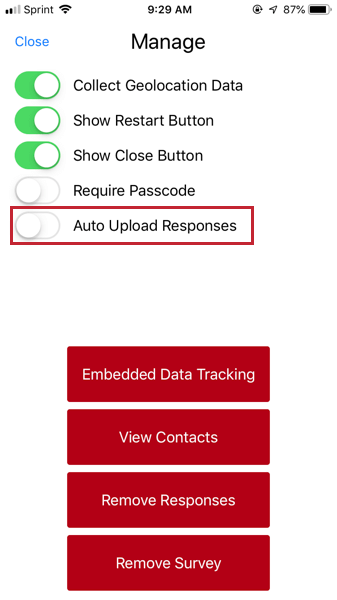
You can customize your respondent experience in other ways by using the Survey Settings options. You can find these Manage options by tapping the red button with a gear icon on the bottom left of the survey overview window.
- Collect Geolocation Data: Provided your device is set to collect geolocation data, the survey will save this information with each response. If your offline app has no data or wi-fi connection, the last location recorded on your device will be saved with the response.
- Kiosk Mode: Hide the close button and limit how long respondents have to take the survey. Not available for iPhones or Windows.
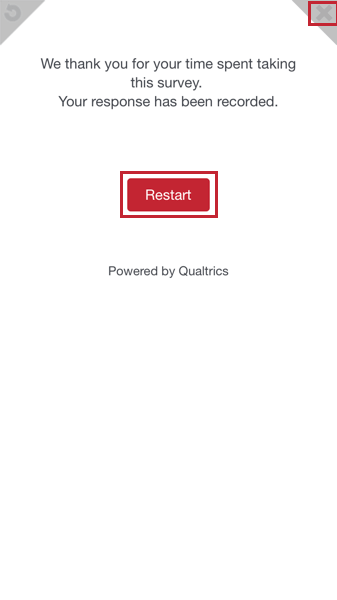
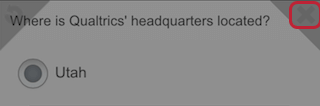
- Show Restart Button: Allow respondents to restart their survey session by tapping on the circular arrow in the upper left-hand corner of the survey (turned on by default).
- Show Close Button: Allow respondents to exit their survey session by tapping on the X in the upper right-hand corner of the survey (turned on by default). Qtip: Need to close a survey that doesn’t have a close button? Simply tap on the survey twice with 3 fingers and a close button will appear.

- Require Passcode: Requires respondents to enter a passcode before exiting the survey without finishing.
- Auto Upload Responses: Automatically uploads your survey responses once your device is connected to internet.
- Embedded Data Tracking: Keep track of the embedded data collected with your responses. See the linked section below for more information.
- View Contacts: View your account’s contact lists and collect survey responses for the desired respondents. See the linked sections below for more information. Qtip: For contact lists to display in the Offline App, your account must have the Access API permission enabled. Contact your Brand Administrator if you need the permission enabled.
- Remove Responses: Permanently delete all offline responses from the current survey. Responses that have already been uploaded to Qualtrics won’t be affected. Warning: Once responses are removed, they can’t be restored.

- Remove Survey: Remove the survey from the list of downloaded surveys. You’ll need to download the survey again to collect more responses.
Embedded Data Tracking
Let’s say your Survey Flow has a series of branches. When a respondent answers less than 18 to an age question, a branch assigns them to an embedded data element named “Age Group” with a value of “Underage.” Maybe you use embedded data to label when a respondent has completed a certain condition. Or maybe you’ve saved embedded data in your contact list to indicate personal information such as gender and employment date of your contacts.
The embedded data tracking feature is excellent for keeping track of the embedded data collected in your responses. This way, you can keep track of the demographics responding to your survey.
Before you can use this feature, there are several steps you have to take.
Preparing to Track Embedded Data
Before collecting responses, make sure your embedded data is set in the Survey Flow. You need to do this even if it is saved in the contact list.
If you only added this embedded data to your survey flow after uploading the survey to your app, make sure to refresh the survey.
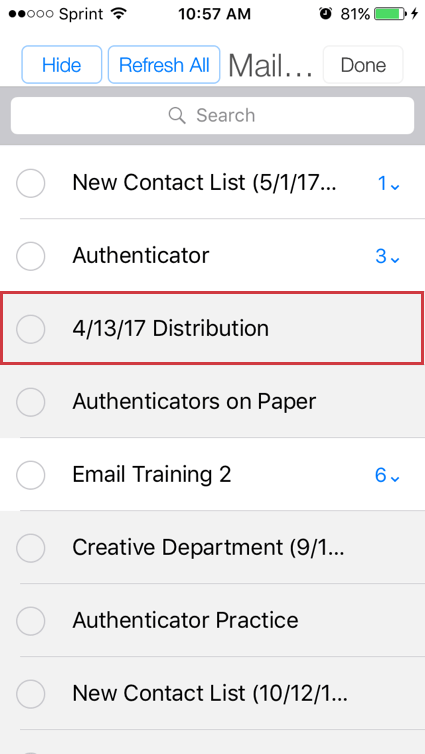
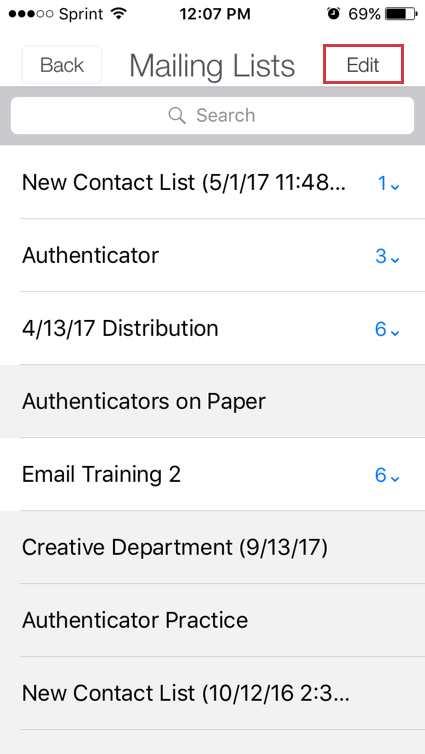
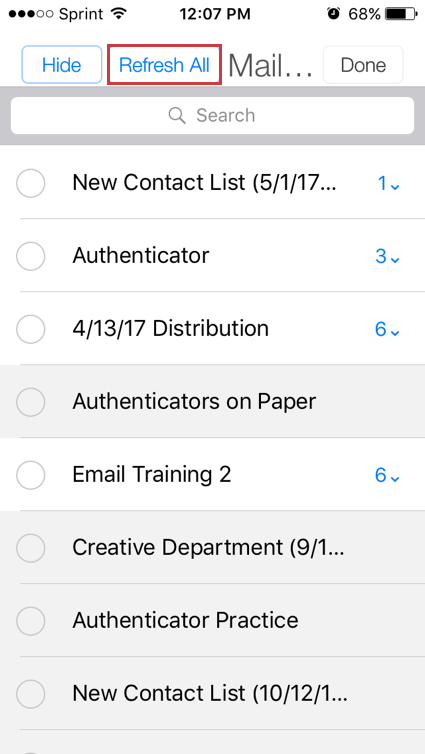
If you are collecting responses from embedded data loaded into a contact list, it also helps to refresh the list. Go to Manage > View Contacts and click the list. Then click Edit and Refresh All.
Qtip: For contact lists to display in the Offline App, your account must have the Access API permission enabled. Contact your Brand Administrator if you need the permission enabled.

Using Embedded Data Tracking

Kiosk Mode
Kiosk Mode is an option available only on Androids and Tablets. Using Kiosk Mode, you can hide the close button from respondents and time how long they have to work on their response before the survey refreshes. This survey refresh function is great if you have devices set up so that people can easily leave before finishing; you don’t want someone else using the device on the same unfinished response.
To access Kiosk Mode:
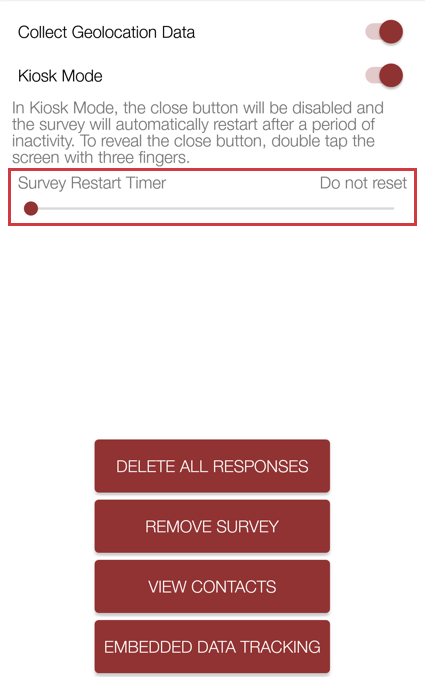
Qtip: You should set a reset time if you are worried people will start, but then wander off without finishing. You don’t want someone else going to the tablet and finishing someone else’s response, since this skews the results.
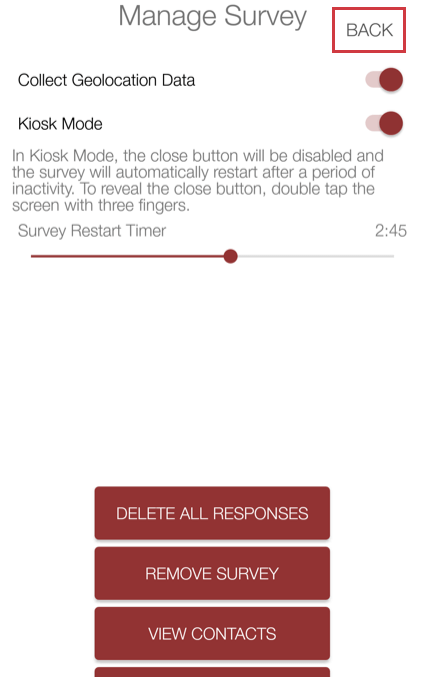
Qtip: You can use your back button, back swipe, or other device equivalent to exit the survey. If your device doesn’t have these options, double tap the screen with 3 fingers to reveal the close button.
View Contacts
When you go to Manage and select View Contacts, you can click on contact list members to complete a survey for them. However, there are additional functions on this page that can improve the survey distribution experience.
Qtip: For contact lists to display in the Offline App, your account must have the Access API permission enabled. Contact your Brand Administrator if you need the permission enabled.
Qtip: For contact lists to display in the Offline App, they must belong to your brand’s default directory.
Refreshing Your Contacts
Sometimes, if you change your contact lists on your desktop and then go back to the app without refreshing, you won’t see the changes right away. You’ll need to refresh your lists to see your changes.
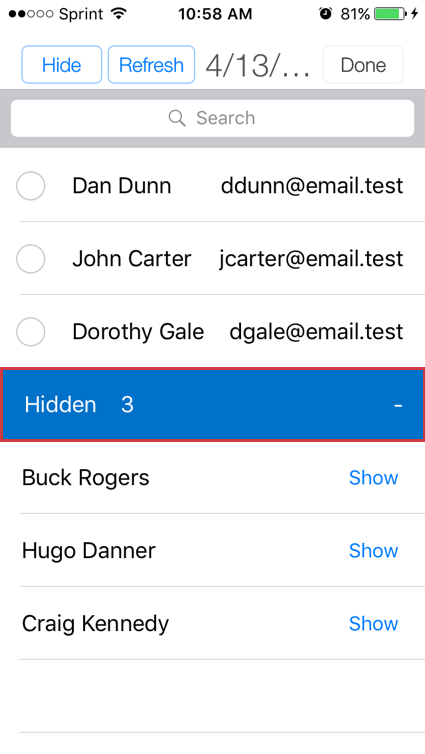
Hiding Contact List Members
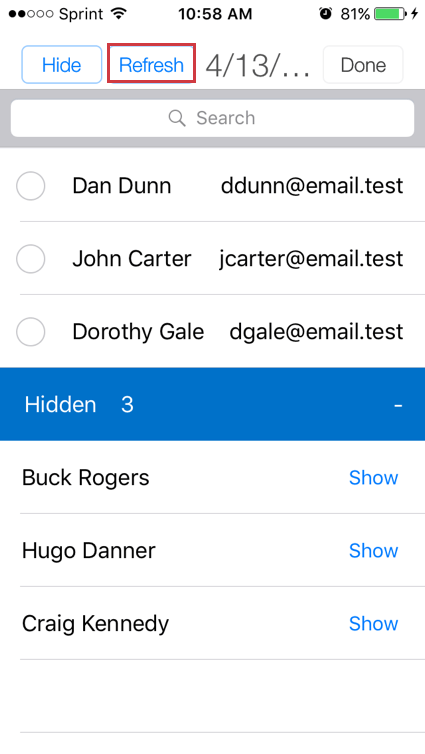
Sometimes, you’ll be working with a large contact list, and will want to put aside certain members of that list. This might include respondents who are finished, or members who have told you they don’t want to participate anymore. You can hide these list members so they are out of the way.
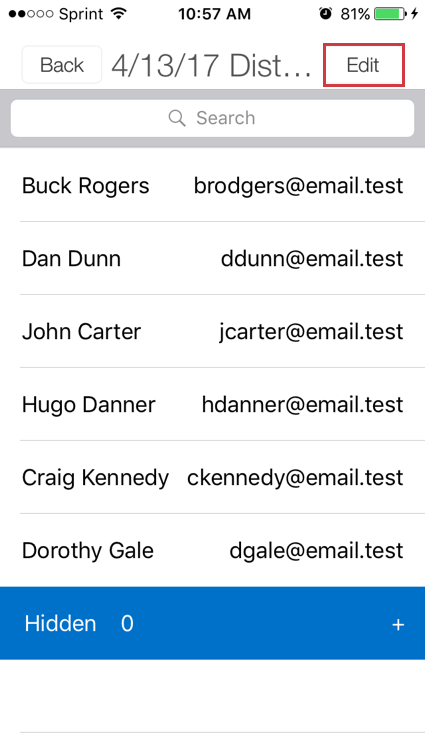

Qtip: You can search for specific contacts by entering their name or email address in the search bar at the top of the list.
Scroll to the bottom of your contact list to find the list of hidden members. Click to expand.
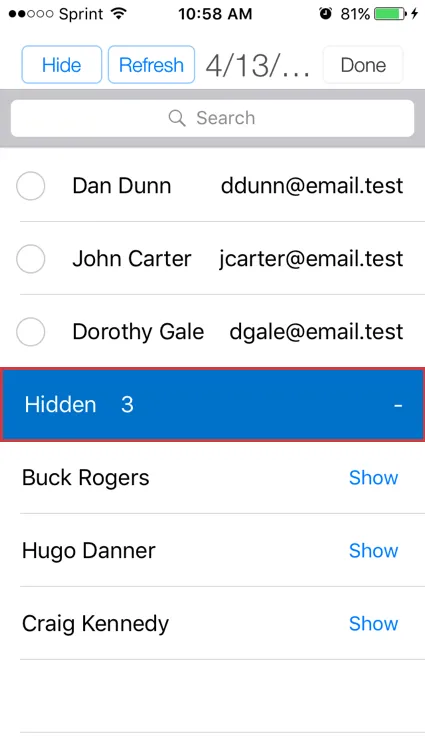
If you no longer want to hide a member, click Show next to their name.
Qtip: You can’t complete a survey for a hidden list member. You must Show that member in the contact list to enter their survey session.
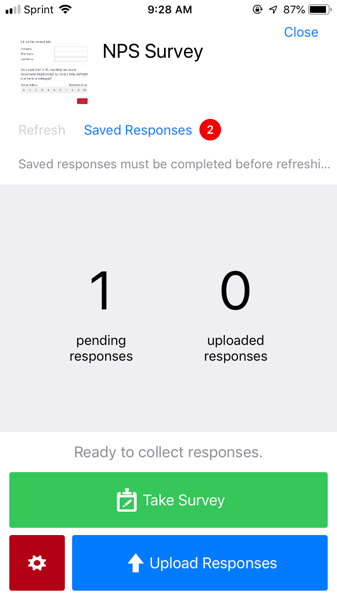
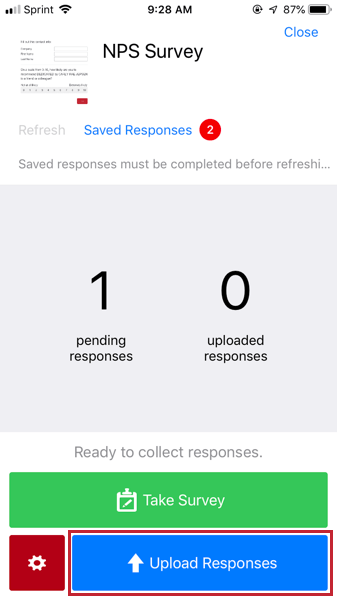
Uploading Responses
Once you’ve collected responses and have an active internet connection, you can upload the responses into your Qualtrics account. By default, uploads are always performed on a “per request” basis, meaning the app won’t automatically upload responses on your behalf unless specified.
After uploading, responses are removed from your mobile device and become available in the Responses and Results tabs of your Qualtrics account. Uploading also increments the Completed Responses number on the survey overview window.
Warning: Never log out of the Offline App if you have responses to upload. If you log out of the app without uploading your responses, you’ll lose your responses.
To upload pending responses and previews
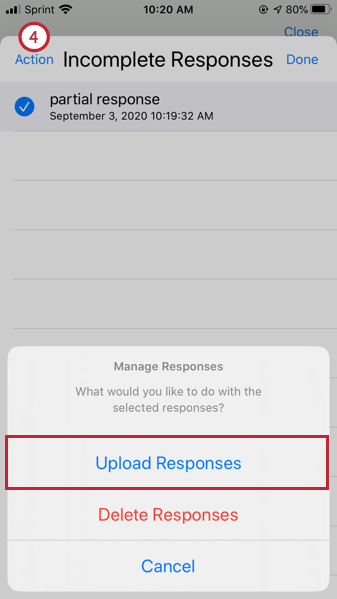
Uploading incomplete responses
Auto Uploading Responses
The Offline app allows you to enable auto uploading of responses. When this setting is enabled, your device will automatically upload your responses once connected to the internet.
Troubleshooting
Occasionally, certain settings will restrict the app from uploading responses to your online account. In this case, there are several things you can check:
FAQs
Why can’t I log in to the Offline App?
Why can’t I log in to the Offline App?
- Permission to use the app: The Offline App is an extra feature, and not every license or account has paid for access. It may be that your license does not include Offline App or that it does but the feature has not been enabled on your account. Contact your Brand Administrator for further details.
- SSO login: If your organization uses an SSO login to access Qualtrics, we don’t actually store your password on our servers. As such, you will need to log in with your organization's SSO method.
That's great! Thank you for your feedback!
Thank you for your feedback!