
Post-Survey Options
What's on this page
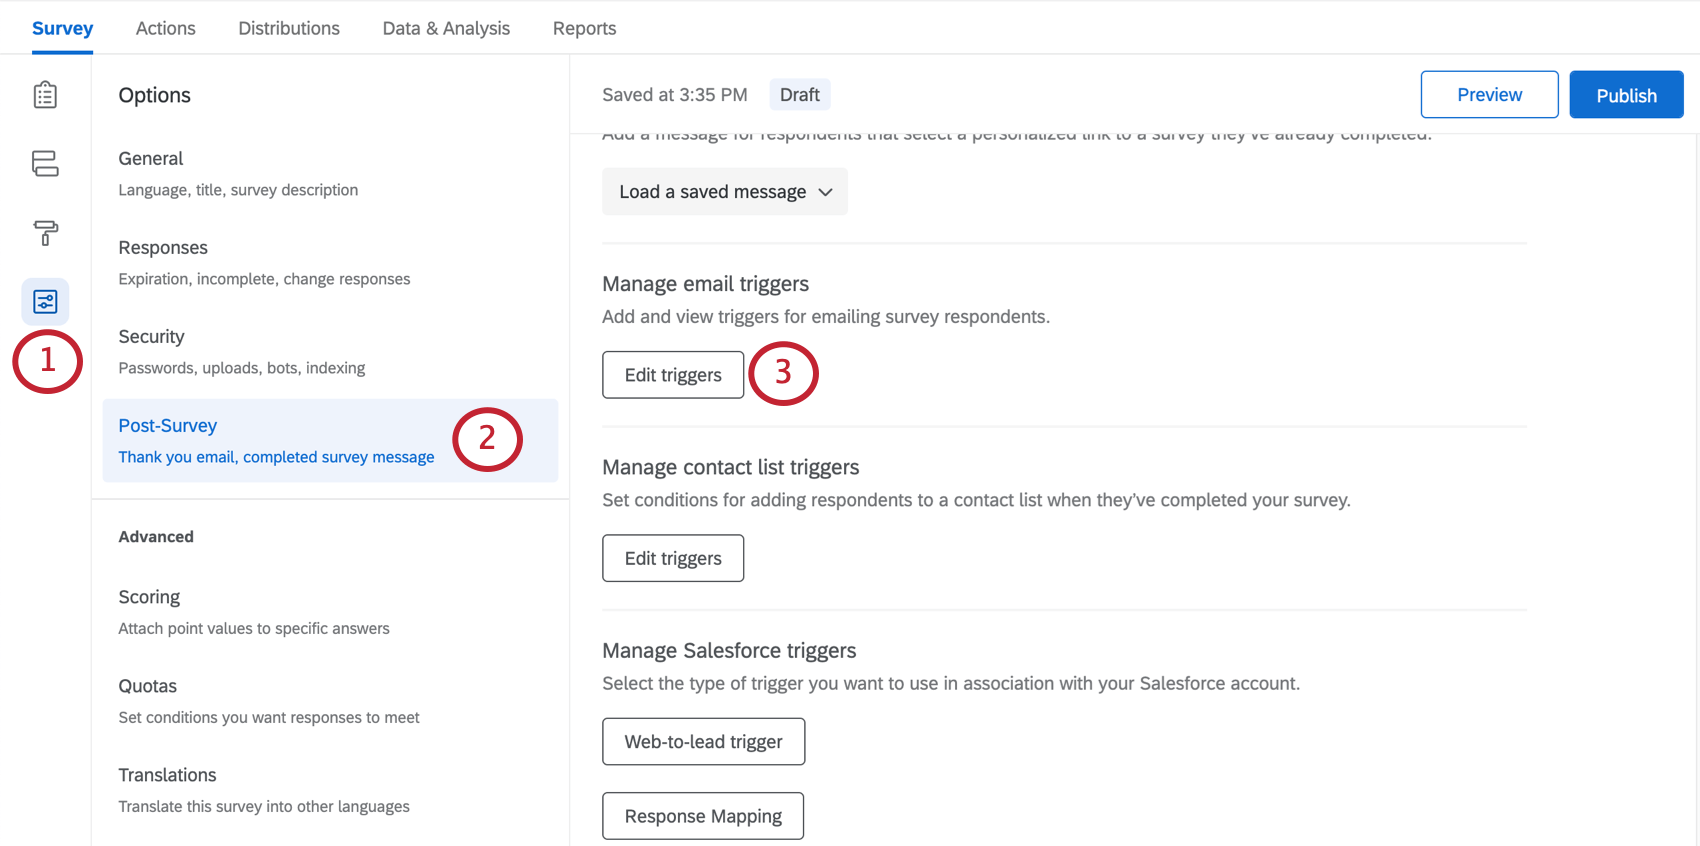
Post-Survey
These survey options concern what happens after a survey ends. They include the ability to automatically send a thank you email after the survey ends, and the ability to customize the message for revisited links. This is also where you will find triggers.
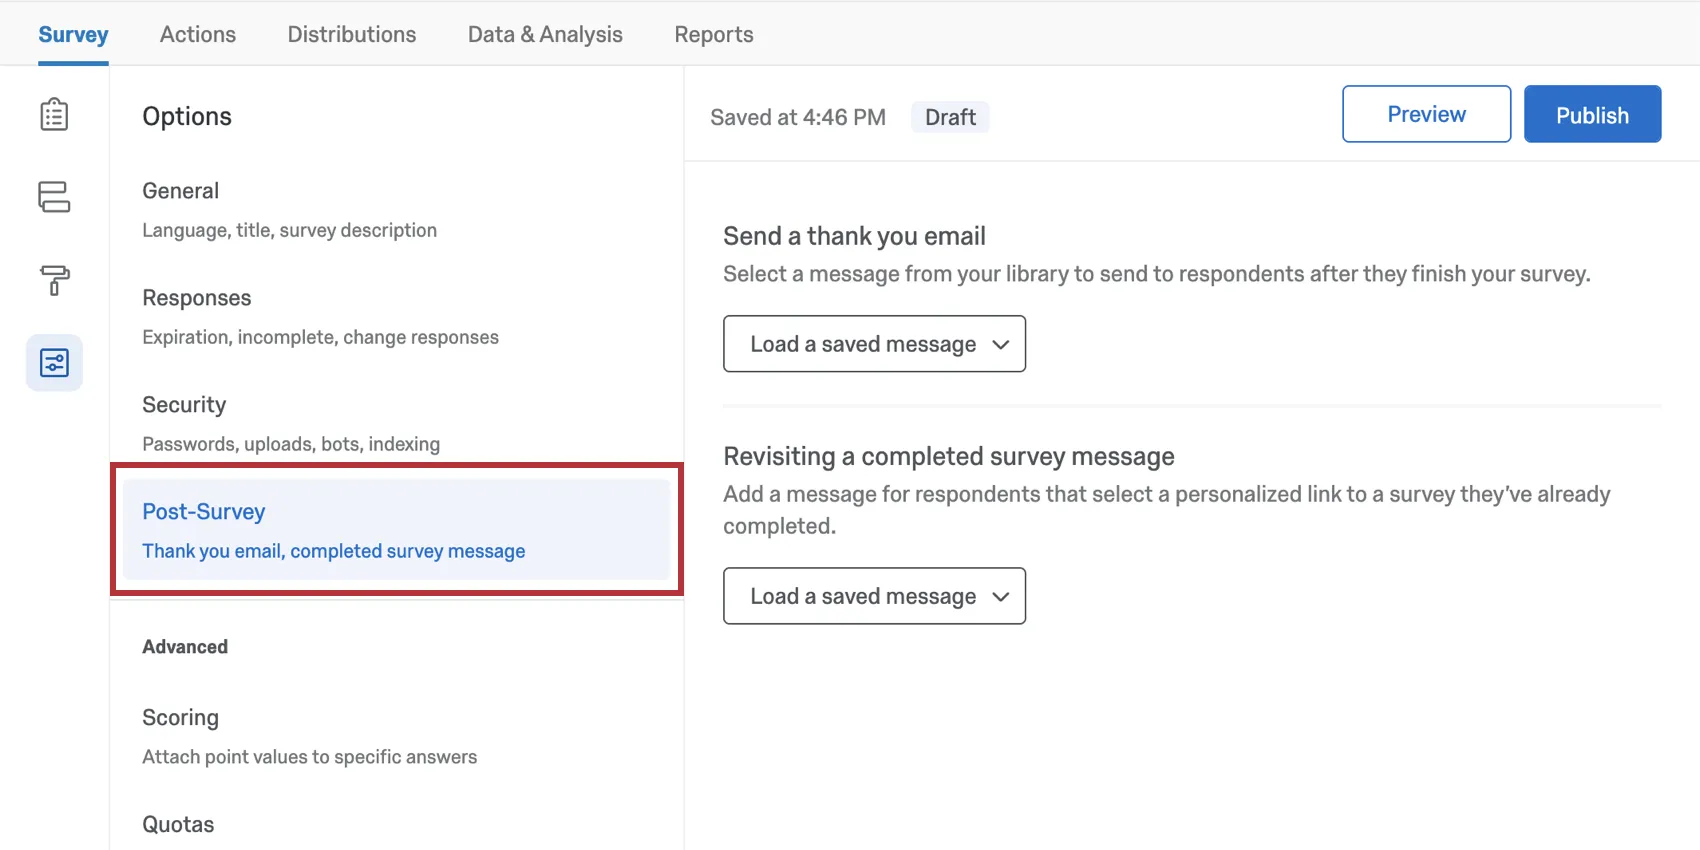
Send a Thank You Email
If you distribute your survey sending an email invitation through Qualtrics, using personal links, or using an authenticator connected to a contact list, you can send a thank you email when respondents have completed your survey. This thank you will send to the email address listed in the contact list for the respondent.
Qtip: You can send a thank you email to all of your respondents that completed the survey through the Distributions tab as well.
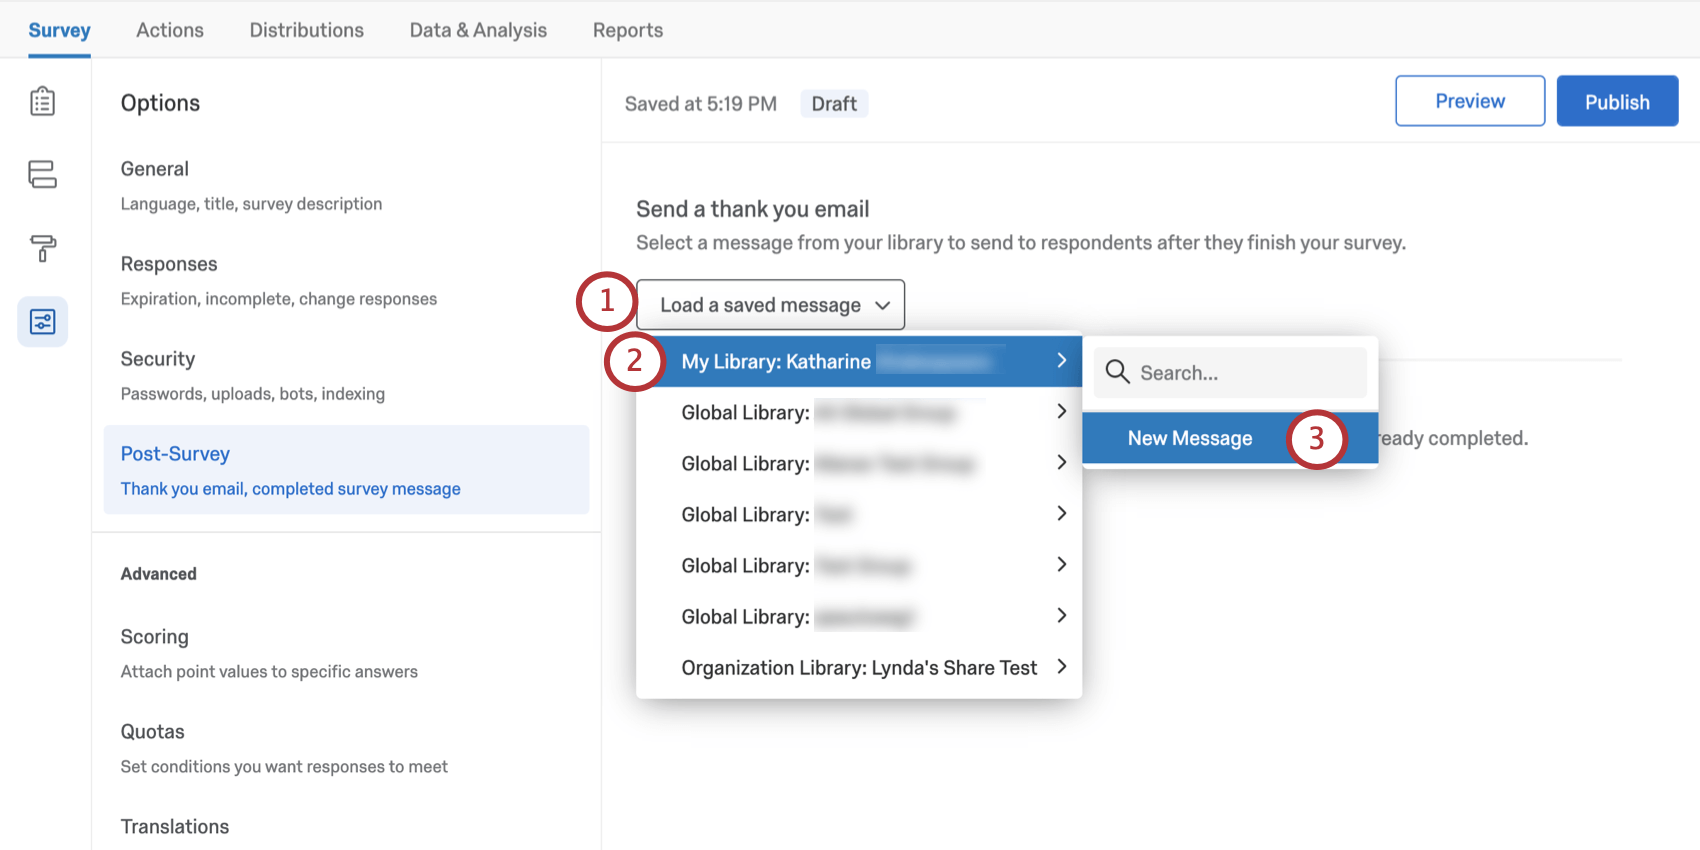
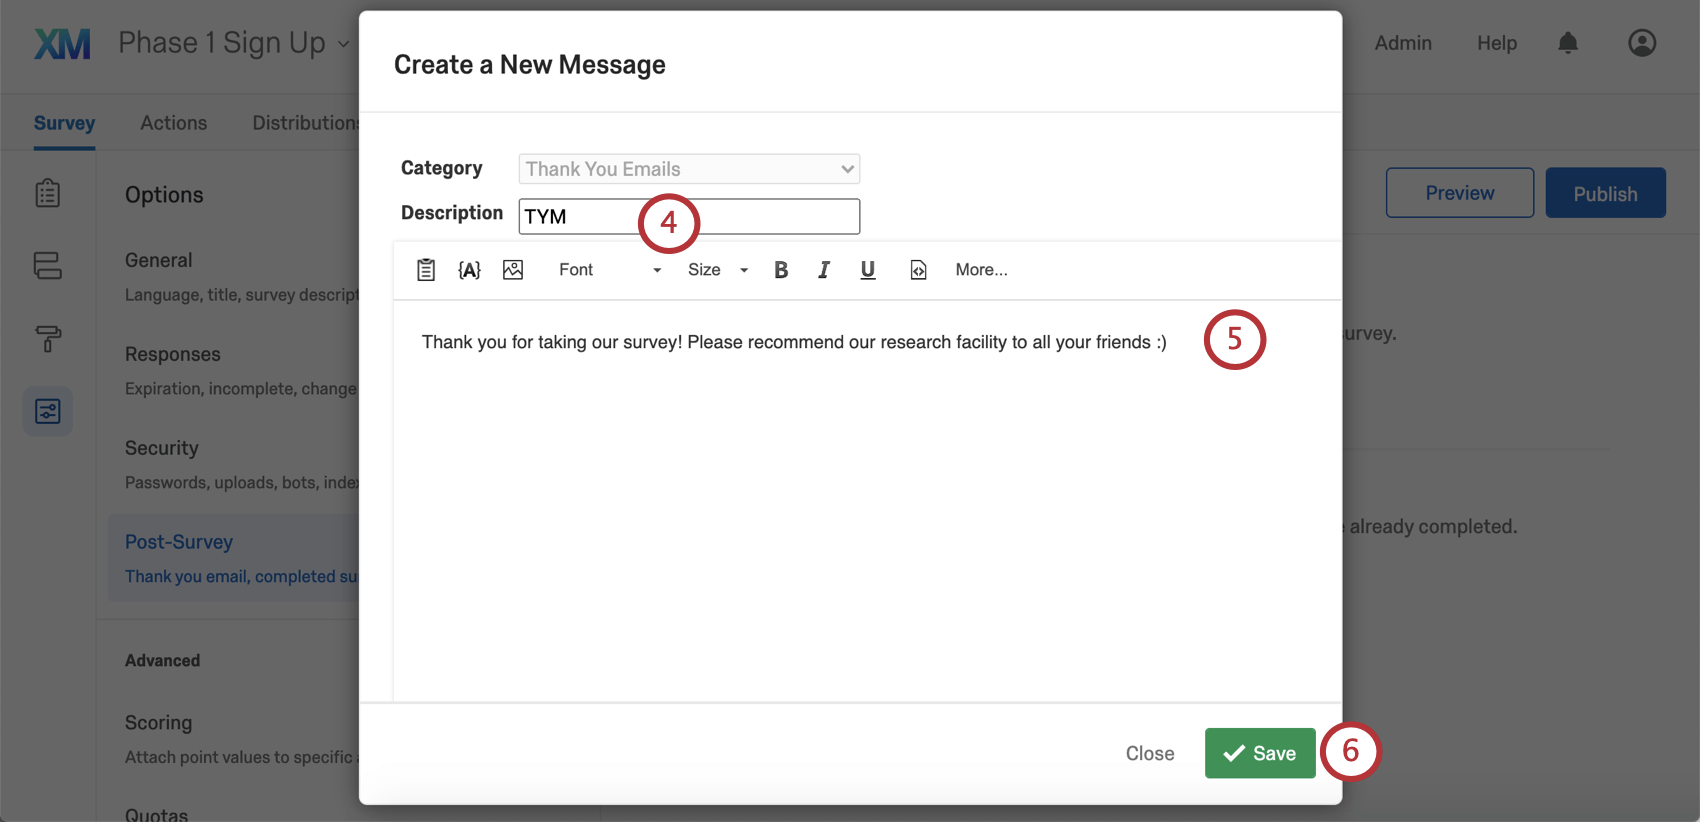
Qtip: Alternatively, select an existing message for use.
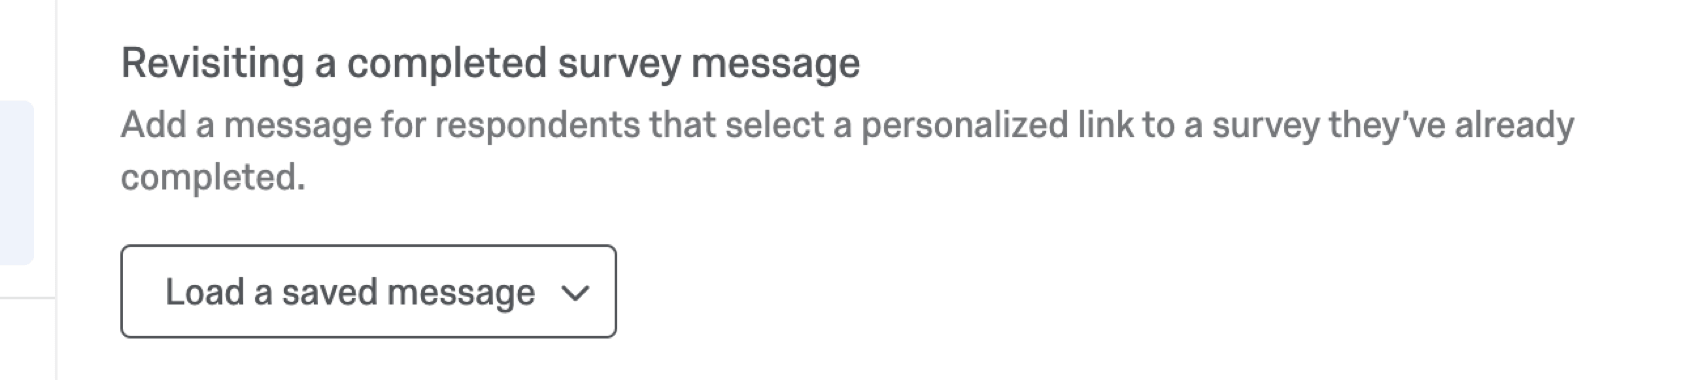
Revisiting a completed survey message
If you use the default individual link when emailing surveys, respondents can only complete the survey once. If they want to change their response, they will need to reach out to the survey’s creator for a retake link. Sometimes, if the user clicked into the link and then didn’t return within the partial completion settings, their session expired, and they need a new invitation.
You can write a custom message that will appear when the respondent tries to enter a link they already completed.
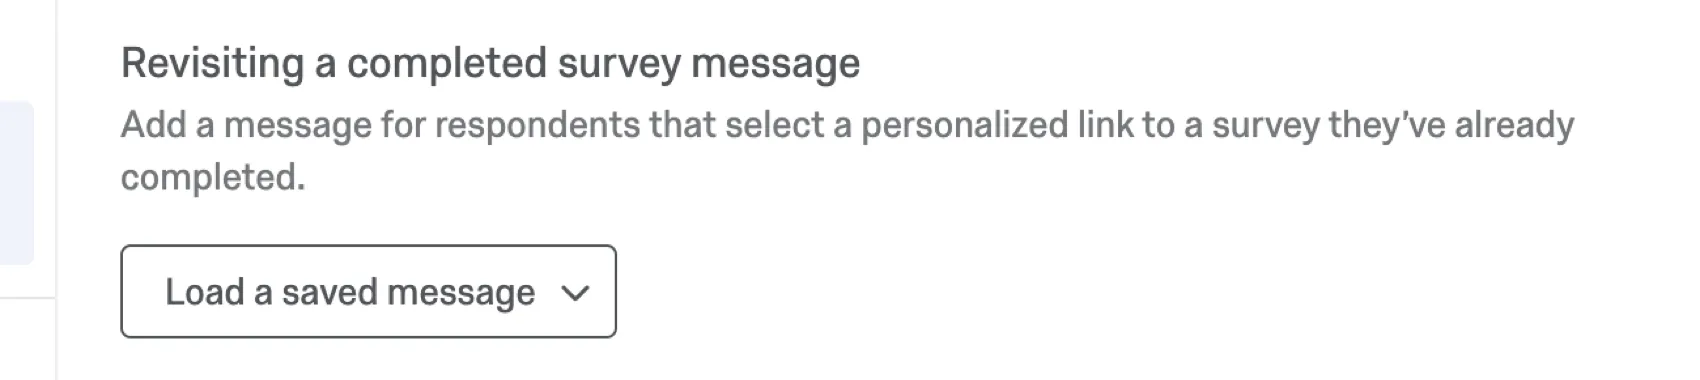
Click Load a saved message to write a new message or choose one you previously saved in your library.
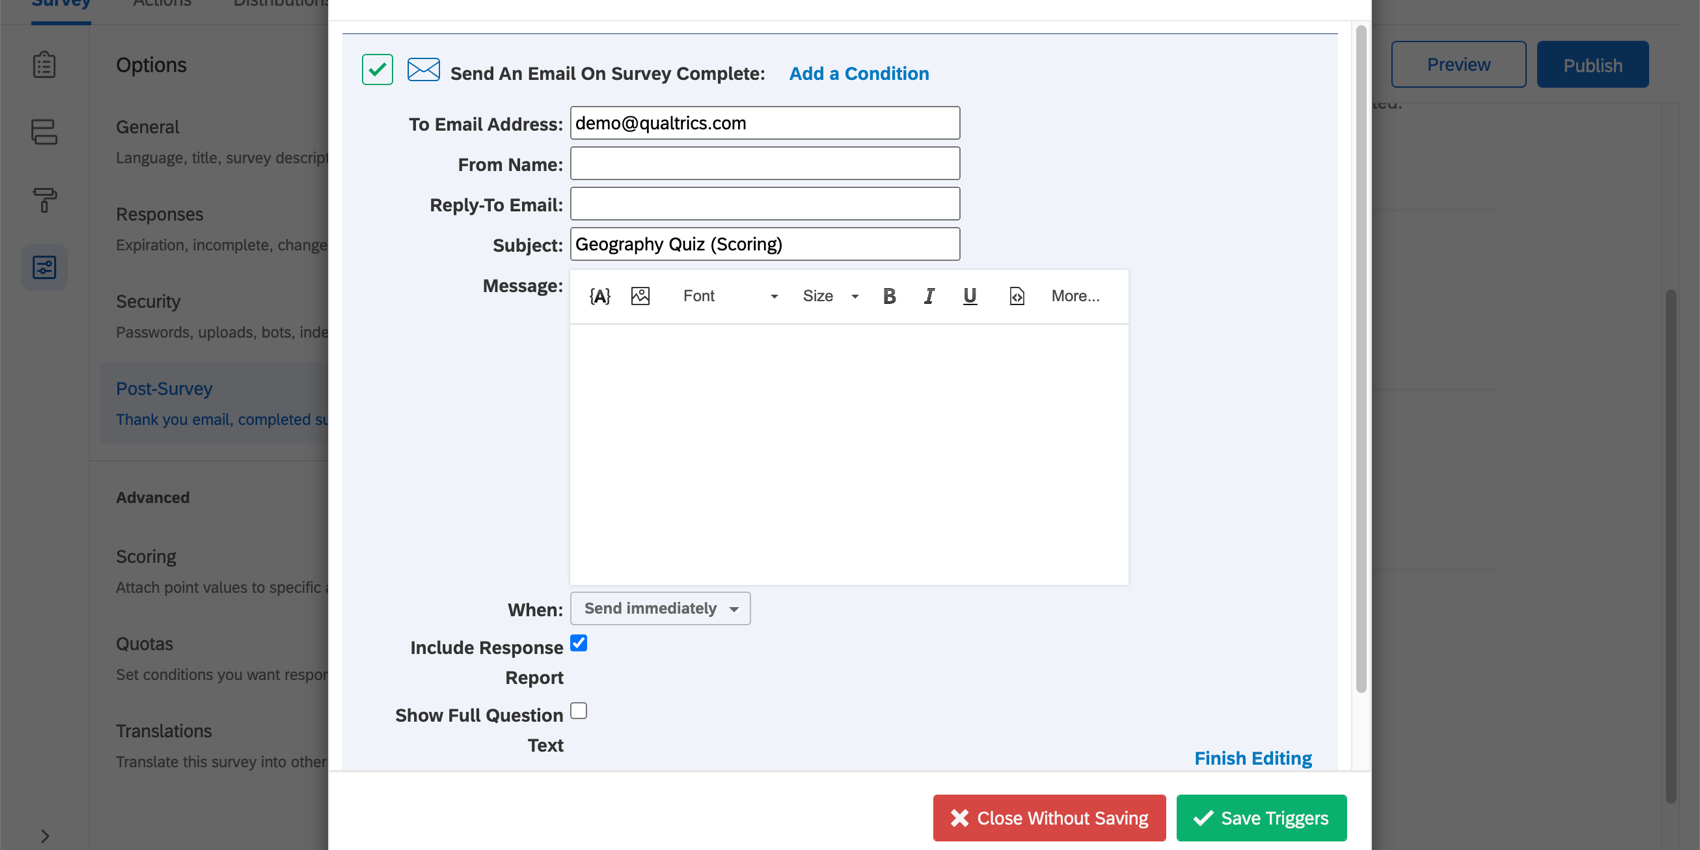
Manage Email Triggers
Qtip: The email task feature under Workflows works the same as email triggers, but with several notable improvements. Due to these improvements, we recommend using the email task instead.
Warning: We strongly recommend not using email triggers, as they may not behave as intended, and we no longer plan to develop any improvements for this feature. For the same functionality with added improvements, please use the email task feature instead.
Email triggers allow you to send an email notification to someone when a survey response is completed and specified conditions are met. In the new survey editor, they are located in survey options rather than under the Tools menu.
To create an email trigger,
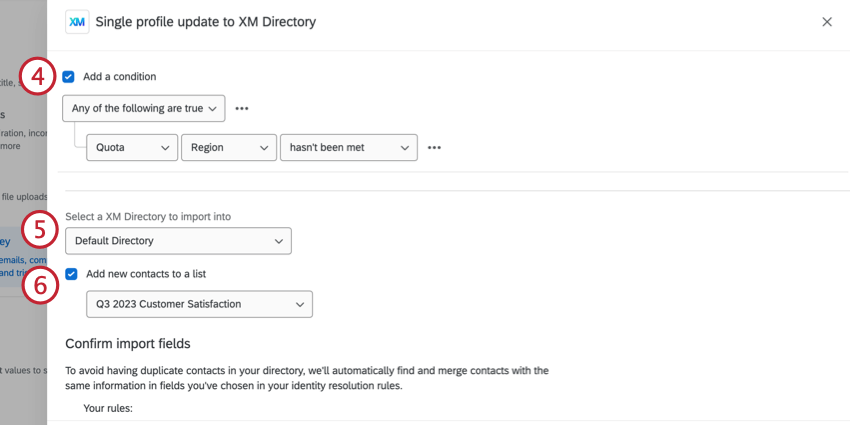
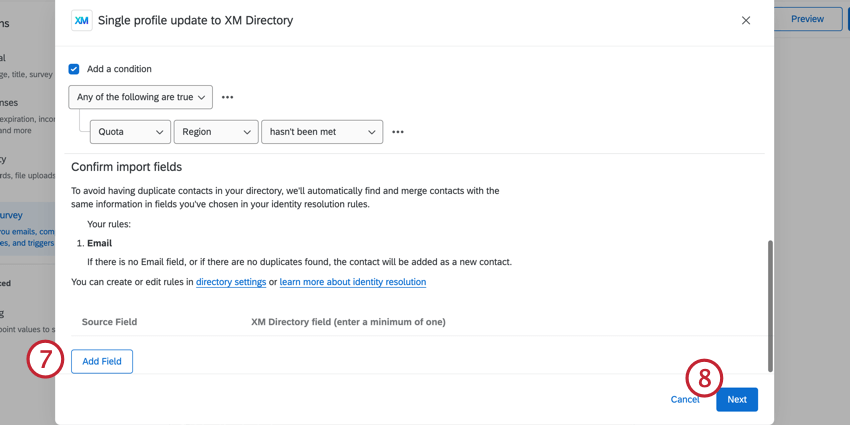
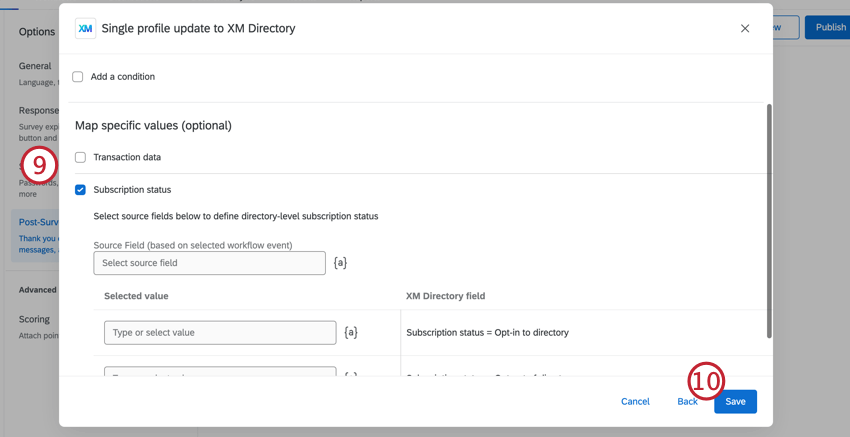
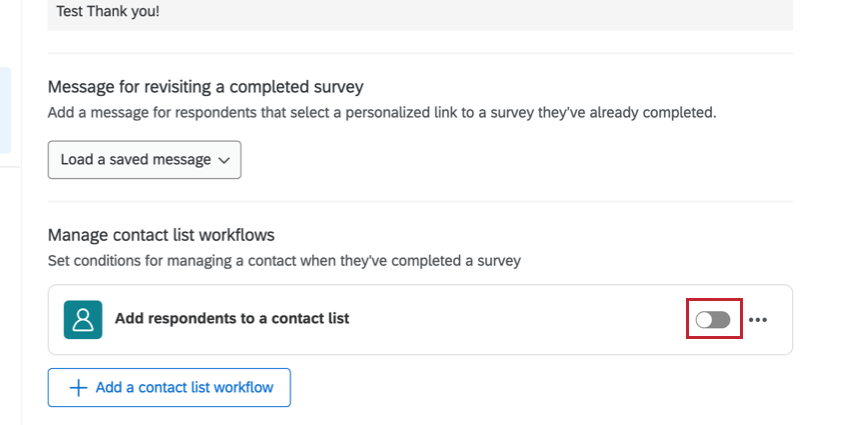
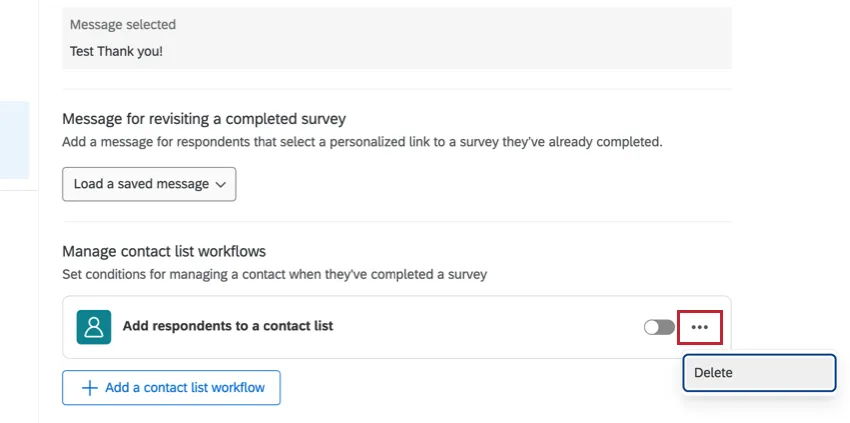
Manage Contact List Workflows
Contact list workflows allow you to automatically update your contact lists using survey results. These can be used to create an email list for future survey distributions or keep your contact lists up to date.

EDITING CONTACT LIST WORKFLOWS
Click the switch next to the workflow to turn it on or off.
To delete a workflow, click the three-dot menu then select delete.
Survey Options in Different Project Types
Survey options are available in many different types of projects. The options described on this page are available in:
There are a few other projects that have access to survey options, but with unique functionality to keep in mind.
- For Engagement, Lifecycle, or Ad Hoc Employee Research projects, please see Survey Options (EX).
- For Pulse, see the section on survey options in Features Available in Pulse Surveys.
- For 360 projects, see Survey Options (360).
- For Conjoint and MaxDiff, see Survey Options.
FAQs
How do I display different messages for different participants at the end of the survey?
How do I display different messages for different participants at the end of the survey?
How can I redirect respondents to another website or survey after they have submitted their response?
How can I redirect respondents to another website or survey after they have submitted their response?
If you would like to send different subsets of respondents to different pages, you can create branches for the different subsets and customize end of survey elements with different redirect URLs.
I want to offer the opportunity to enter a raffle following the end of my survey for my participants. I want participants to submit their email address, but keep it separate from their response so it remain anonymous. Is this possible?
I want to offer the opportunity to enter a raffle following the end of my survey for my participants. I want participants to submit their email address, but keep it separate from their response so it remain anonymous. Is this possible?
That's great! Thank you for your feedback!
Thank you for your feedback!