-

Qualtrics Platform -

Customer Journey Optimizer -

XM Discover -

Qualtrics Social Connect
Creating Action Plans (EX)
Creating Action Plans
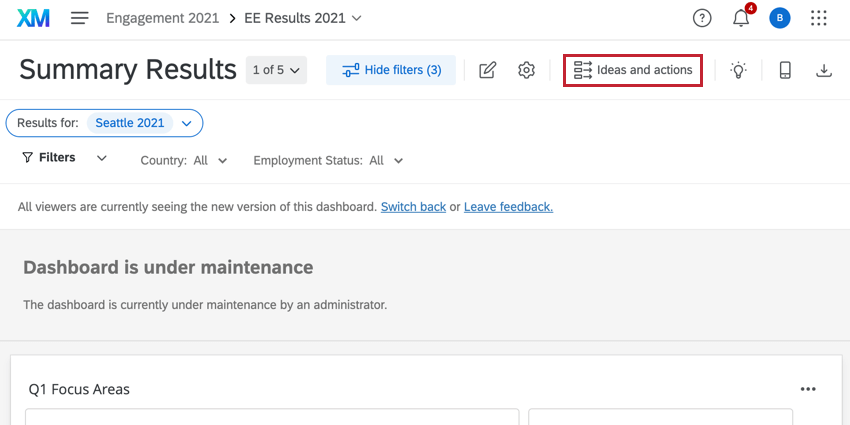
- Go to Ideas and actions.
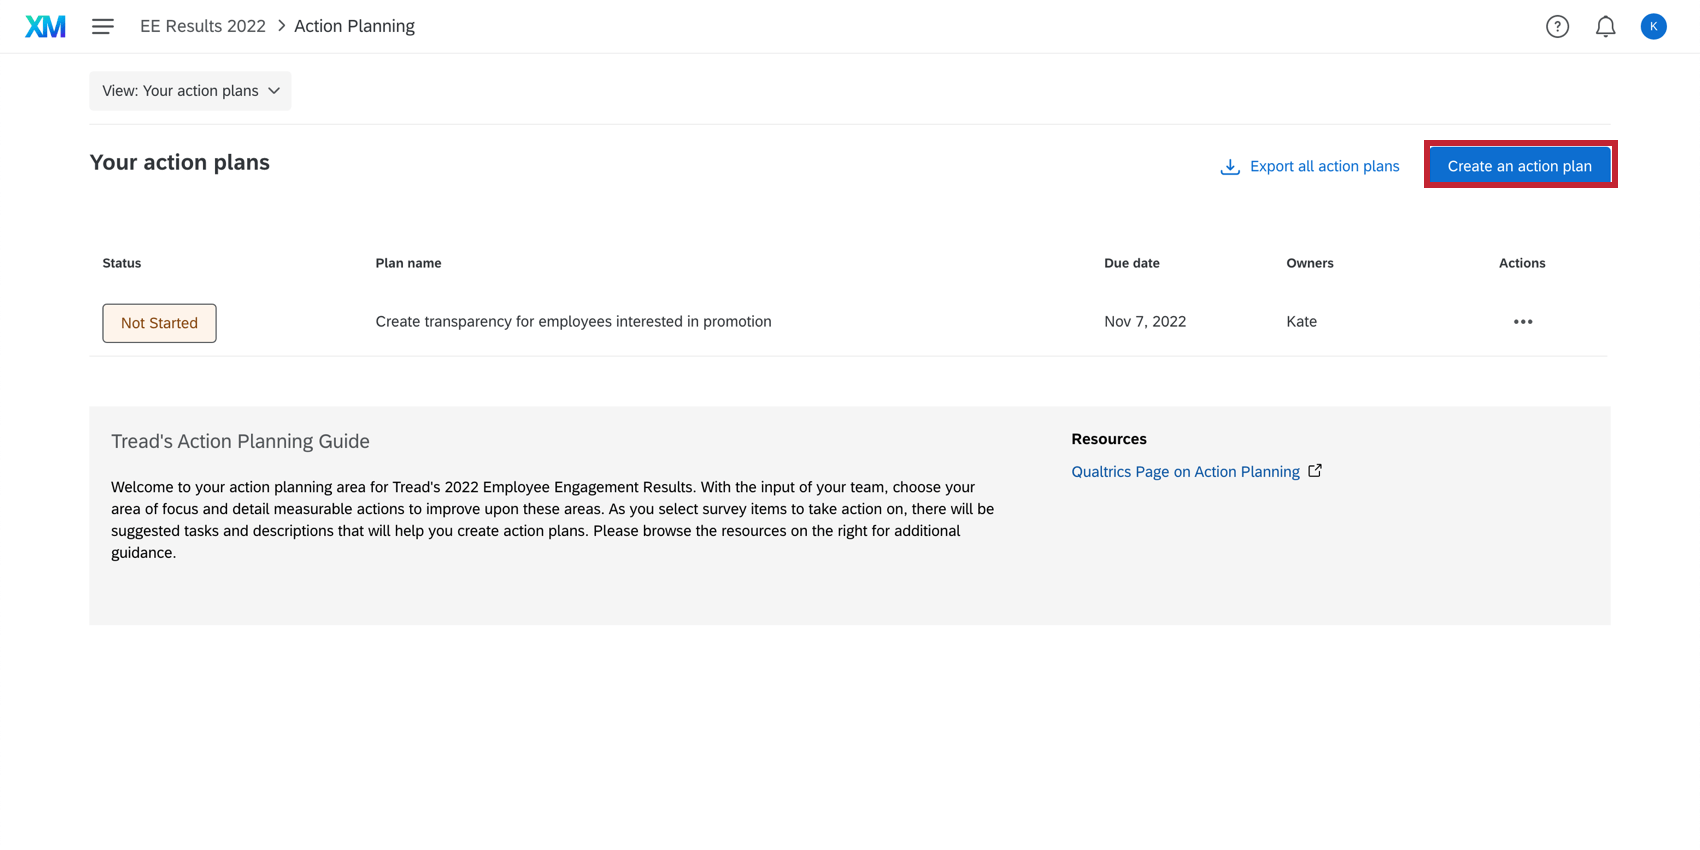
- Click Create an action plan.
- Select if there’s a Survey Question the plan should be linked to, a Category, or a Custom Focus Area.
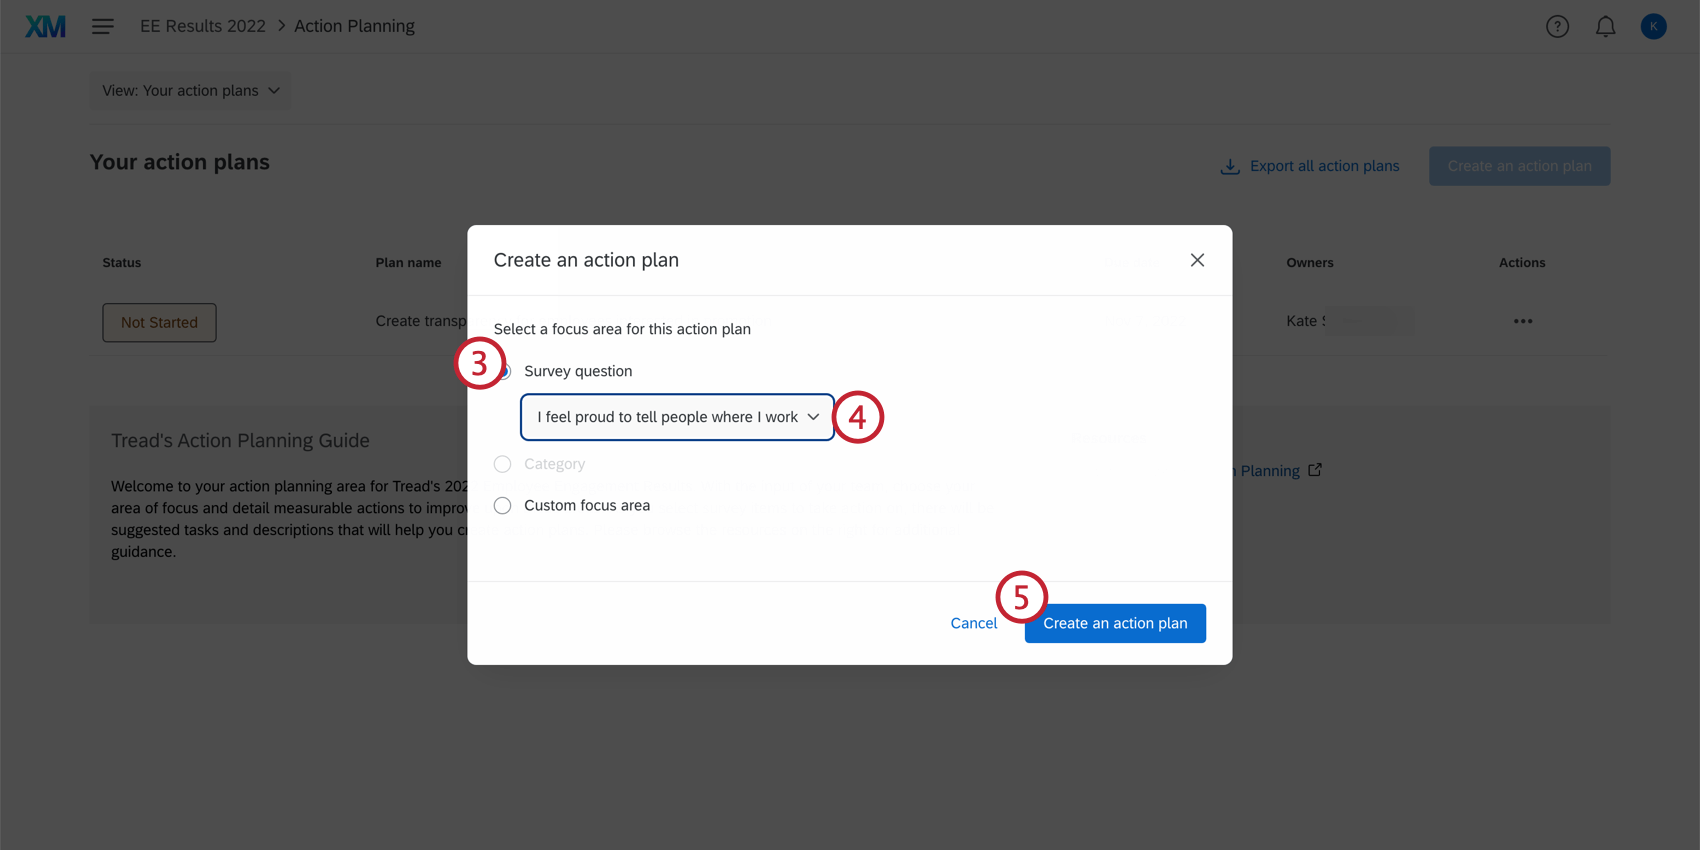
- Select the specific field the plan should be based on.
- Click Create an action plan.
Qtip: If you chose a question or category with Specific Guidance filled out, you will see guidance in the action plan, including suggested tasks and resource links. Managers can edit these suggested tasks, title, and description after they create the action plan.
- Click the title to name the action plan. This title is automatically populated depending on which field the action plan is based on.
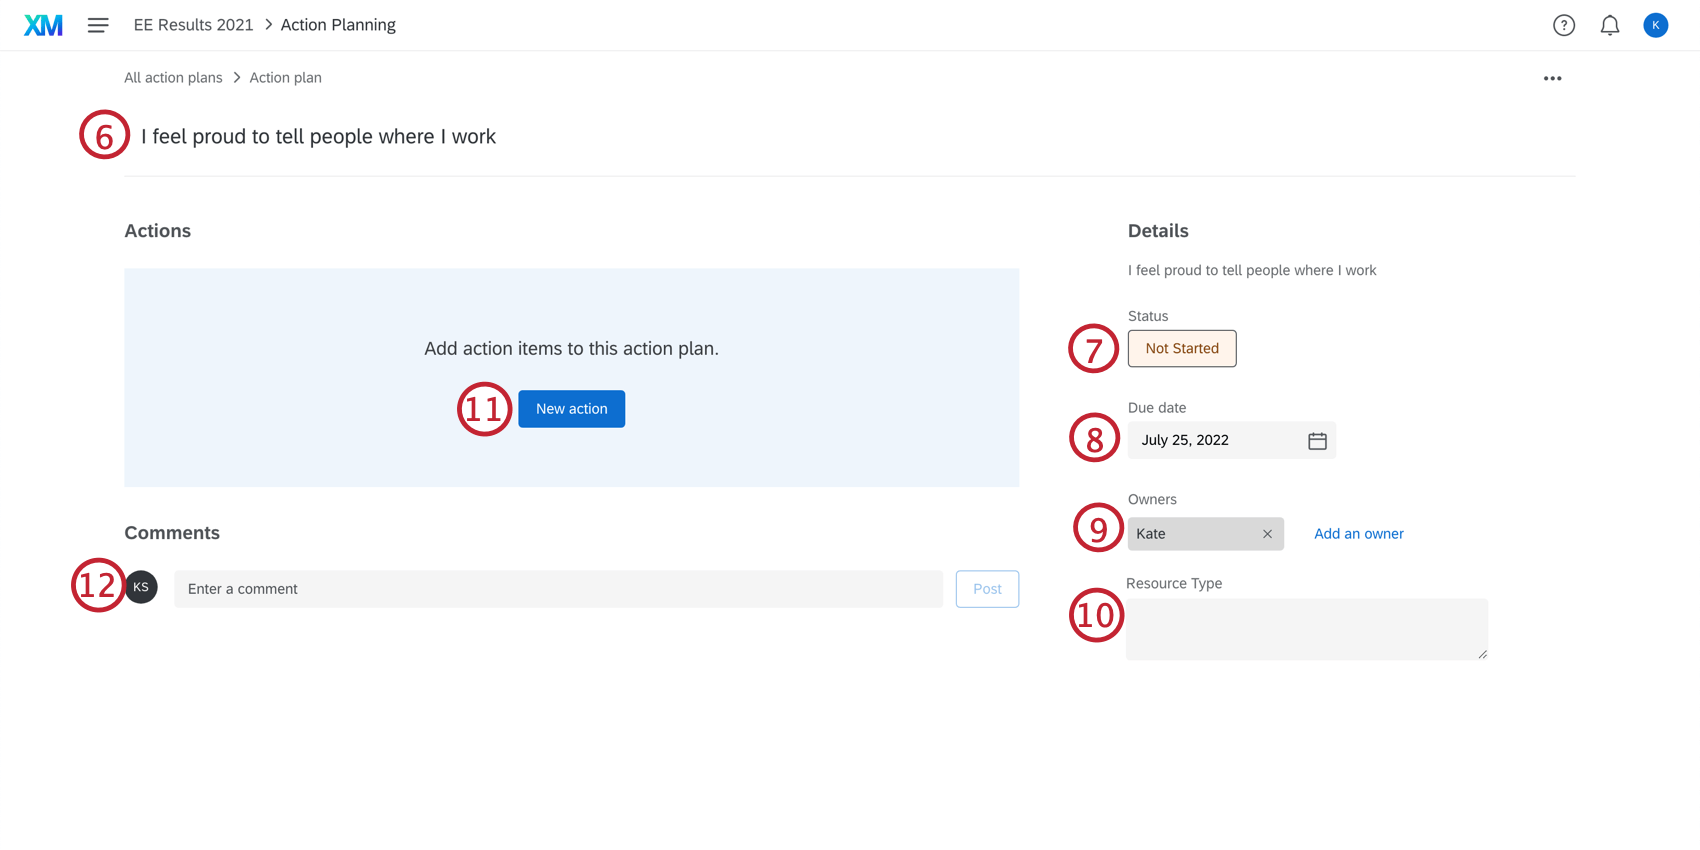 Attention: The character limit for an action plan’s title as well as for the title of an individual action is 255 characters.
 - Click Not Started to change the action plan’s status. You can set a status label (Not started, On Hold, In Progress, Complete, Canceled) and add a percentage complete.
- Click the date to open a calendar and set the date that the action plan should be completed by.
- Click Add an owner to add more owners, or click the x to remove owners.
Qtip: The org hierarchy is automatically set based on the action plan owner. For example, any action plan owned by Jane Smith will show up when selecting “Jane Smith” in the hierarchy filter.
- Any additional custom fields you added will show here.
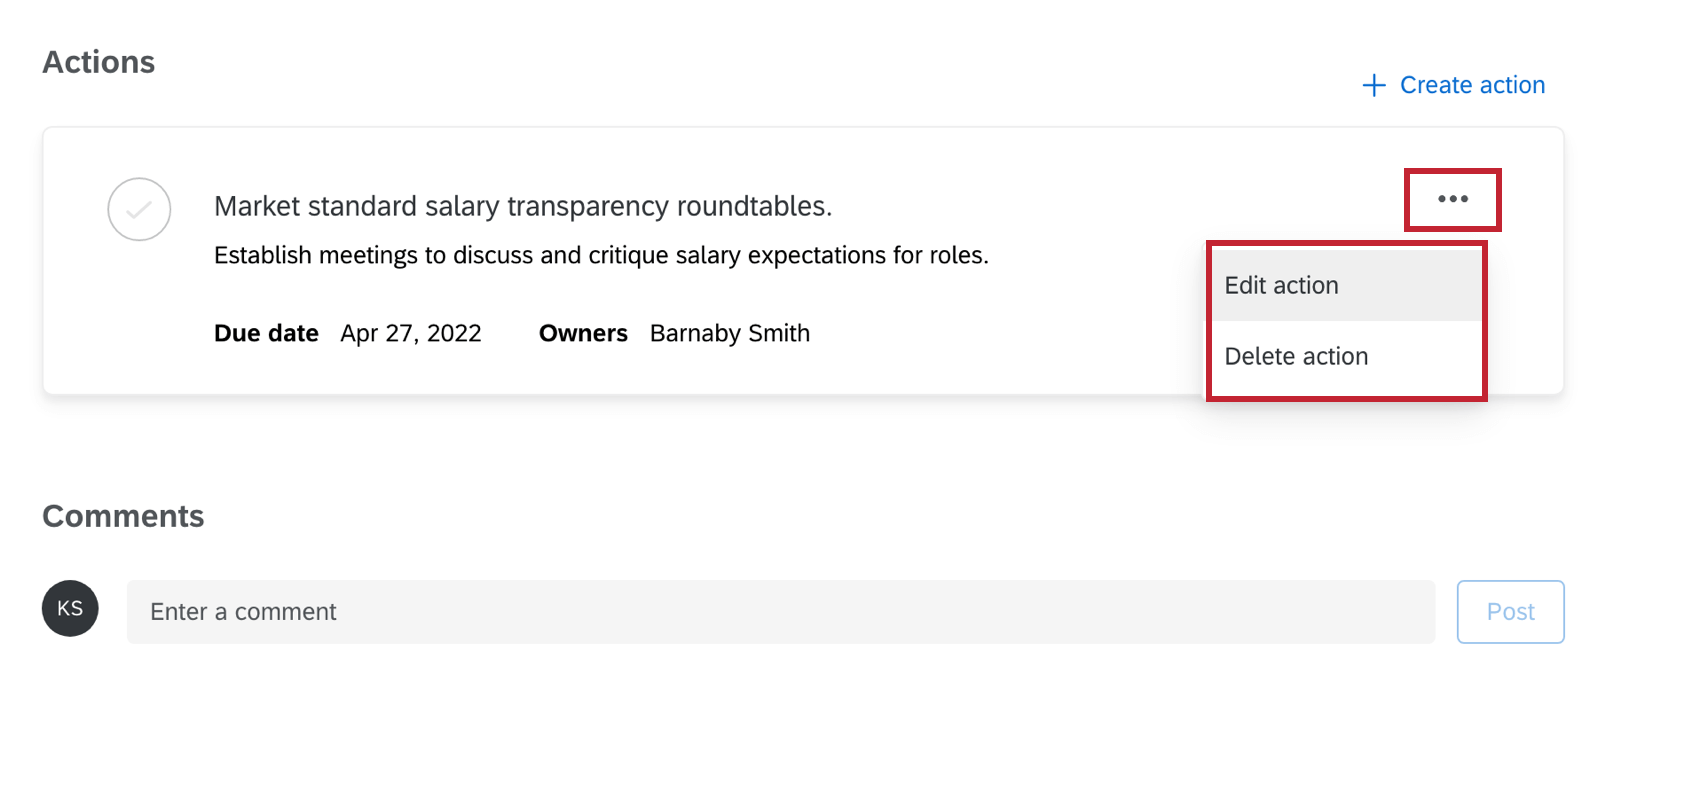
- Click New action to add a subtask to your action plan. Tasks have the following fields:
- Title
- Description
- Due Date
- Owners
Qtip: To edit or delete a subtask, click the dots in the upper-right corner.
- If you would like to add a comment to the action plan, type a comment and click Post.
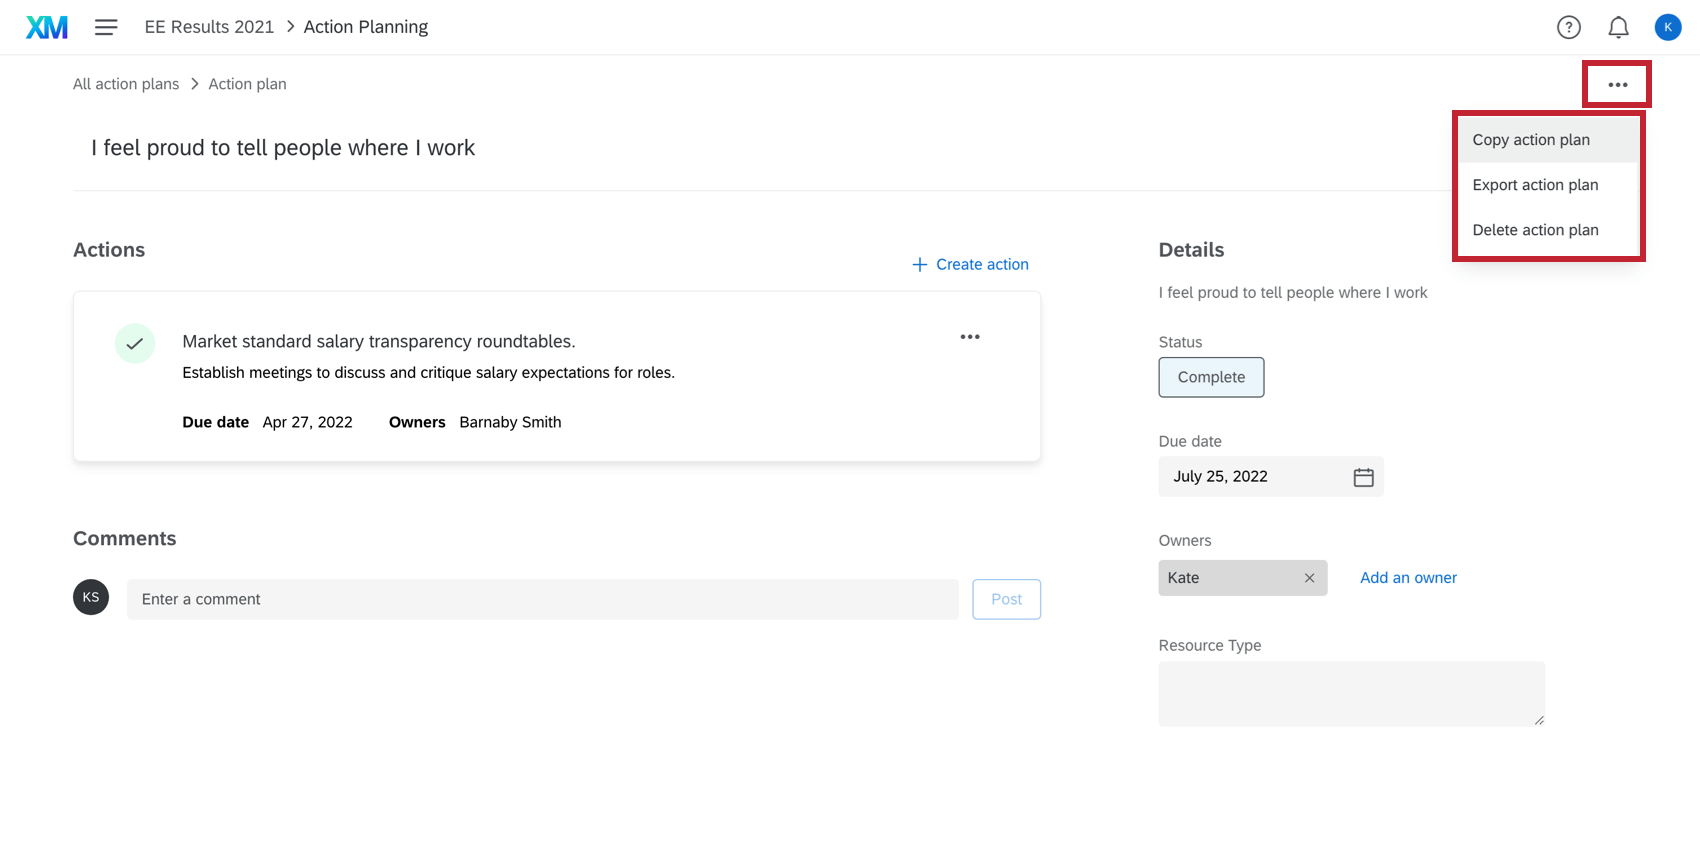
Qtip: If you click the dots in the upper-right of the action plan, you can copy, delete, or export the action plan.
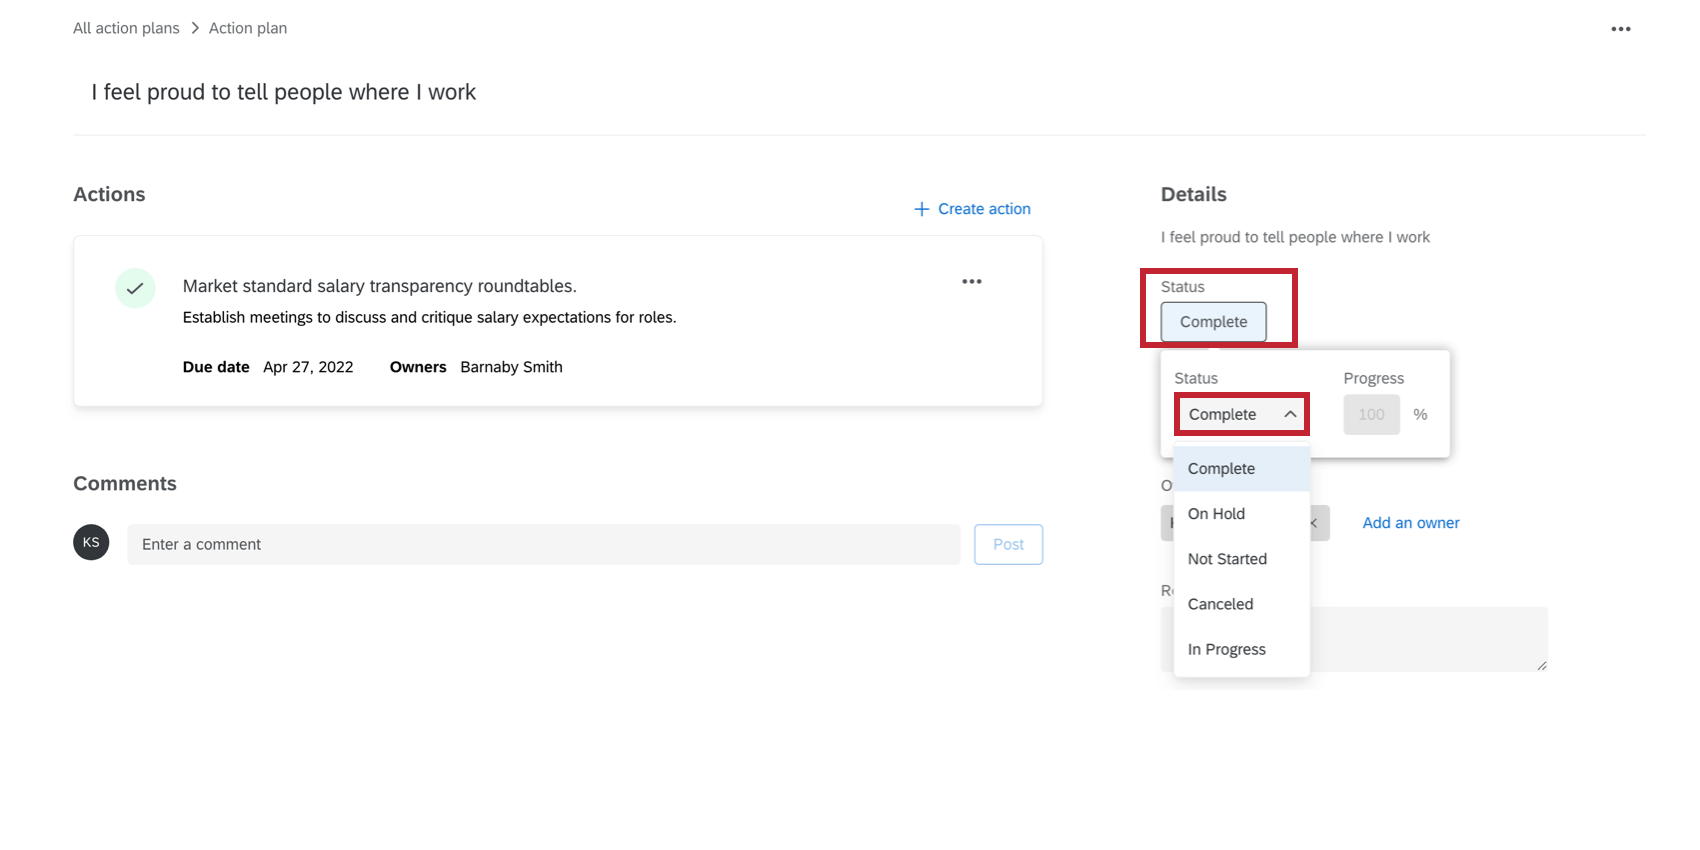
Updating Action Plan Statuses
You can indicate the completion of a subtask by clicking the checkbox on the left. This will automatically update the status and percentage completion for the entire action plan.

The action plan status can be manually overridden by clicking the Status and changing the Status and Progress fields.
Adding Action Plans from Focus Areas
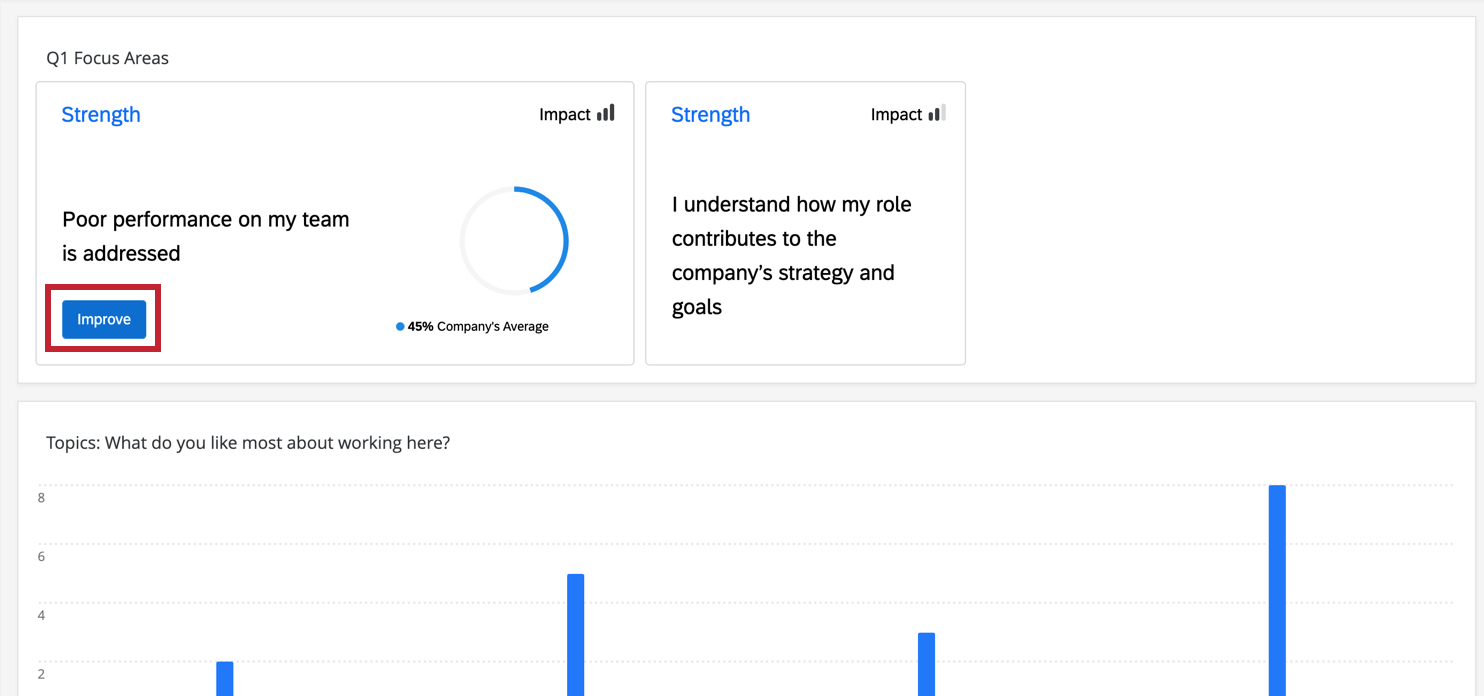
You can create an action plan directly from a focus areas widget.
- Click Improve in the focus area widget.
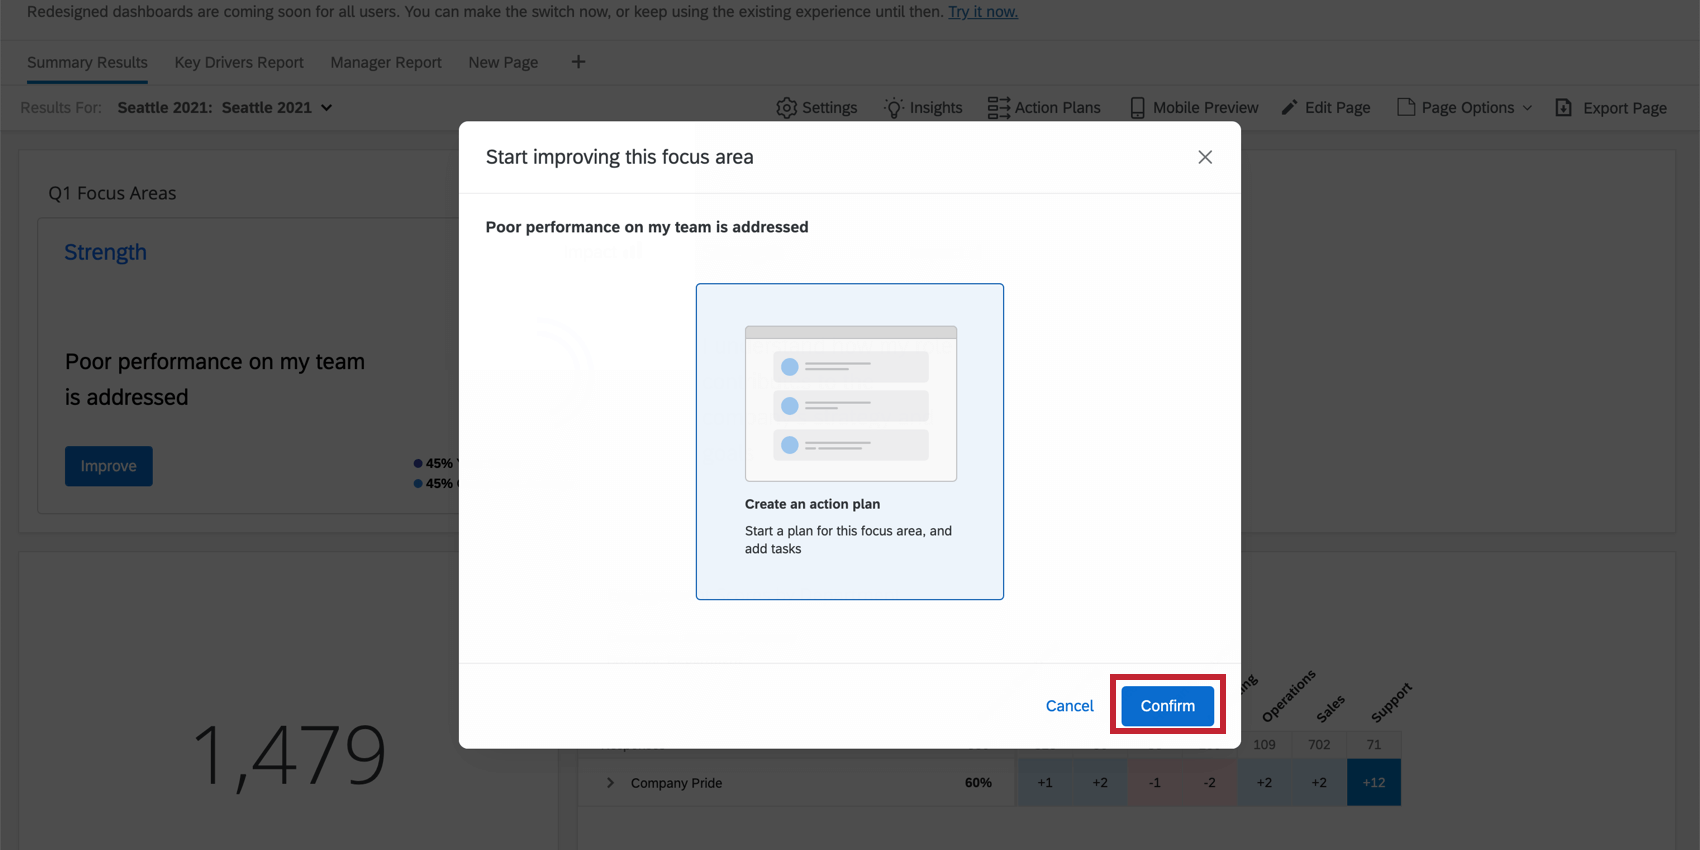
- Click Confirm.
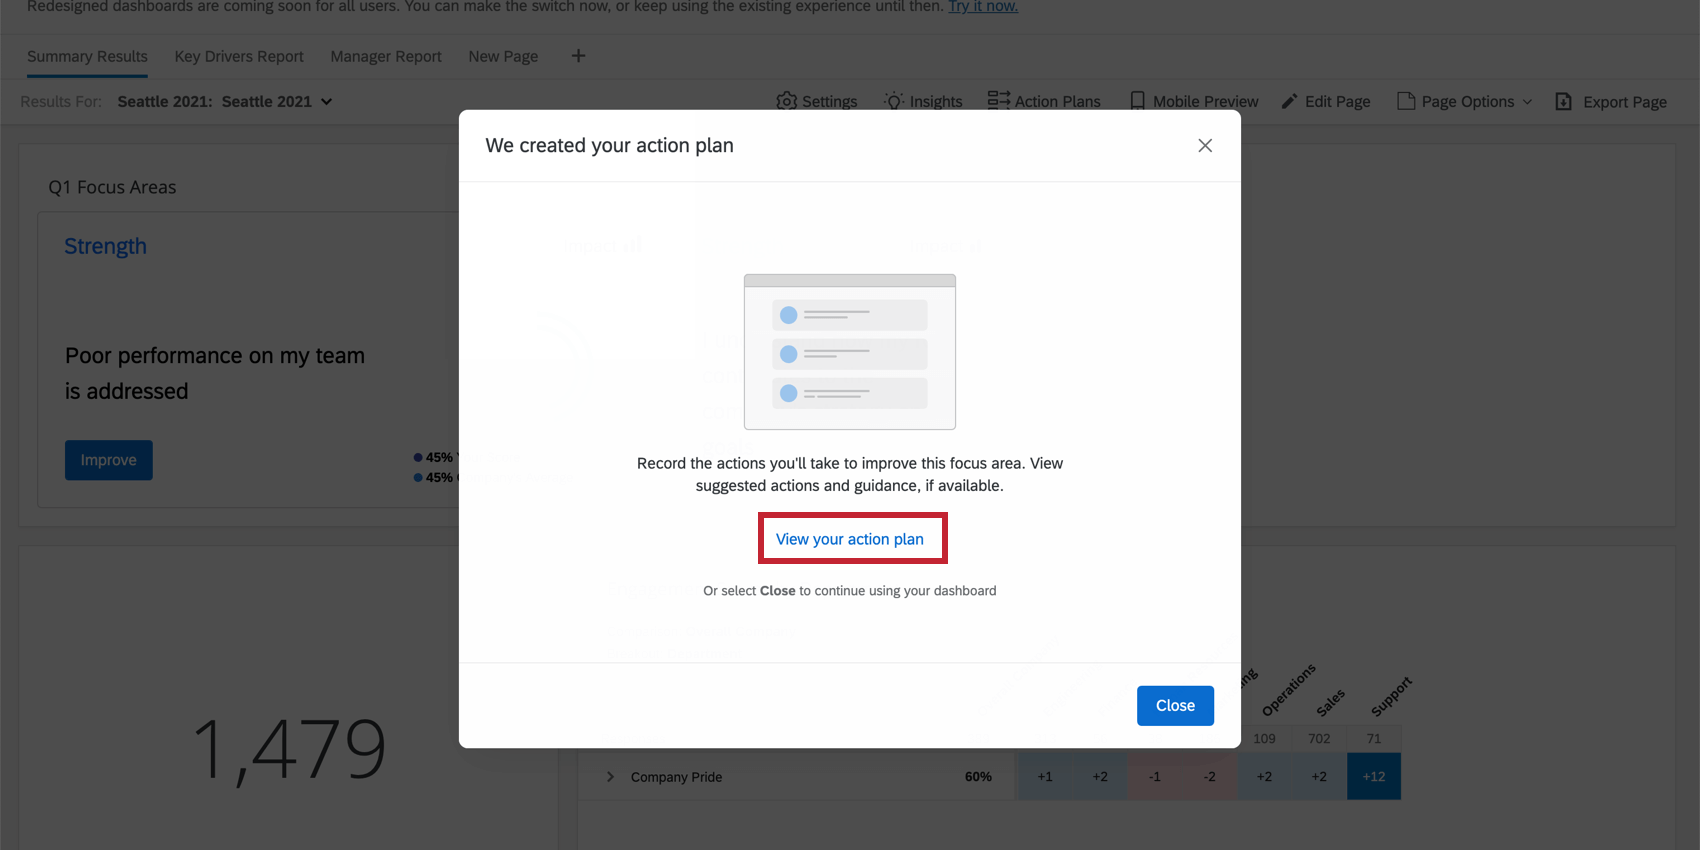
- If you would like to navigate to your action plan, click View your action plan. Otherwise, click Close.
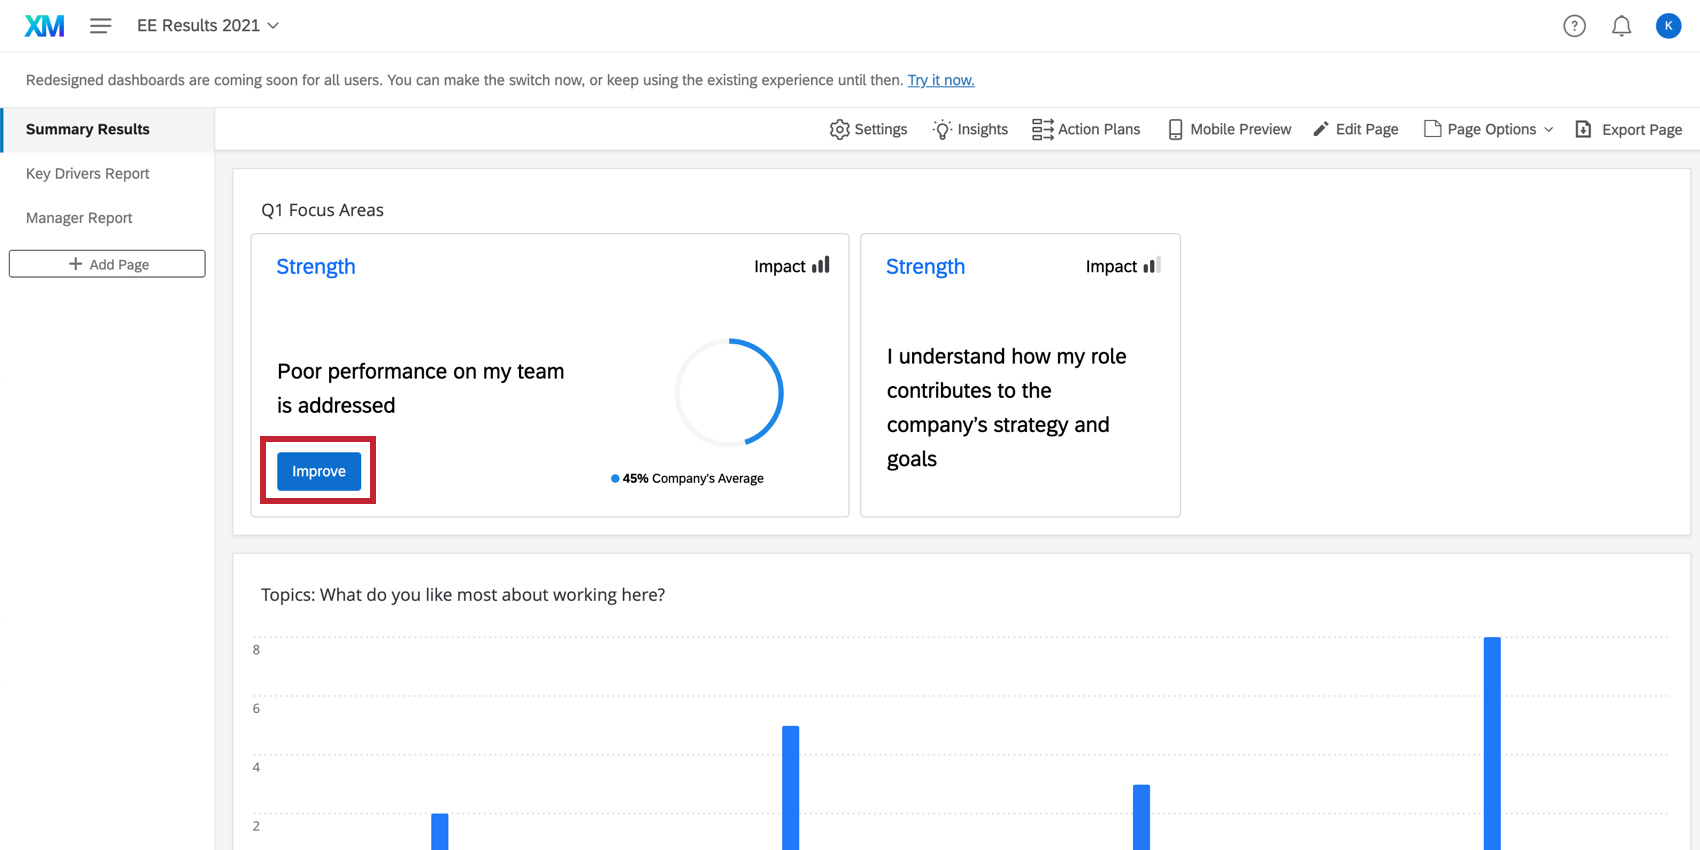
If the Improve button is not displaying in the focus area widget, ensure that you have made that item available for action planning.
Viewing Action Plans
You can view your own action plans, or filter by org hierarchy to view the action plans of other people in your organization.
- Click Ideas and actions.
- Click the View: Your action plans dropdown. This shows all of the action plans that are currently owned by you.
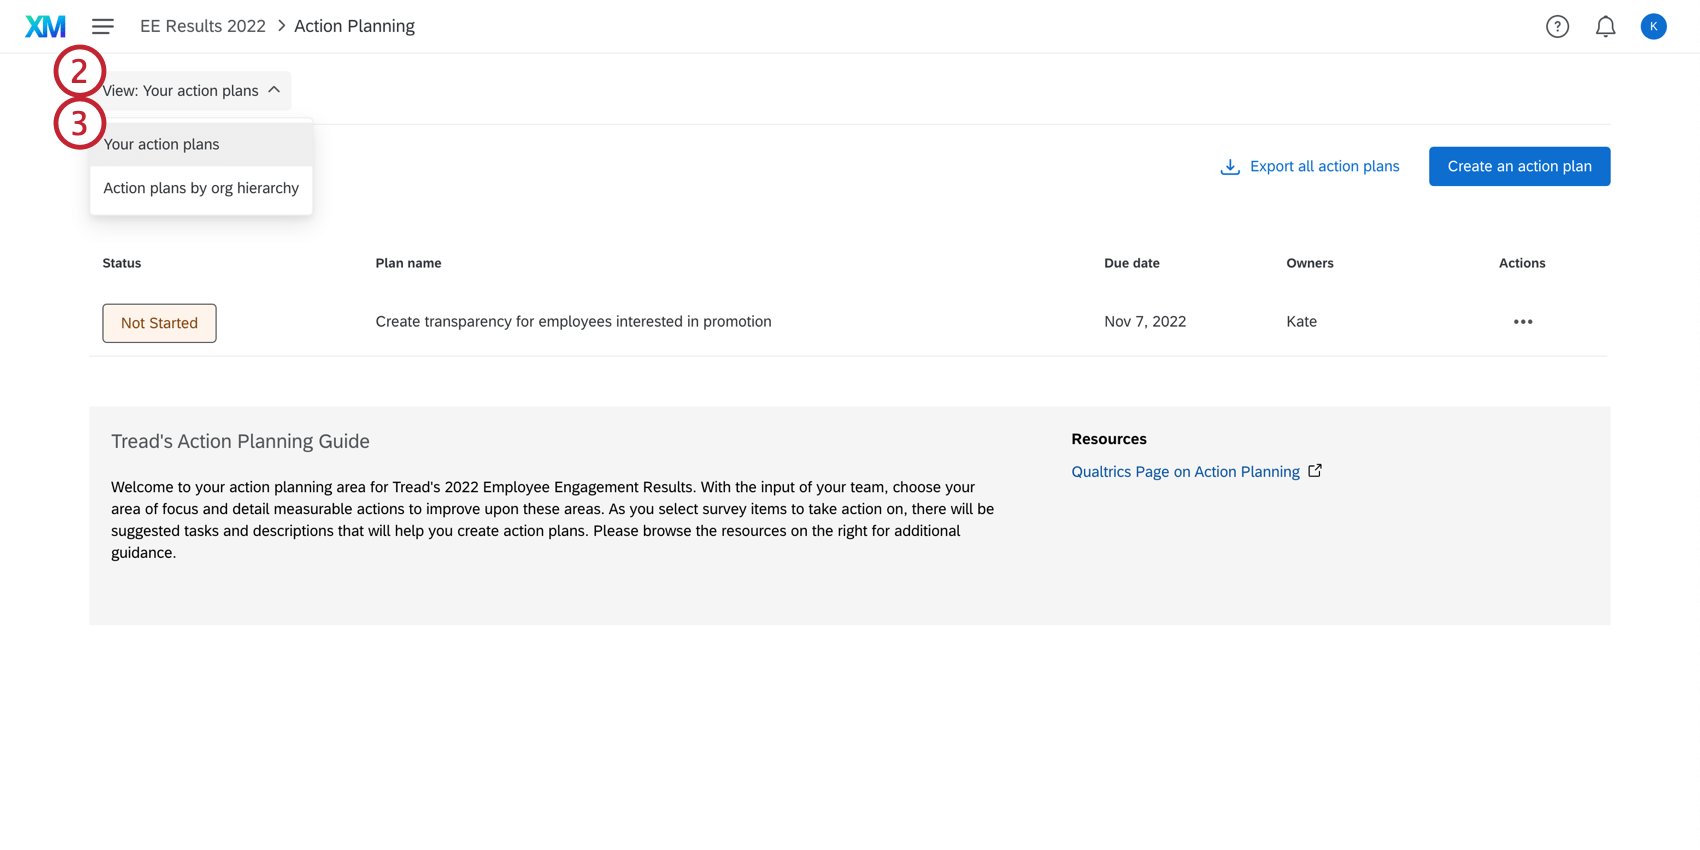
- Click Action plans by org hierarchy if you would like to view the action plans of other people in your org hierarchy.
Attention: If the action plan owner is a delegate, then the action plan will not appear here. The action plan must be assigned to a project participant or manager instead.
- Select the org hierarchy that you want to view. Use the dropdown menu underneath to select someone in your org hierarchy to view the action plans they own.
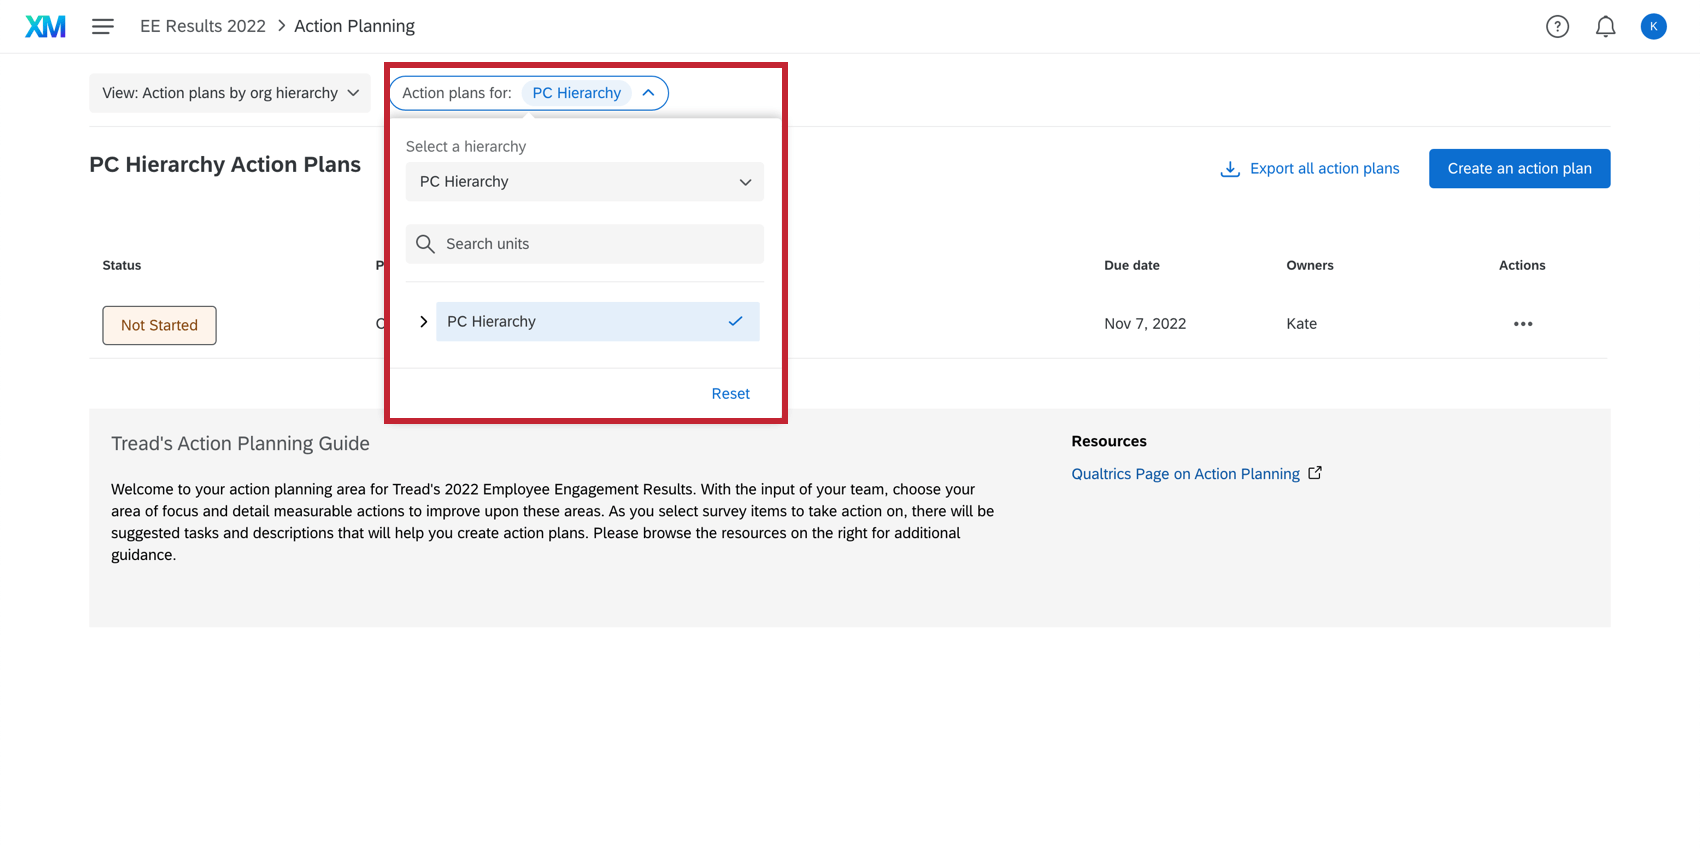 Qtip: Selecting an org hierarchy unit will display action plans that belong to that unit. There is no roll up of action plans in the Action Planning modal, which is different from the org hierarchy filter in dashboards. For example, if you had the org hierarchy structure North America > United States of America > Utah, and the action plan existed in the Utah unit, selecting the North America unit wouldn’t show you Utah’s action plan. You would have to select the Utah unit in the Org Hierarchy filter to see Utah’s action plans.
Exporting Action Plans
Administrators can export all action plans to a CSV file directly from the Action Plans page.
- Go to Ideas and actions.
- Click Export all action plans (admin only).

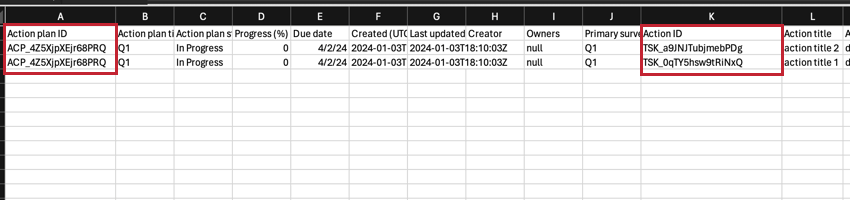
The exported document contains columns for action plan data including action plan ID, title, progress, status, due date, action owners, and all participant metadata related to the action plan owner. Each row is a different action, identified by the Action ID column. There can be multiple actions associated with the same action plan, which is identified by the Action plan ID column.