
Getting Started with XM Directory
What's on this page
About XM Directory
XM Directory is a contact database and distribution center that is shared by your entire organization. Here, you can store all of your customers and prospects — but the directory doesn’t solely store their contact information. You can flesh out profiles with everything from industry standardized demographics to transactional, ever-changing data.

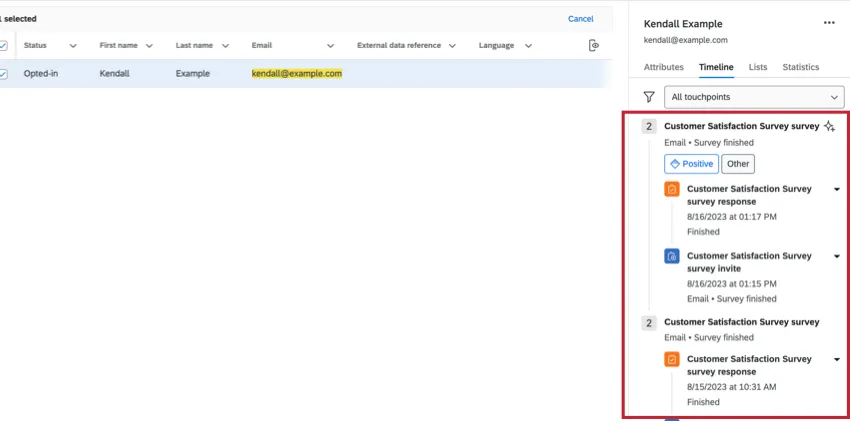
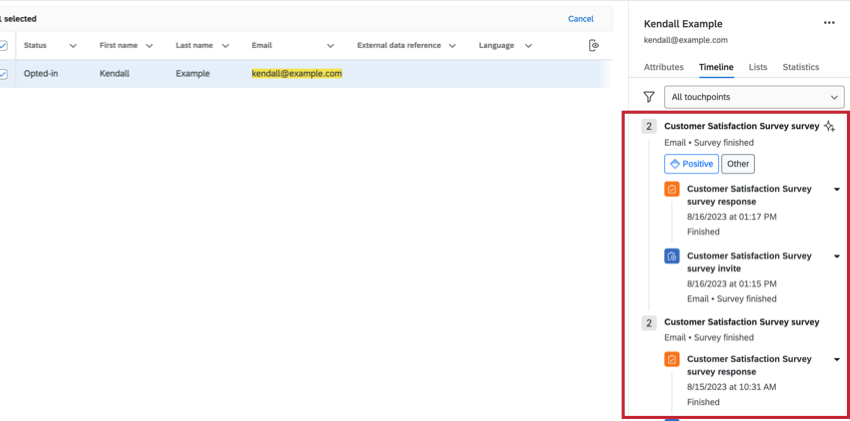
Using a contact’s timeline, you even get a comprehensive view of their communication with your brand, from the messages you sent them, to the feedback they provided across different programs.
Everyday users of XM Directory can upload lists of contacts and distribute messages to them over a variety of channels, including email and text messages. Any changes users make to contacts are reflected in the directory, for all other users’ benefit.

Navigating to XM Directory
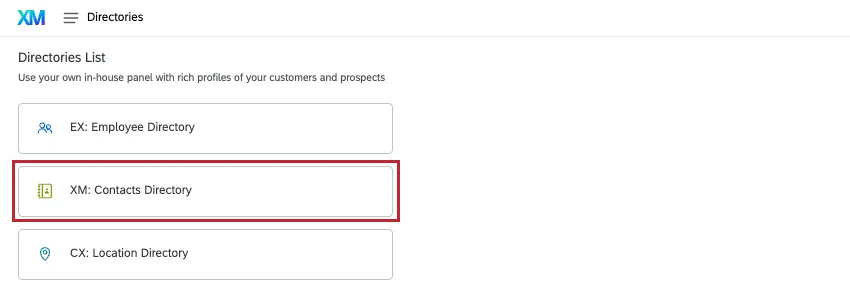
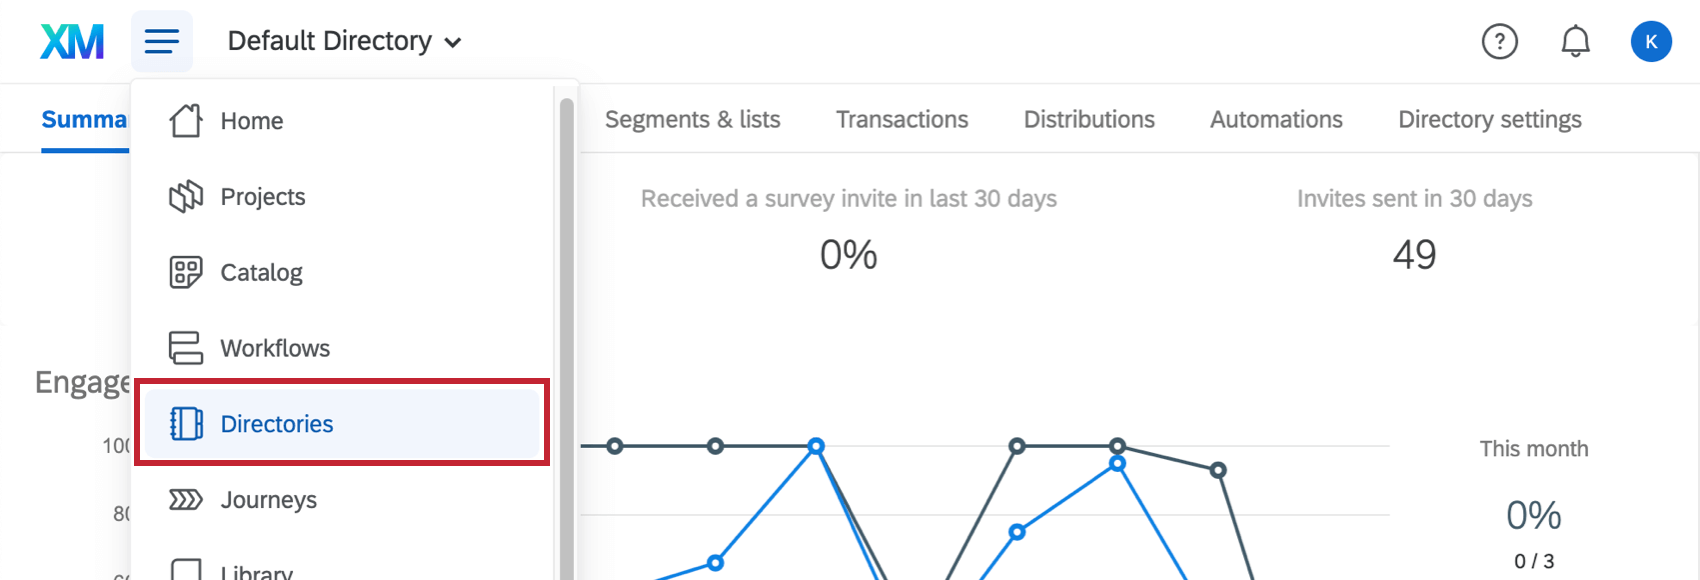
To get started, go to the global navigation menu, then select Directories.

Qtip: Users with Employee Experience may see the screen below. Select Contacts Directory to continue.

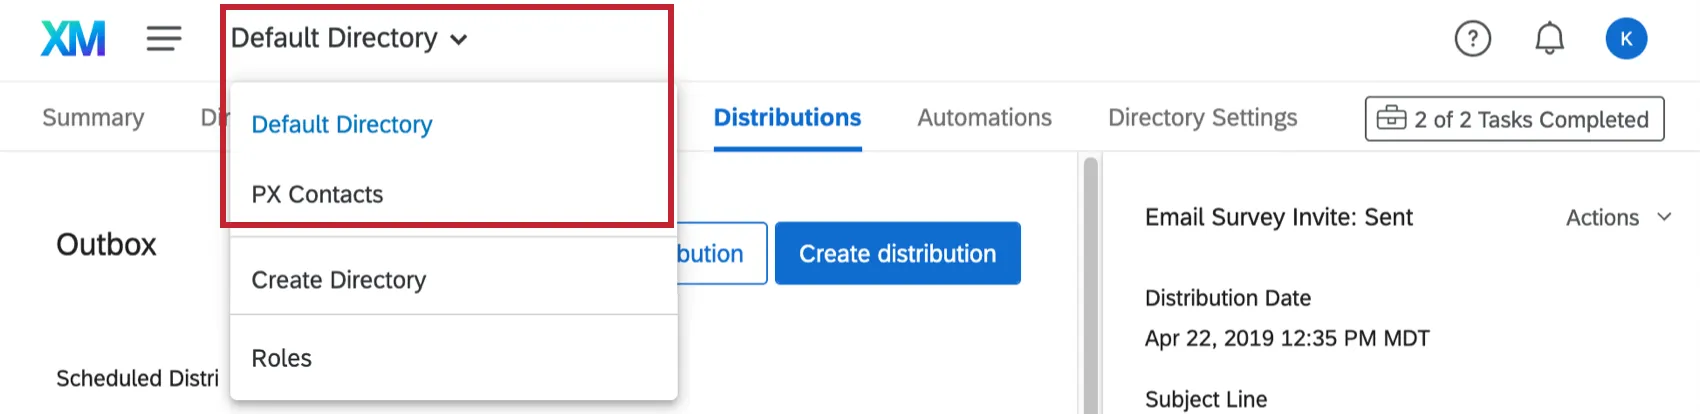
Your administrator may have given you access to more than one contact directory. Try clicking the dropdown at the top of the page to see how many directories you have access to. Note that these are each distinct, and will not necessarily have the same contacts or settings in them. When you create a mailing list in one directory, it’s not added to any other directory; this same rule applies for all changes you can make.
Qtip: Administrators interested in setting up multiple directories can learn more in step 2 of the implementation guide.
Getting Started as a Directory Administrator
As an administrator, your role is to design, implement, and then run the directory.
Learn to Create an Effective Directory
Ideally, contact directories should require the most work in the beginning while setting up, and then take very little work to maintain. In this guide, we’ll walk you through how to design the best directory for your organization so you can reap the benefits of XM Directory as soon as possible. Part of this implementation is knowing the settings that will allow the directory to maintain itself, from the establishment of data access roles, to automating the data cleaning process.
Quick Starts on Directory Maintenance
If you’ve already created your directory, we have some quick start guides that can help you maintain your contacts and data.
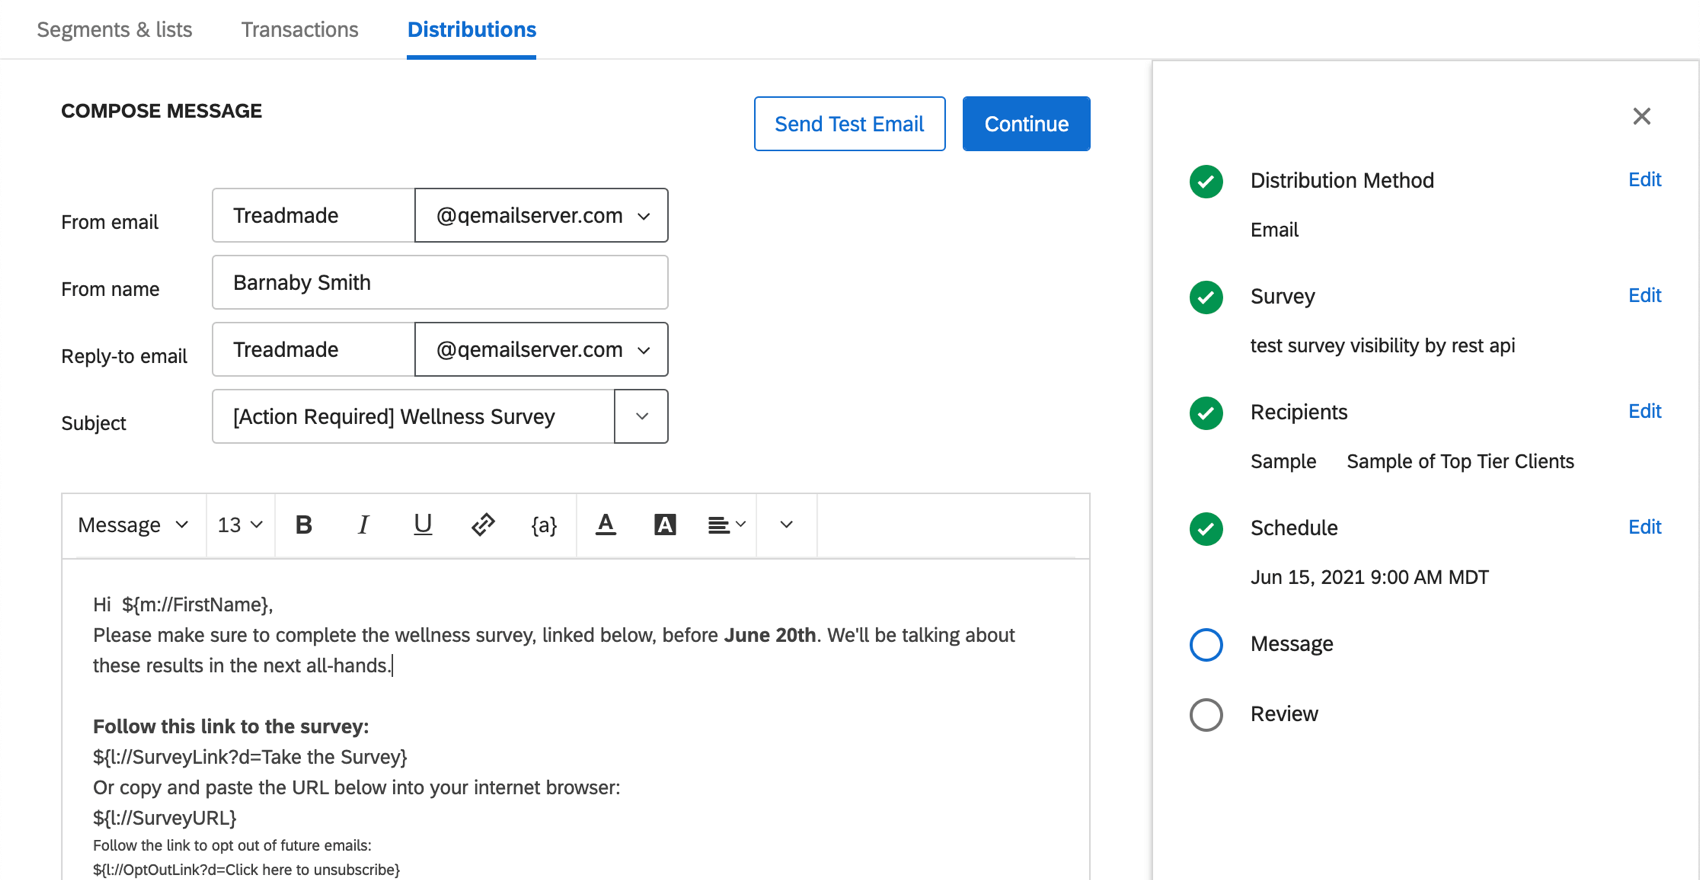
Getting Started With Distributions
If you’re an everyday user, you likely only use XM Directory to upload and distribute to contacts. Generally, you’ll only have access to a few pages of the directory, including Segments & lists, and Distributions.
- Step 1: Preparing Contacts for Distribution in XM Directory
- Step 2: Distributing to Contacts in XM Directory
Qtip: If you don’t have the Distributions tab in step 2, you might be an XM Directory Lite user instead. See FAQs.
Key Terms
Whether you’re an administrator or a distributor, these definitions for the most commonly used terms in XM Directory should be useful:
- Directory: A directory is a collection of contacts, each with a list of attributes describing them and their interactions with your brand. Directories are a way to organize subsets of contacts and collectively manage the frequency with which they’re contacted, how records are consolidated, opt-in status, and other settings for related groups of contacts.
- Mailing Lists: Mailing lists are lists of contacts that can receive emails and survey invitations. You can create mailing lists either through file upload, manually, . Unlike the directory, mailing lists are not visible to the entire organization, but are instead created in individual accounts. Mailing lists can be shared with other users or groups.
- Samples: Subgroups of participants from a contact list chosen based on a set filter and/or random size.
- Segments: Segments are dynamic group of contacts that meet a specified criteria, often grouped by their particular needs, demographics, priorities, common interests, or other identifying information. Segments are designed by admins, but can be used by any directory user.
- Distribution: This is the act of contacting people across various channels, including email, SMS, or WhatsApp.
- Embedded Data: Embedded data are additional fields you attach to a contact to describe them, such as their age, gender, region, or any information that helps you get a deeper understanding of the person and create segments for targeting and analysis. Any embedded data can be referenced in survey flow logic and can be stored or embedded as part of the response data. Embedded data is also available for updates as part of imports and automations.
- Deduplication: Deduplication refers to the process of merging contact records that represent the same person. For example, fields such as external data reference, email, first and / or last name can be used on their own or in combination to identify a single user across multiple contacts, so their information can be merged into one. Deduplication can be used to automatically merge existing contacts with new contacts created during automated imports. The process can also be run manually by XM Directory admins on existing contacts.
- Contact Frequency: Contact frequency rules control how often a person in the directory will receive messages. The rules can be set at the Directory level, List level, or Survey level.
- Roles: A role is a group of Qualtrics users defined by the directory administrator(s) to facilitate access control. Administrators can choose which role has what level of access to a directory. For example, a role can be set to have manage access to a directory, while another role can have view-only access to that directory.
- Transaction Data: Transactions are events that represent information about an interaction with the brand, employee or customers at a specific point in time. For example, a transaction can be a purchase order, a click on a webpage, customer call, service request, and more.
Qtip: For an A-Z list of key terms related to contacts, see Qualtrics Topics A-Z: Contacts.
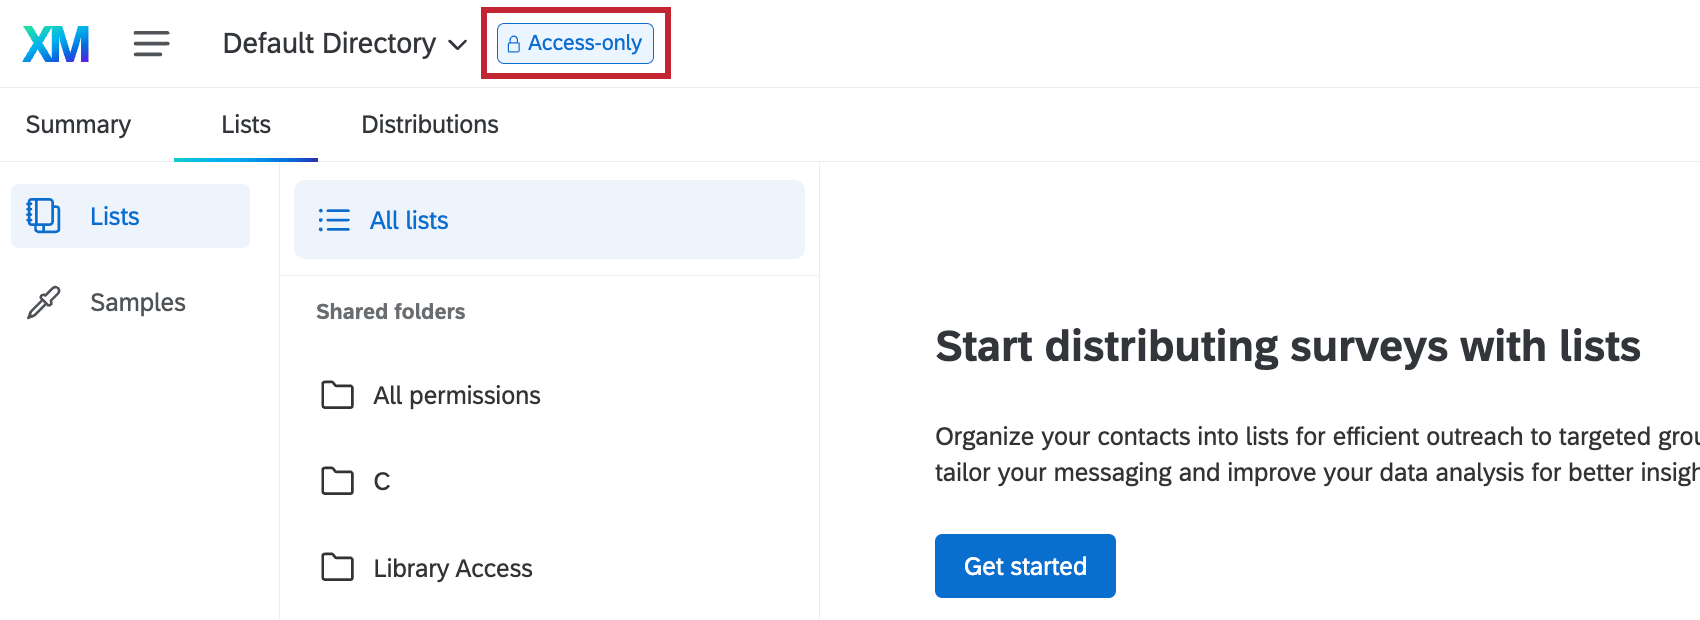
Access Only Users
Users with the Edit XM Directory permission disabled can view, export, and distribute to contacts within XM Directory, but cannot edit or delete any contact information or upload contacts. These users will see an Access-only tag in the top-left of XM Directory.
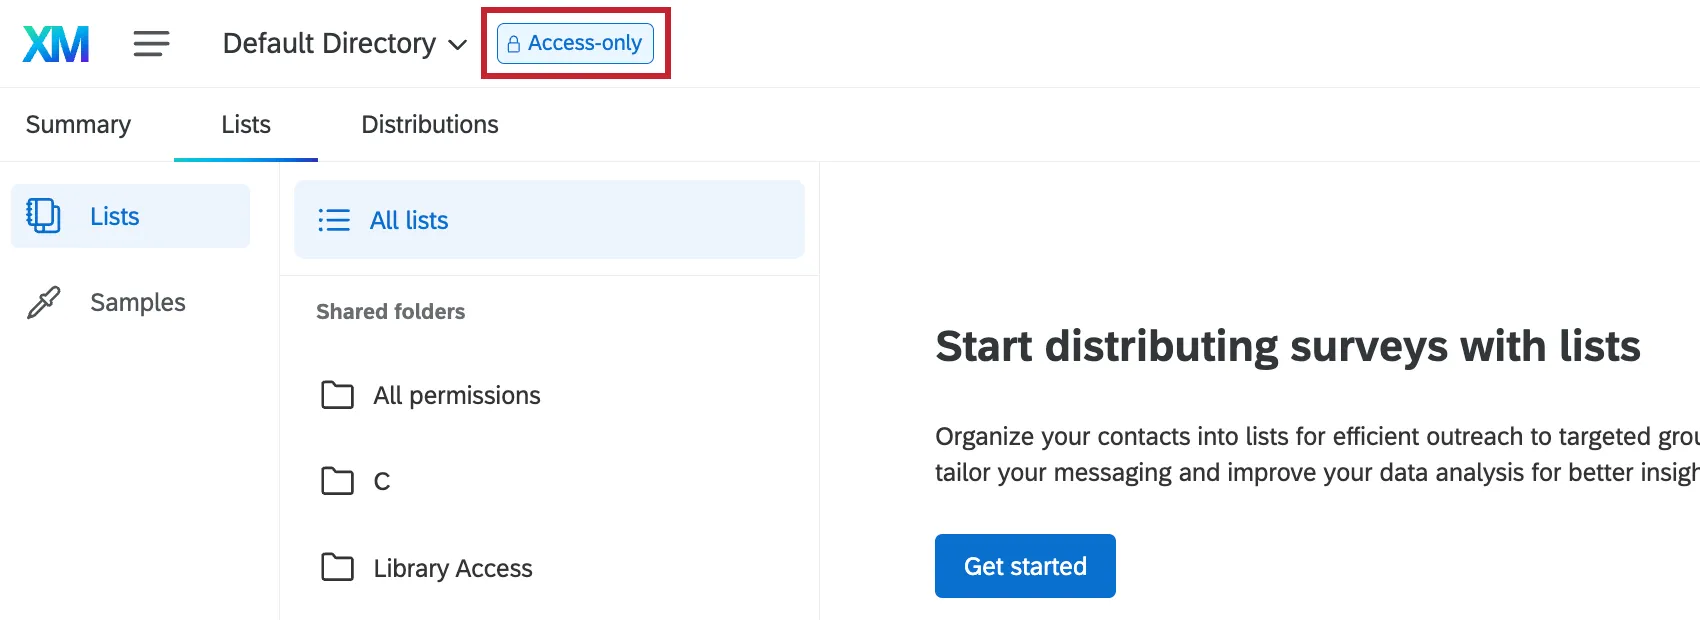
For more information, see Contacts Permissions.
Example: If you have a user who needs to distribute surveys but should not be able to modify or delete contacts, you can give them access to XM Directory but disable the Edit XM Directory permission.
Compatibility Across the Qualtrics Platform
Qtip: The features discussed in this section are not necessarily included with every license. If you’re interested in getting access, please reach out to Account Services.
You can use XM Directory to send invitations for several types of Qualtrics projects. However, not every Qualtrics project type is compatible with XM Directory.
Features Compatible with XM Directory
- Survey projects
- Conjoint / MaxDiff
- Certain non-EX XM Solutions
Qtip: You can also send emails without a link to any survey.
Features Incompatible with XM Directory
In contrast, XM Directory cannot be used to distribute any Employee Experience (EX) projects. That means that no EX projects can be used with XM Directory, including Engagement, Pulse, 360, and more.
XM Directory contact data is completely separate from the employee / participant information saved in the Employee Directory. That means that data edited in one directory will never affect the other.
FAQs
How can I tell if I have XM Directory or XM Directory Lite?
How can I tell if I have XM Directory or XM Directory Lite?
For admins, being able to tell whether or not you have XM Directory Full or XM Directory Lite on your license is easy. Admins of XM Directory have access to many more features than the average XM Directory Lite user, including the Summary tab, the Directory Contacts tab, and Directory Settings.
However, even if you’re not an admin, you can often tell whether you have XM Directory Full or XM Directory Lite in one of the following ways: If you’re still not sure which feature you have, reach out to a Brand Administrator. Brand Administrators who are unsure can reach out to their Account Executive or Account Services.
How can I stay up to date on new Qualtrics features?
How can I stay up to date on new Qualtrics features?
To access these release notes, you need an XM Community account. These accounts are free for any users with a Qualtrics account. This support page contains information for how to register an XM Community account.
Once you're logged into the XM Community, head over to the Weekly Product Updates Introduction Post. This post contains all the information you need to get started with subscribing to product updates!
Should I have a single directory or multiple directories?
Should I have a single directory or multiple directories?
In our directory implementation guides, we walk you through the steps to determine what’s best for your organization. See Step 1: Design Your Directory and Step 2, where we discuss Dividing Your Data Amongst Separate Directories.
What is the difference between embedded data and transaction data?
What is the difference between embedded data and transaction data?
That's great! Thank you for your feedback!
Thank you for your feedback!