
Step 2: Implement Your Directory
What's on this page
Implementing Your Directory
Now that you’ve thought a bit about what you want to accomplish with XM Directory, we’ll talk through some of the specific features that can benefit your goals.
Dividing Your Data Amongst Separate Directories
Will your organization have different teams working out of XM Directory, each with different goals? And will there need to be a clear separation between which users can access which contact data?
In that case, you should consider setting up multiple directories. Each directory in your Qualtrics license serves as an isolated container for profile and associated transactional data. Additionally, with roles, users can set up more granular permissions to isolate not only who accesses each directory, but who administrates them.

Example: The brand QPizza wants to manage data for different franchises in different directories. Each of their franchisees have different customer bases and operate as independent units of business. Because of this, the brand would like to ensure the units cannot access each others’ data, and have the ability to structure their data and their communications independently of each other. They can achieve this by setting up roles for each directory.
Keep in mind that there is a limit to how many additional directories you can add. See the Creating & Managing Multiple Directories support page for more information.
User Setup and Permissions
Now let’s think about who in your organization should have access to what functionality in XM Directory. These permissions can be managed in two places: on the Admin page and with directory roles.
Qtip: Learn more about Platform vs. Role Based Permissions.
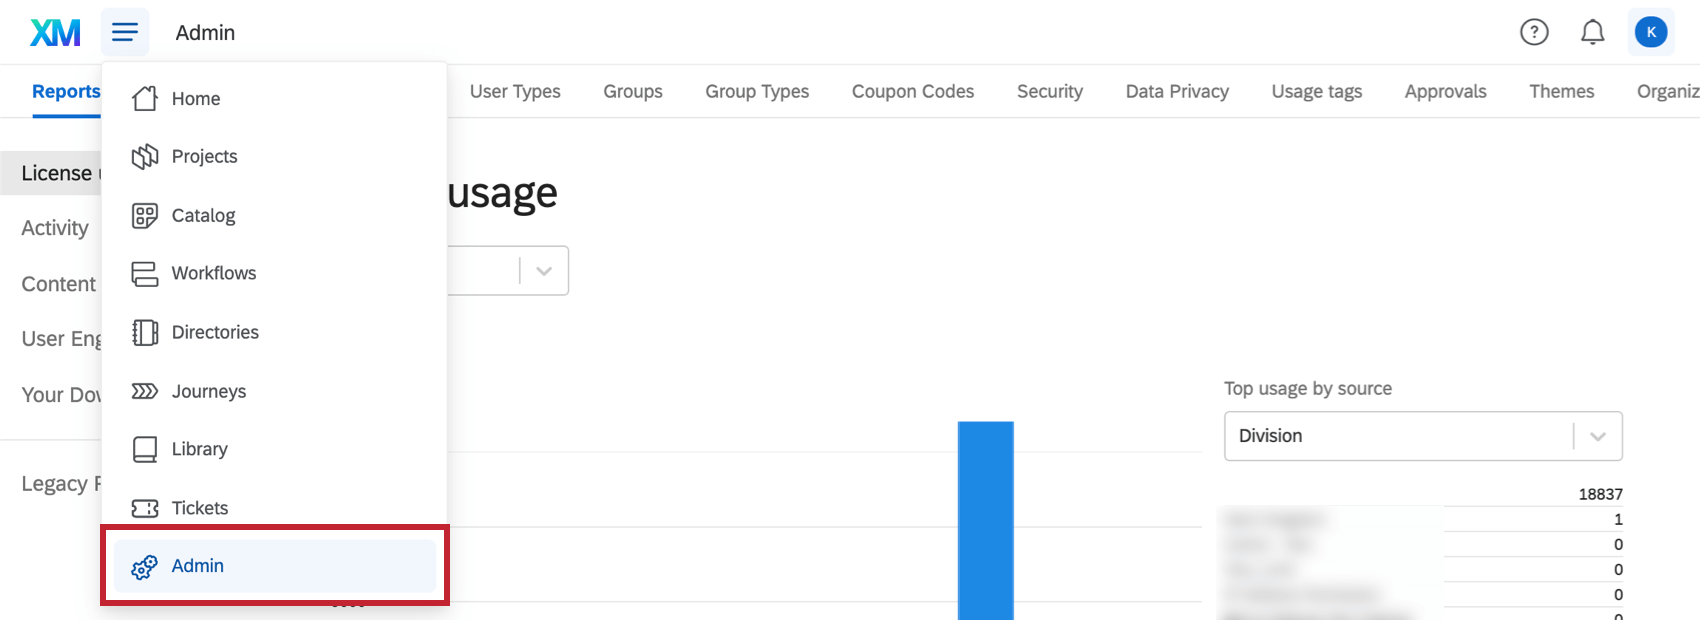
Admin Page

Only Brand Administrators and Division Administrators have access to the Admin page, and the access of Division Administrators is limited.
Using the Admin page, you can create user types with particular permissions (or choose from existing user types) to easily control which users have access to which parts of the entire Qualtrics platform, not just XM Directory. XM Directory access is controlled with the Contacts Permissions, although there are some permissions related to distributions and what channels each user can access under Survey Platform permissions.
Although we advise skimming the support pages linked above for more information, here are some quick recommendations:
- Brand Administrators have all contacts permissions enabled by default, giving them full management capabilities for XM Directory as well as the rest of the XM platform.
- If you’d like a user to be able to manage XM Directory roles, but don’t want to give them organization-wide admin privileges, enable the Manage Directory Roles permission for them.
- If you’d like to grant a user the ability to administrate just XM Directory or give them access only to select directories on your brand, we recommend using roles.
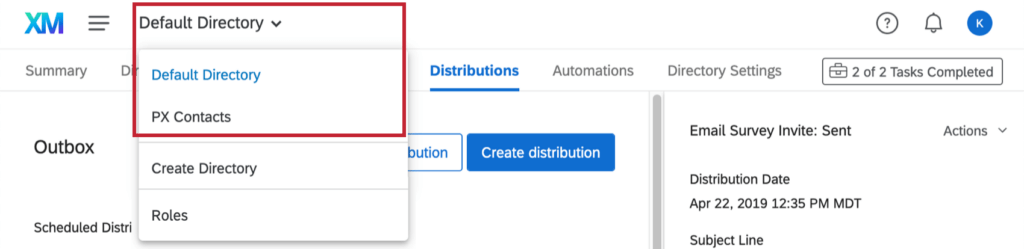
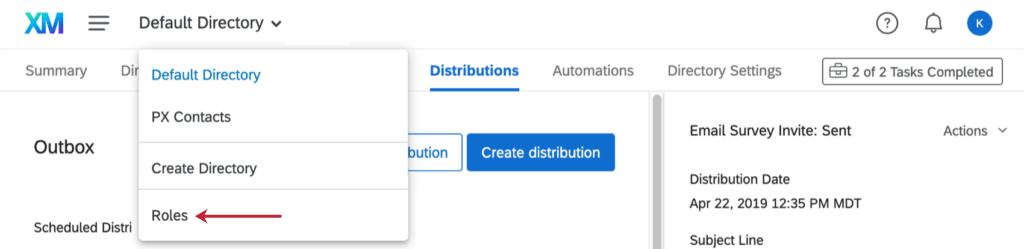
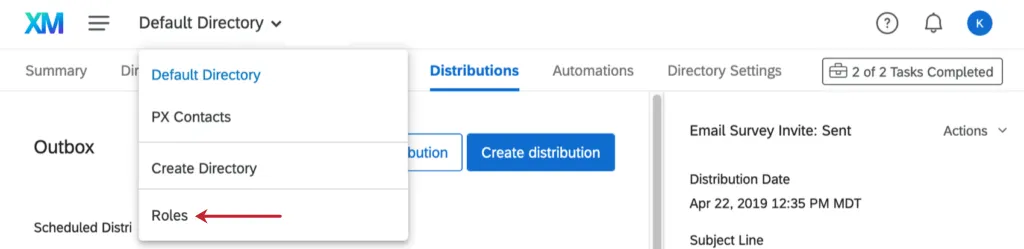
Roles
Roles are accessible from the Directories page. They allow you to control which users have access to which directories, and whether they are allowed administrative access (e.g., can see the whole directory, can edit its settings, etc.) or not.
For each directory, we recommend creating two roles: one for standard access and one for administrative access.
Qtip: To learn more, see XM Directory Roles.
Data Hygiene
Before members of your Qualtrics license start adding contacts to your directory, it’s important to establish a way to keep your data clean. That means avoiding duplicates (where the same person’s information is scattered across the directory) and setting standards around how certain fields should be formatted.
Qtip: For additional data hygiene tips, see XM Directory Data Usage and Best Practices.
Merging duplicate contacts
One of the fundamental requirements for any data aggregation system is to ensure you can identify contacts and consolidate information for them in one place. That also means avoiding duplication of the same person in the same system.
In the case of XM Directory, you can specify how to merge duplicate contacts in the Identity Resolution directory settings. Like all directory settings, these are defined differently for each directory, so you can adapt to the needs of different teams.
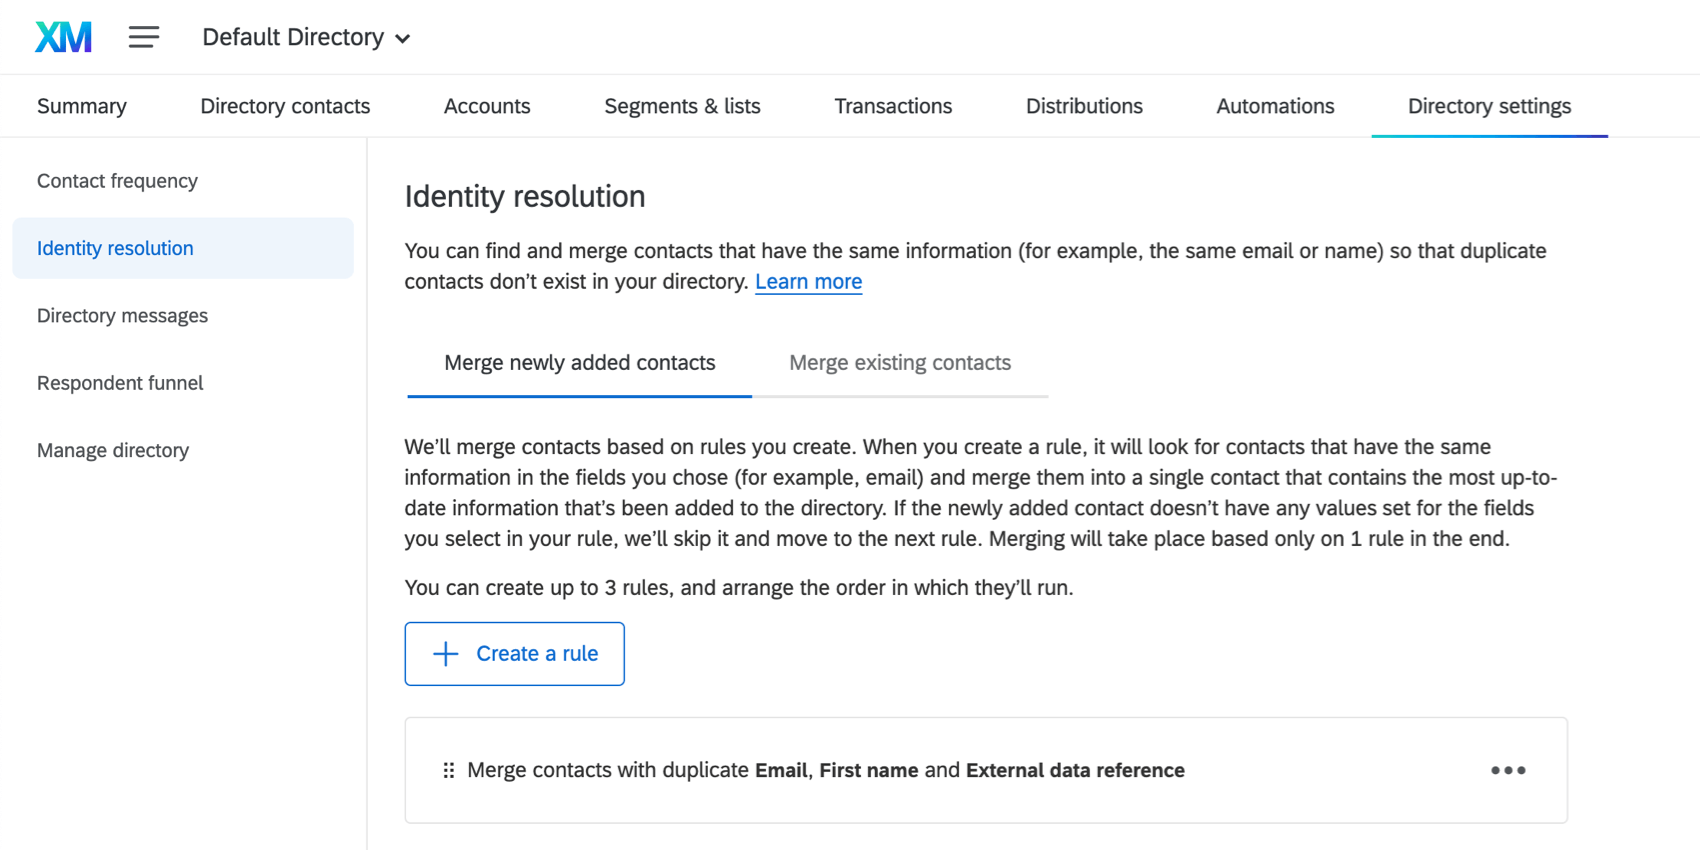
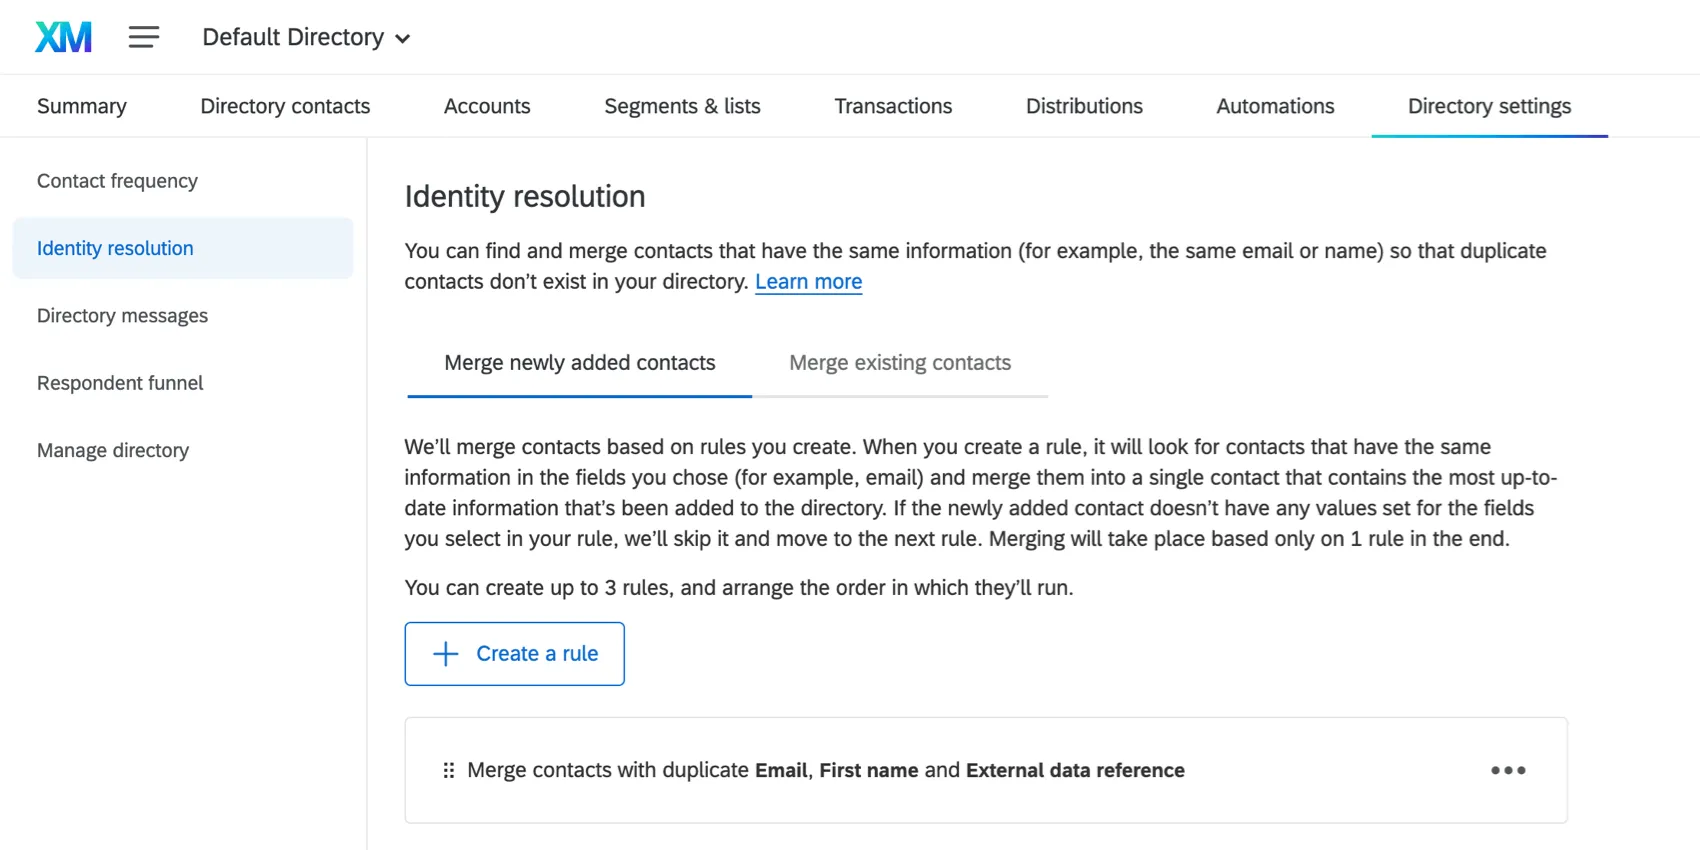
Example: The Customer Experience team has their own directory. They deduplicate contacts using email. The Sales team also has their own directory; they deduplicate by pulling an ID from Salesforce that they save as the External Data Reference.
We recommend after setup that you periodically validate if the merge rules you chose continue to serve a purpose, or if they need to be updated to fit changing needs. If you’re unsure what field to deduplicate from at the start, try Email.
Qtip: Have your users already started uploading duplicates? No problem! You can easily consolidate existing duplicates when you set up your merge rules in the directory settings.
Standardization and schematization
Another important aspect of data hygiene is making sure your fields are standardized. To some extent, this will be achieved by the way certain required fields are formatted.
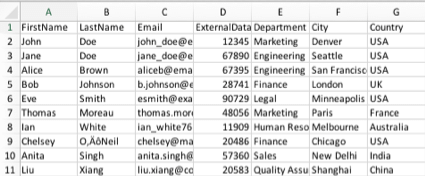

Within XM Directory, there are reserved fields for key information such as first name, last name, email, and so on. If you have any company ID you use to identify contacts (e.g., a customer ID number of username), we recommend including this in the ExternalDataReference column.
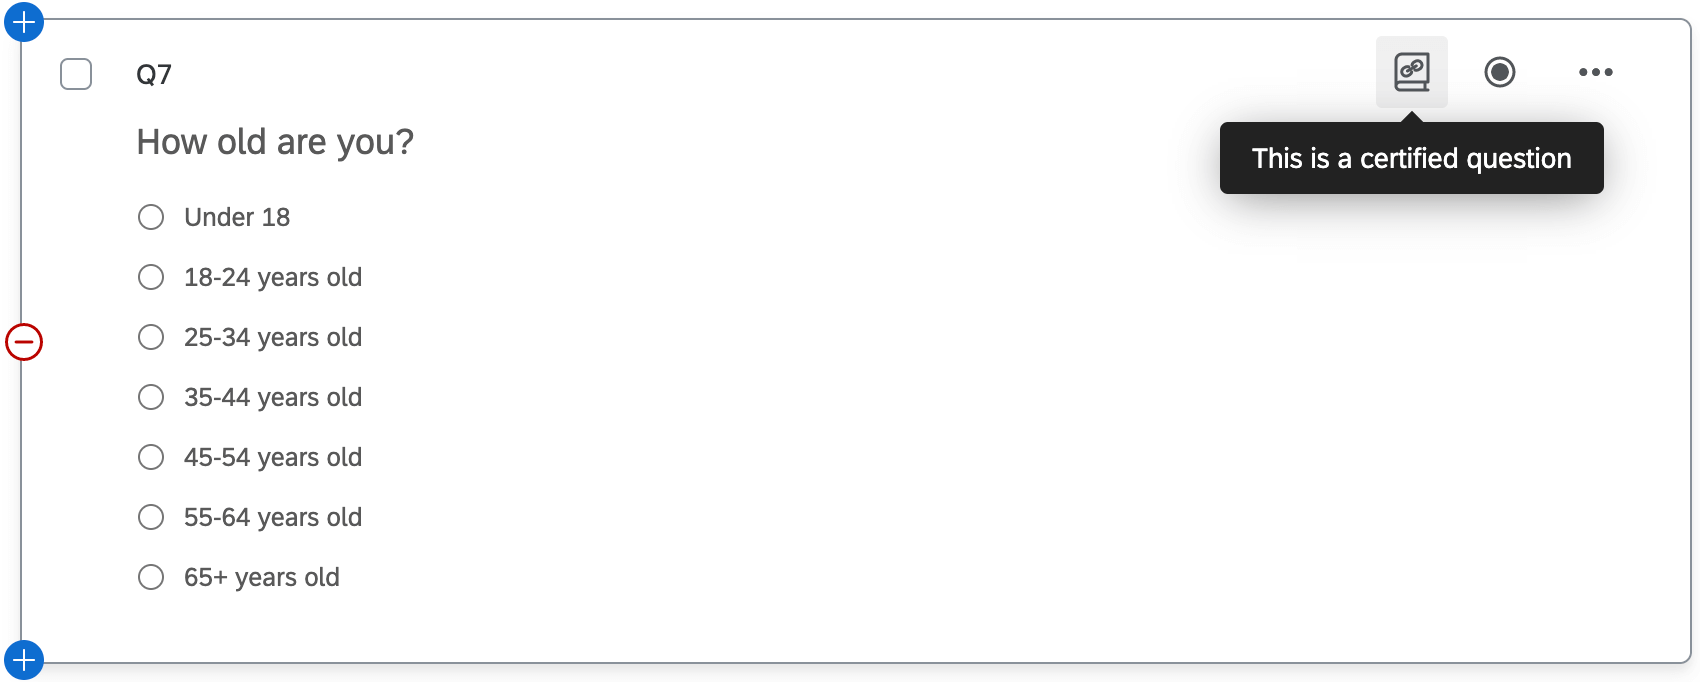

In addition, you can rely on certified questions for key demographics like age, gender identity, number of children, education level, employment status, marital status, and number of household members. Urge your survey-builders to stick to these questions when building surveys so these demographics remain consistently formatted across the directories.
Embedded Data best practices
With the exception of reserved fields, users can add any other additional data they want to their contacts. These additional fields are known as embedded data. If you ever need to clean up these fields, you can do so from the directory level. We highly recommend scheduling some time for periodic data hygiene checks.
Qtip: Keep in mind that even with embedded data, there are limits when it comes to how you can name your fields and the length of the values you can pull in. Learn more from the Available Fields support page.
Qtip: Explore prefixing embedded data attribute names with program-specific terms to avoid overlapping of data from different programs working in the same directory. For example, Support and Sales may both be gathering CSAT feedback. One field could be Support-CSAT, and the other could be Sales-CSAT, to avoid crossover.
When creating an informal system of standardization for key embedded data fields, it’s important to plan and communicate with other users you’ve designated as XM Directory administrators. If there are certain company fields you’d like users to be careful with, make sure to communicate this with them.
Example: Your organization includes a field called “Office Location.” If users upload contacts with the values “United States,” “US,” and “USA,” it’ll be hard to organize and report on country data.
Fill Directories with Contacts and Their Operational Data
Think back to the various contact data available to your company, and how many platforms it’s spread across. This is the step where we think about how to bring that data over to XM Directory.
Sync contacts from other platforms
Qualtrics offers multiple means to import data to our platform. For example, you can set up a regular schedule to automatically upload your contacts to XM Directory from other systems, keeping your Qualtrics directory up-to-date with no extra work. You can pull your contacts from sources such as Salesforce, Google Drive, the Qualtrics File Service, or even your own SFTP. For setup steps and a list of CRMs supported, see XM Directory Automations in Workflows.
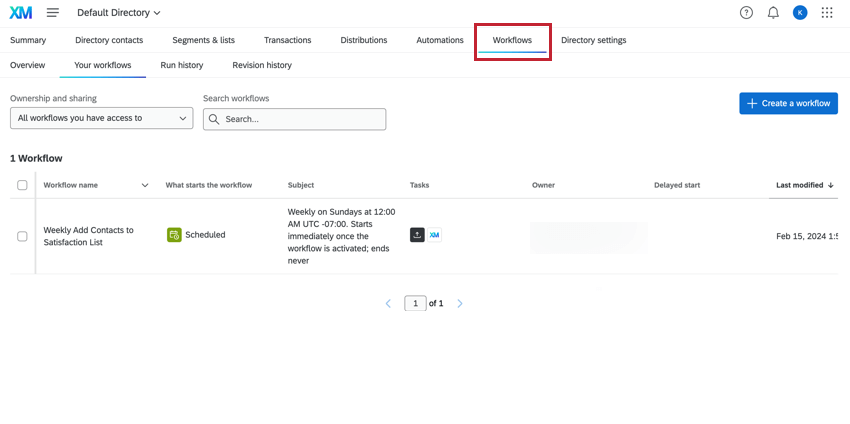

Qtip: For a speedier setup, there’s even a Salesforce to XM Directory workflow template. Try
Import on command
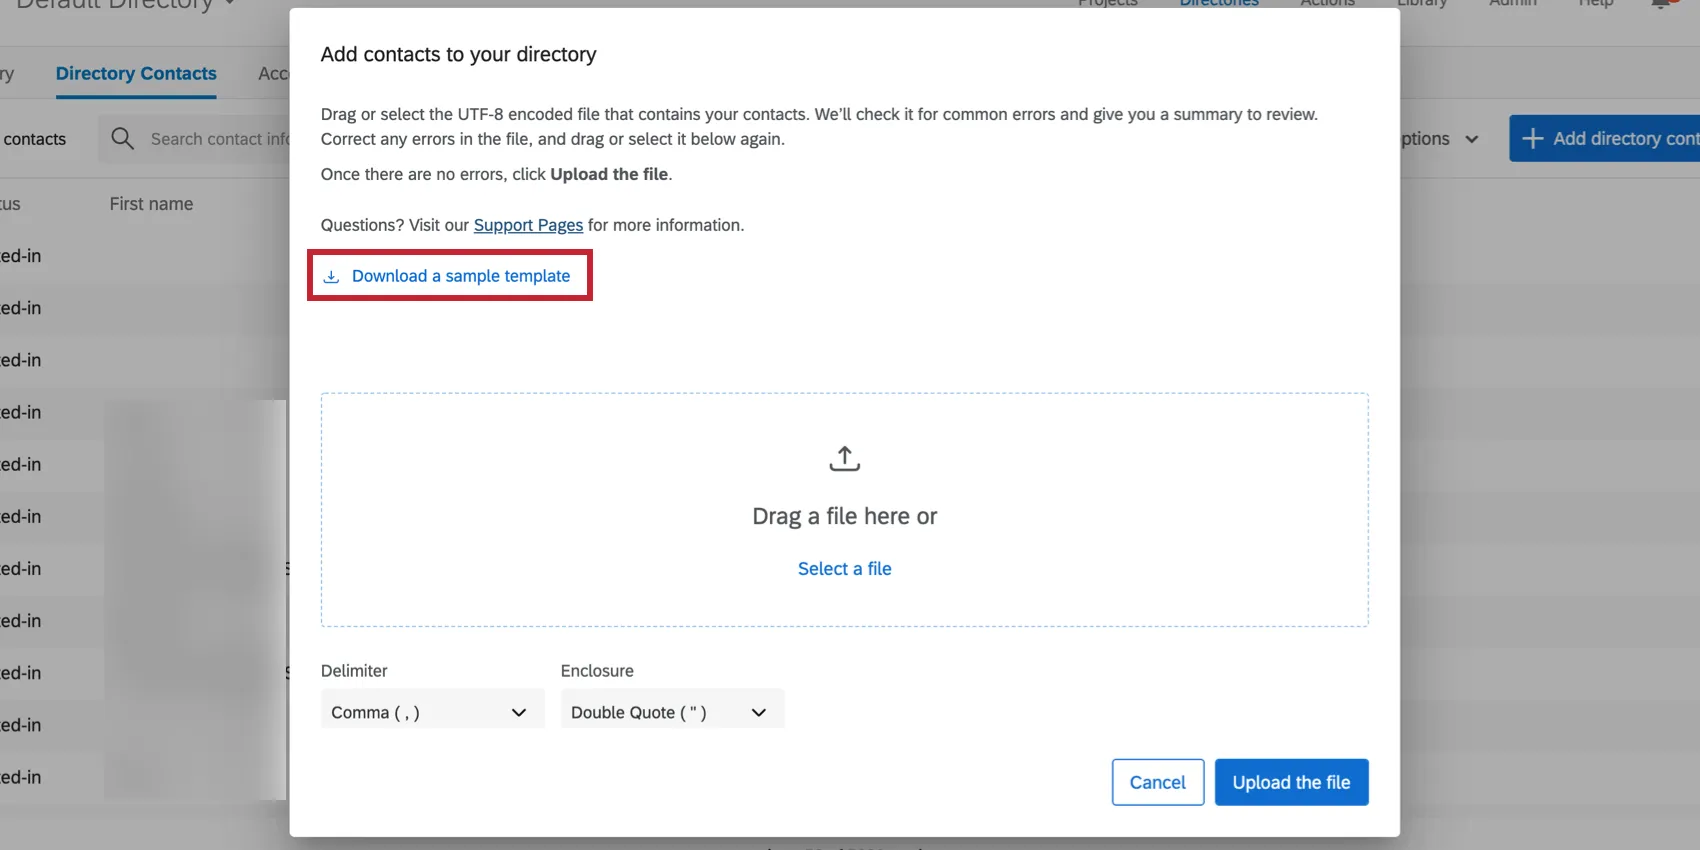
For more unstructured data sources (or if you’re just not ready to automate), XM Directory offers an easy way to import CSV or TSV files filled with contact data. This process is described in more detail at the linked support page, and can be a great starting point for new users.
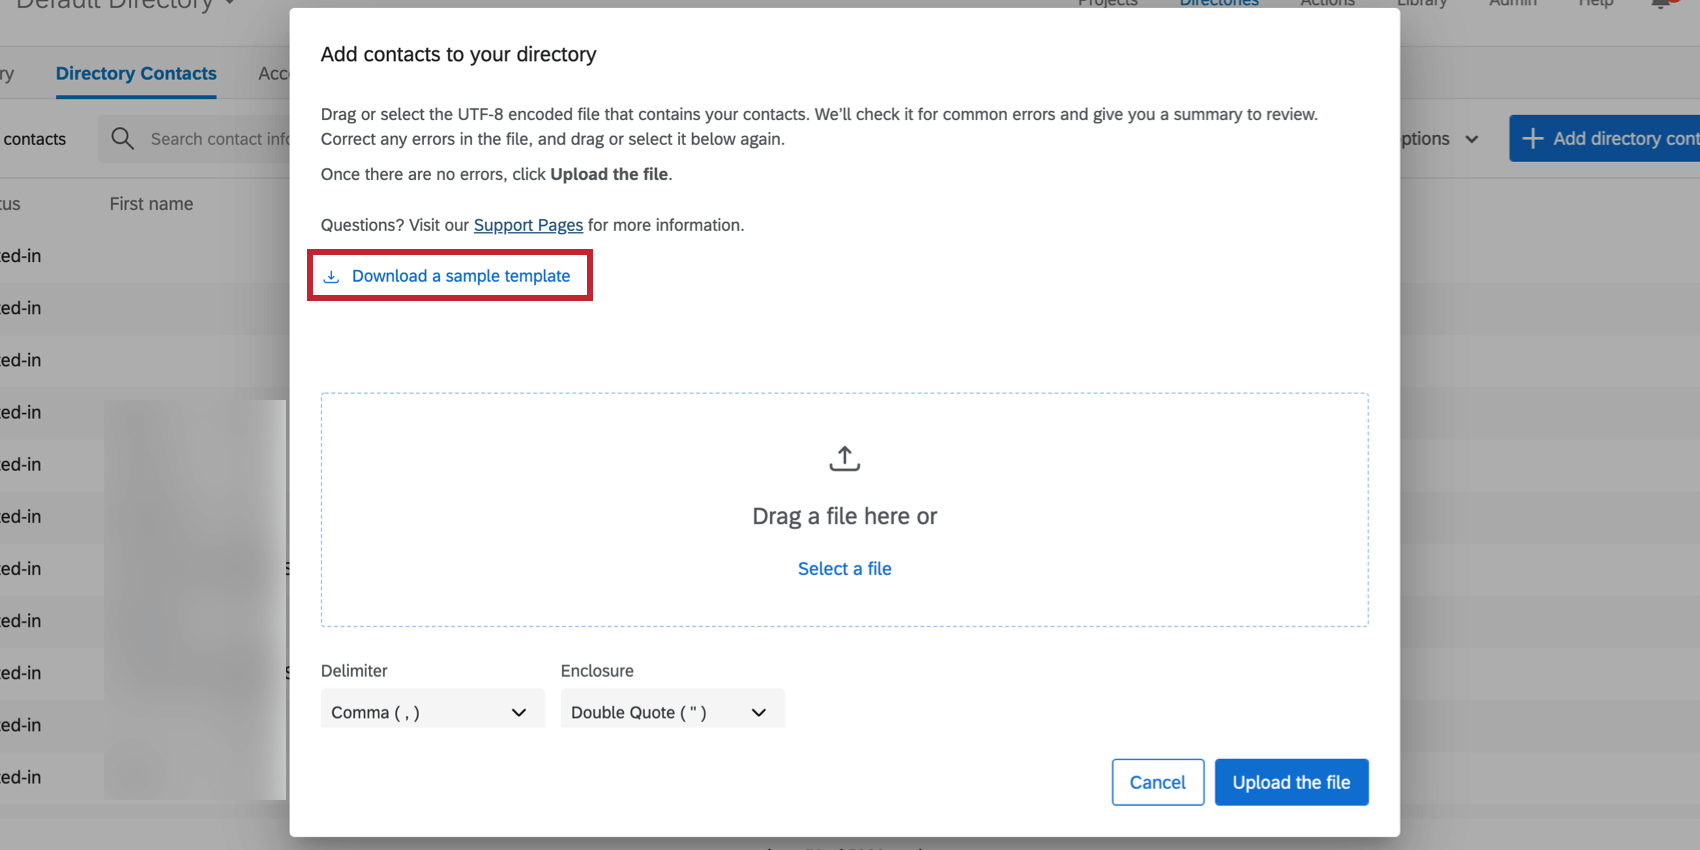
Qtip: For the more sophisticated and custom-tailored CX programs, you can integrate using API support or leverage Qualtrics Engineering Services for more custom implementations. If you’re an administrator interested in these services, you can reach out to your Account Executive.
Limiting How Frequently Customers are Contacted
XM Directory lets you determine how often your brand can send messages to contacts. These rules apply to a directory as a whole.
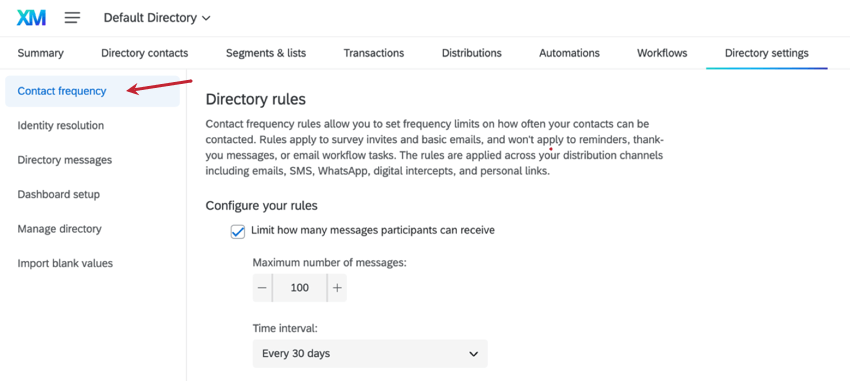

Qtip: We recommend that you set contact frequency rules if your license has many different users sending out surveys. Best practice is to space out survey invites by 30-60 days to reduce response fatigue and avoid declining response rates, because respondents are less likely to answer consecutive emails.
If you have certain mailing lists or surveys that will need to bypass the directory-wide rules, you can also add custom rules.
Example: If you have a survey that is sent after a customer contacts your support team, you might want to set a custom rule that allows this survey to always be sent, regardless of your directory settings rules. That way you can capture information after every support interaction.
Example: On the other hand, you could set more restrictive rules on a specific mailing list. For example, adding additional restrictions to a mailing list that contains key stakeholders prevents you from bombarding these important users unnecessarily.
Qtip: For more on contact frequency and custom rules, see the Contact Frequency Rules page.
That's great! Thank you for your feedback!
Thank you for your feedback!