-

Qualtrics Platform -

Customer Journey Optimizer -

XM Discover -

Qualtrics Social Connect
Translating Conjoints & MaxDiffs
About Translating Conjoints & MaxDiffs
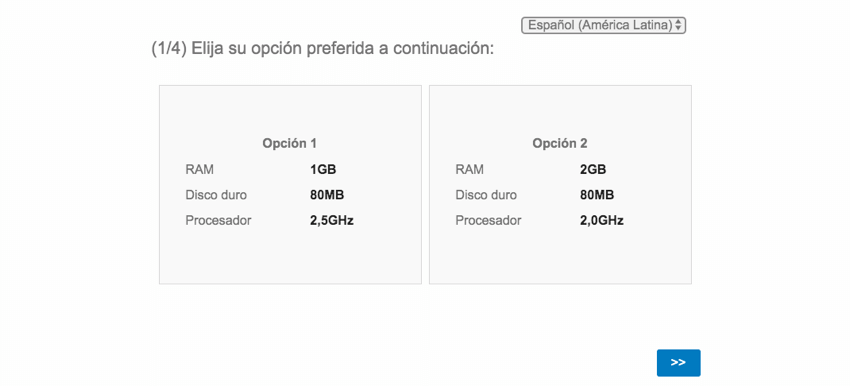
It’s important to gather feedback from lots of different populations, and to appeal to respondents in their native language. You can translate conjoint and MaxDiff projects so that they are accessible to respondents from all over.
Manually Editing Translations
This section goes over how you can translate each attribute by entering the translation in the field. This type of translation is best if you only have a few attributes, and should always be completed before you collect responses.
- Go to the Overview tab.
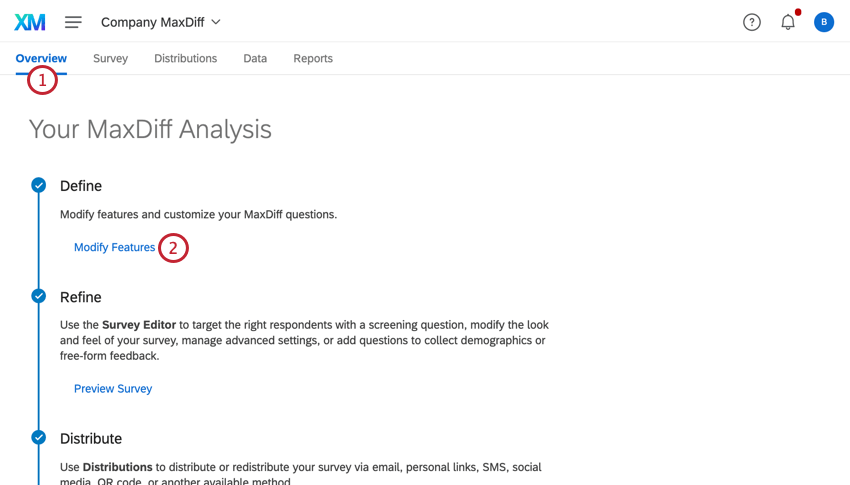
- Select Modify Features.
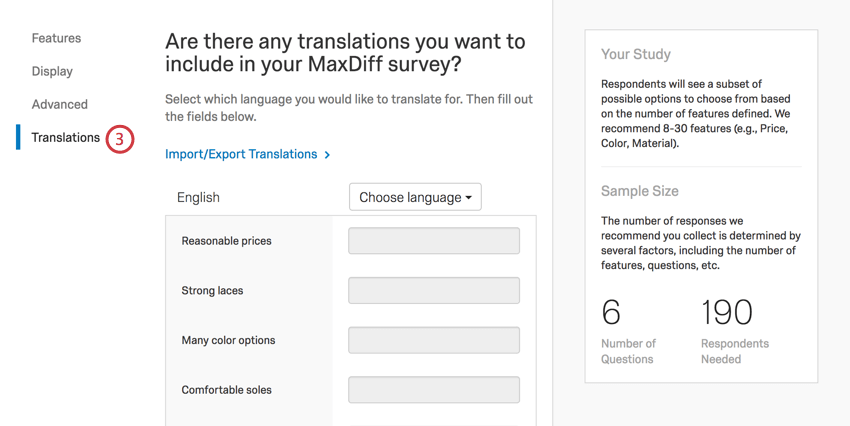
- Go to the Translations section.
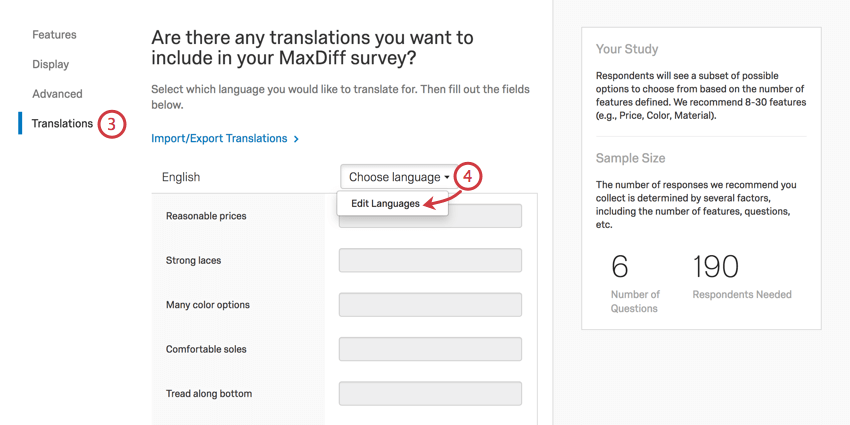
- Click Choose Languages and select Edit Languages.
- Select the languages you want to translate your project to.
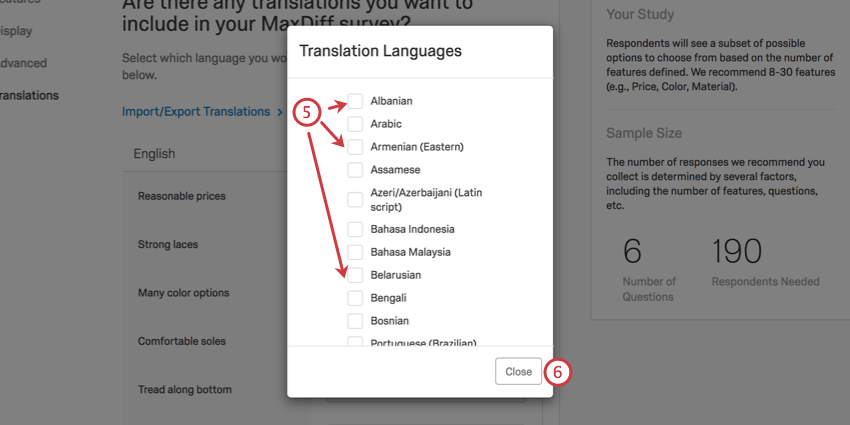
- Click Close.
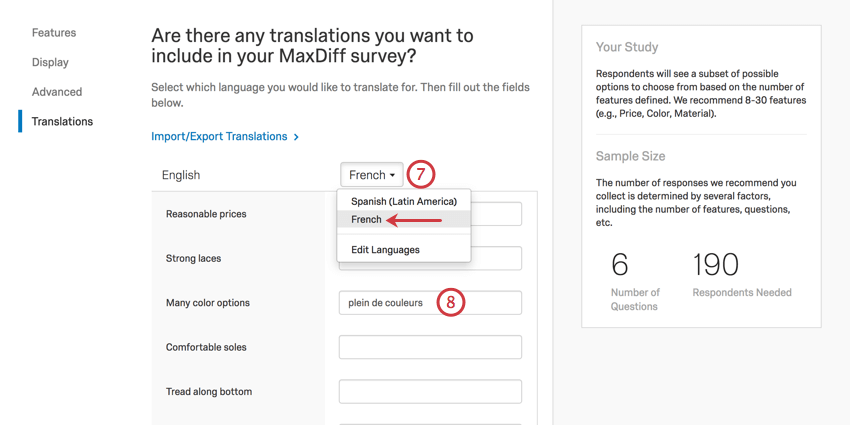
- If you chose multiple languages, choose the one you want to work on first from the dropdown. You can only add translations for one language at a time.

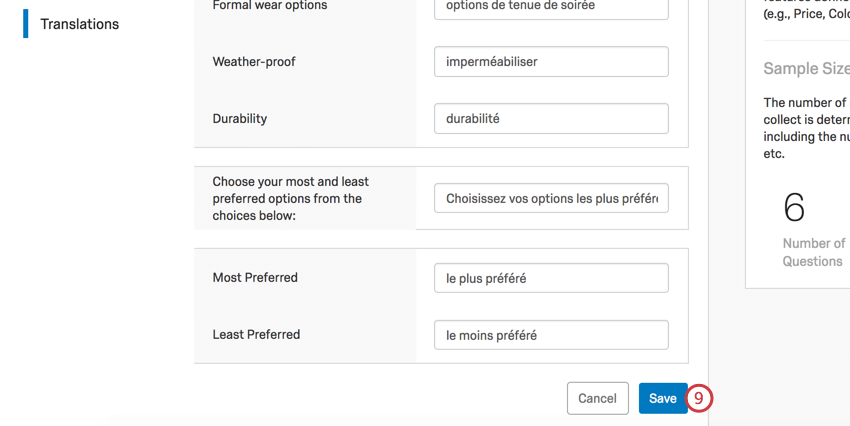
- Enter the translated text in the corresponding fields.
- Click Save when you’re done entering all the translations.
Importing Translations
You can import multiple translations all at once as a spreadsheet instead of manually entering them into Qualtrics. When you import a translation, you are importing the translation for both the standard survey questions and the unique conjoint / MaxDiff content. Like manual translations, imported translations should be added before you collect any data.
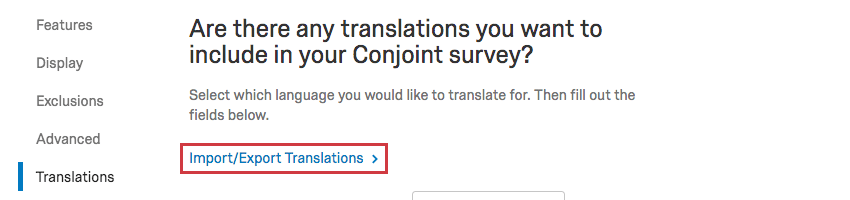
Qtip: If you’re already inside the Translations section of your Attributes, you can also click Import/Export Translations to complete the steps below.
Exporting a translation file
This step is important because it will provide you will a file template for your translations.
- Navigate to the Survey tab.
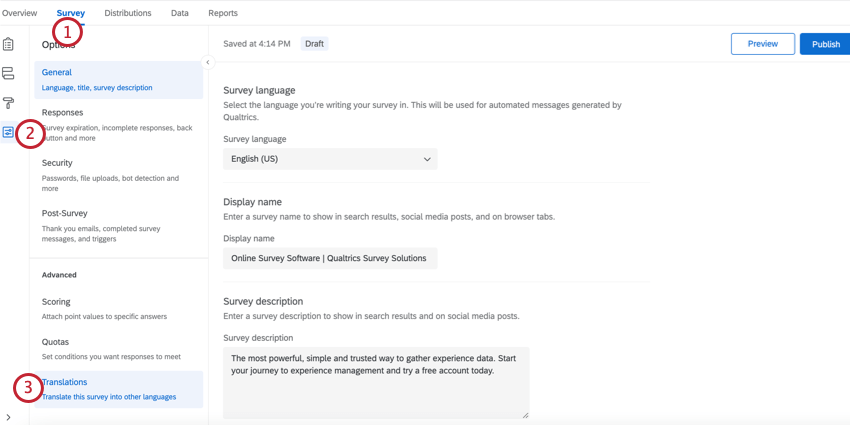
- Go to Survey options.
- Select Translations.
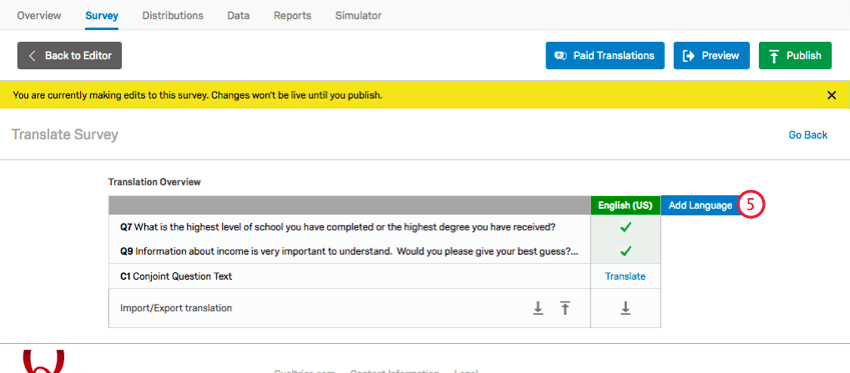
- Go to the Translation Overview.
- Click Add Language and select the languages you wish to translate your conjoint or MaxDiff project into.
- Click the download translation button.
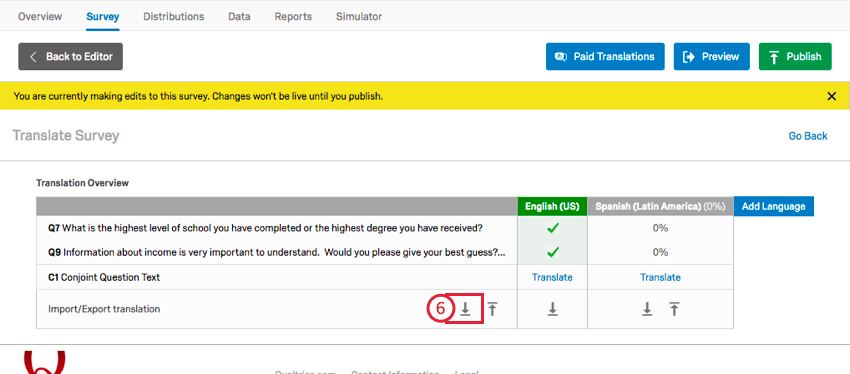
- Select a format for the file.
 Qtip: In most cases, we recommend the Unicode Text (Excel) format. Like Unicode CSV, this can be opened in Excel. However, unlike Unicode CSV, Unicode Text understands and preserves non-ASCII characters (for example, 是 or ñ) when saved in Excel. For more information about non-ASCII characters in CSV/TSV files and troubleshooting tips, go to the CSV/TSV Upload Issues support page.
 - Choose which languages to export. If you want to upload multiple at once, select All Languages.
- Click Download.
- Open the file in your preferred editor.
Qtip: Unicode Text (Excel) will open in a text editor by default. Follow the steps below to properly open the file in Excel, or just right-click the file and choose to open it in Excel.
Opening a translation file in Excel
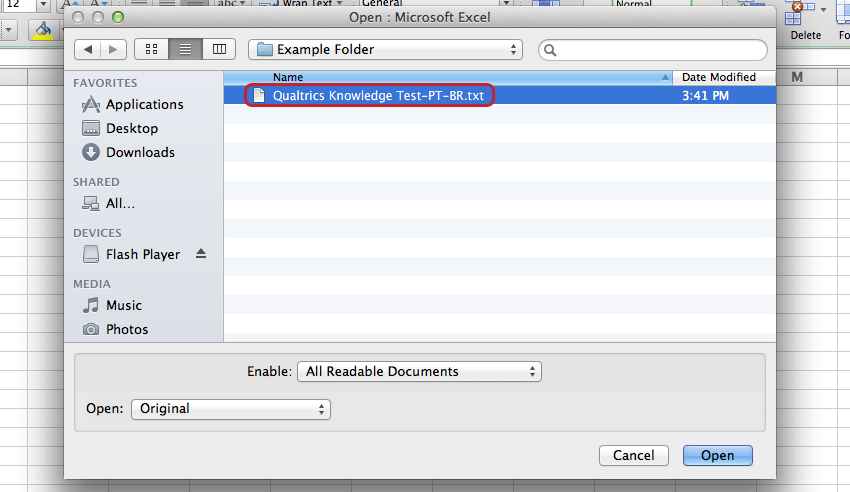
- Select Open from the File menu of Excel. This step may appear differently depending on the version of Excel you are using.
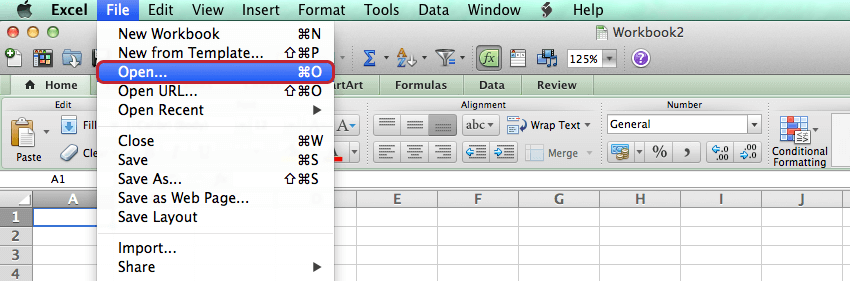
- Select the file you’ve just downloaded. Depending on your version of Excel, you may need to view all file types, as highlighted below, before your file will appear.
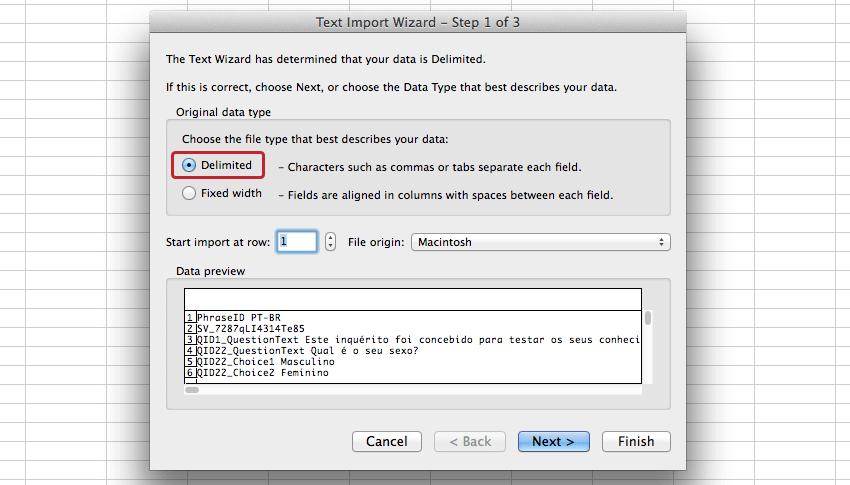
- Wait until a Text Import Wizard appears, then select Delimited.
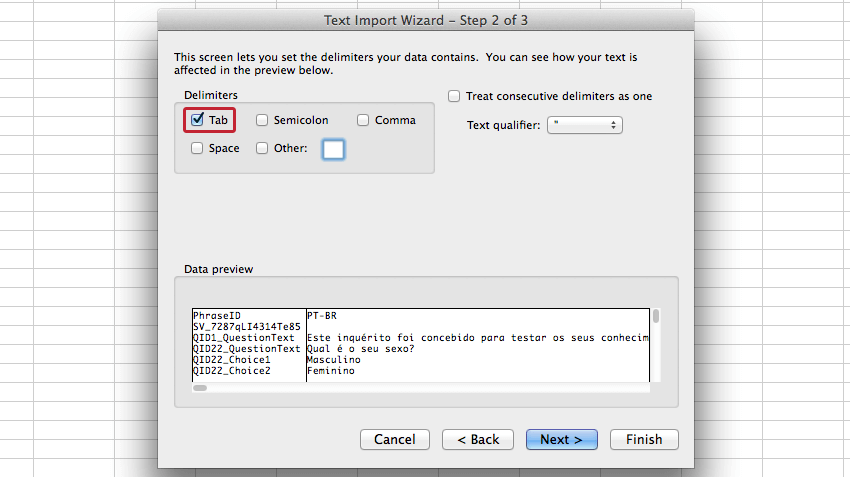
- Select Tab as the delimiter on the second step.
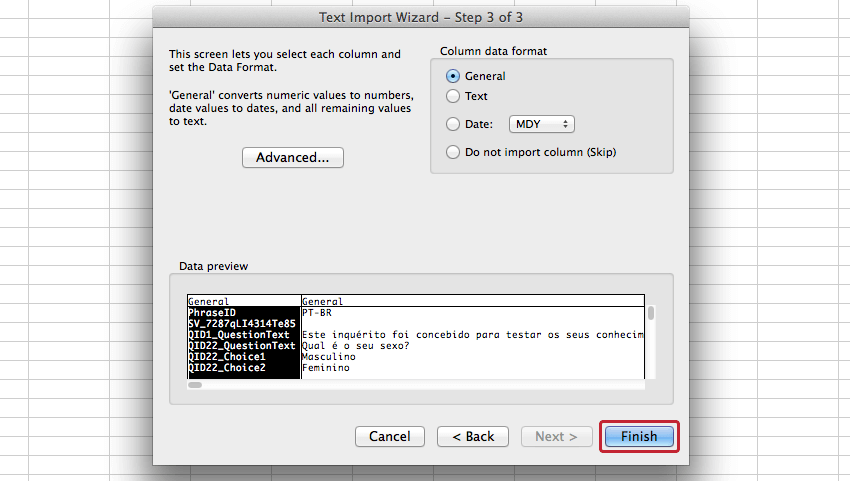
- Make no changes on the third step and select Finish.
Editing the Downloaded Translation Files
Unicode Text (Excel) and Unicode CSV both have the following layout in Excel:
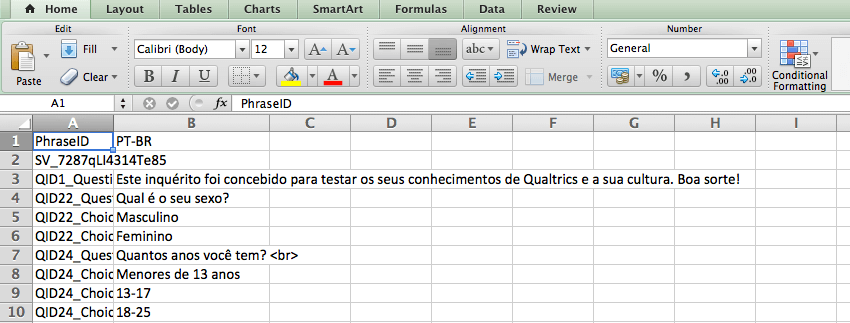
In these files, a row is provided for each item to be translated, with a column for the language downloaded.
XML can be opened in your preferred text editor and will have the following layout:
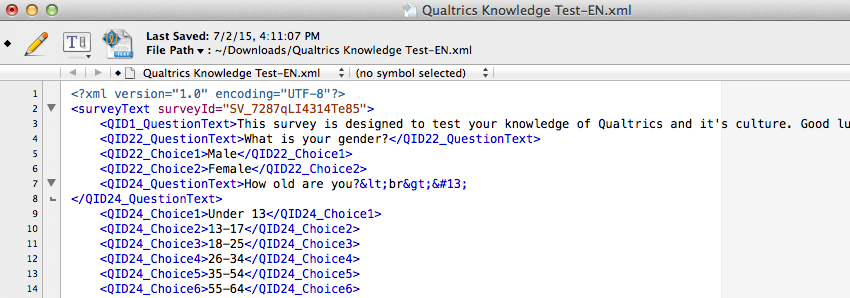
In XML, an element is provided for each item to be translated. A child element is provided for each language downloaded.
Importing a translation file
- In the Translation Overview, click the upload translation button.
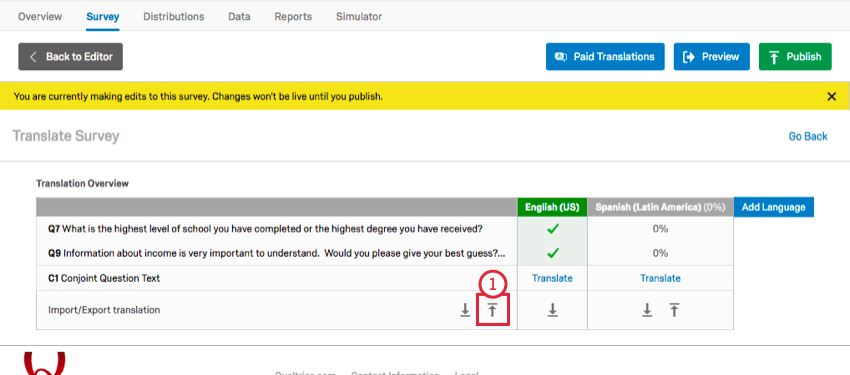
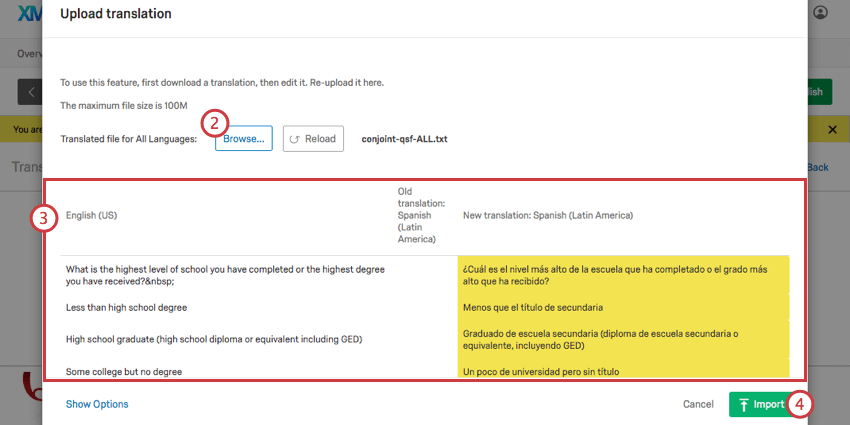
- Click Browse to select the file you would like to import.
 Qtip: The import screen may only show the language you currently have pulled up in Translate Survey.
 - Verify that the preview of the imported text is correct.
- Click Import.
Merging Translations
When you are importing a translation, removing rows removes those translations.
However, if your survey is already partially translated, you probably don’t want to import all the content you’ve translated already, and would rather exclude those rows. Luckily you can do this – just upload the new translations and merge the two together.
- When importing your survey, click Show Options.
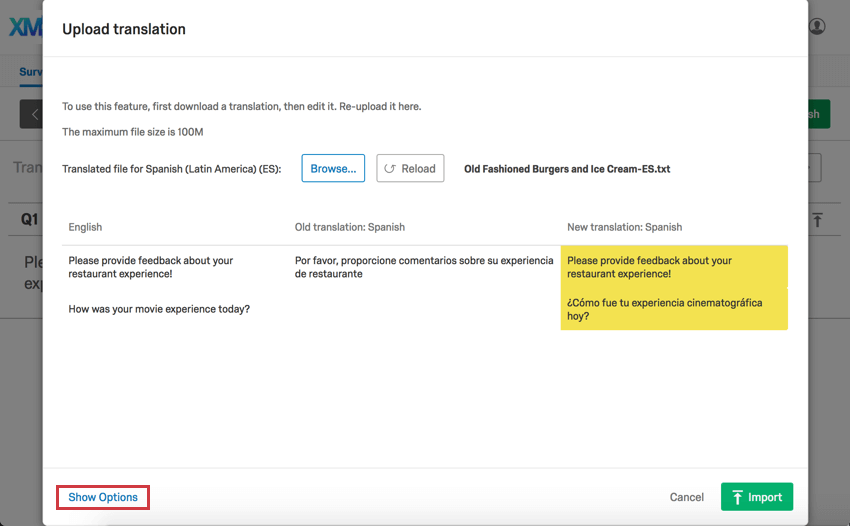
- Select Merge updated translations.
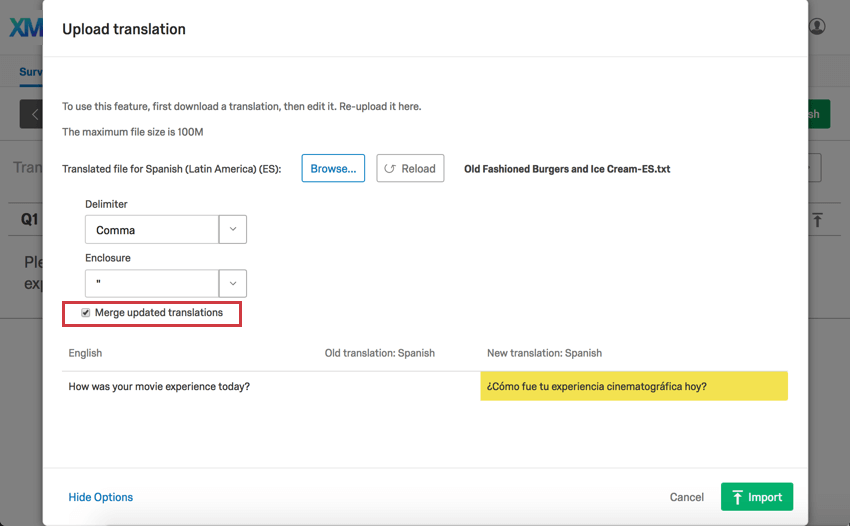
Note how in Step 1, question 1 (in yellow) will revert back to English. But after we select Merge updated translations in Step 2, we only see question 2’s translation, meaning it is the only question that will be affected by this translation import.
Available Language Codes
Whenever you need to specify the language for a participant, whether in a contact list, query string, or as the column header in a translation upload, you will need to use the correct language codes.
See the Available Language Codes support page.
Navigating to Conjoint & MaxDiff Translation
In addition to going through the Overview tab, there are several other ways to access the translation tool. Essentially, you just need to navigate to where you edit your Attributes, and from there go to the Translations section.
Survey Tab
- Go to the Survey tab.
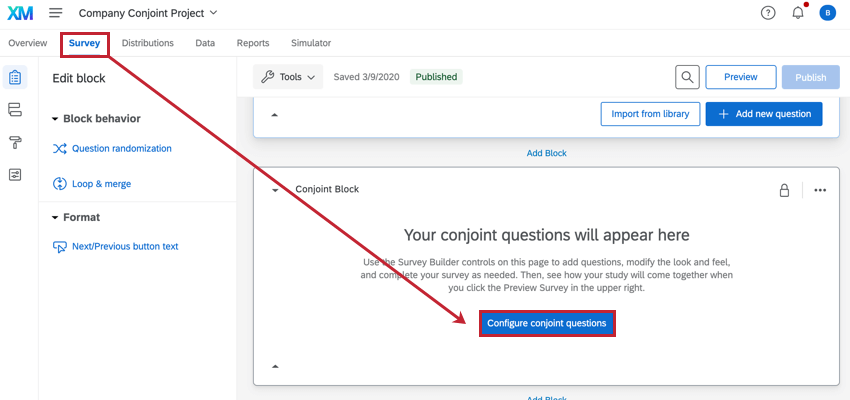
- Select Configure MaxDiff Questions / Configure Conjoint Questions.
- Go to the Translations section.
Survey Options
- Go to the Survey tab.
- Select Survey options.
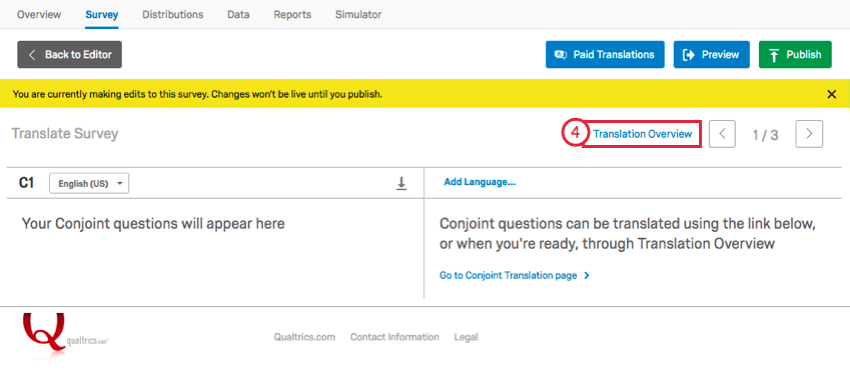
- Click Translations.
- Question C1 will contain instructions redirecting you to the translations window.
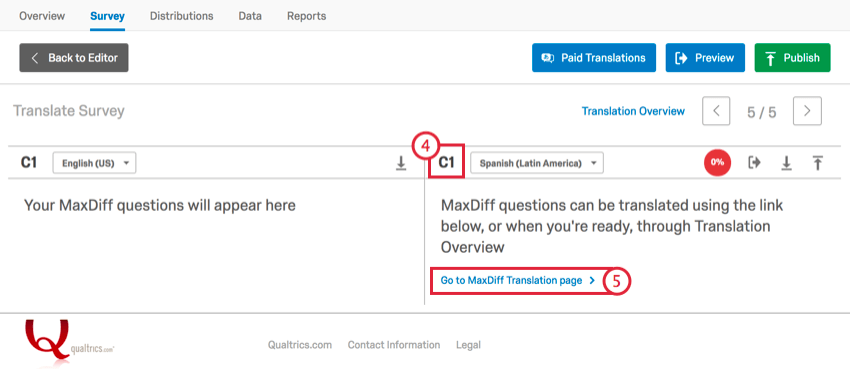
- Select Go to MaxDiff Translation page / Go to Conjoint Translation page.