
Combining Fields
What's on this page
About Combining Fields
You can combine almost any 2 or more fields that you want. This can happen at any time before, during, or after data collection.
There are 2 different ways to decide what value the new, combined field has:
Example: You ask for the respondent’s favorite appetizer, main dish, and dessert. You choose to concatenate the answers with slashes ( / ), so the answer appears as Soup/Roast Beef/Cake.
Example: You ask for the respondent’s favorite dish at the beginning of the survey, and then accidentally ask them again at the end. You decide that whatever answer they gave first is fine, but if they left that field blank, you want their last answer.
Need to make changes to fields you previously combined? See our Editing Custom Fields page.
Warning: Do not delete fields you are using in combined fields, or you will lose your combined field’s data.
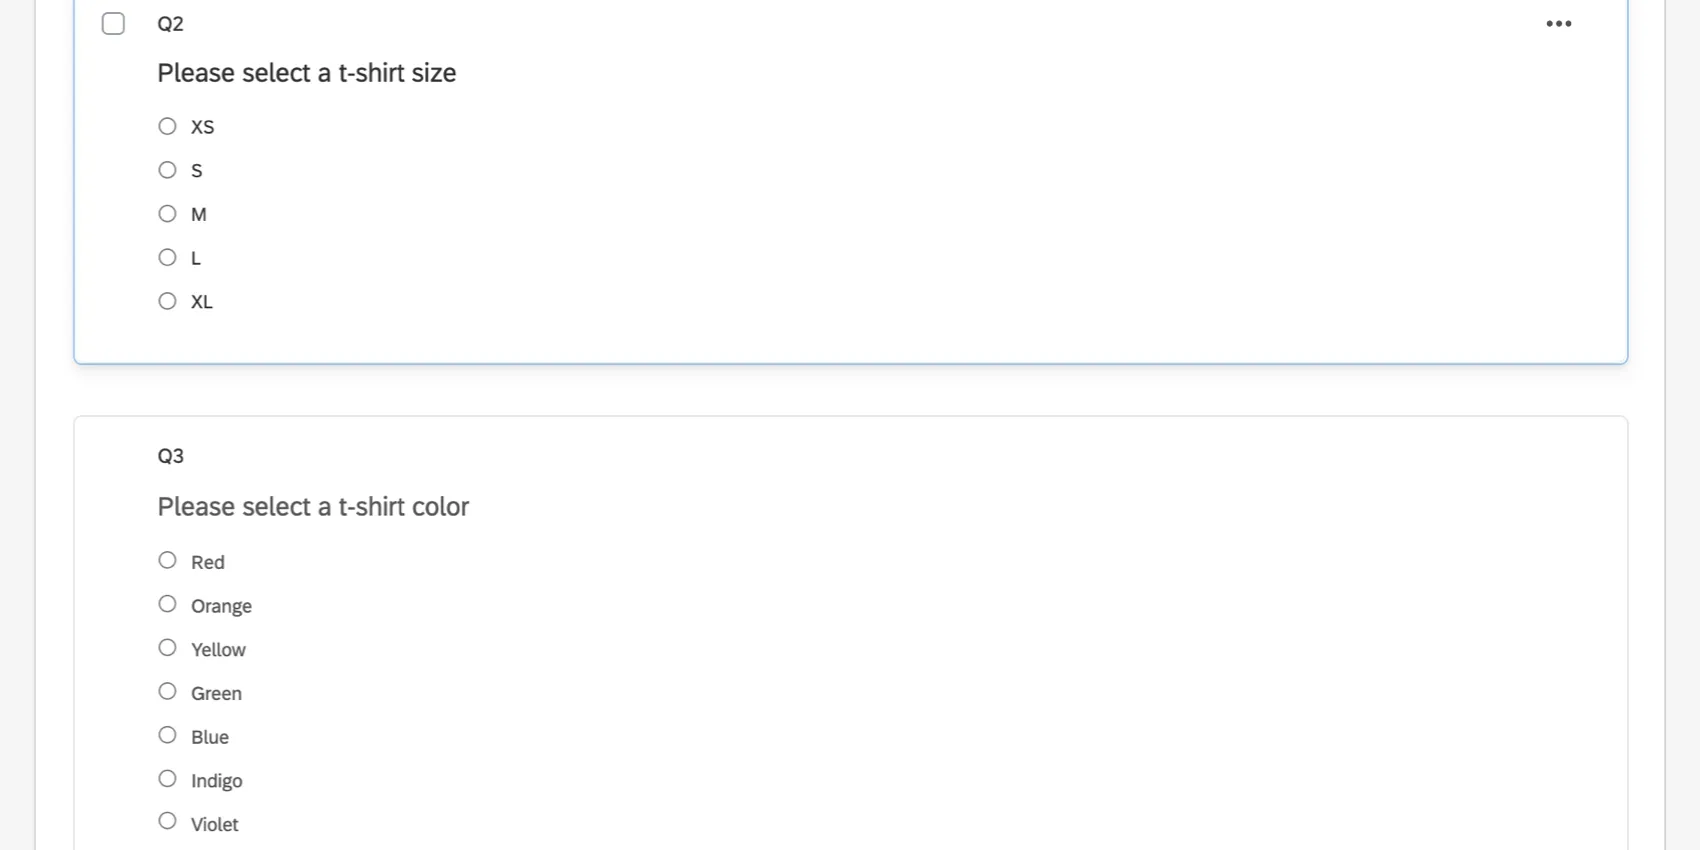
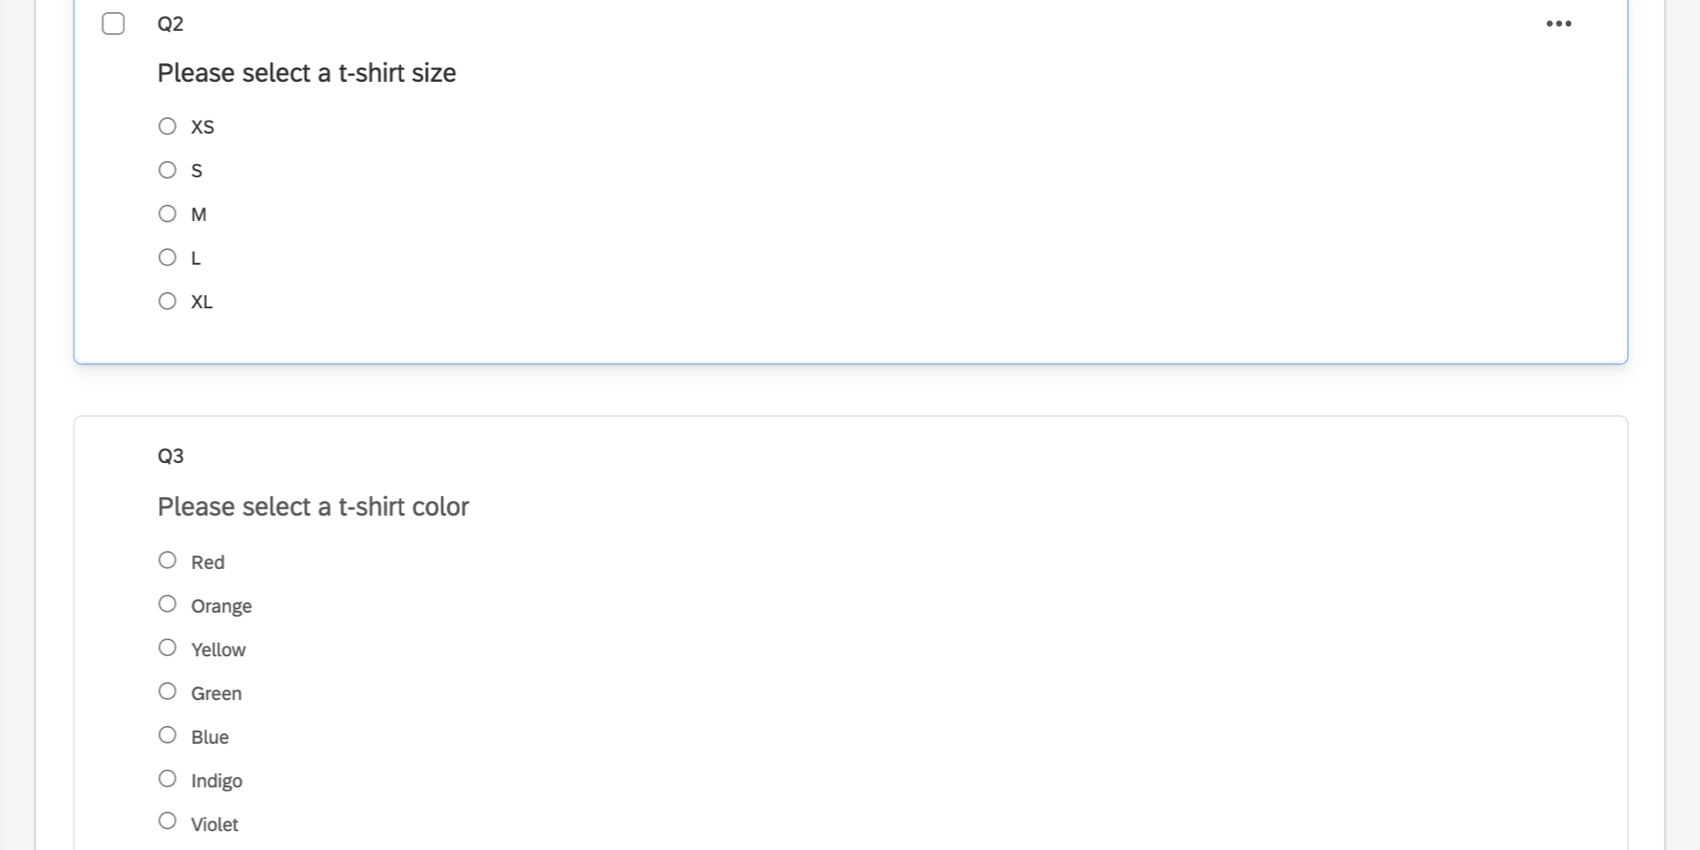
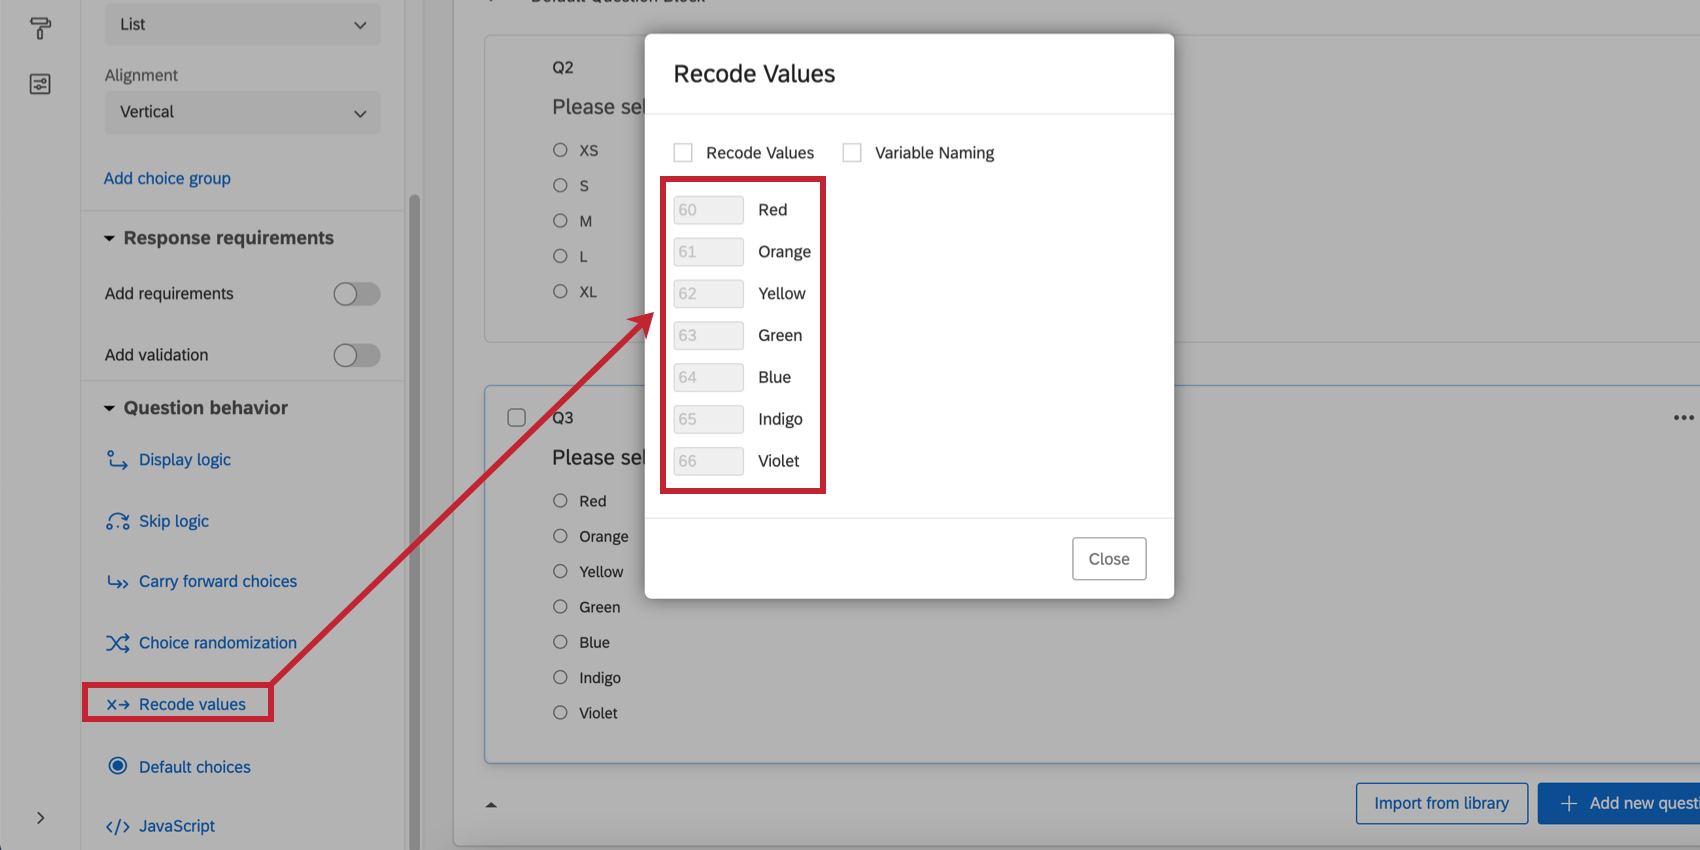
Qtip: If you are concatenating multiple choice answers, whether they have custom recode values or not, the concatenated field will use the recode values instead of the answer choice text. For example, let’s say you ask respondents to pick a t-shirt size and color, and want to concat these responses together.
To see each answer’s recode, click the question, then choose Recode values.

After concatenating these 2 fields, the resulting field has the respondent’s combined answers, except they are represented by the recode values instead of the choice text.


Concatenated Fields
Concatenated fields link 2 or more fields’ values together into a list. In other words, instead of one answer overriding another, answers will appear “First Answer|Second Answer.” You do not have to use | as the delimiter.
Once created, concatenated fields can be analyzed in Text iQ.
Qtip: You can concatenate 2 – 20 fields at a time.
Qtip: If you want to combine text fields instead of recode values, we recommend concatenating open text fields like text entry answers or embedded data.
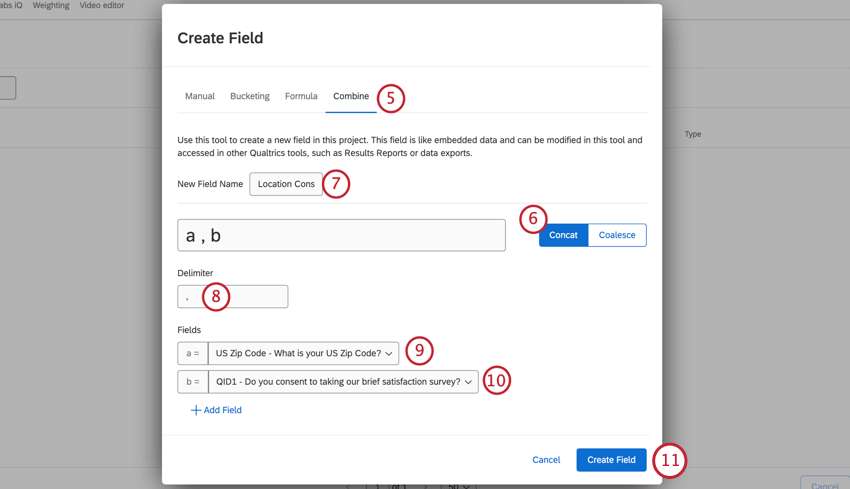
Qtip: A few extra facts about delimiters:
- This doesn’t have to be a symbol, and can contain letters or numbers.
- This field cannot be empty.
- The spaces you see in the example are not representative of the final appearance. Answer will appear as a,b rather than a , b.
- You cannot add extra spaces on either side of the delimiter(s), but you can add spaces in between delimiters. E.g., “and / or” is valid, but “ and / or ” is not since it begins and ends with an extra space.
Qtip: You can also click the plus sign ( + ) next to a field to add a new field there.
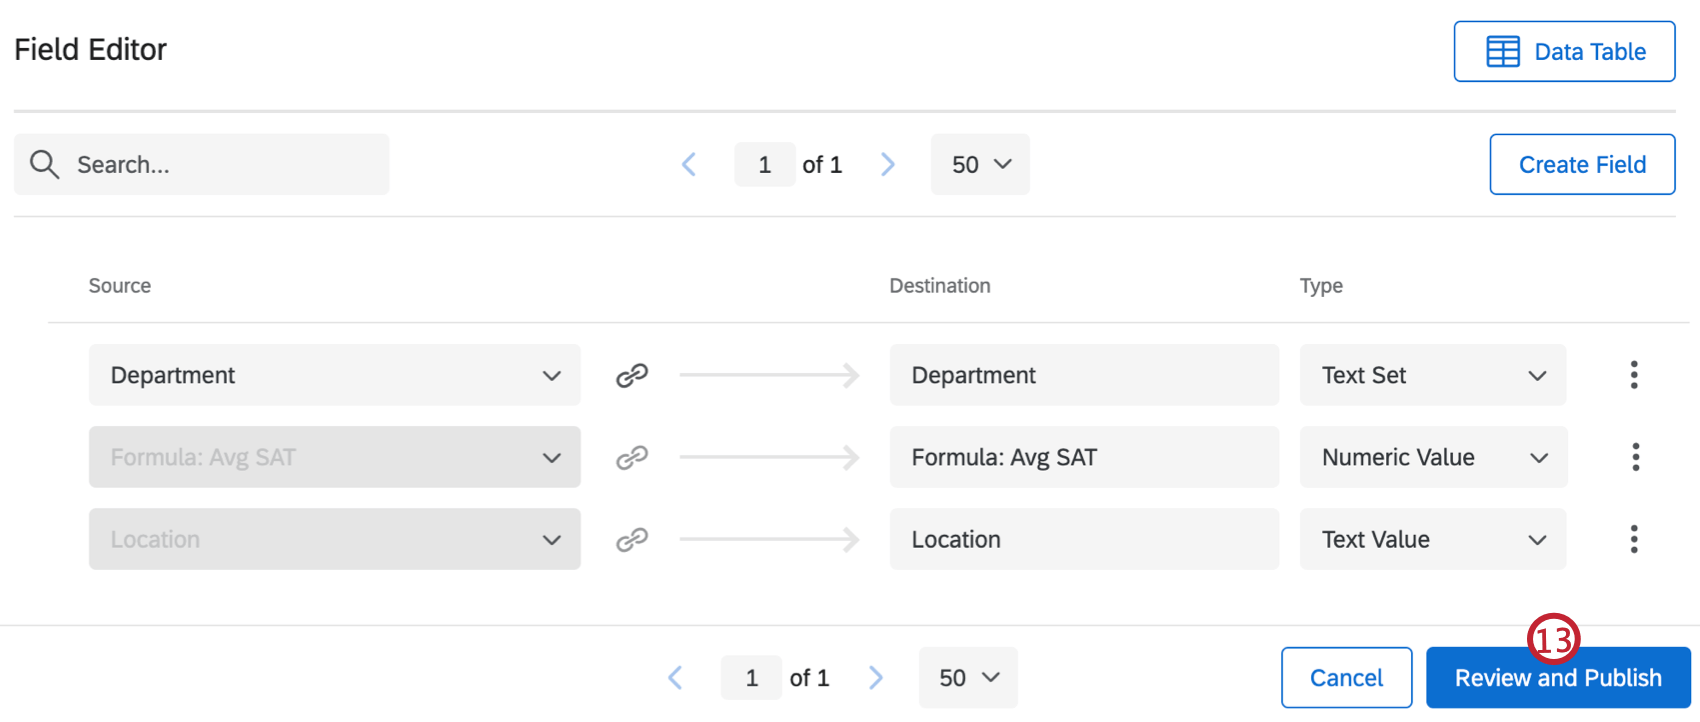

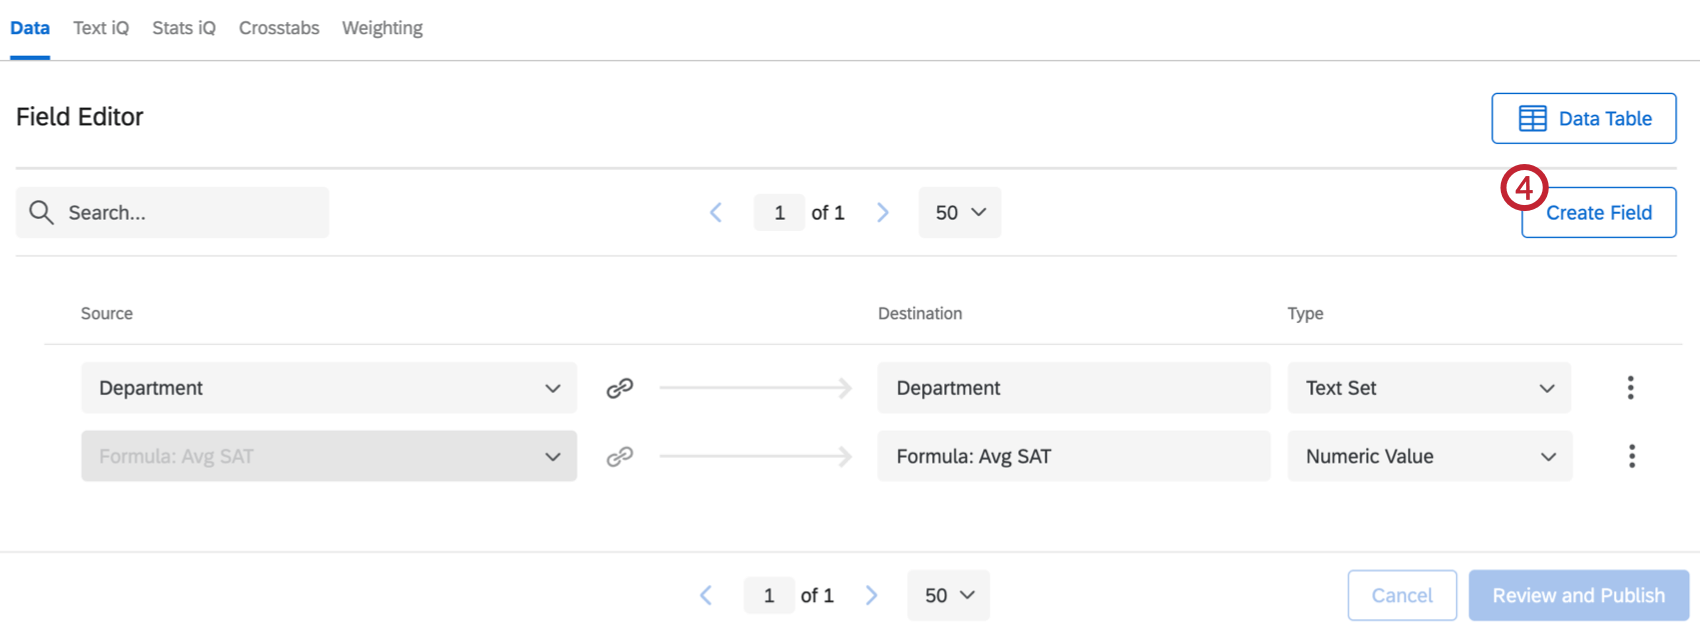
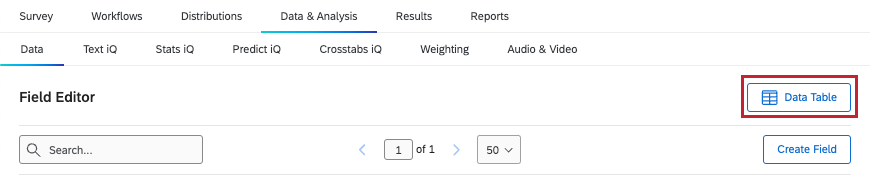
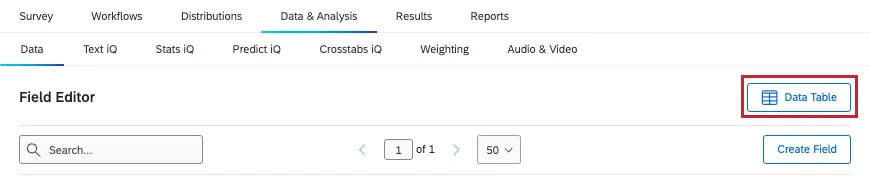
Qtip: Click Data Table to return to your response data.

Attention: Your data may be temporarily unavailable while this field is being created.
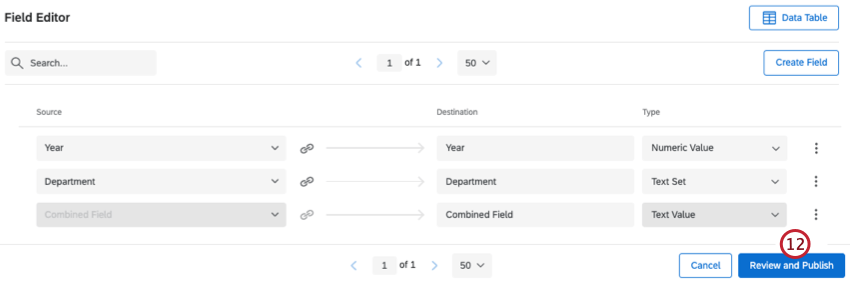
Qtip: Concatenated fields are always set to the “text value” type, even if you are using recode values. This cannot be changed, even when mapping the field to a CX Dashboard.
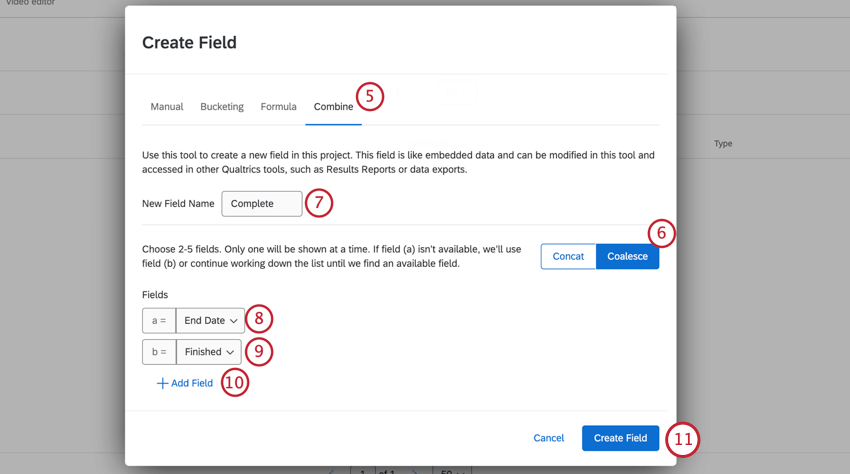
Coalesced Fields
Coalescing fields means allowing one answer to override another.
Only 1 value will be chosen at a time. If field (a) isn’t available, the answer will be (b). The field will continue working down the list until there’s an available answer. You can choose between 2-5 fields.
Qtip: The resulting coalesced field’s type is dependent on the fields used to build it. This field type cannot be changed, even when mapping the field to a CX Dashboard.

Qtip: Click Data Table to return to your response data.
Attention: Your data may be temporarily unavailable while this field is being created.
Fields that Cannot be Combined
You cannot use the following types of fields to create a concatenated or coalesced field:
- Any question in a multi-answer format Qtip: This means a multi-answer multiple choice, a multi-answer column of a side by side or matrix table, and so on.

- Multi-Value Text Set embedded data
- Highlight questions
- Bucketed fields
- Formula fields
- Other combined fields
- Manual custom fields
Projects Where You Can Create Combined Fields
Depending on your license, you may have access to several different types of projects that have a Data & Analysis tab. The options described on this page are available in:
- Survey projects
- XM Solutions
- Imported data projects
- 360 projects Qtip: See Creating New Fields (360) for more details.
- Conjoint / MaxDiff Qtip: While you can combine Conjoint and MaxDiff-specific fields, the data may not make sense and cannot be recoded. We recommend only combining survey fields.
- CX Dashboards
Qtip: When custom fields are added to a CX Dashboard, they become derived data. Although supported, they behave a little differently than other survey fields do. See Derived Data for more details.
While the functionality is technically available, we do not recommend using these custom fields with other types of Employee Experience projects. See Creating New Fields (EX) for more details.
Qtip: While other areas of the platform (like dashboards, Stats iQ, and directories), may also allow you to create new fields, this support page is solely focused on how to create concatenated or coalesced fields in Data & Analysis. For steps on creating other kinds of fields across the XM platform, try narrowing your support site search.
FAQs
How do I edit my custom fields?
How do I edit my custom fields?
My custom fields don't have data and say "Invalid." What happened?
My custom fields don't have data and say "Invalid." What happened?
That's great! Thank you for your feedback!
Thank you for your feedback!