
Formatting Questions
What's on this page
About Formatting Questions
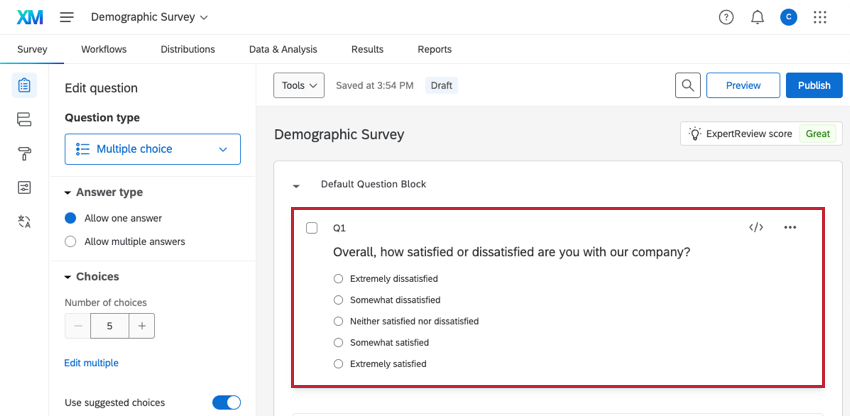
Once you’ve created a question, you can customize it to fit your survey. To begin formatting a question, click on it in the survey builder.

Qtip: This page covers formatting options available to every question type. If you’re looking for information on a specific question type (e.g., variations of matrix tables), check out that question’s specific support page. See Question Types for a list of all question types and their support pages.
Editing Question Text
Click directly on a question’s text to begin editing it. To change the question text, simply type the text into the text box.

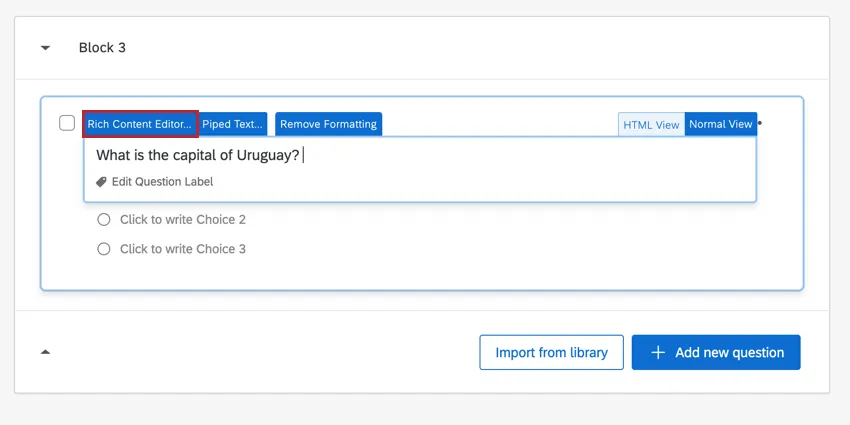
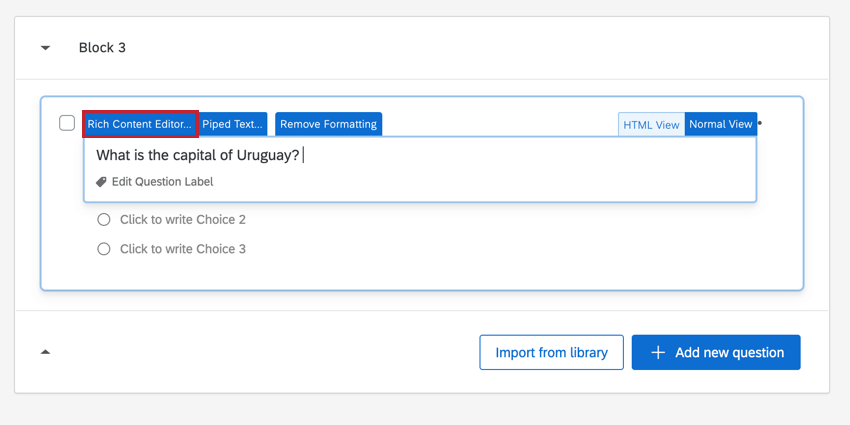
When formatting your question text, you have 5 main tools and shortcuts.
- Rich Content Editor: Allows you to further edit your text and apply formatting, such as bolding, italics, adding hyperlinks, etc.
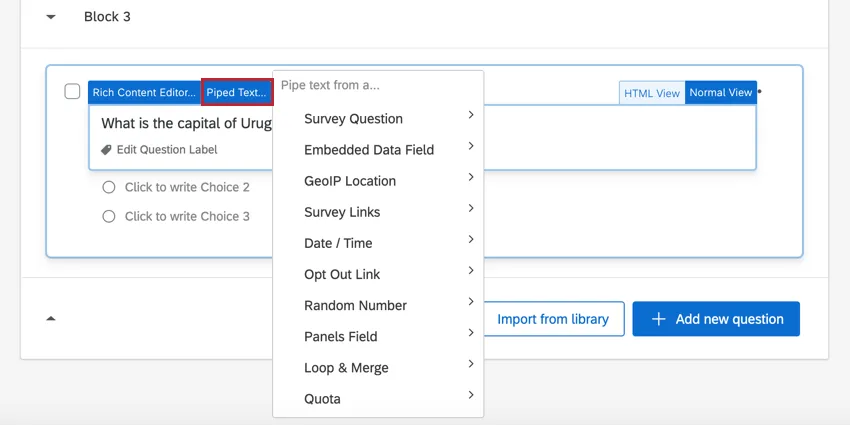
- Piped Text: Opens a dropdown menu that gives options for piping text into a question. Piped text works as a placeholder, and allows you to dynamically pull text from a previous question, contact list information, or embedded data, and display it in the current question.
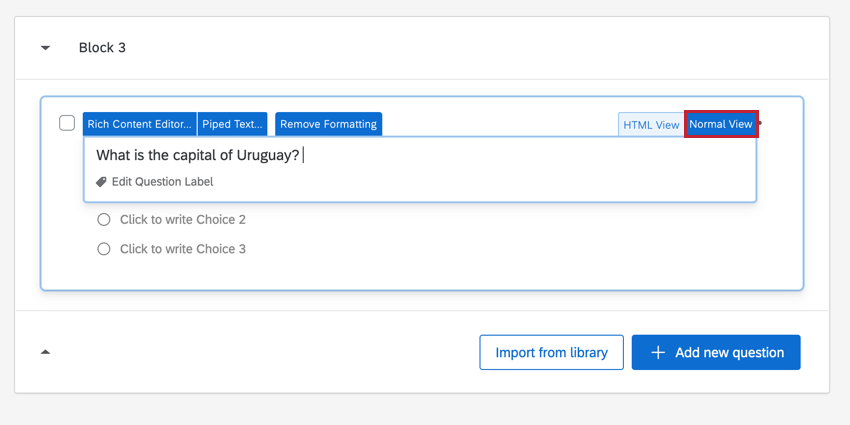
- Normal View: This is the default mode of editing. This view does not have as many formatting options as the rich content editor, but will retain any changes you made there. This mode allows you to switch out of the HTML view.
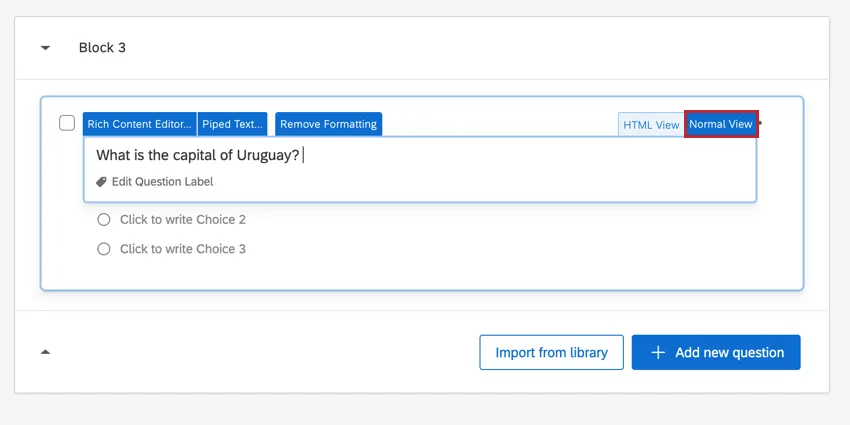 Qtip: The Normal View and Rich Content Editor will not always show formatting changes the same way; generally, what’s shown in the rich content editor is what you’ll see in your survey. Make sure you preview your survey to check your question’s formatting.
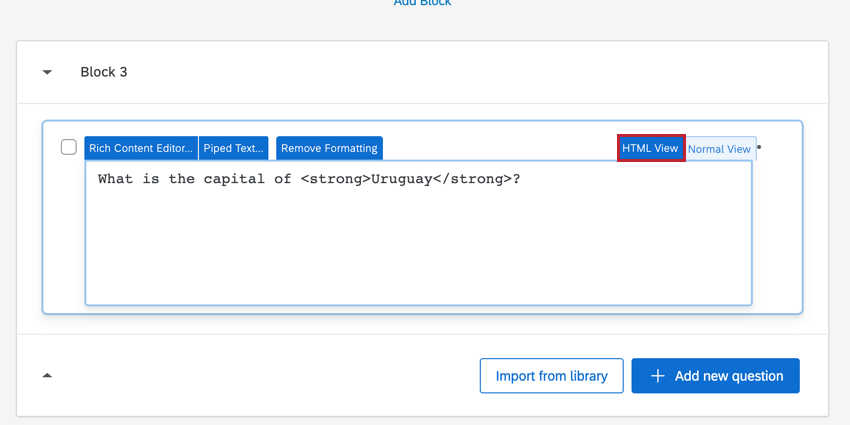
- HTML View: Allows you to see and edit the underlying HTML of the question text. This is the equivalent of clicking “Source” in the rich content editor.
 Warning: Our support team does not offer assistance or consultation on custom coding. You can always try asking our community of dedicated users instead. If you’d like to know more about our custom coding services, please contact your Qualtrics Account Executive.
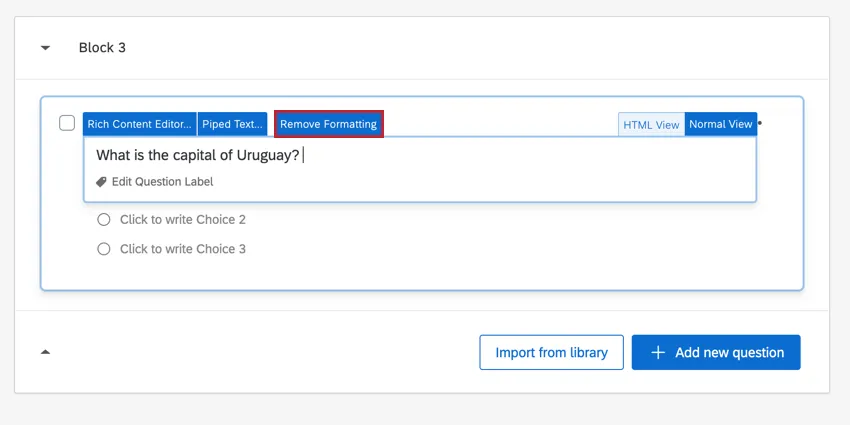
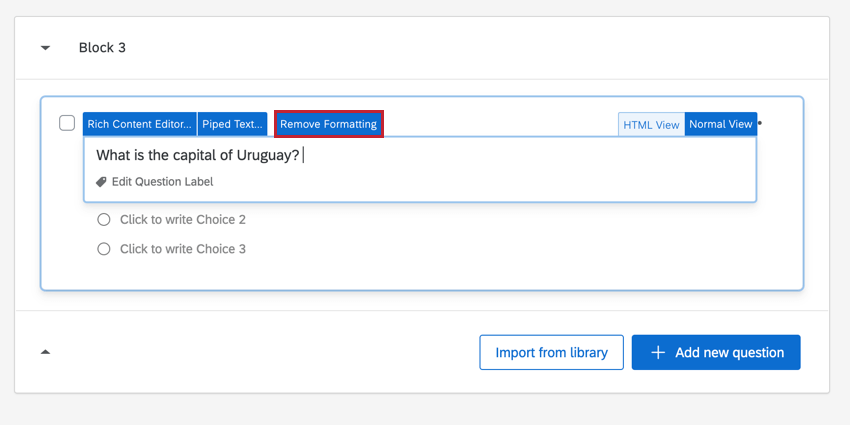
- Remove Formatting: Removes all formatting in the question. This tab won’t appear if your question is plain text, but once you add any additional formatting – including line breaks, font colors, HTML, or other rich text formatting – this option will appear.

Adding & Editing Answer Choices
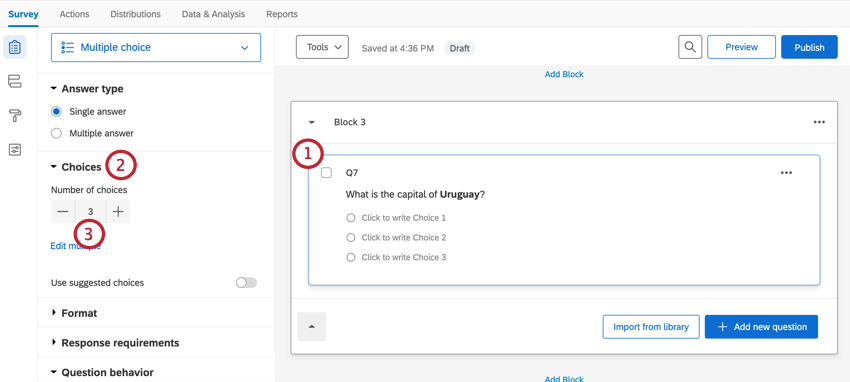
Once you’ve created a question and formatted it the way you want, it’s time to add some choices for your respondents to pick from.
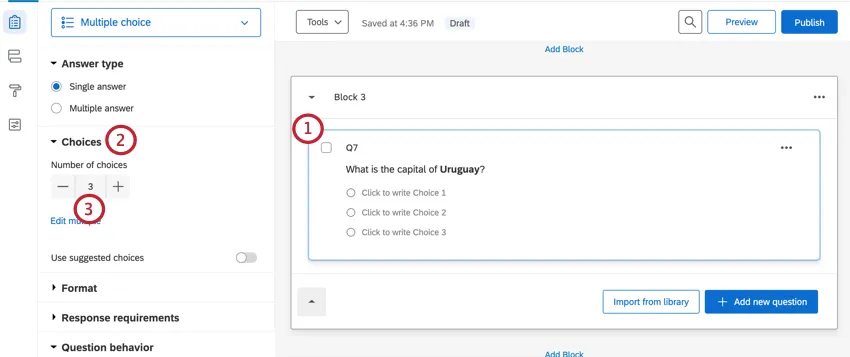
Qtip: You can also add another answer choice by pressing the return or Enter key on your keyboard while editing the last answer choice in the question.
To edit an answer choice, click the answer choice in the builder and begin typing. See Formatting Answer Choices for more instructions on how to add answer choices, plus a description of all the other options available for customizing answer choices. Note that the linked page uses the old survey builder UI, but the functionality is the same.
Editing Question Labels
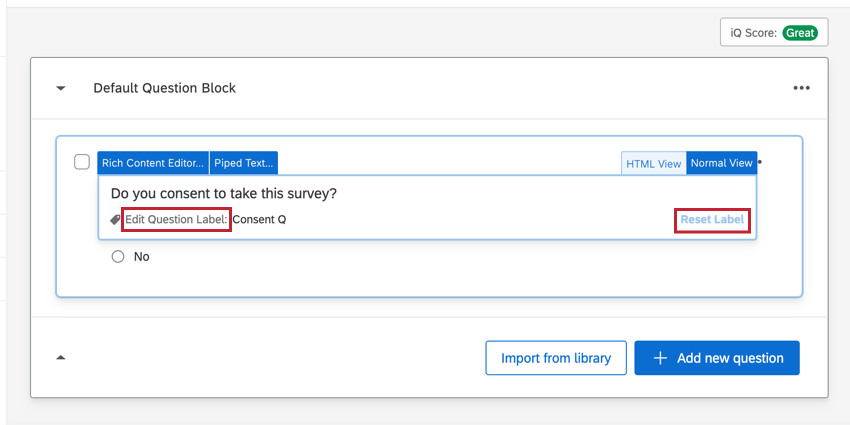
In addition to question text, you can also edit the Question Label. The Question Label will change the question title that appears in logic menus, Survey Flow, and data exports (rather than the actual text of your question, which is the default). Question labels have a character limit of 100, and are especially useful when you have questions with a lot of text or text that is similar to other questions.
Click Edit Question Label on the bottom-left to start typing a new question label. This label does not display to the survey takers; it is only for your own internal use.
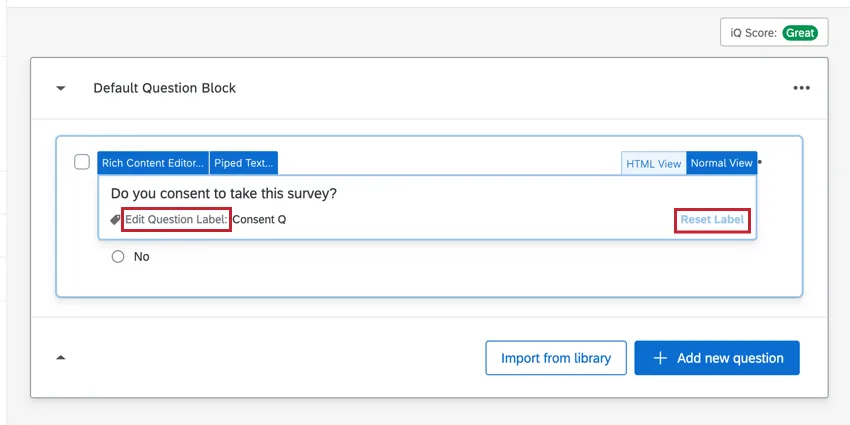
Click Reset Label on the bottom-right to set the question label back to the original question text.
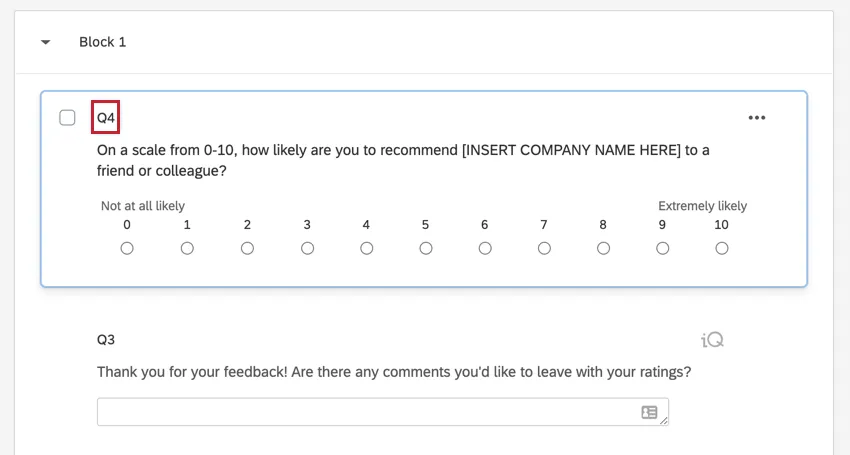
Question Numbers
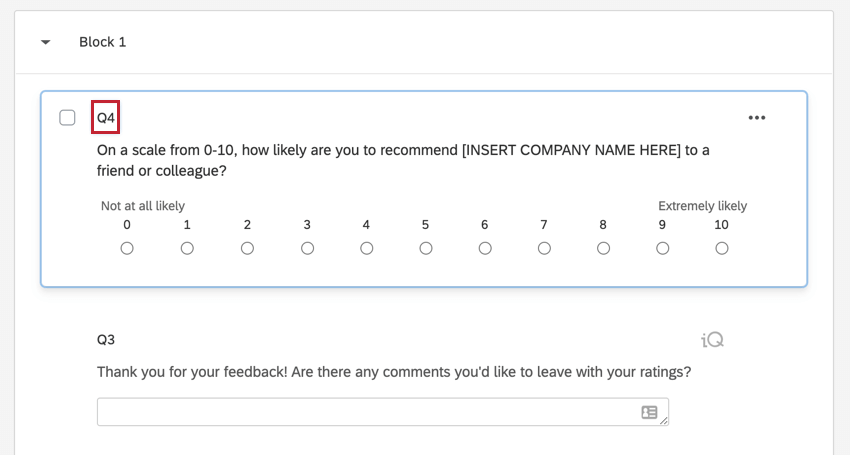
By default, questions will be numbered in the order of creation, even if you move them around in your survey. You can manually edit your question numbers to be whatever you’d like, as long as it is within the 20 character limit. They don’t need to be numeric and can be text labels (e.g. “CSAT” or “Intro” instead of Q1). To edit your question numbers manually:
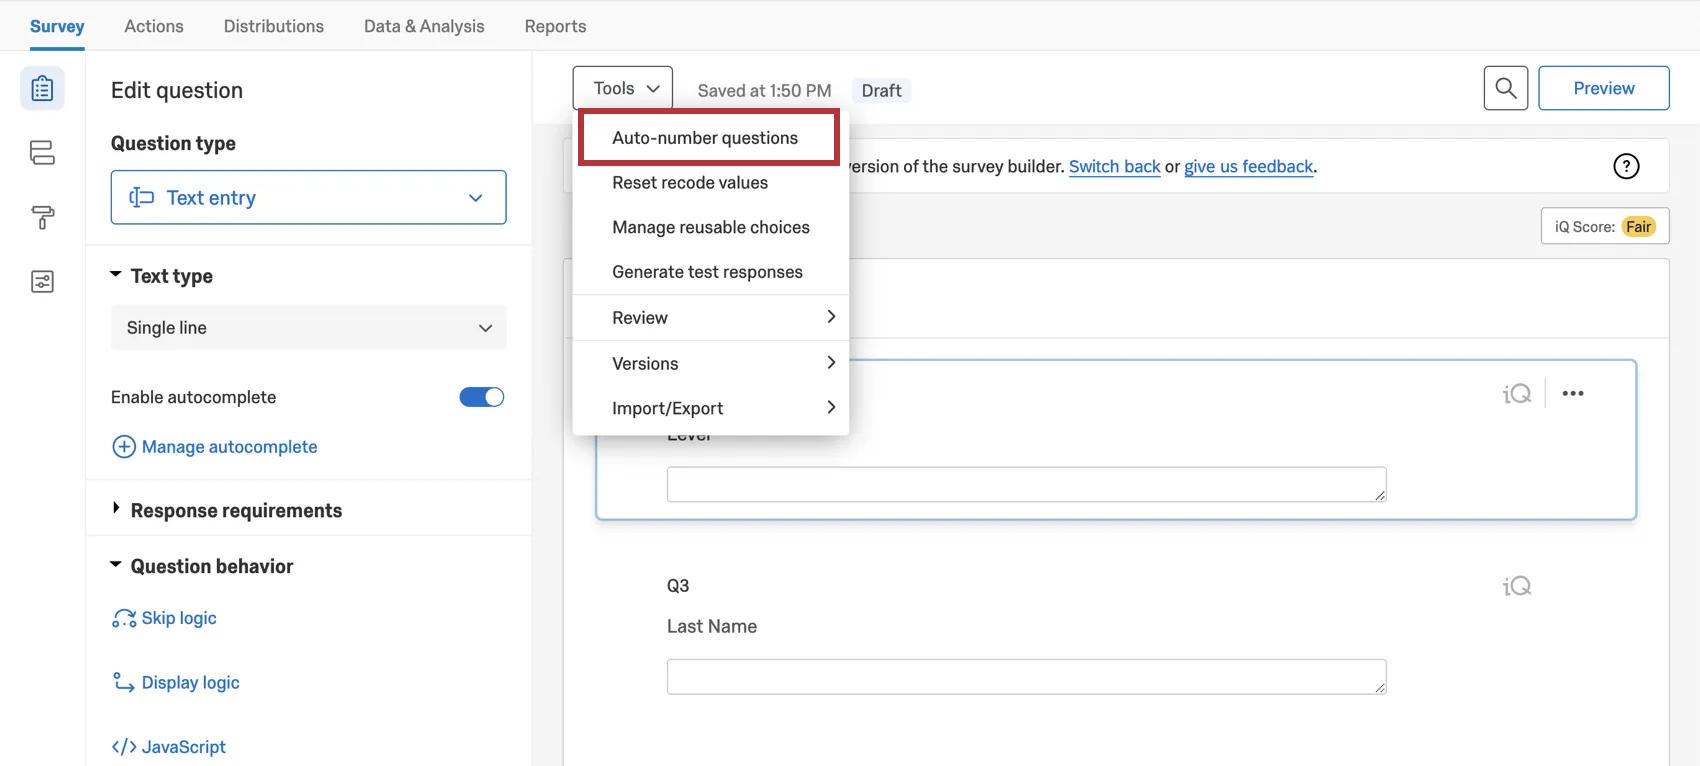
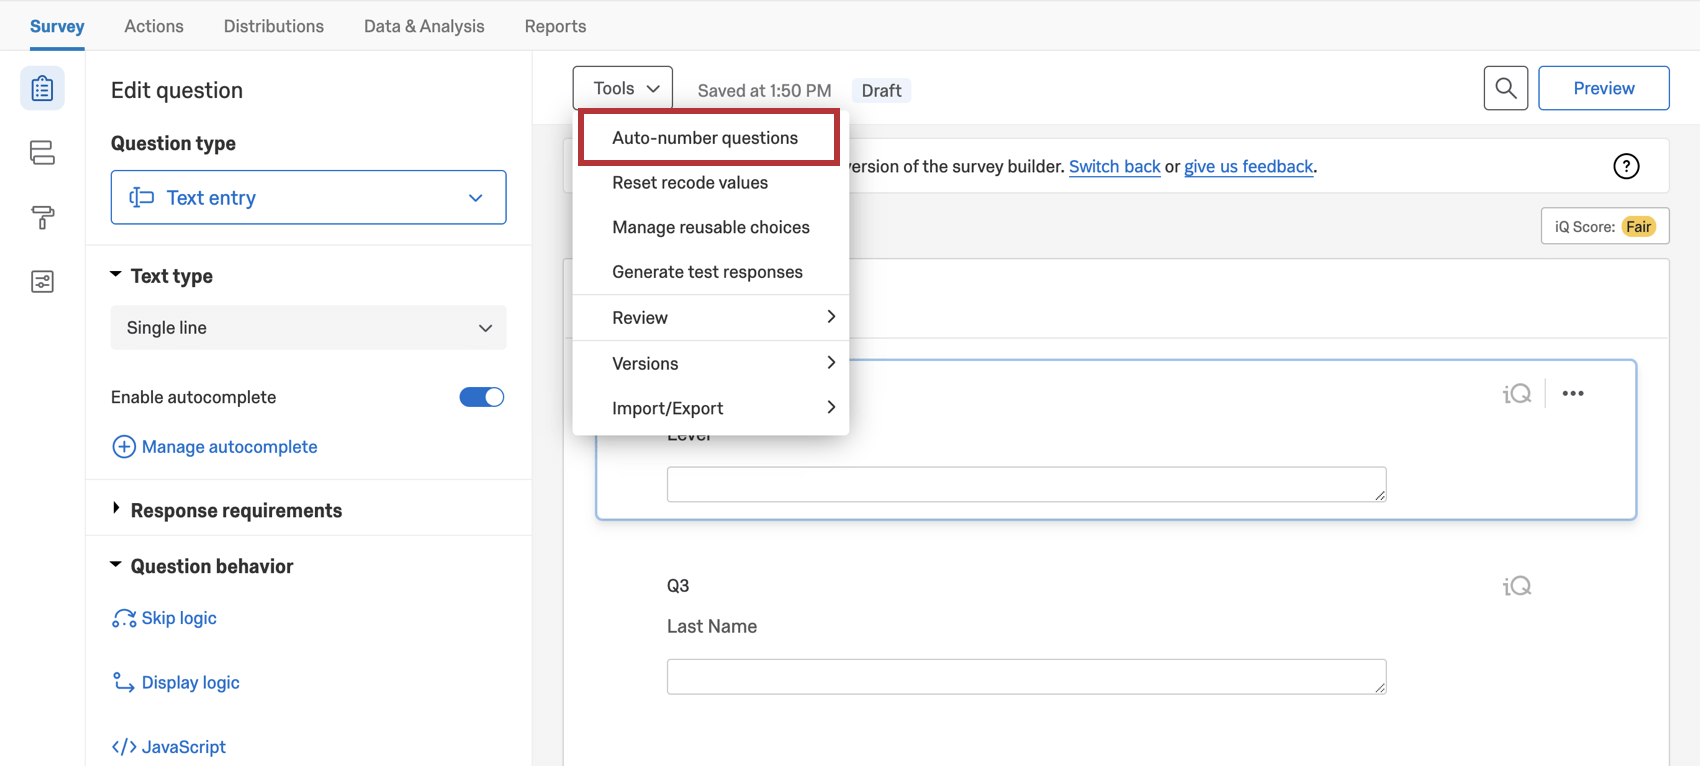
Qtip: Looking to automatically renumber all of your survey questions? Check out the Auto-Number Questions feature.
The question number is different from the question ID. By default, question numbers begin with the letter “Q” followed by a number. For example, Q8 would be the 8th question you’ve created for your survey. You can change the question number at any time. Question IDs are internal identification codes that cannot be changed. Question IDs are preceded by “QID” followed by a number. Your survey’s question IDs are available when exporting your data from Data & Analysis.
By default, question numbers are not shown to respondents. You can choose to show respondents question numbers by enabling Question Numbers in your survey options.
Qtip: You should not have multiple questions with the same question number.
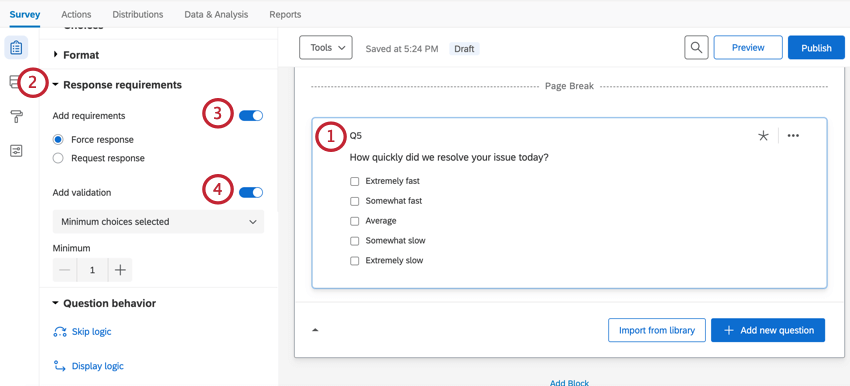
Adding Validation
Worried about respondents skipping over some of the questions in your survey? Want to require some columns on your matrix table, but not others? Want to limit the character range of a feedback question? You can do all this and more when you add validation to your questions. Validation can be used to solicit a specific answer from a respondent; for example, making sure your respondent enters an email address when you ask them for their email. For more information about question validation, see our page on Response Requirements & Validation.
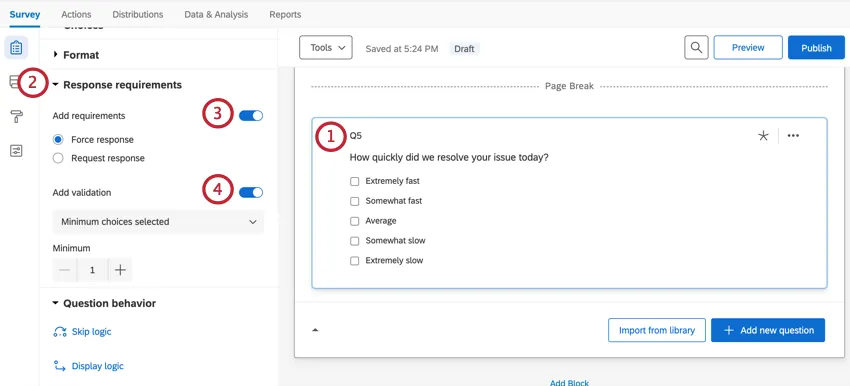
To add validation to a question:
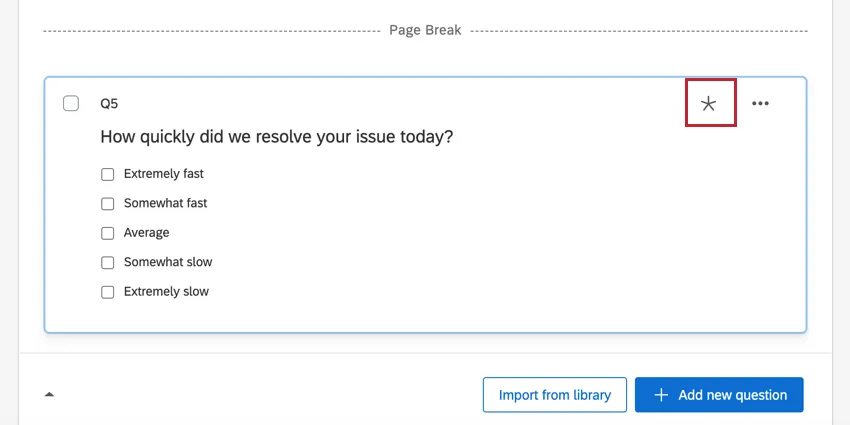
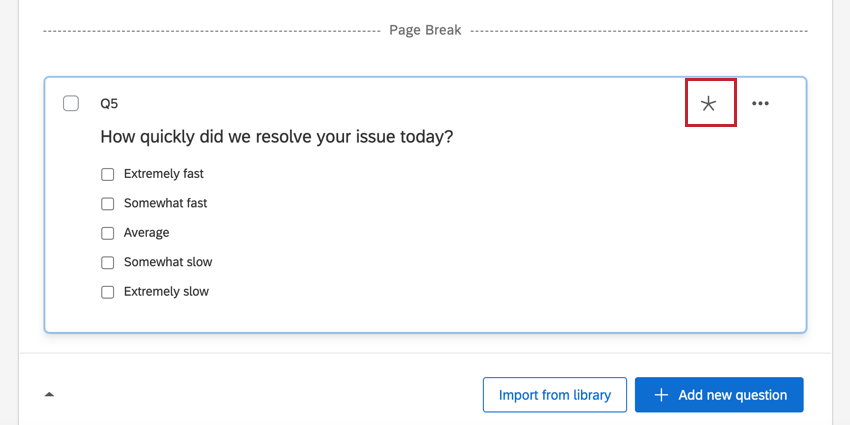
Qtip: Once a question has validation added to it, an asterisk ( *) will appear on the question in the survey builder.
Question Actions
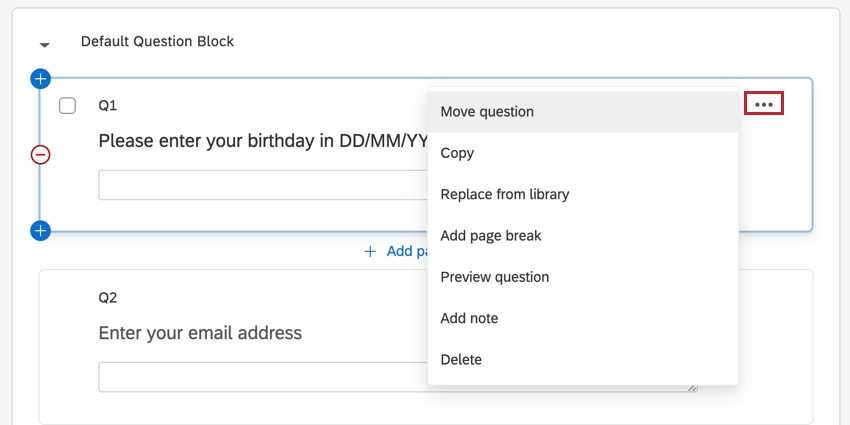
When formatting your questions, there are a number of actions available to you to help build and test your survey quickly. To access these actions, click the 3 dots in the top-right corner of the question.
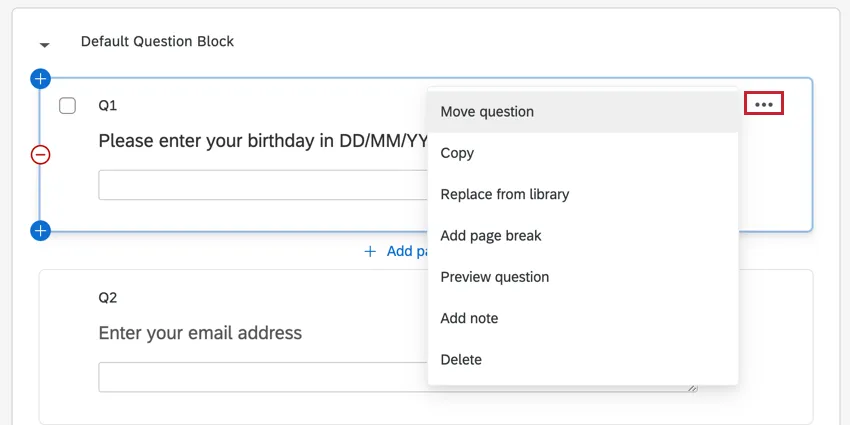
- Move question: Move a question into a selected block. You can move the question to the top of the chosen block, bottom of the chosen block, or select before or after to place the question near another specific question in the block. This is an alternative to dragging questions to move them.

- Copy: Creates an exact copy of the question.
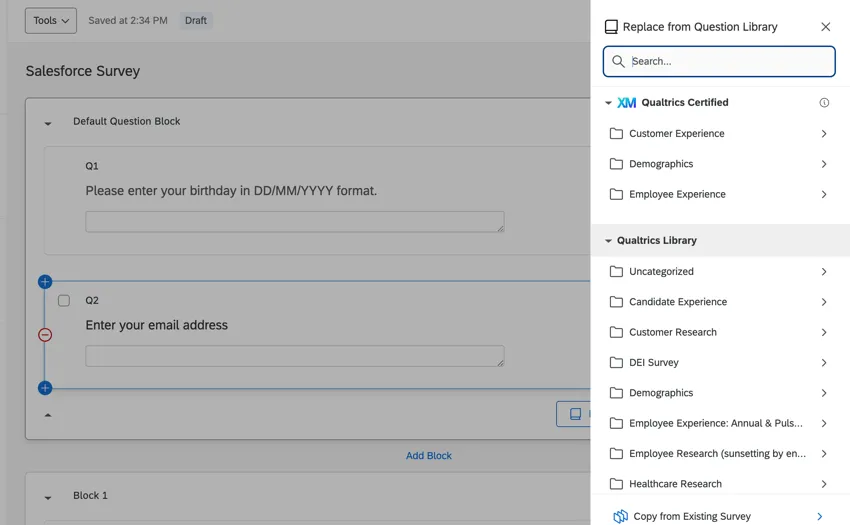
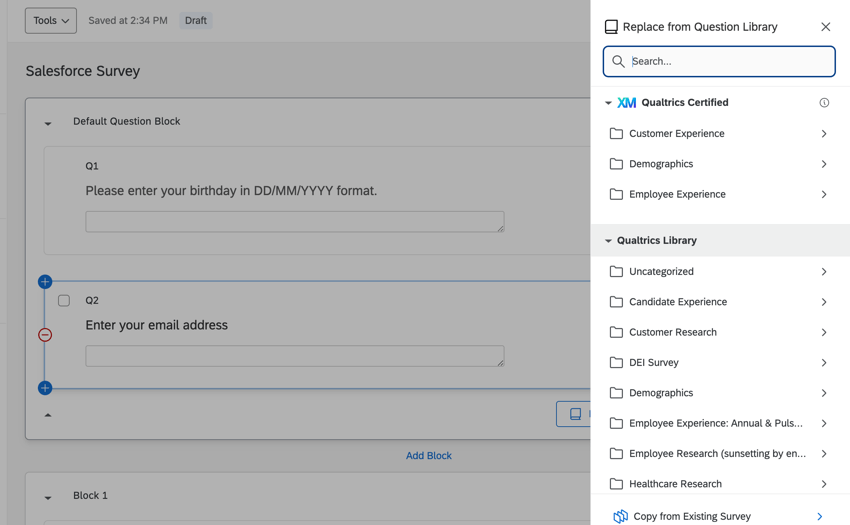
- Replace from library: Replaces the selected question with a question from the pre-made Qualtrics question library. You can also choose to replace the question with a question from one of your other surveys.
- Add page break: Adds a page break directly after the question.
- Preview question: See how the selected question will look to your respondents without previewing the entire survey.
- Add note: Make internal notes or comments on the selected question. This is especially helpful when multiple people are working on the same survey, because it allows other users to respond to your notes and add comments of their own. Respondents do not see notes on questions.
- Delete: Deletes the question. You can restore deleted questions from your trash.

Question Behavior
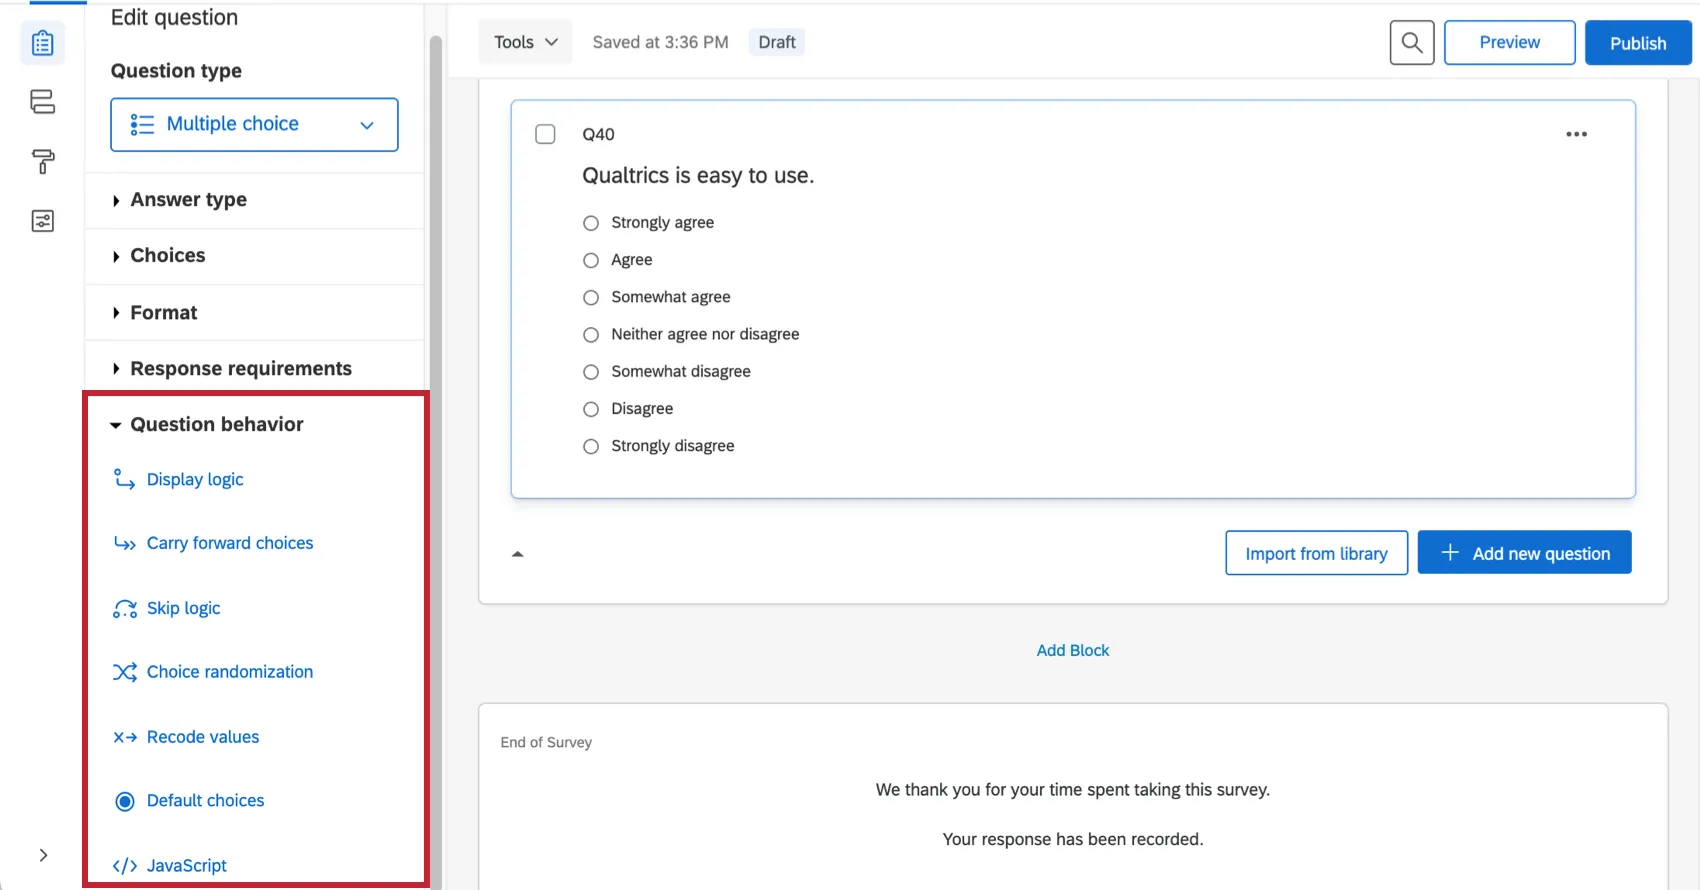
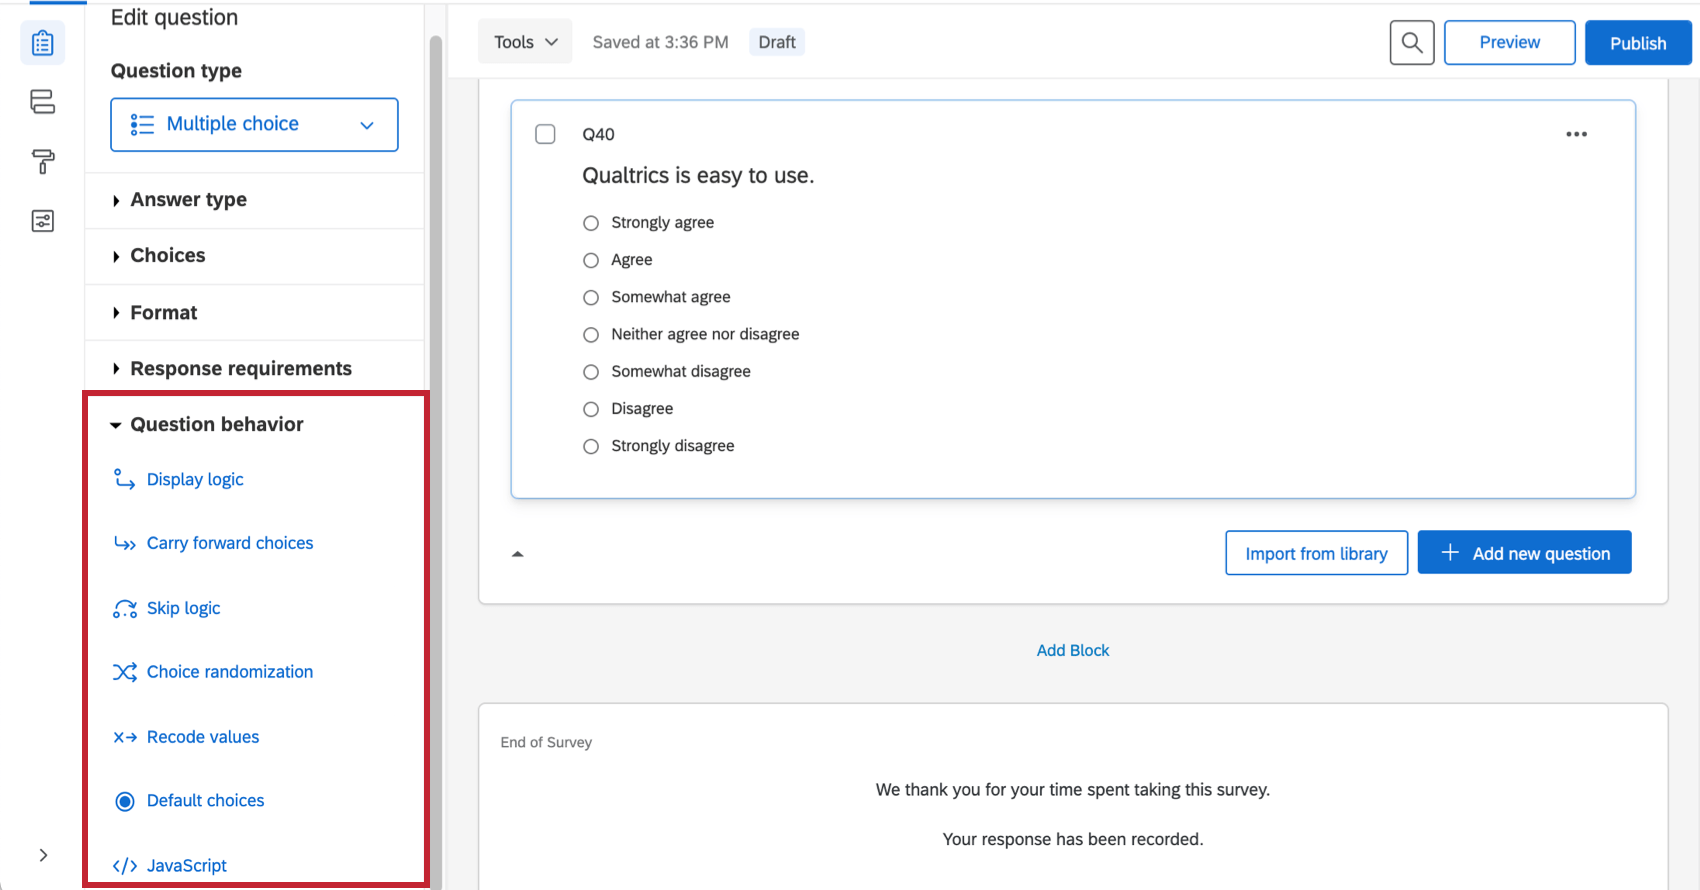
While formatting questions, navigate to the Question behavior section to add advanced behavior to your questions, such as the ability to hide questions under certain conditions, take selected choices from a previous survey question, designate a choice to be selected by default, and more. The features available in this section are:
- Display logic: Hide or display questions in your survey based on answers provided to previous questions, or other survey and respondent information.
- Carry forward choices: Pull in the answer choices, statements, or scale points from a previous question in your survey for use in another question.
- Skip logic: Allows you to skip the respondent to another point in the survey based on how they answer the question.
- Choice randomization: Randomize the order in which your answer choices are presented.
- Recode values: Use this option to change the default numeric values or variable names for your answer choices. The coding you set here will be reflected in your reports and raw data, and is used to calculate all statistics. Not all question types can be recoded, so this option will not appear if it’s not one of the compatible types.
- Default choices: Choose a default answer that will be preselected when the respondent takes the survey.
- JavaScript: Add custom JavaScript to the question.
Formatting Questions in Different Project Types
The options described on this page are available in just about every type of project where you customize a survey. This includes:
- Survey projects
- XM Solutions
- Engagement
- Lifecycle
- Ad Hoc Employee Research
- Pulse
- 360 Qtip: For details on customizing 360 surveys, see Creating & Editing Questions (360).
- Conjoint
- MaxDiff
Qtip: For details on customizing MaxDiff and Conjoint surveys, see this page.
Attention: Although question editing is similar, not every type of project has the same type of questions. See our table showing question types by project.
FAQs
Can I edit a live survey that is currently being taken?
Can I edit a live survey that is currently being taken?
- Who will see the changes? Only those who have not yet started the survey will see the new changes. Anyone who started the survey prior to your changes will see the original survey, not the updated one.
- What kinds of changes are okay? Superficial text edits are fine (e.g., fixing a typo or changing the font), as are adding questions or answer options. However, deleting questions or answer options can harm previously collected data. We recommend never deleting answer choice options or questions (unless you are 100% positive that you will not ever need any of the collected data associated with those answer choice options or questions). Instead, we recommend hiding unwanted questions and answer options with Advanced Randomization.
How do I save/undo my edits to my survey?
How do I save/undo my edits to my survey?
Often, Qualtrics will allow you to undo a change if you hit Ctrl + z (PC) or Cmd + z (Mac) on your keyboard. However, not all changes are undoable.
Qualtrics automatically saves previous versions of your survey when you make edits or publish your survey. Survey versions are a snapshot of your survey and its settings and allow you to view any past version and restore your survey to that form. See the linked page for more information on this feature.
How do I test my survey before sending it out?
How do I test my survey before sending it out?
To learn more, visit our page on Testing and Editing an Active Survey.
How do I allow text entry on my “Other” answer choice?
How do I allow text entry on my “Other” answer choice?
Why are all of my fonts different in my survey? How do I fix it?
Why are all of my fonts different in my survey? How do I fix it?
Global font changes are made in the Look and feel menu and local font changes are made in the rich content editor for that specific question or answer choice.
Local font changes override global font changes, so if you made both types, you’ll end up with a mix between the global font settings and the local font settings for questions. Follow these steps to clear away all local formatting and let the global changes take effect uniformly: Note that global changes made within Look and feel do not show up in the Survey tab. You need to preview the survey to see the changes and styling.
Why is my HTML, CSS, and JavaScript not working in my free / trial account?
Why is my HTML, CSS, and JavaScript not working in my free / trial account?
I want to hide or show questions for different respondents based on their answers or Embedded Data. How can I do this?
I want to hide or show questions for different respondents based on their answers or Embedded Data. How can I do this?
I want to remove a question or answer choice from a survey, but I’ve already collected some data. What do I do?
I want to remove a question or answer choice from a survey, but I’ve already collected some data. What do I do?
How do I require a respondent answer a question?
How do I require a respondent answer a question?
That's great! Thank you for your feedback!
Thank you for your feedback!