
Extract Data from NICE CXone Task
Suite
Customer Experience
Product
Qualtrics
What's on this page
About the Extract Data from NICE CXone Task
The Extract Data from NICE CXone task allows you to extract chat and email data from NICE CXone and bring that data into Qualtrics. You can then use Qualtrics to analyze your data. This allows you to efficiently derive insights on customer sentiment and agent performance.
Qtip: While this task can be added to stand-alone workflows, it is best used within the end-to-end setup of omnichannel listening.
Qtip: For more information on using data loading and extracting tasks, see using Workflows tasks to build ETL.
Setting Up an Extract Data from NICE CXone Task
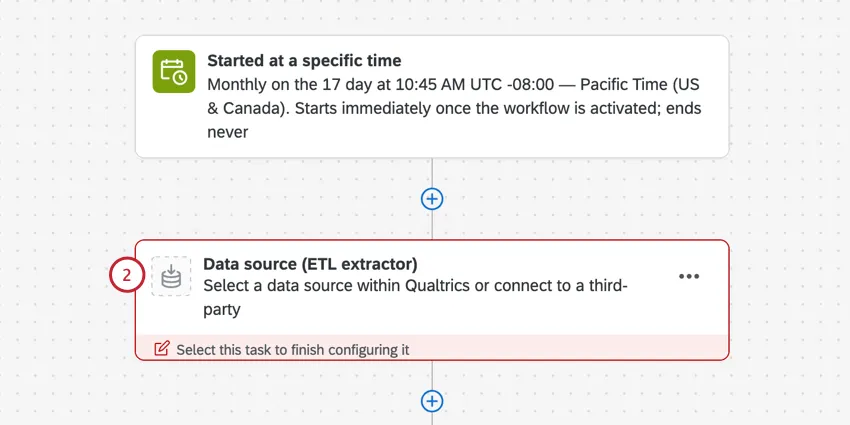
Create a workflow. It is recommended to create this task in a Chat Data project or Email Data project. This task can also be added to an ETL workflow or a scheduled workflow.
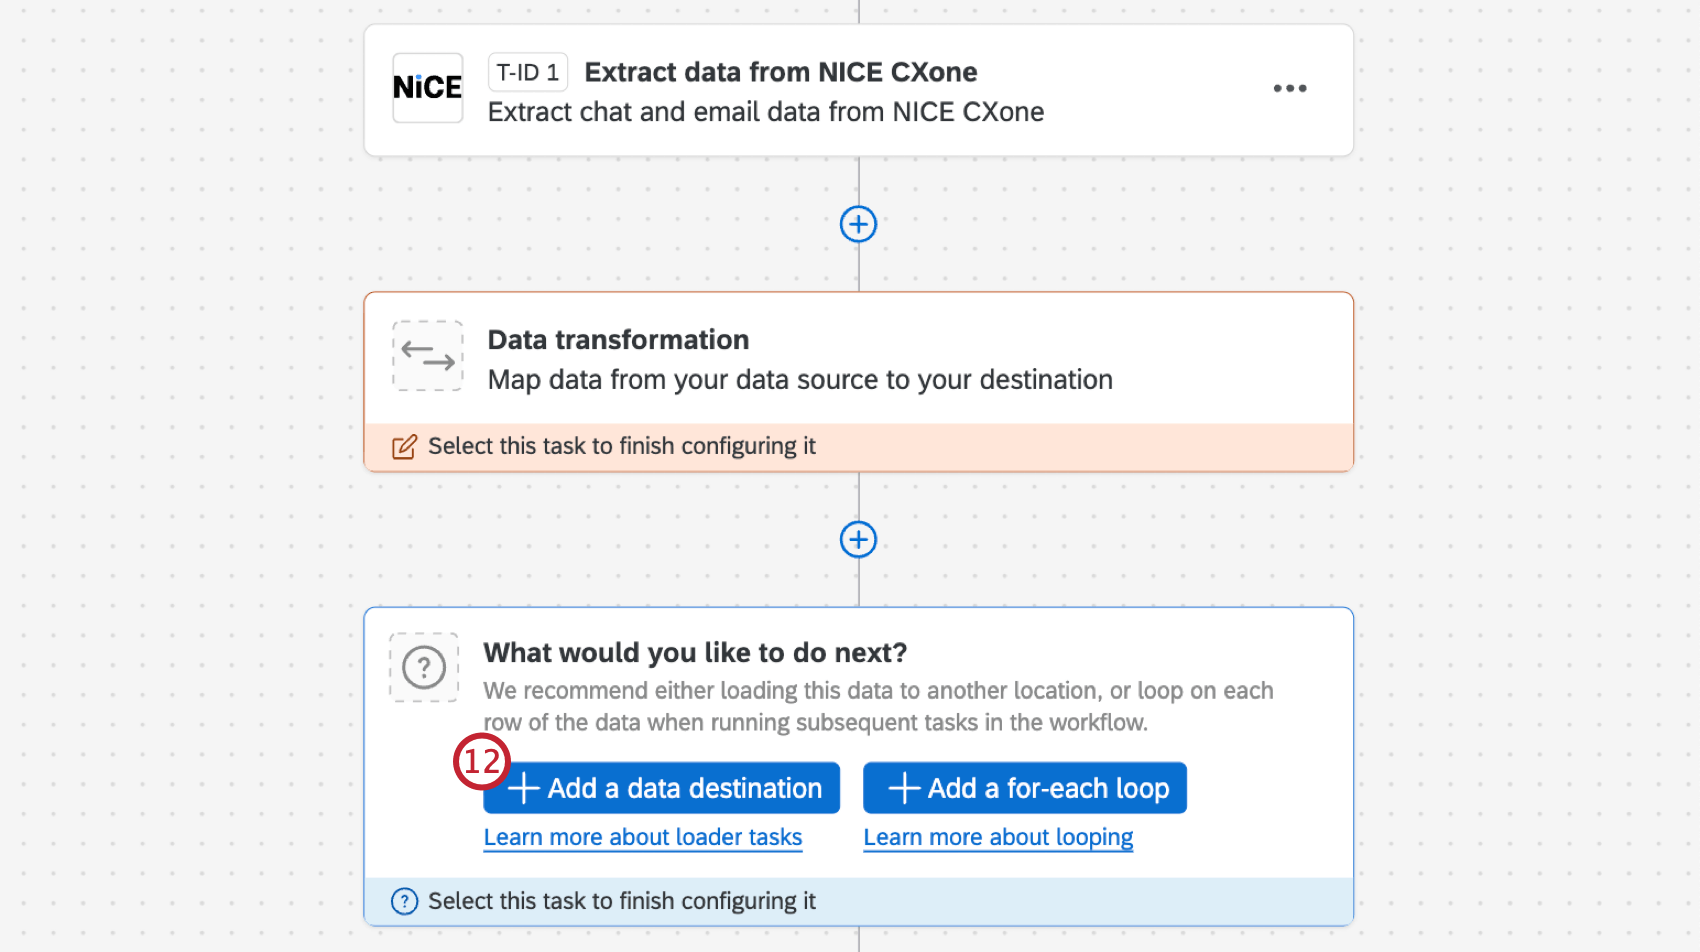
Add a new task. For instructions on adding a task within a Chat or Email Data project, see Using the Workflows Tab. If you’re creating an ETL workflow, select Data source (ETL extractor).
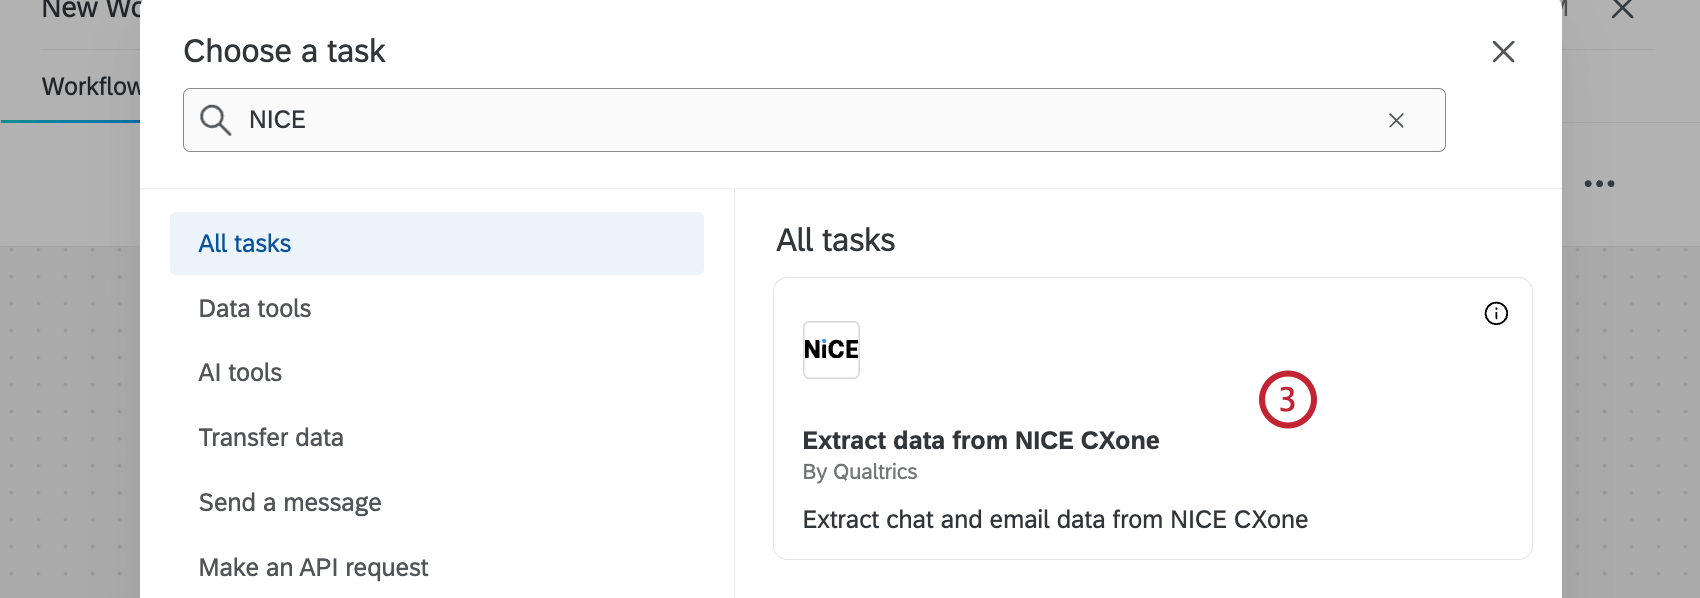
Select the Extract data from NICE CXone task.

Select the NICE CXone account to import data from.
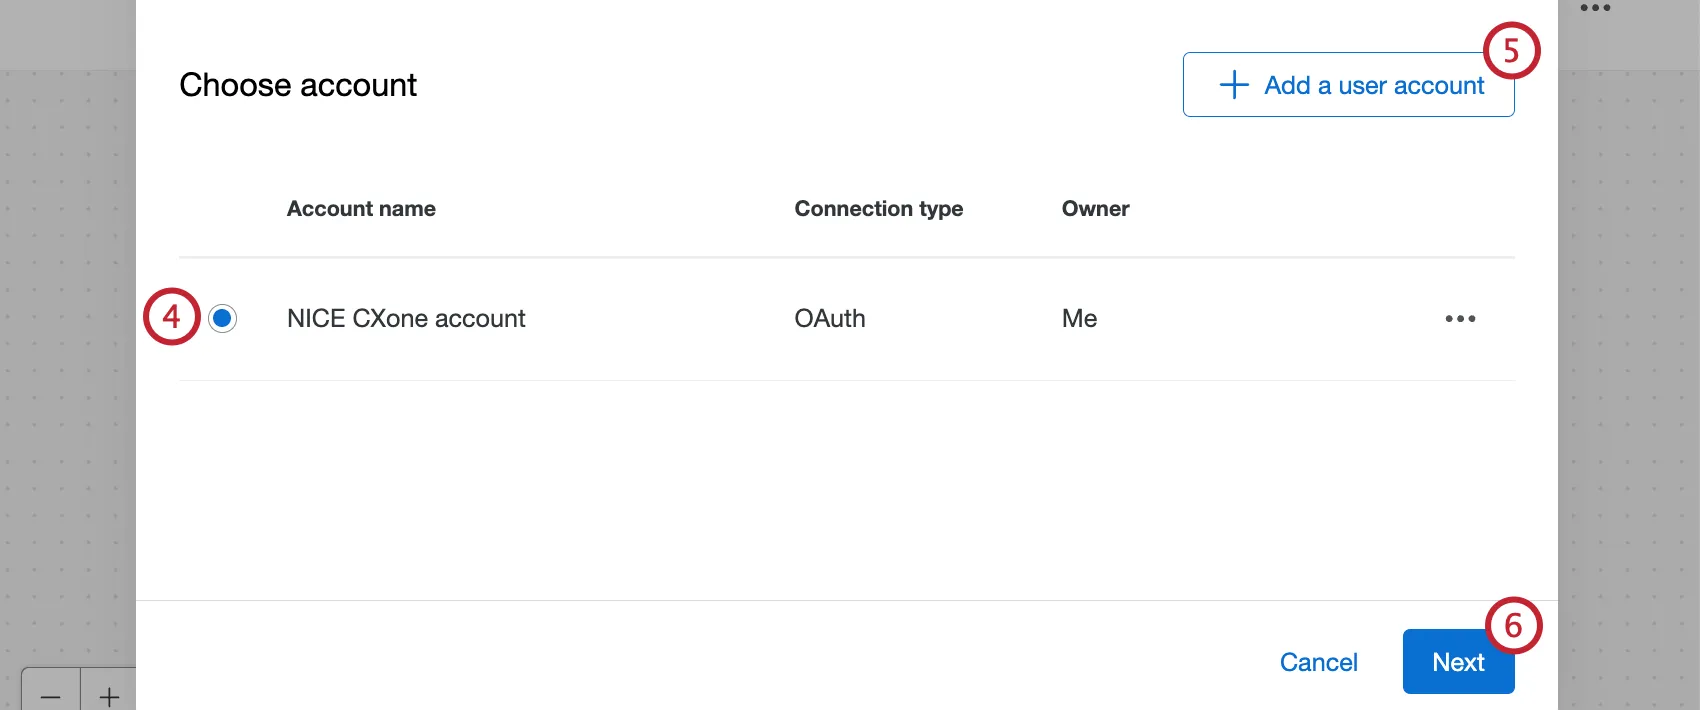
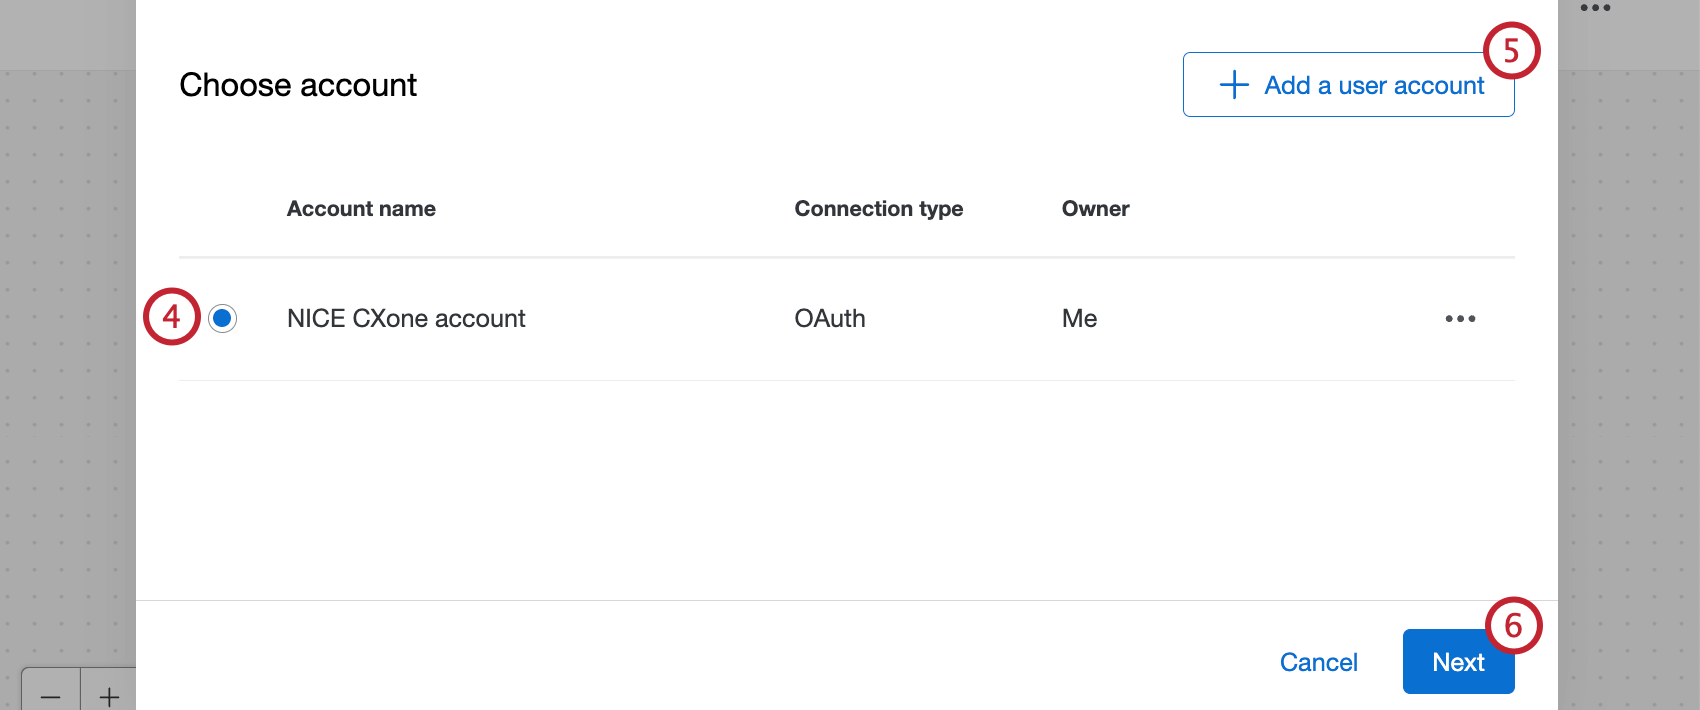
Qtip: Any NICE CXone accounts you’ve previously connected as well as accounts set up by Brand Administrators will be available here.
If you’d like to add a new account, click Add a user account.
Qtip: After clicking Add a user account, give the account a name and enter your NICE CXone credentials, then click Connect account.
Click Next.
Select the type of data you want to extract.

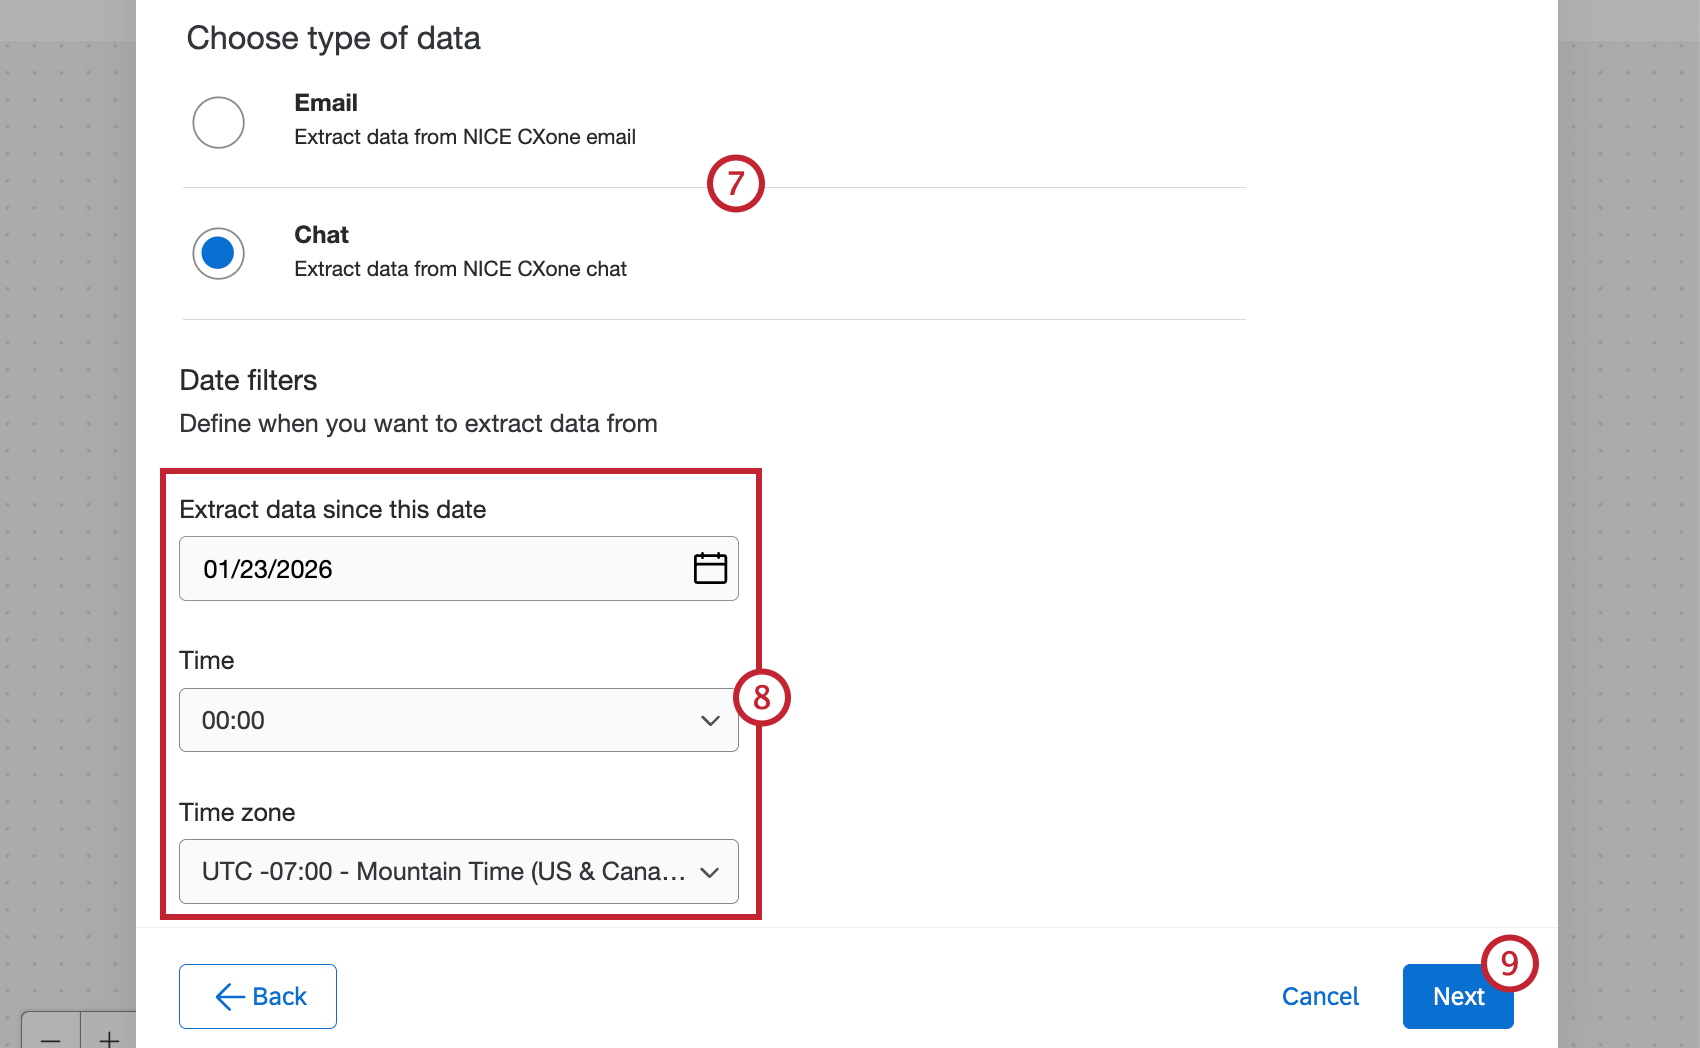
Qtip: If this task is part of a Chat Data project, only chat will show up as an option here. If this task is part of an Email Data project, only email will show up as an option here.
Select the date and time you want to start pulling data from.
Qtip: The date filter will only apply the first time the workflow is run. Changing the date after the workflow is run won’t have an effect on subsequent workflow runs.
Click Next.
Select the NICE CXone fields you want to import. After selecting a field(s), click the right arrow to move it to the selected attributes table. Available fields are displayed on the left, and fields that will be imported are displayed on the right.

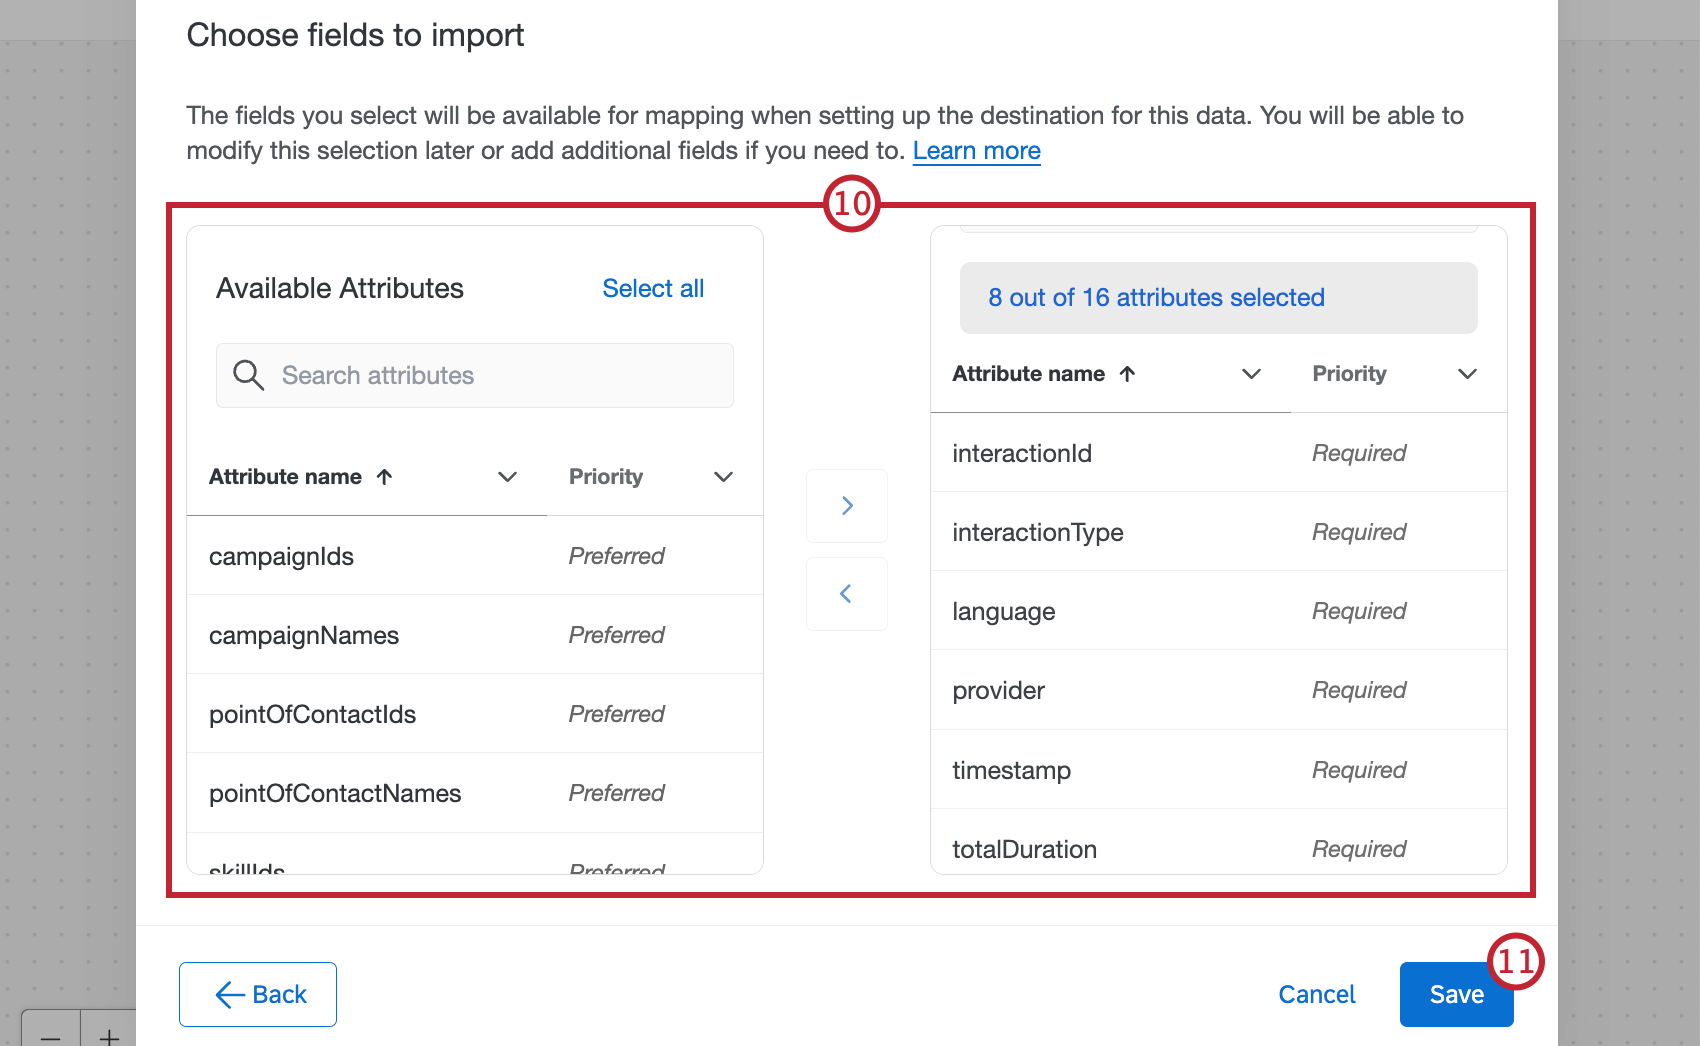
When you’re finished adding fields, click Save.
Click Add a data destination.
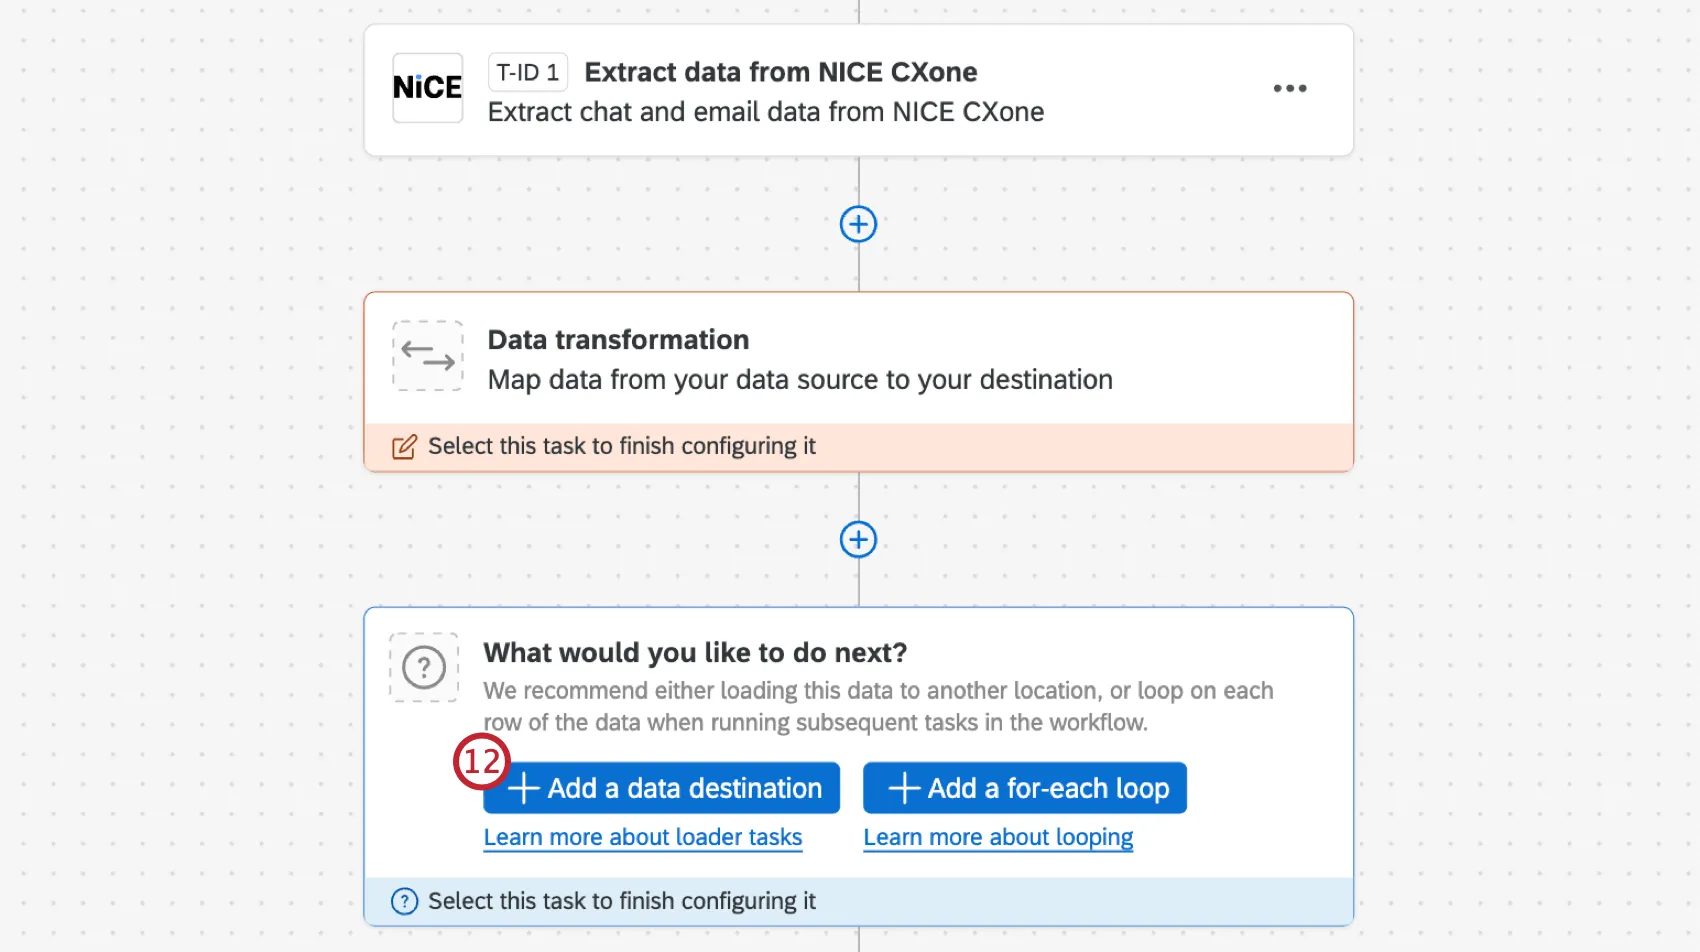
Select the Load data to Conversational Analytics task.
Configure the task using the data from the NICE CXone extractor you just configured. See the Load Data to Conversational Analytics Task support page for more information, including instructions for configuring the loader task.
Limits
A maximum of 60,000 records can be pulled each time the workflow your task is in runs. To pull in historical data you can use the “Run workflow with custom date range” setting after clicking the Run Immediately button. This will only pull data from your specified date range when the task is run.
That's great! Thank you for your feedback!
Thank you for your feedback!