
Configuring MaxDiff Questions
What's on this page
About Configuring MaxDiff Questions
MaxDiff is dependent on setting up the features into coherent questions respondents can easily choose between. From this tool, you will also choose the format of the MaxDiff questions’ presentation, and more.
Qtip: If you would like directions for editing the whole MaxDiff survey’s look and feel, its demographic questions, or anything not directly related to the features and levels of a MaxDiff, see the Building Additional Survey Content support page.
Attention: If you want to go to the next section, do not click Save – click the section’s name instead. If you are editing an existing MaxDiff, do not click Save unless you have made vital changes and want to reset your MaxDiff, erasing all previous data! See Editing an Active MaxDiff for more details.
Qtip: MaxDiff questions cannot be saved to the library, and they cannot be used in any type of logic, including branch or display logic.
Where MaxDiff Questions are Configured
There are two different ways to get to the MaxDiff features and start editing them.
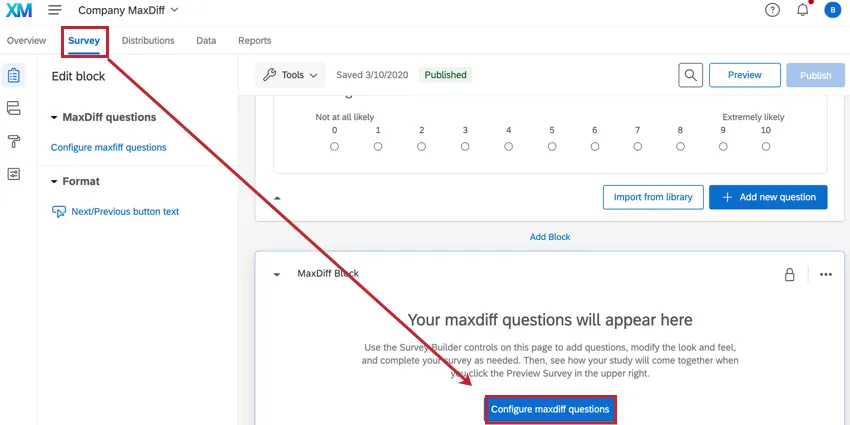
From the Survey tab, you can select Configure maxdiff questions in the MaxDiff Block.
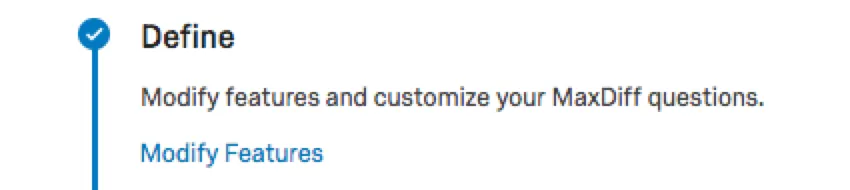
On the Overview tab, you can click Define Features to get to this page.

If you’ve already defined features, the button will change to a link that says Modify Features.
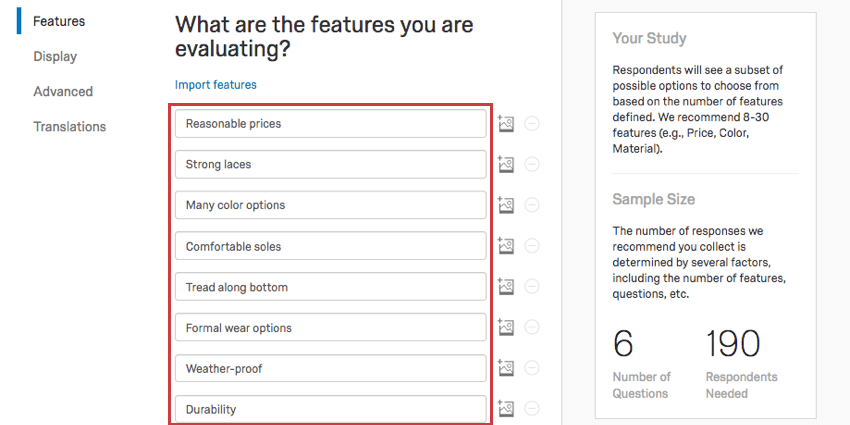
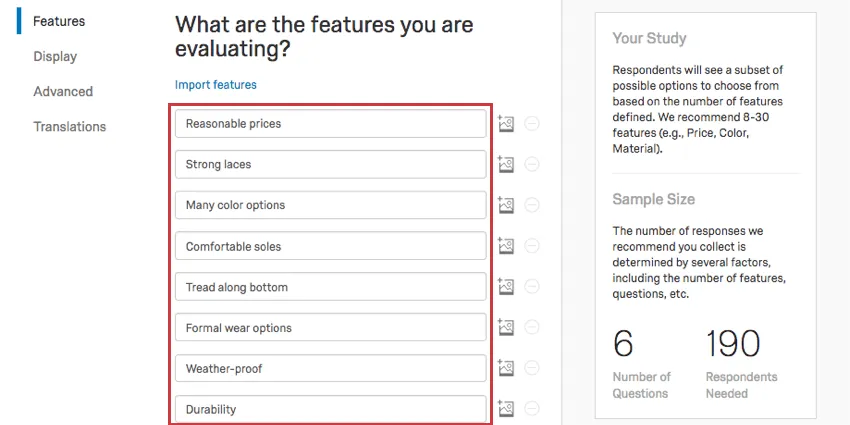
Features
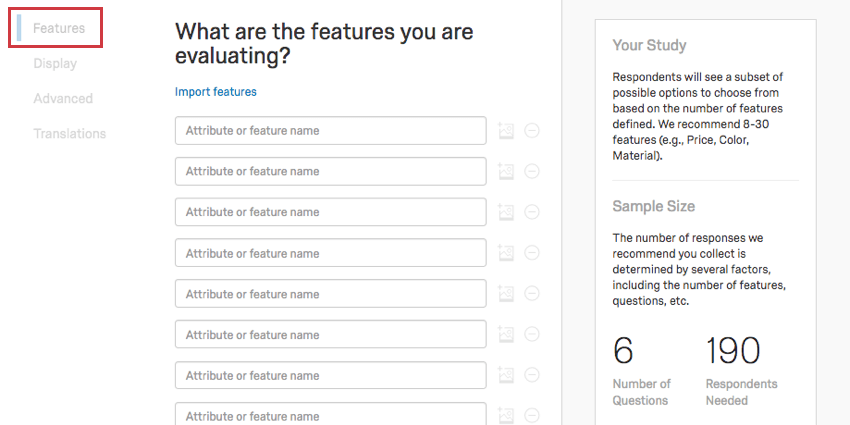
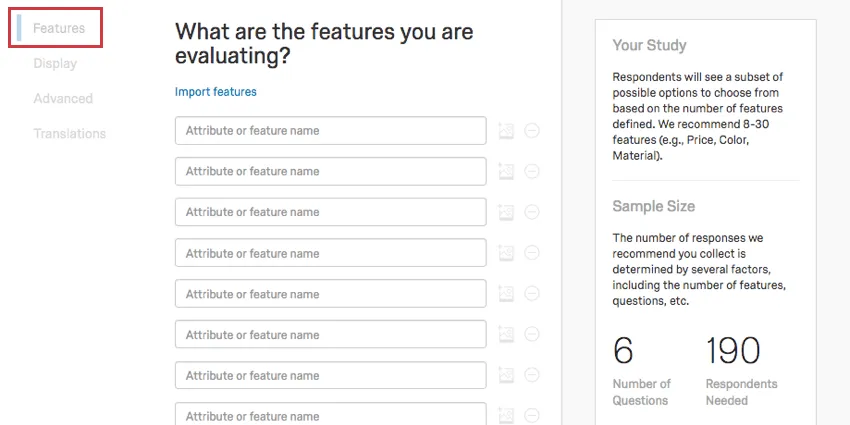
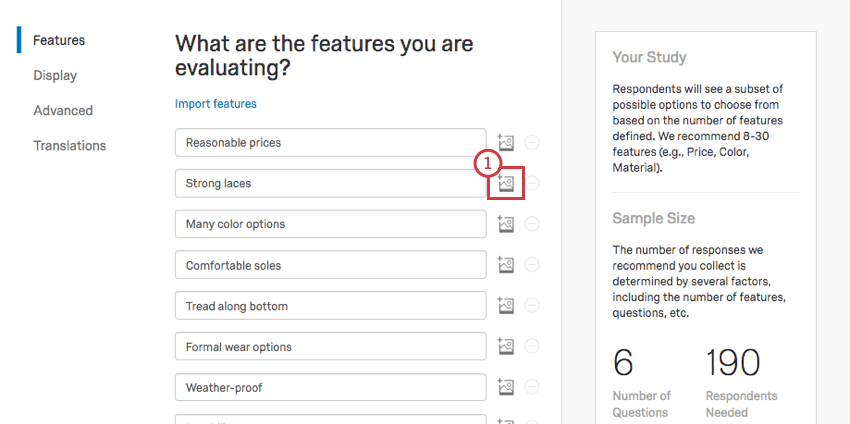
The first section you end up on is Features. Here, you’ll define your features.
Qtip: You can use HTML in the feature name fields to links. While Qualtrics Support cannot provide support on custom coding, you can always consult our community of dedicated users.
Features, also called attributes, are broader aspects of your product that you want to learn the importance of to your customers. For example, if you are running a shoe company, “Red high heels” is too specific; but “Formal wear options” and “Many colors to choose from” are better.
Enter the feature in the attribute or feature name field.
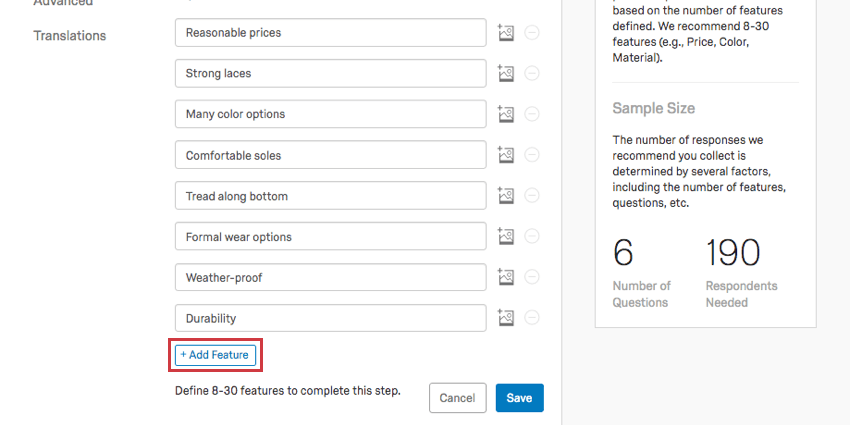
To add another feature, click Add Feature.
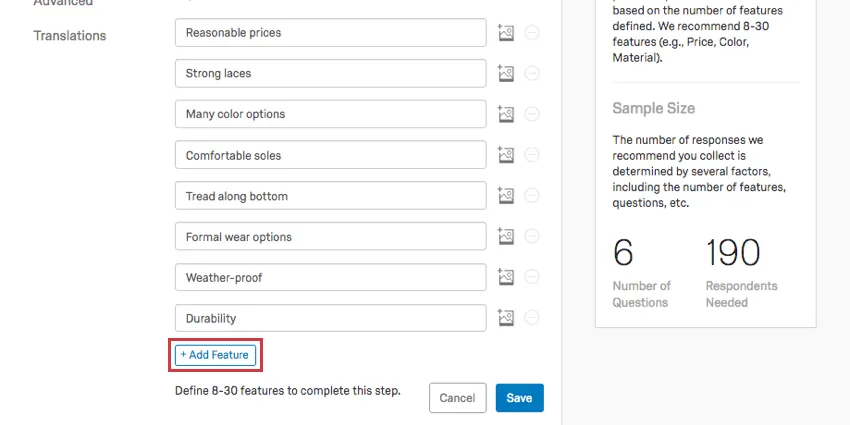
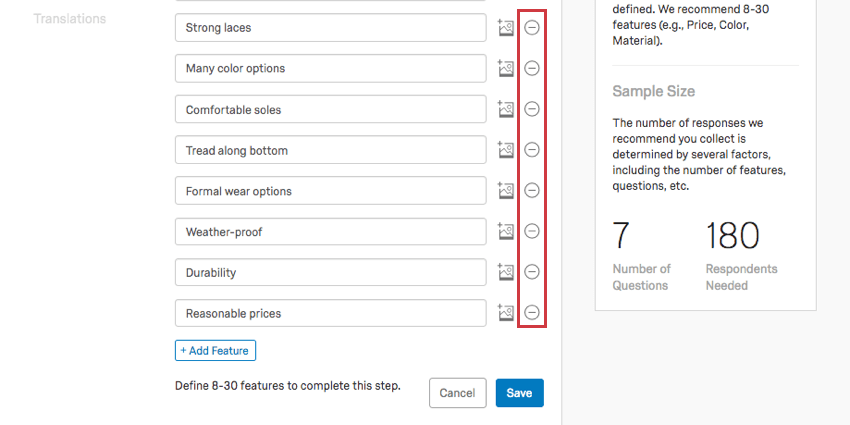
To remove a feature, click the minus sign ( – ) next to the feature’s name. If the minus sign is grayed out, you have the minimum number of features.

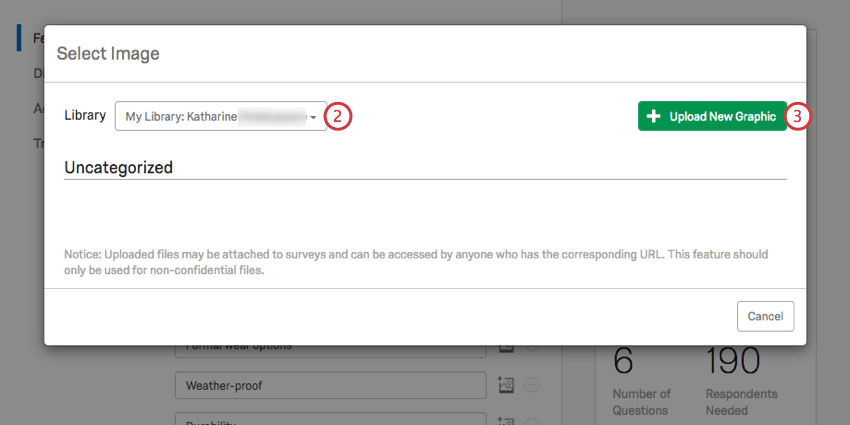
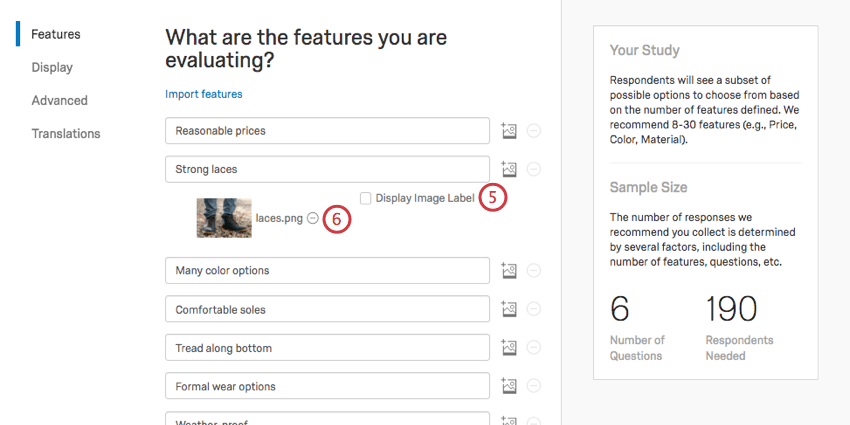
Adding Images to Features
Adding images to your MaxDiff can help your respondents visualize the experience and make more accurate trade-offs. Note that these images will replace the text description of a feature; e.g., you will no longer get “Strong laces” as an option, but a picture of an arrow pointing to shoe laces, which you can display the file name for if the image is clearly named.
Qtip: The Save button will take you out of this page back to the Overview. Do not click save unless you are ready to finish editing your features. Instead, click a section on the left to proceed to the next section.
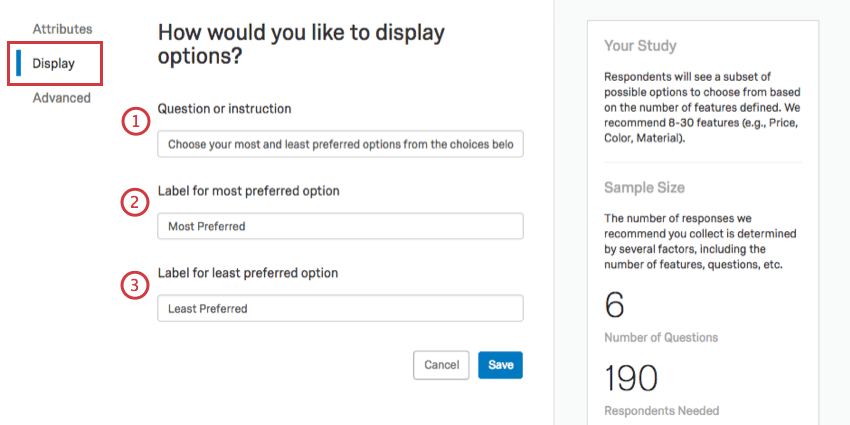
Display
The Display section contains options for how MaxDiff questions are presented to respondents.

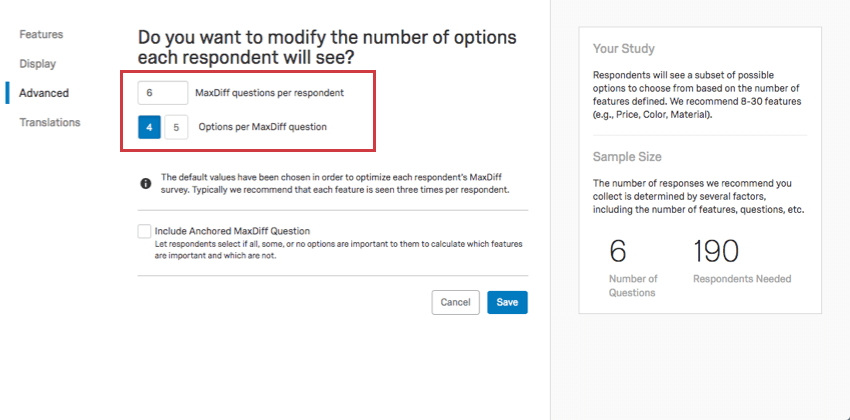
Advanced
In the Advanced section, you get to decide how many features respondents have to choose from at a time, and add an anchored MaxDiff question.
Number of Options Each Respondent Sees
The default values you see are chosen to optimize each respondent’s MaxDiff survey. Typically, we recommend that each feature is seen three times per respondent.
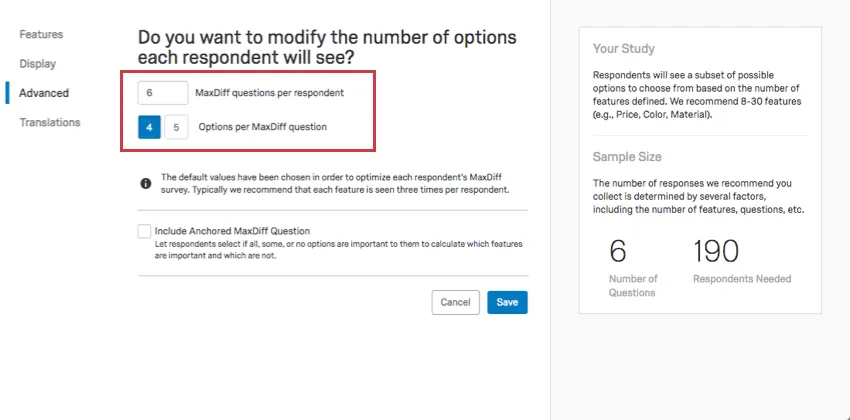
- MaxDiff questions per respondent: How many questions each respondent sees. If you make this number too low, the field will turn red and changes cannot be saved.
- Options per MaxDiff question: How many options the respondents have to rate against each other in each question. You can only select from the options given.
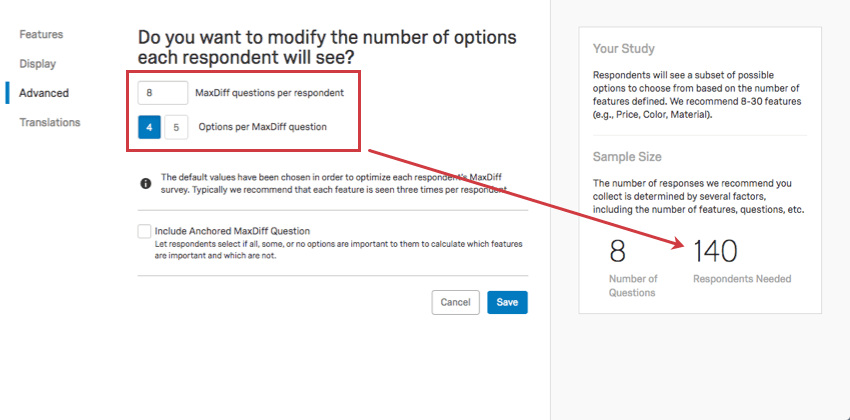
Qtip: As you adjust the number of questions or choices each respondent is presented with, the suggested number of respondents will change.

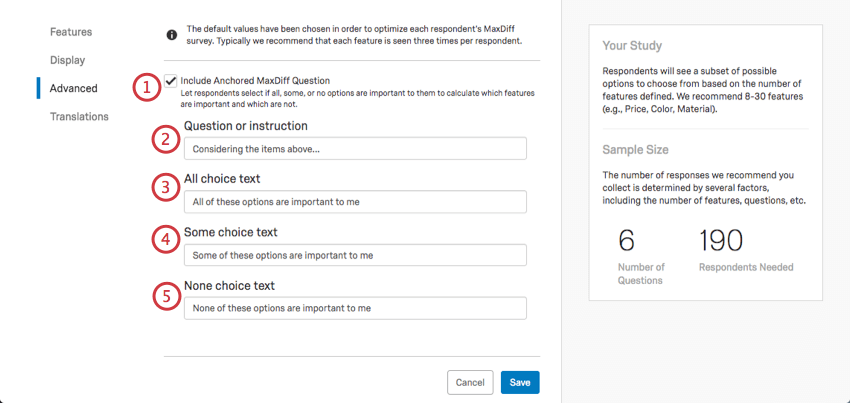
Include Anchored MaxDiff Question
An anchored MaxDiff adds an additional follow-up question after each regular MaxDiff question. This follow-up question will be similar to this one: “Of the options shown, are they 1) all important, 2) only some important, or are 3) none important?” The answer to this follow-up question becomes part of the input to the MaxDiff model. It allows us to provide an anchored point in the report that differentiates the important and unimportant features.

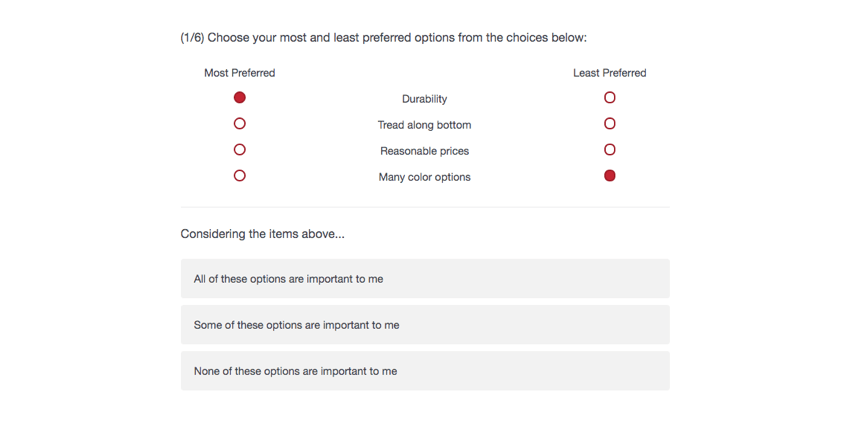
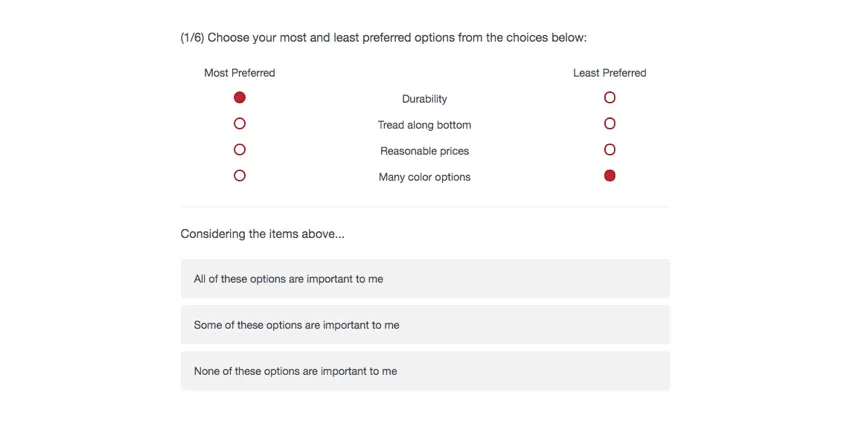
When the respondent goes through the survey, the anchored question will appear after each MaxDiff question after the respondent marks a most and least preferred.
Editing an Active MaxDiff
If you are collecting data in your MaxDiff, it is best not to save edits to your features. As soon as you save changes – even aesthetic changes, such as question-wording – the MaxDiff analysis will reset. You will then have to collect more data to access your reports again.
The MaxDiff resets to accommodate for changing levels, features, question numbers, or choices. Changing question and choice numbers drastically changes the number of responses you need for your data to be valid, whereas changing the offerings themselves invalidates your previously collected responses because your respondents were making decisions based on something else. Thus, this feature helps ensure your data is top quality.
Once a MaxDiff analysis is reset, the previous data is irretrievable. Do not edit active MaxDiff projects unless it is absolutely necessary!
That's great! Thank you for your feedback!
Thank you for your feedback!