
Sharing & Managing Workspaces
What's on this page
About Sharing and Managing Workspaces
Think of workspaces like tabs in a spreadsheet: you can use them to organize your analyses by similar content, or by whether you’d like to share those analyses.
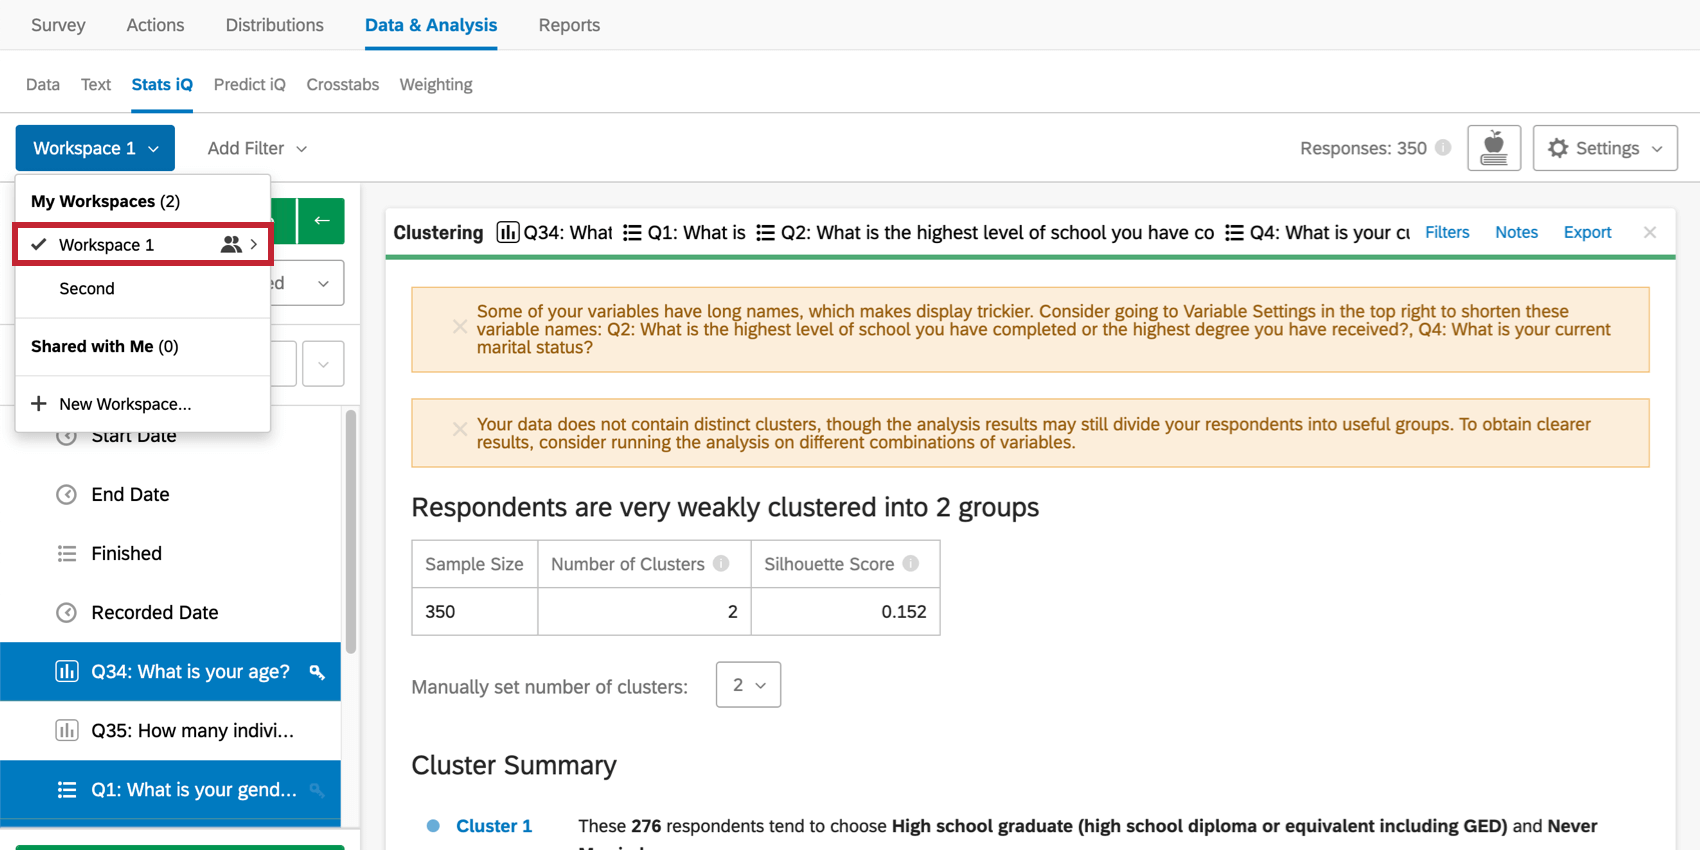
When opening Stats iQ for the first time, a new blank workspace will be created. Click the Workspaces drown on the upper-left to select the workspace you want to work on, make changes to the workspace you’re on, or to create a new one.
Qtip: You may have up to 750 cards in your workspace. If you reach this limit, an error will appear when you try to create a new card, warning you that your oldest cards will be deleted.
Creating Workspaces
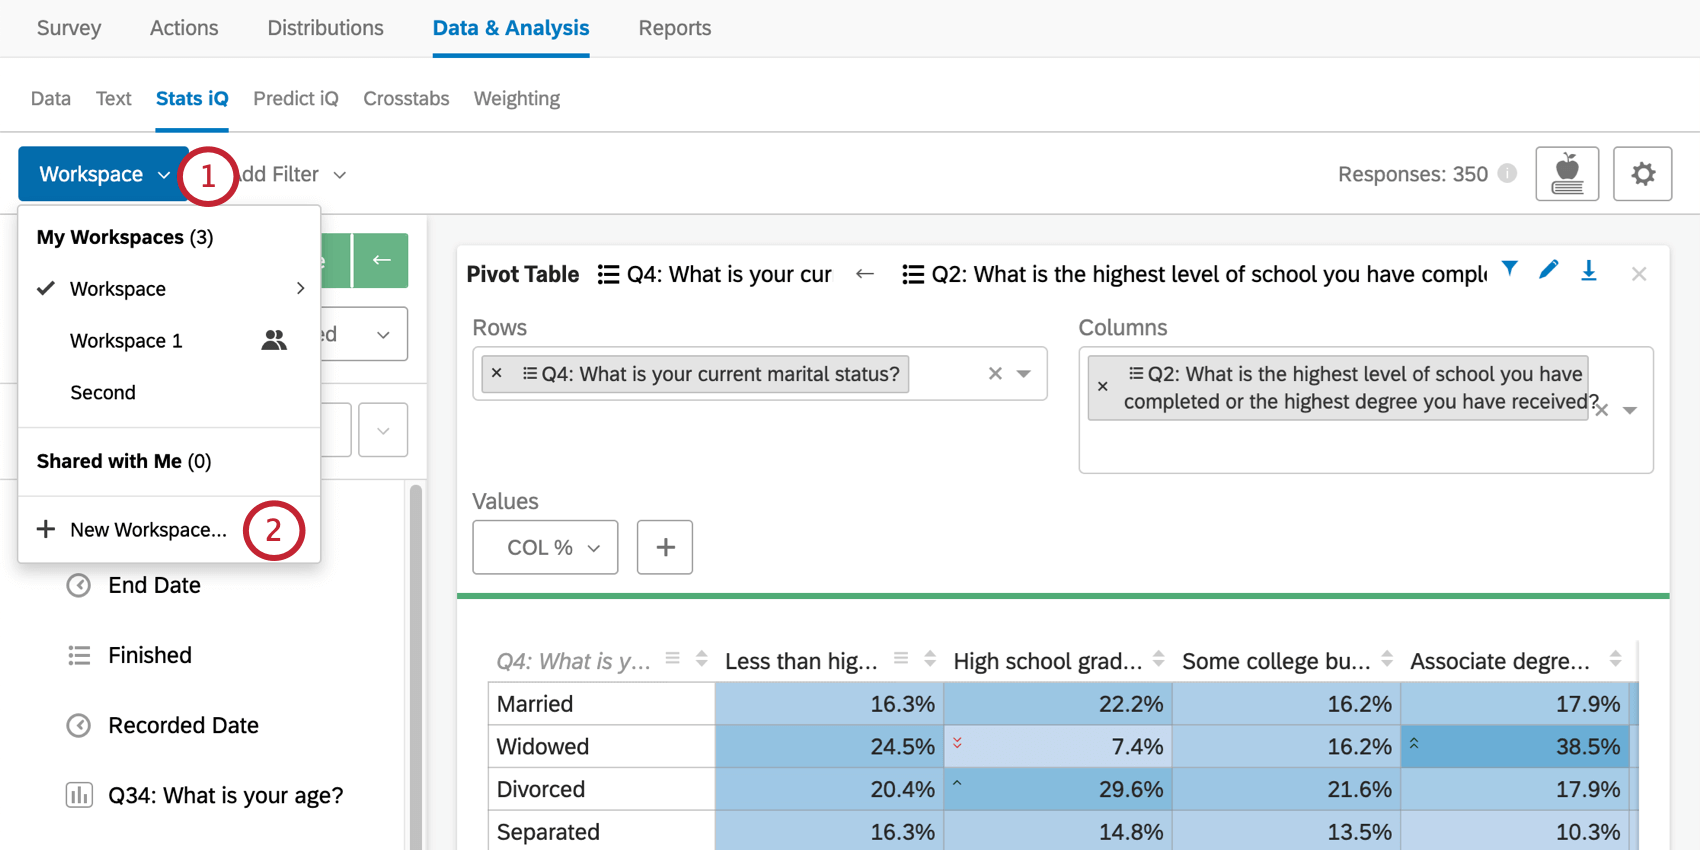
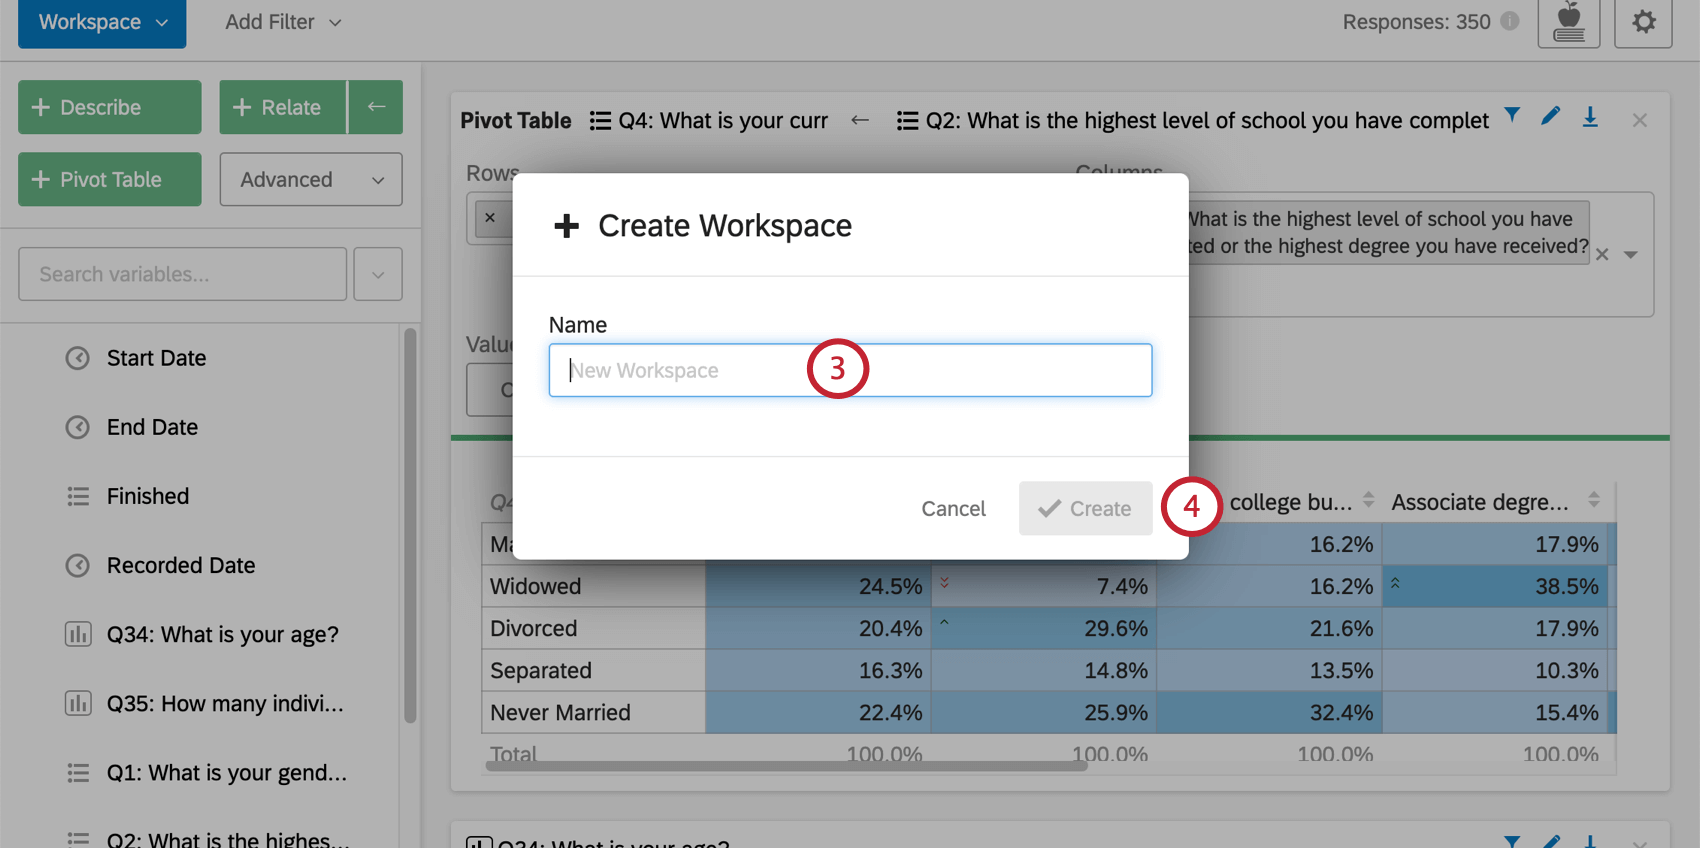
Qtip: Workspaces are for your organizational purposes. There is no right or wrong number of workspaces, and you are free to include any analyses you want.
Exporting & Printing Workspaces
You can print workspaces, export their results to Excel, or save a PDF. From the Workspaces dropdown menu, highlight your workspace to export or print. You will need to be inside the workspace to get this option.
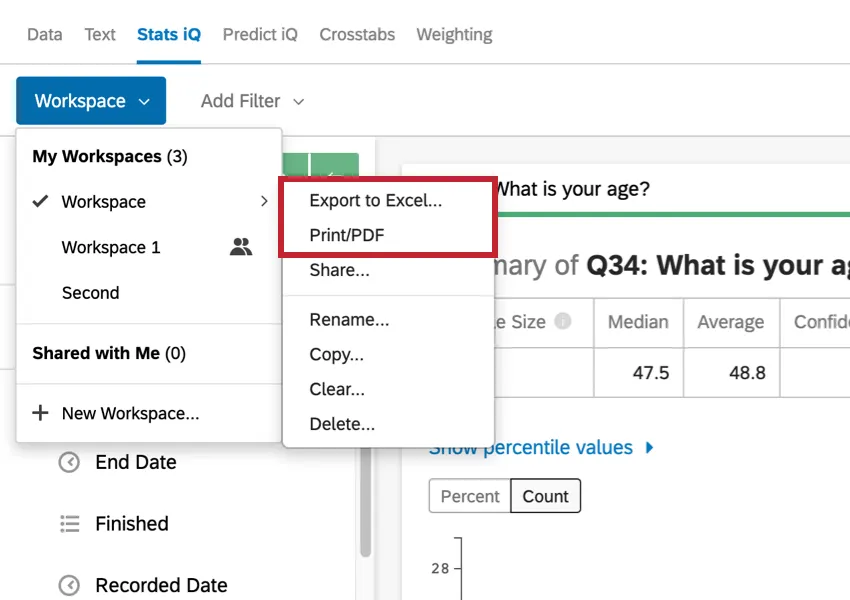
- Export to Excel: Export your results to an Excel file. Results are organized into columns and rows without graph visualizations. This is an XLSX file, not a CSV or TSV.
- Print/PDF: A print preview of your workspace will appear. You will be able to decide whether to save as a PDF or print. Method varies depending on your operating system and your printer’s setup.
Attention: Date variable cards are incompatible with exporting at this time. Worksheets with date variable cards also cannot be exported.
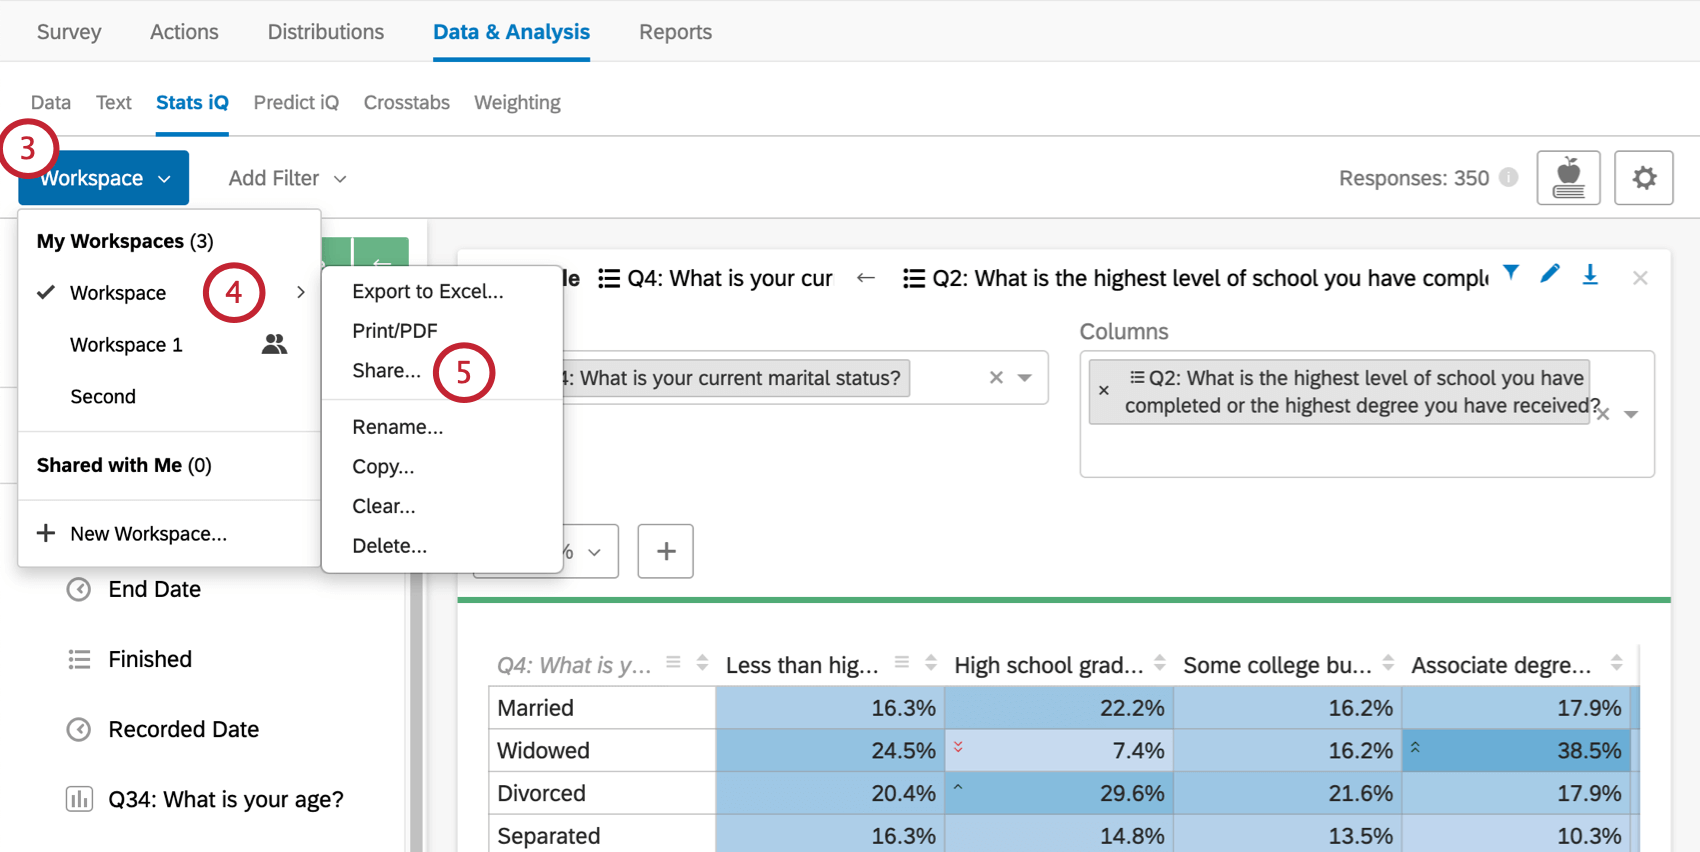
Sharing Workspaces
By default, workspaces are private to you, even if you share the survey with someone and give them reporting access. However, you can share the workspace with the same people you’ve given access to the survey.
Qtip: You can invite just about any colleague or Qualtrics user to collaborate on a project with you. Read more on the linked page.
Qtip: Have your colleague contact their Brand Administrator if they do not have access to Stats iQ in their other surveys.

Qtip: If your colleague sees the survey in their account, they can also go to the Stats iQ section of the Data & Analysis tab and access the workspace as you would any other. If your colleague doesn’t see the survey in their account, the Collaborating on a Project page might help.
Workspaces you’ve made available to other will be indicated with an icon in the Workspaces dropdown menu.

Workspaces Shared with You
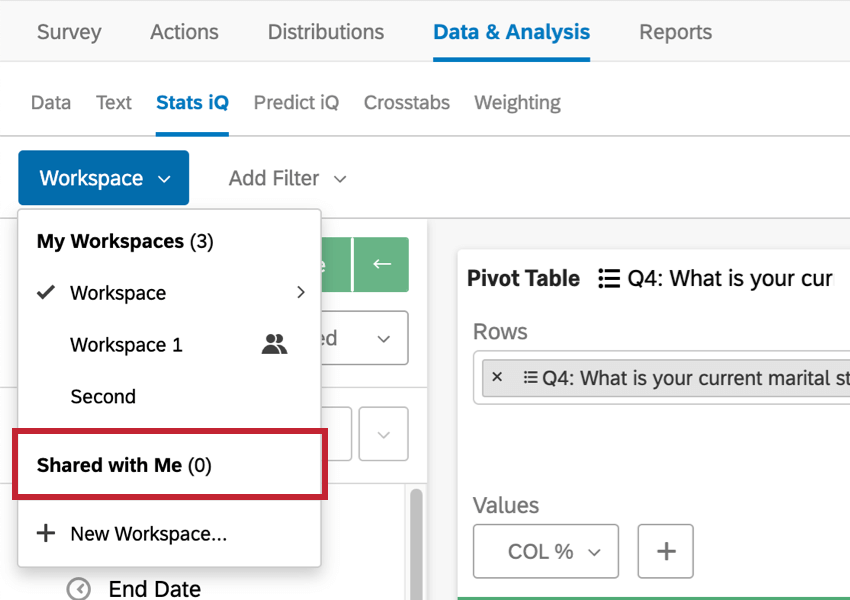
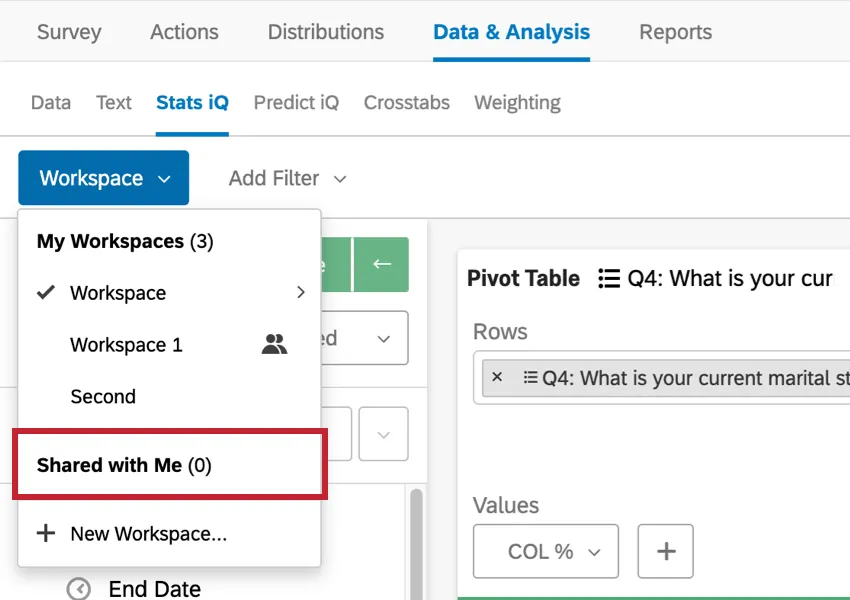
If people share workspaces with you, then you will see them listed in the dropdown under Shared with Me.
Managing Workspaces
When you are on a workspace, you can rename, copy, clear, or delete that workspace.
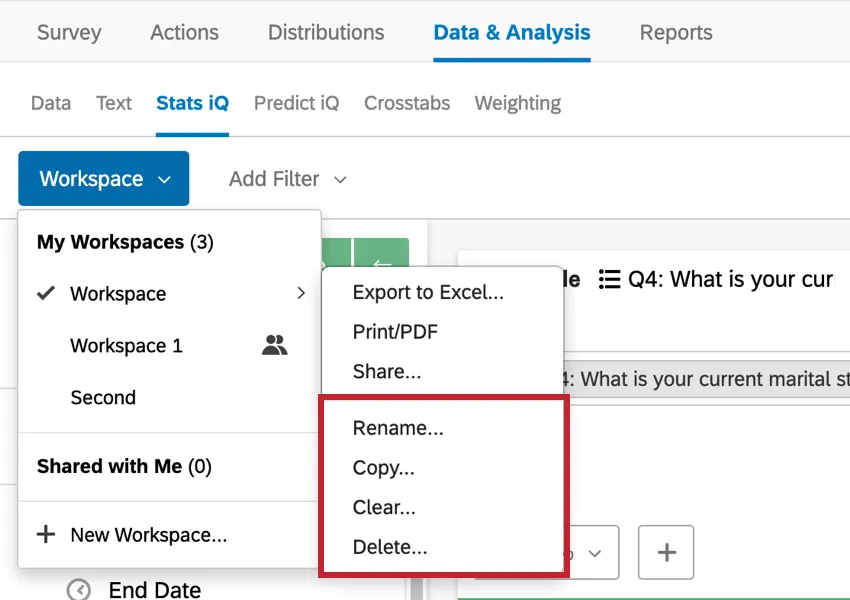
- Rename: Rename the workspace.
- Copy: Create a duplicate of your workspace. Example: This is useful if you’d like to have similar workspaces, but one is shared and one is private for only you. In addition, you can test analyses in a copy without affecting the original.

- Clear: Erases all your analyses. Your settings (variable settings, analysis settings, etc.) will not be reset.
- Delete: Delete the workspace.
Attention: There is no undo button for deleting or clearing. Once deleted or cleared, data is irretrievable. Always be sure you really want to clear or delete data before doing so!
FAQs
How do I get my new responses to show up in Stats iQ?
How do I get my new responses to show up in Stats iQ?
How can I stay up to date on new Qualtrics features?
How can I stay up to date on new Qualtrics features?
To access these release notes, you need an XM Community account. These accounts are free for any users with a Qualtrics account. This support page contains information for how to register an XM Community account.
Once you're logged into the XM Community, head over to the Weekly Product Updates Introduction Post. This post contains all the information you need to get started with subscribing to product updates!
What do I do if my data isn't loading properly?
What do I do if my data isn't loading properly?
That's great! Thank you for your feedback!
Thank you for your feedback!