
Org Hierarchy Tools (CX)
What's on this page
Qtip: CX Hierarchies are only available to CX licenses with tickets included. If you’re interested in this feature, reach out to your Account Executive.
Qtip: CX Hierarchies and EX Hierarchies are very similar, but have some key differences. If you are an EX client, please see Org Hierarchies Tools (EE) instead.
About Org Hierarchy Tools
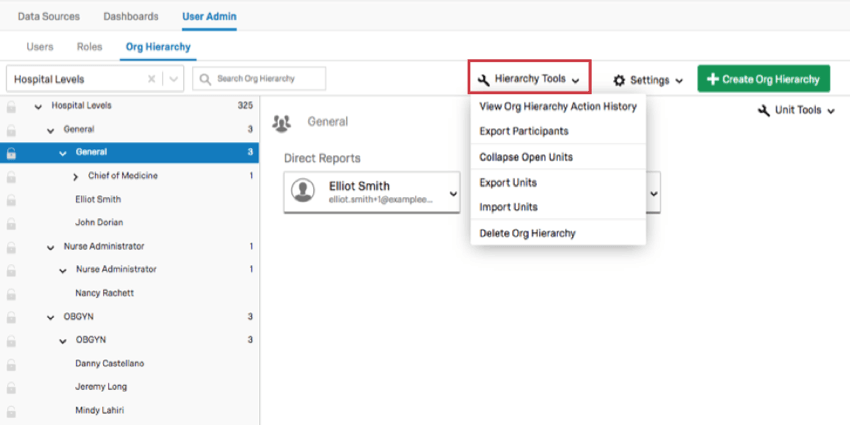
Once you have generated your hierarchy, you will have access to a Hierarchy Tools menu containing several features to help you navigate and manage your newly made hierarchy.
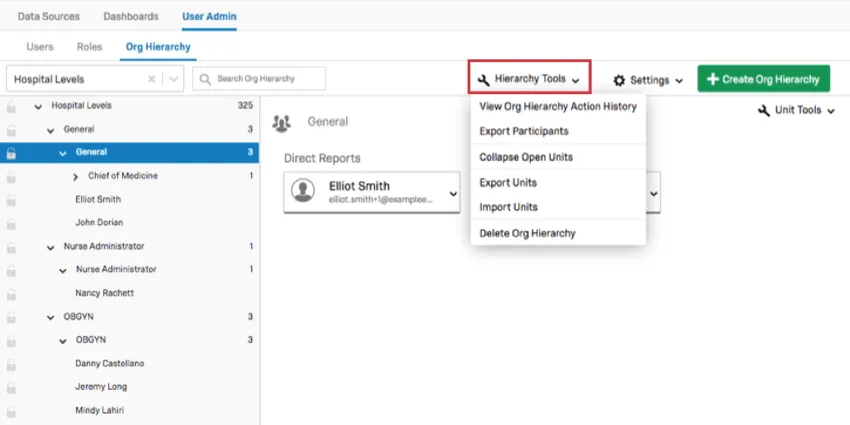
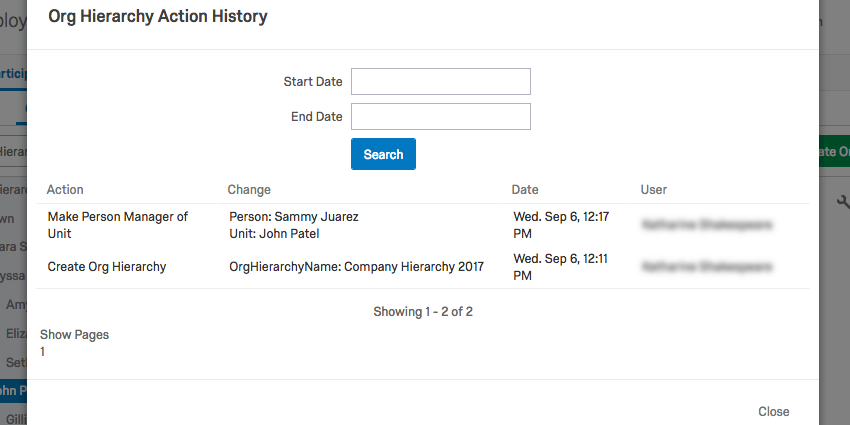
View Org Hierarchy Action History
The View Org Hierarchy Action History will show every action taken on the hierarchy inside the platform, including when it was uploaded and what changes were made to it.
In the image above, a user in the hierarchy was made manager.
You can also restrict your history by a Start Date and End Date.
Export Participants
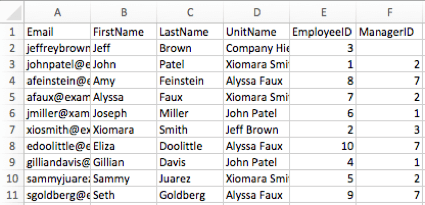
The Export Participants option will download a CSV of the users and metadata relevant to the hierarchy to your computer.
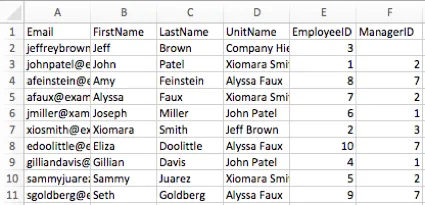
For example, you may have saved your users’ gender, age, and hiring date as metadata, but if you built a Parent-Child hierarchy, this option will only download each users’ EmployeeID, ManagerID, and UnitName (the name of the unit the user belongs to), because that’s the only metadata relevant to the hierarchy.
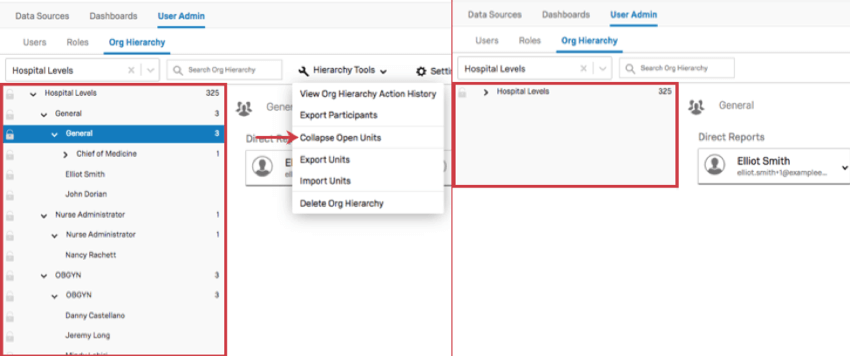
Collapse Open Units
If you select Collapse Open Units, then the units you have open will close up.
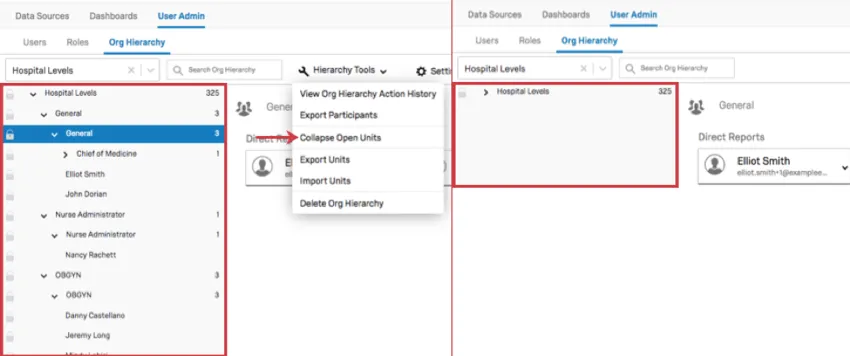
This option is useful if you have a large hierarchy you’ve been looking through, and you want to simplify what you’re looking at to find something located elsewhere in the hierarchy.
Delete Org Hierarchy
Delete Org Hierarchy will delete the selected Org Hierarchy. Please note that when a hierarchy is deleted, the org hierarchy metadata fields associated associated with the hierarchy will also be deleted (and must be reimported if you’d like to use them again).
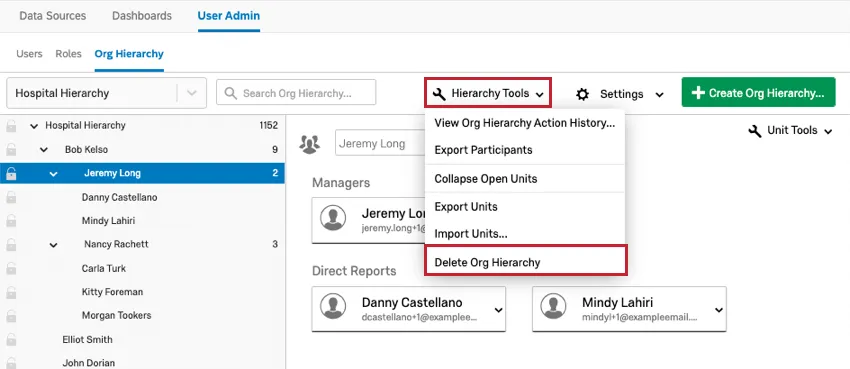
Attention: This is permanent! You will not be able to retrieve deleted hierarchies.
Attention: Deleting the hierarchy from one project in the brand will delete the hierarchy so it doesn’t appear anywhere else in the brand.
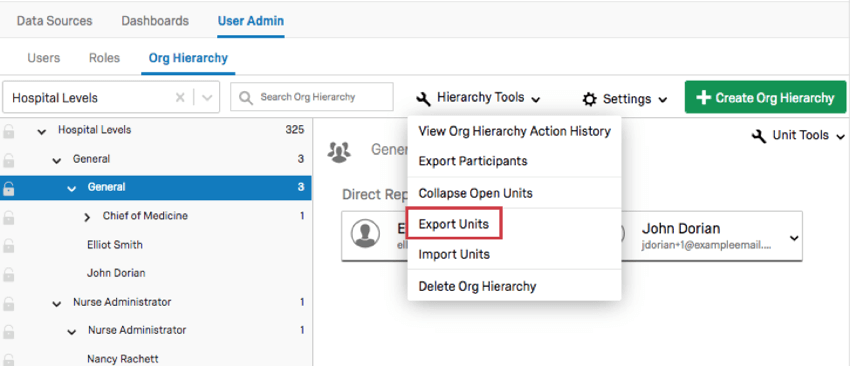
Export Units
Qtip: If you’re looking to import new users or update existing one, see our Adding, Importing, & Exporting Users page. If you’re looking to build a hierarchy, please see Hierarchies Basic Overview.
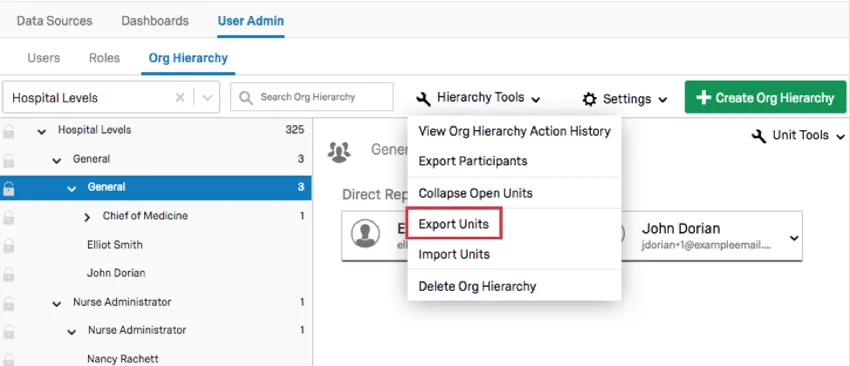
When you click Hierarchy Tools and select Export Units, you will get a CSV containing information about your hierarchy.
Every row is a different unit, and the columns are as follows:

- UnitName: The name of the unit. This can often be a manager or level’s name, or your Org Unit Description, if you used this column.
- UnitID: The internal ID of the unit. This is generated by Qualtrics and is not the same as Org Unit ID metadata, which you define.
- ParentUnitID: The internal Qualtrics ID of the unit above the unit defined by the UnitID column.
- Manager1: The email address of the user who is manager for this unit. Your CSV may have many Manager columns, such as Manager2, Manager3, etc.
- Manager1Name: The full name of the user who is manager for this unit. Your CSV may have many ManagerName columns, such as Manager2Name, Manager3Name, etc. This should correspond to the appropriate Manager column, eg, with Manager1 being the email address of the person whose full name is given in Manager1Name.
- Manager ID: If you built a Parent-Child hierarchy, your Manager ID metadata will appear here.
- Level 1, Level2, etc.: If you built a Level-Based hierarchy, your level metadata will appear here.
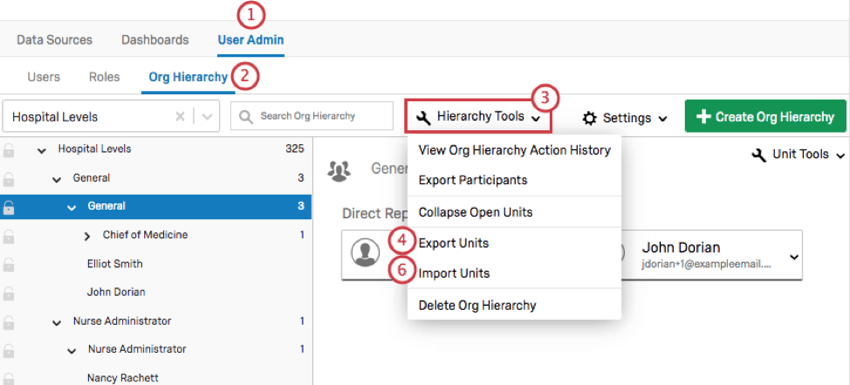
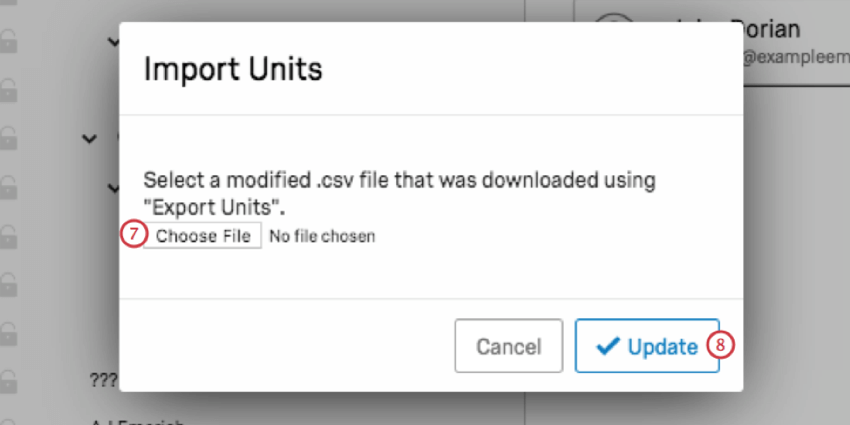
Import Units
Qtip: If you’re looking to import new users or update existing one, see our Adding, Importing, & Exporting Users page. If you’re looking to build a hierarchy, please see Hierarchies Basic Overview.
Once you have exported your units, you can make edits to this CSV and re-import it to change your hierarchy.
Qtip: This is the best way to update your hierarchy, because the use of a file means you can save multiple versions and fix your changes if you decide against it using a CSV. We advise you use the importing feature instead of manually editing a hierarchy.
ManagerName and Manager
Under the ManagerName and Manager columns, you can add or change the manager for the unit. Copy and paste the user’s email under the Manager columns and enter the same user’s full name under ManagerName. Any user can be assigned as manager of any unit, but making a user manager of a unit they don’t already belong to will create duplicates of that user. Removing a manager from these columns makes them a direct report of that unit.
Following the Manager#, Manager#Name formula, you can add as many managers as you need to a unit. For example, if I have 3 managers, I can have Manager1, Manager1Name, Manager2, Manager2Name, Manager3, and Manager3Name columns.
UnitName
Rename units in the UnitName column.
UnitID and ParentUnitID
Switching the UnitID listed in the ParentUnitID column allows you to change a unit’s place in the hierarchy. Copy the UnitID you wish to nest a unit under and paste it into the ParentUnitID column.
Other Edits
You cannot use this file to delete units. Removing a row from the CSV does not affect the unit.
You cannot use this file to add brand new users or units. All users and units mentioned in this file must already be in the hierarchy, so you cannot use the CSV to add new users to your Ad Hoc hierarchy, or to make up units that don’t exist yet.
You cannot make adjustments by editing the ManagerID, Level, or other hierarchy-specific metadata fields in this file.
Importing Units
FAQs
Is this feature compatible with data models?
Is this feature compatible with data models?
Can I automate changes to my CX org hierarchy?
Can I automate changes to my CX org hierarchy?
That's great! Thank you for your feedback!
Thank you for your feedback!