
Overview Tab (Conjoint & MaxDiff)
What's on this page
About the Overview Tab in Conjoint and MaxDiff Projects
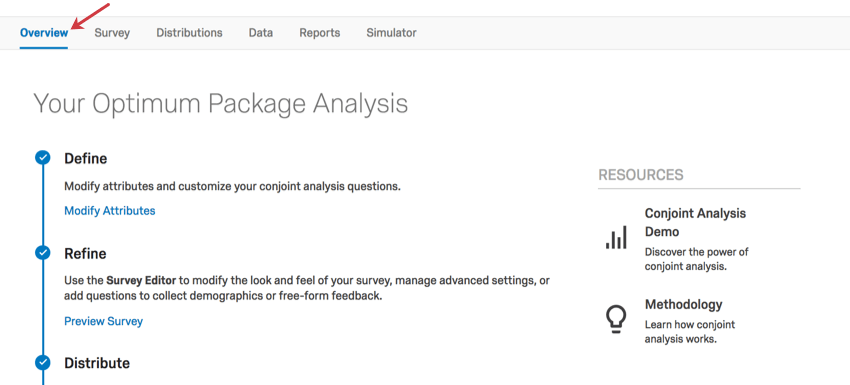
The Overview tab will guide you through the creation of a conjoint or MaxDiff. It contains necessary project steps, as well as links to other functions in the project.
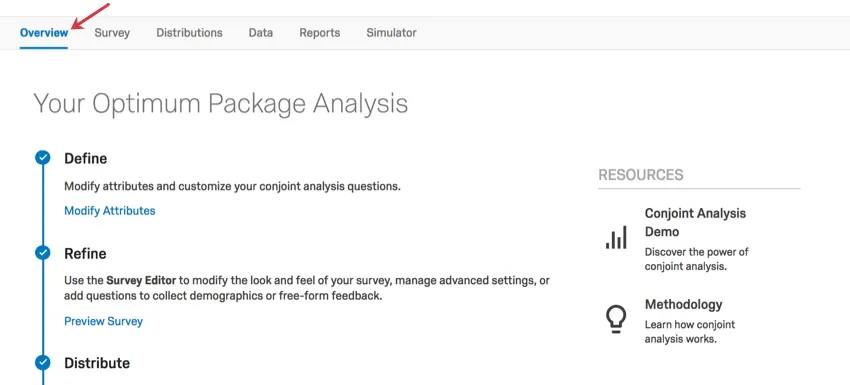
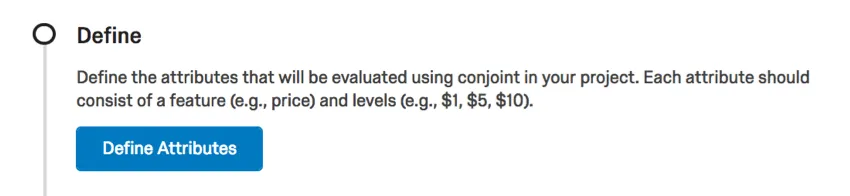
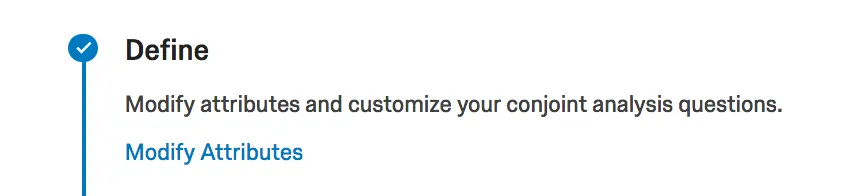
Define
In the Define step, you will be asked to define the features and levels you will be investigating in the conjoint analysis, or the attributes you’ll analyze in MaxDiff.
Once you click Define Attributes, you will be taken to configure your conjoint questions or MaxDiff questions. Visit the linked page for detailed instructions.
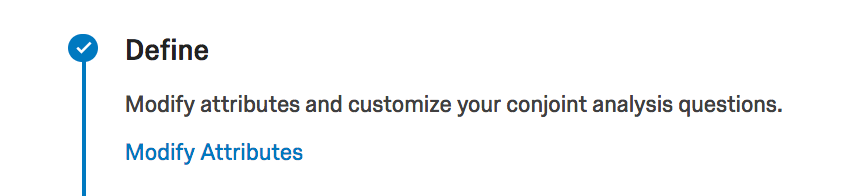
If you’ve completed this step, the button will change to say Modify Attributes, and clicking this will allow you to edit attributes.
Qtip: When viewing attributes you previously created, do not click Save unless you have made changes you want to implement. Saving will regenerate the project, which means you will need to collect more data before viewing reports and the simulator again.
Qtip: Not sure what attributes are or how to plan them? See the Getting Started page on Defining Conjoint Features & Levels for conjoints and Getting Started with MaxDiff Projects for MaxDiff.
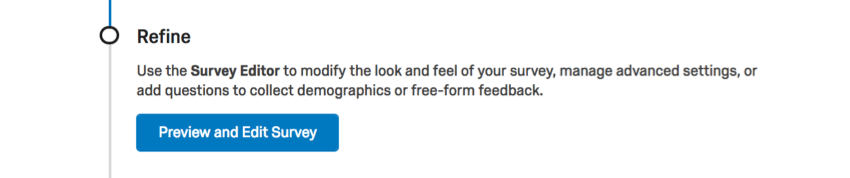
Refine
The Refine step is all about the Survey tab. This is where you edit the survey’s look and feel, add demographic questions, preview the survey, and more.
Click Preview and Edit Survey to go to the Survey tab.
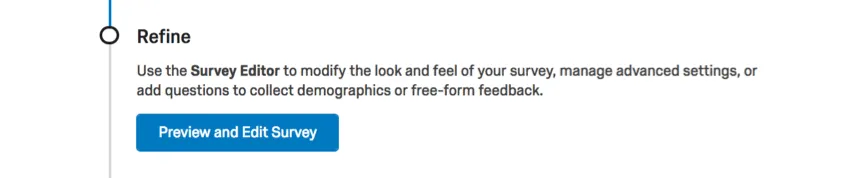
If you have completed the step, the button will say Preview Survey but still take you to the Survey tab itself, not just the preview.

Qtip: If you are interested in using segmentation (for conjoints or for MaxDiff), you must add demographic questions or embedded data in this step.
Distribute
The Distribute step is all about getting your survey out to your respondents and collecting data. There are many different ways to distribute your project.
Click Collect Responses to go to the Distribution tab and get started.
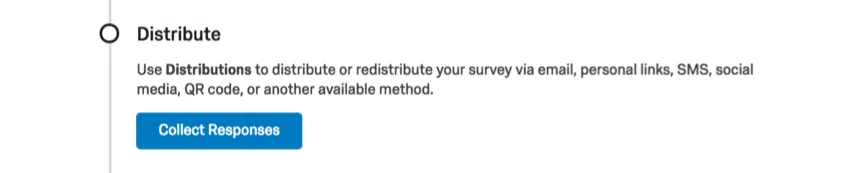
If you’ve completed this step, the button will change to say View Distribution Options.

Qtip: If you are interested in segmentation (for conjoints or for MaxDiff), consider adding demographic fields (Embedded Data) to a contact list before emailing the survey.
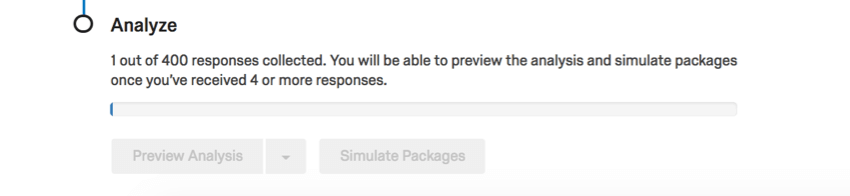
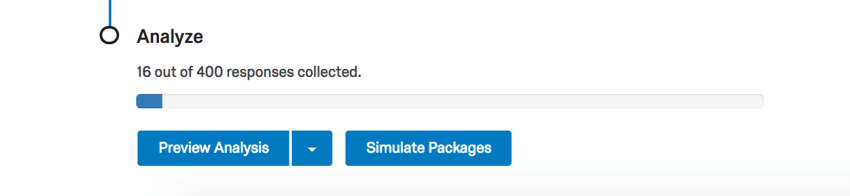
Analyze
You will not be able to analyze your responses until you receive the minimum number of responses required to generate demo reports.
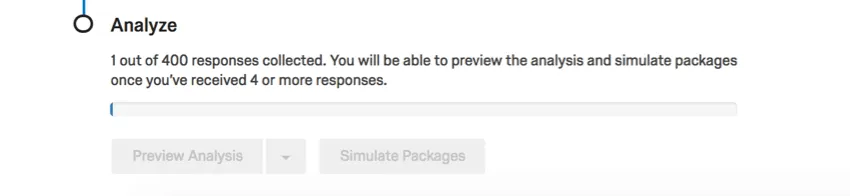
Once you collect enough data, you will have the following options:

- Click Preview Analysis to go to the Reports tab.
- Click the dropdown next to Preview Analysis to engage in Segmentation (for conjoints or for MaxDiff).
- If you are in a conjoint project, you can click Simulate Package to go to the simulator.
That's great! Thank you for your feedback!
Thank you for your feedback!