
User Admin in Bain Outer Loop Actions
What's on this page
Attention: This feature is only available to users on the new simplified pricing and packaging plans or customers who actively participated in the Preview Program for this feature. For more information, see Qualtrics Public Preview. If you have questions about your Qualtrics pricing and packaging plan, reach out to Account Services.
About User Admin
Bain Outer Loop Actions projects have multiple roles with distinct permissions and access levels. The role a user is assigned determines what they will see and what actions they can take within the project.
Within the User Admin tab, project admins can manage and configure roles for the project, and assign roles to users.
Qtip: For an overview of Bain Outer Loop Actions projects, see Bain Outer Loop Actions Overview.
User Roles & Personas
Attention: The roles and permissions mentioned in this section are separate from roles and permissions in other parts of the Qualtrics platform. The permissions and access described here only apply to Bain Outer Loop Actions projects.
Bain Outer Loop projects have 2 types of roles, admins and participants. Within the participant role there are 3 distinct Outer Loop personas that each have specific types of access. Below is a breakdown of the available roles and personas:
Project Admin: The administrator of outer loop at an organization. Admins can manage role access, custom statuses, categories, and topics for elevation organization.
Qtip: Project admins can only access other tabs of the project, like the Elevations tab or Themes tab, if they are also assigned a participant persona.
Project Participants: A user that is not an administrator. Within this role, there are 3 distinct Outer Loop personas:
- Contributor: An individual who creates elevations to be actioned by other users. Example: This is typically a front line employee who interacts with customers. Job titles often include Call Center Leader, Operations Leader, Key Account Manager, or other roles that supervise a customer-facing team.

- Triager: An individual or group who receives elevations, aligns on priority, and if an issue requires escalation, assigns an elevation to a dedicated owner. Example: Job titles often include Customer Experience Lead or Customer Experience Manager.
- Owner: An individual who decides and reports on what the outcome of a particular elevation should be. Example: Job titles often include Function Lead, Function Manager, Journey Lead, or Business Unit Lead.
The below table shows the responsibilities and project access for each persona:
| Project Admin | Contributor | Triager | Owner | |
|---|---|---|---|---|
| Create Elevations | No | Yes | Yes | Yes |
| Access Themes | No | No | Yes | Yes |
| Access Initiatives | No | Yes, but cannot edit | Yes | Yes |
| Access Tickets | No | Yes | Yes | Yes |
| Access Dashboard | Yes | No | No | No |
| Access Project & User Settings | Yes | No | No | No |
Qtip: Participants can see the details of tickets linked to an elevation if they have permission to view those tickets.
Qtip: Participants can only see the dashboard if they are added as a dashboard user by the project admin.
Creating & Editing Roles
Attention: Only project admins can create and edit roles within the project.
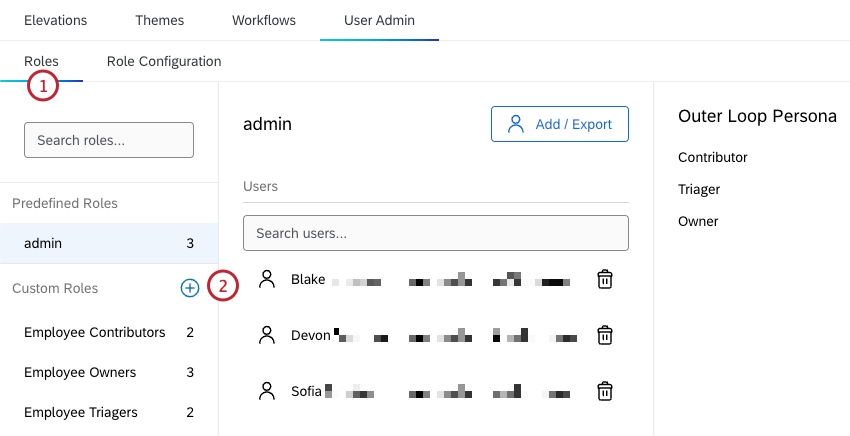
Roles can be created and edited within the Roles section of the User Admin tab. While the admin role is a predefined role that can’t be edited, admins can create and edit custom roles for users. These roles can be assigned any of the available participant personas.
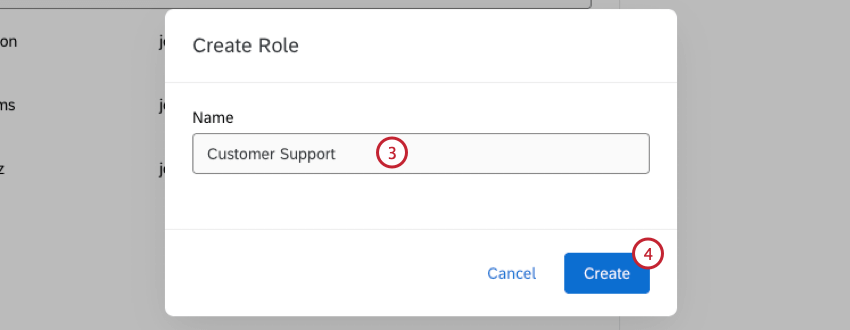
Creating a Role
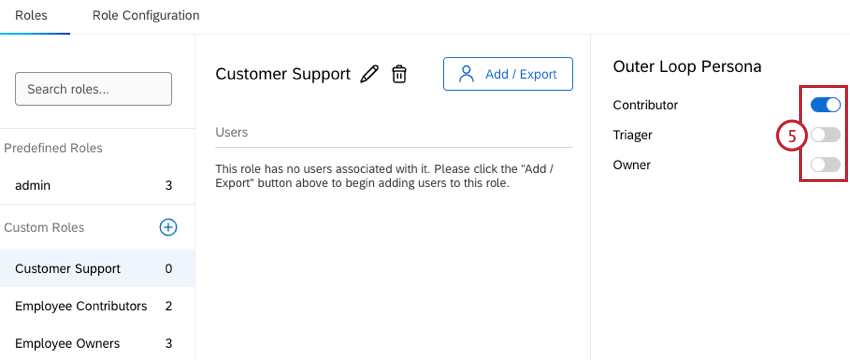
Editing a Role
Once a role has been created, you can use the toggles to change the outer loop persona that is selected.
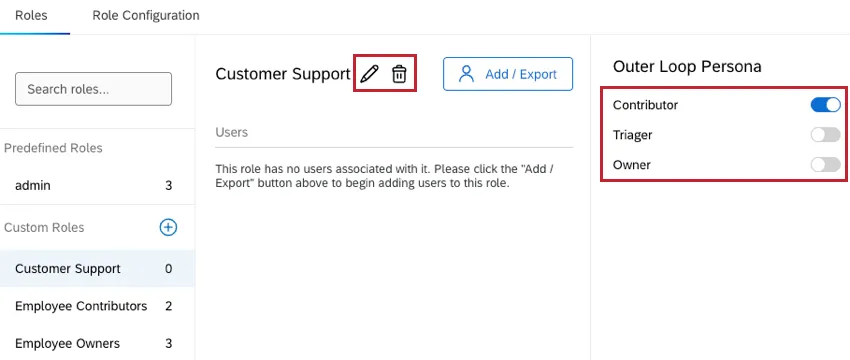
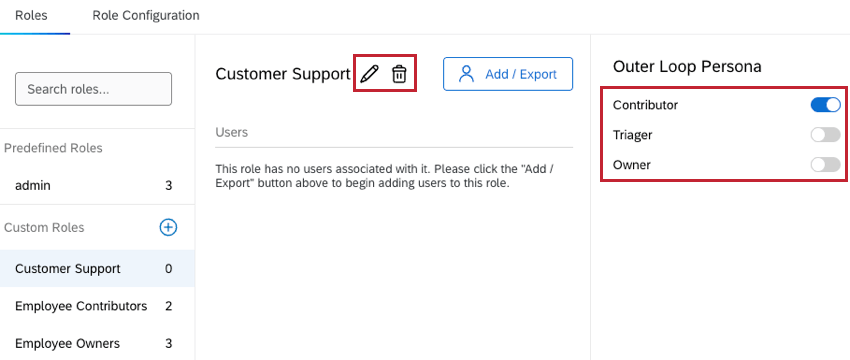
Click the pencil icon to rename a role. To delete a role, click the trash icon and select Delete.
Assigning Users to Roles
Attention: Only project admins can assign users to roles.
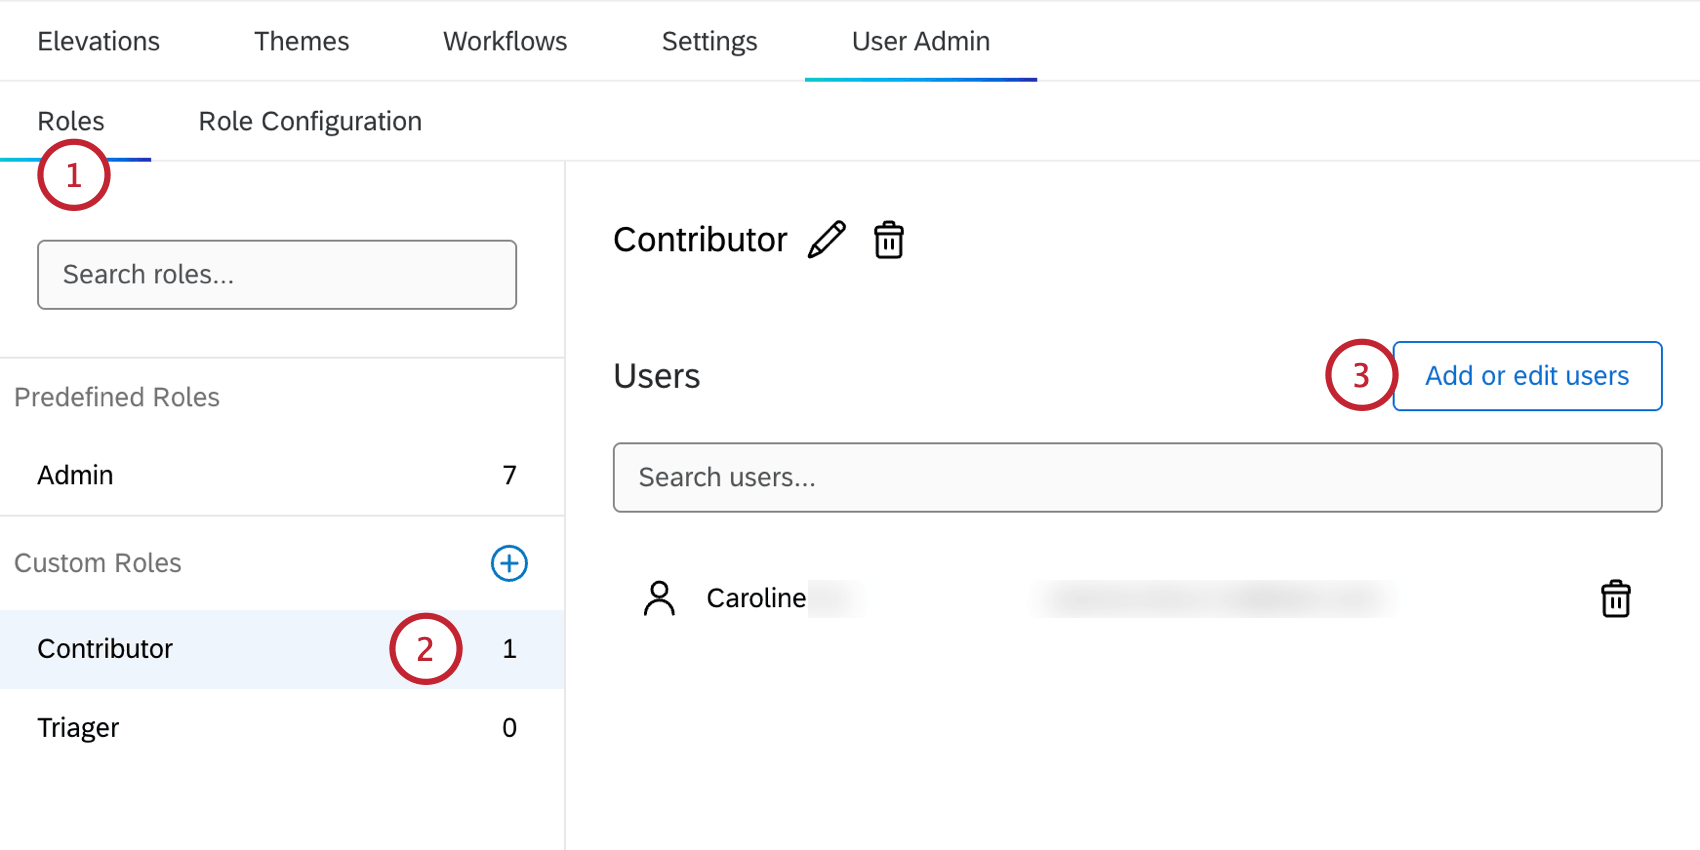
Within the Roles section of the User Admin tab, admins can assign users to roles by selecting specific users to add, or by setting up a filter to automatically add all users that meet specific criteria to the role. These methods can be used on both predefined and custom roles.
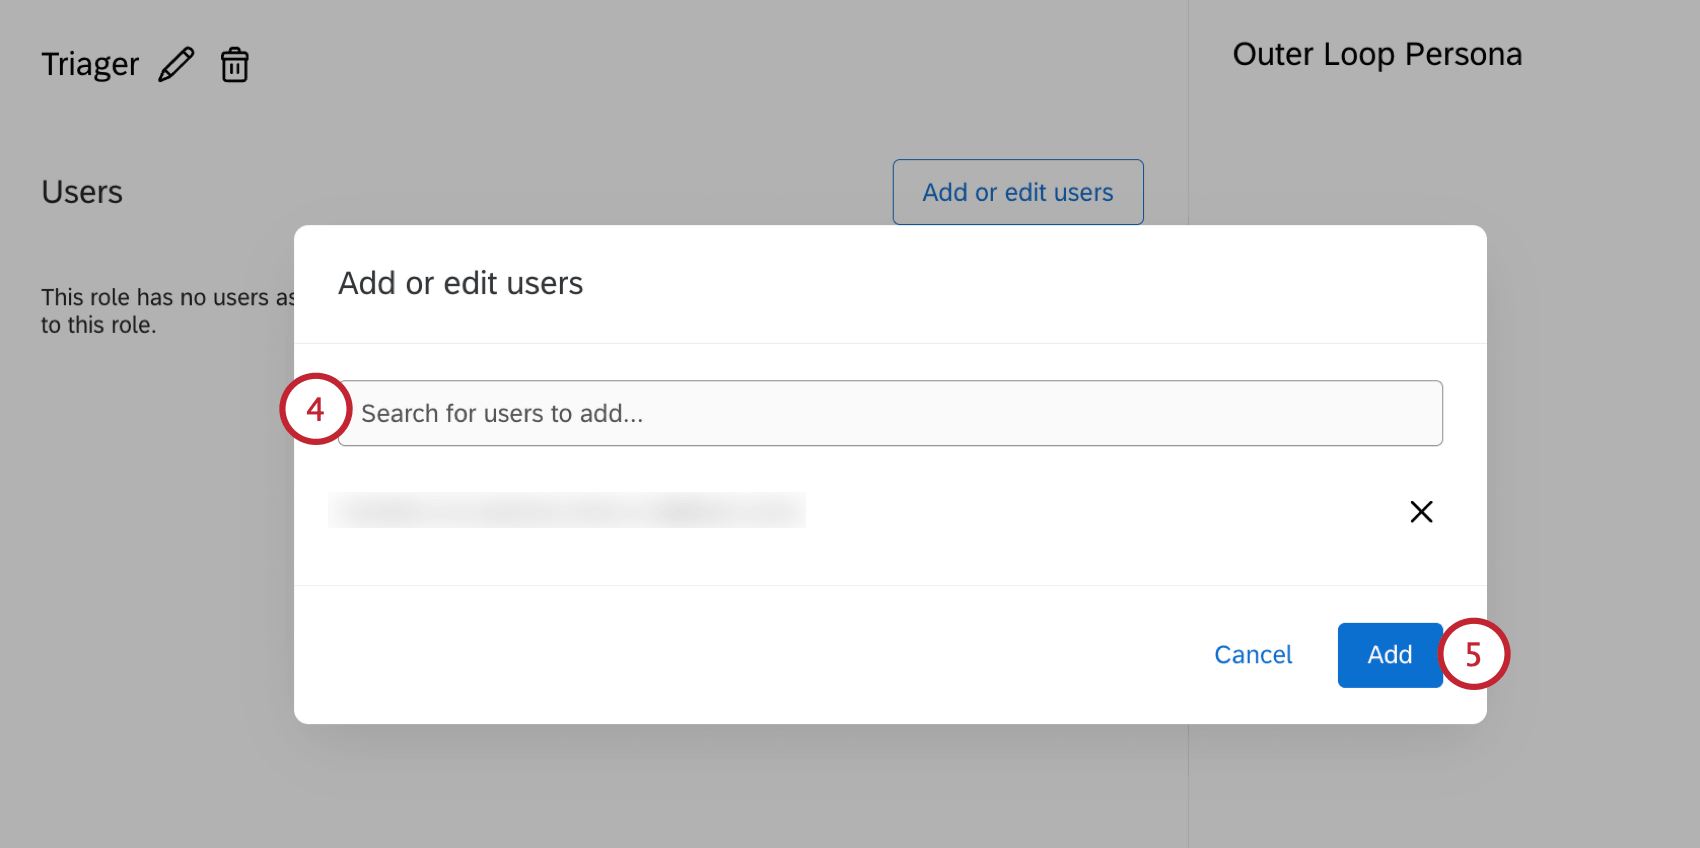
Adding Users by Name
Managing Role Configuration
Attention: Only project admins can manage role configuration.
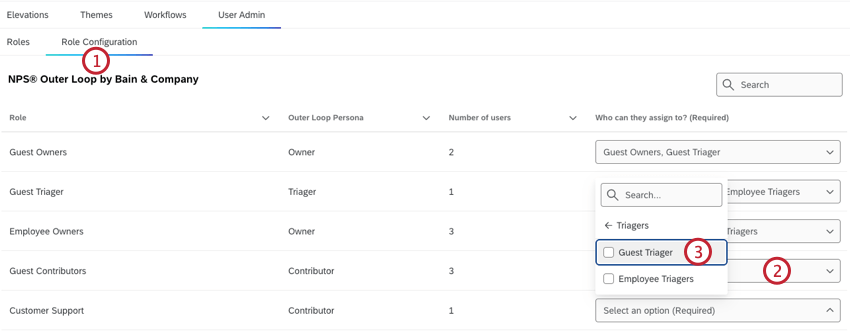
In the Role Configuration section of the User Admin tab, admins can view a table with information about all the custom roles that have been created. This includes details about which other roles each role can assign elevations to. Follow the steps below to determine how elevations are routed within your project when you create a new role:
Role Configuration Requirements
- All roles must have a Triager role selected to assign to.
- Triager roles must have an Owner role selected to assign to.
- By default, all Triager and Owner roles will have themselves selected to assign to, and this is not unselectable.
That's great! Thank you for your feedback!
Thank you for your feedback!