-

Qualtrics Platform -

Customer Journey Optimizer -

XM Discover -

Qualtrics Social Connect
Social Listening
About Social Listening
Social listening is the practice of tracking and analyzing what people are saying online about your organization or even the industry you’re in. By tracking mentions, keywords, and hashtags, you can understand how customers feel about your organization, as well as spot new trends to stay ahead of competitors.
We have several workflow tasks that can help you track mentions of your organization from key social media sites:
Workflows can pull data from key social media into Qualtrics for analysis and dashboard creation. On this support page, we’ll cover how to achieve this setup end-to-end, from workflow creation, to the best dashboard presentation.
Permissions Required
To use this feature, you’ll need a Brand Administrator to enable the following user permissions for you or a user type you belong to:
- Use Social Channels (under General permissions)
- Extension permissions:
- Extract data from Instagram
- Extract data from Facebook
Step 1: The Social Channels Project
Before you can start regularly pulling data from social media into Qualtrics, you need to create a Social Channels project.
- Log into your Qualtrics.com account.
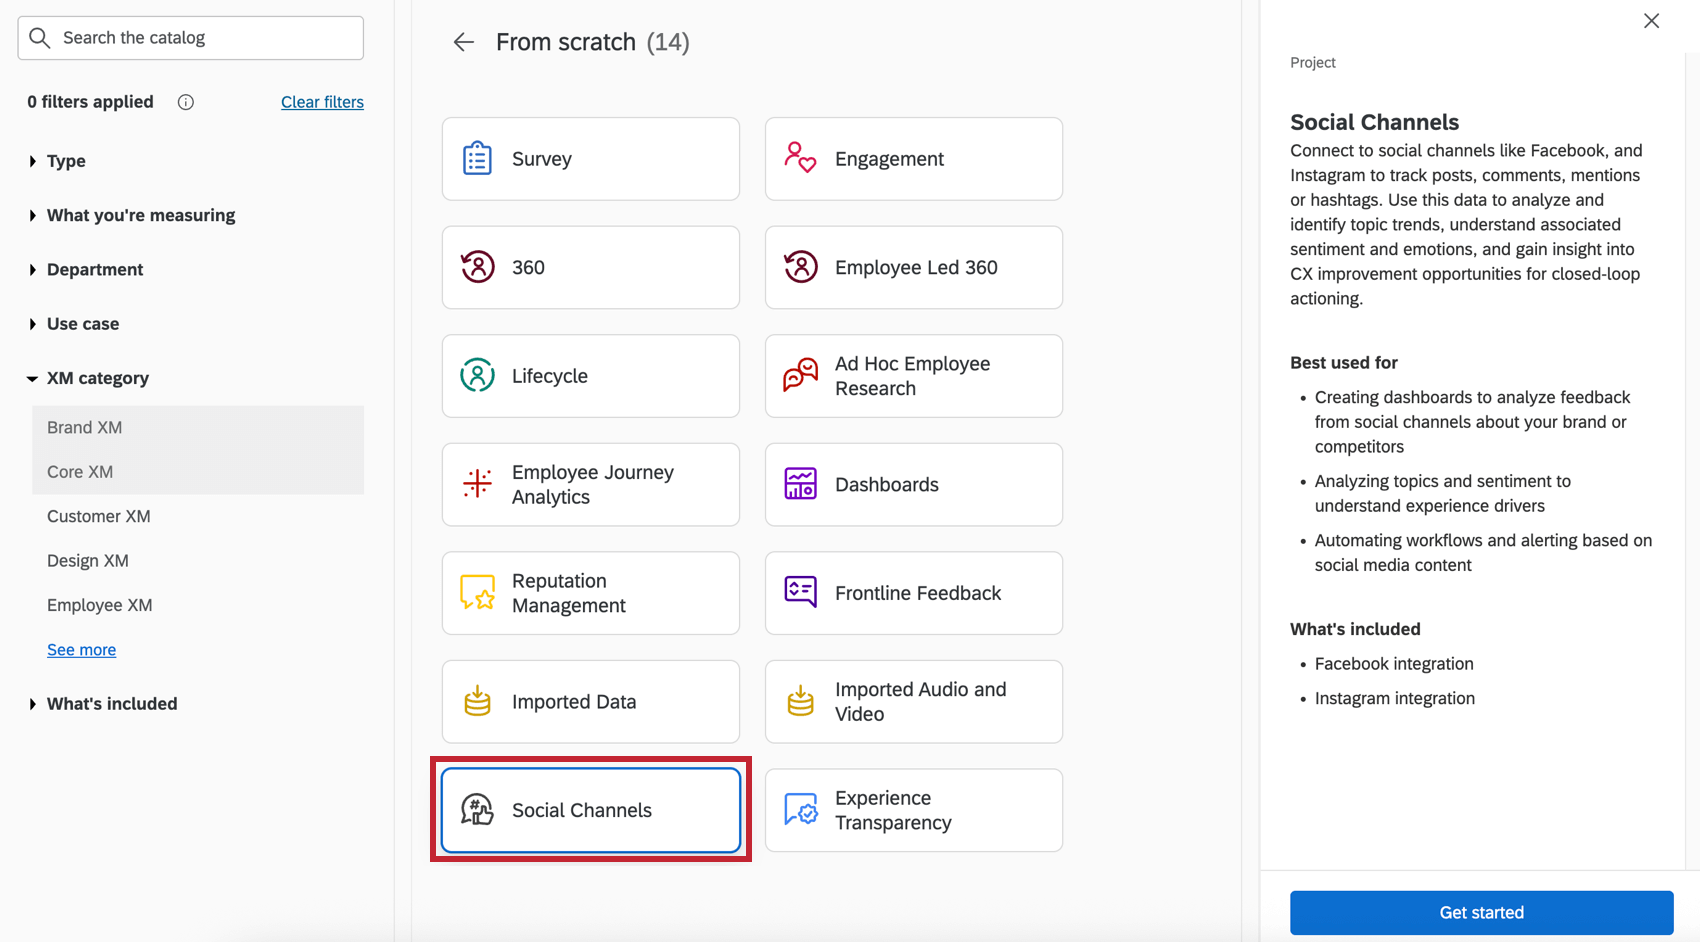
- Go to the Catalog.

- Create a Social Channels project.
Step 2: The Social Listening Workflow
- On the main page of your project, click Connect next to the social channel of your choice.
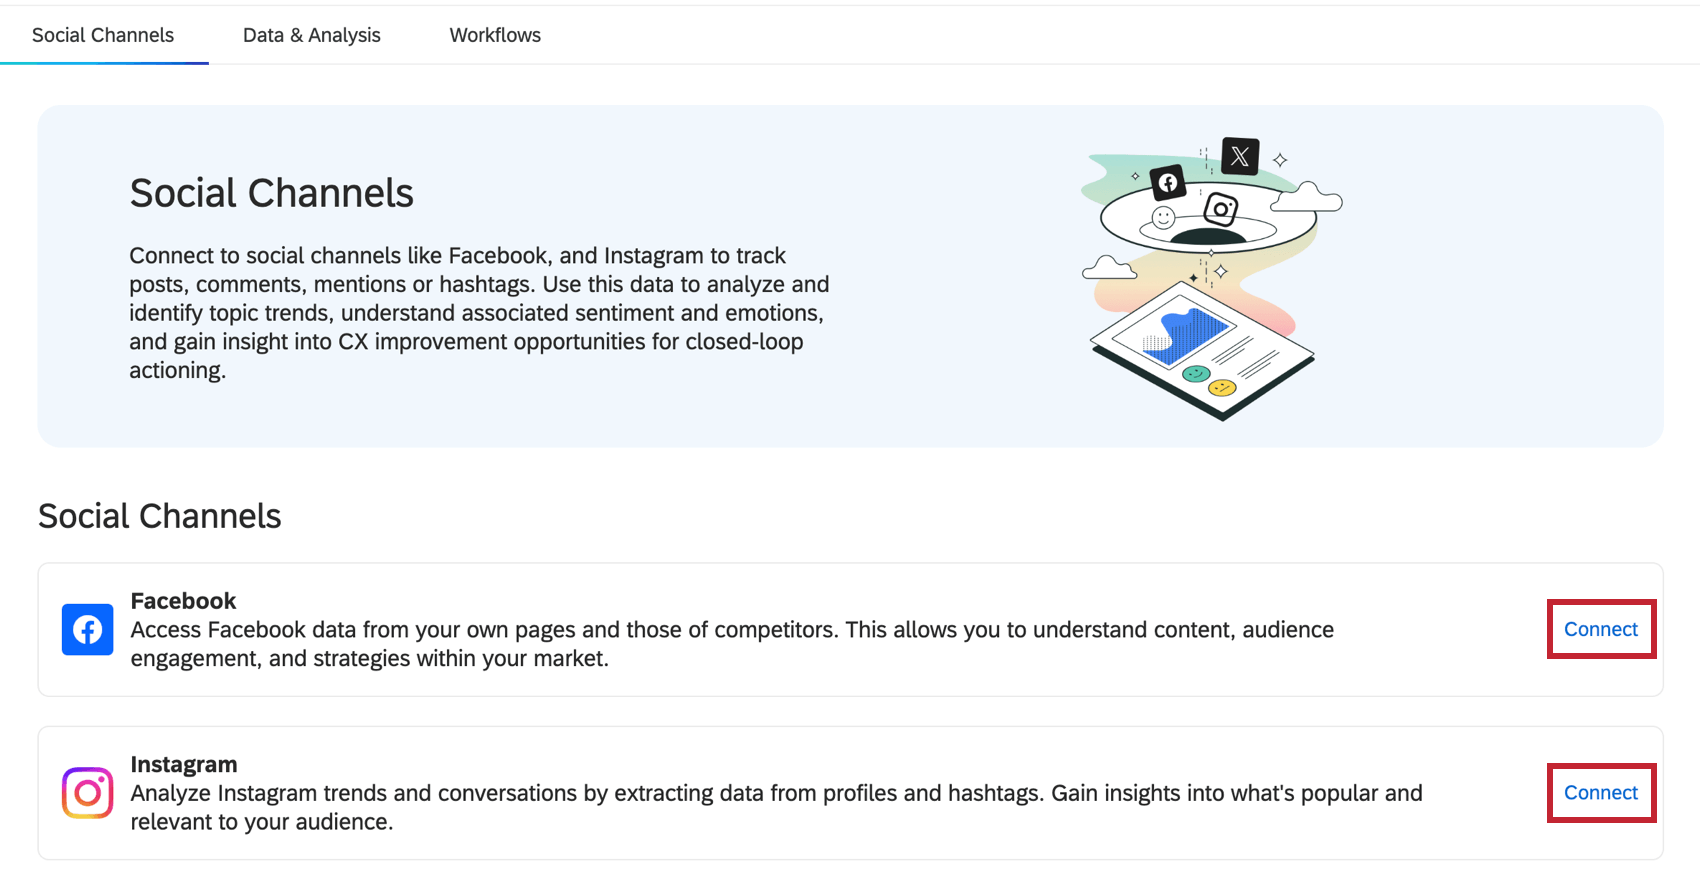
- You’ll get a quick description of the social channel’s guidelines. Make sure to read through before you click to proceed.
- Set a schedule.
 Qtip: You will also be able to immediately run the workflow after it’s created, if you choose.
 - Add a task.

- Select one of the following:

Extracting Data from Facebook
By using the Facebook data extraction task, you can create an automated workflow that continuously pulls posts, comments, and replies for any public Facebook page into your Social Channels project.
- Select the task Extract data from Facebook.
- Select or add a Facebook account.
 Qtip: For detailed steps, see Connecting Social Media Accounts to Workflows.Attention: The connection between your Facebook user account and Qualtrics needs to be refreshed every 90 days. If you don’t perform this task, your Facebook extraction workflow may fail. See Refreshing Your Facebook-Qualtrics Connection for easy steps to follow.
 - Click Next.
- Choose between the following:

- Track your Facebook Pages: Get posts and comments from Facebook pages you own.
- Track external Facebook Pages: Get posts and comments from Facebook pages you don’t own, such as competitors.
- Click Next.
- If you chose to track your own page, you’ll see a list of pages you have access to. Select the pages you want to track.
 Qtip: Your Facebook account must have access to manage either Content or Community activity for the task to work properly. For more information, see Facebook’s documentation.
 - If you chose to track someone else’s page, copy the URL of the page and enter it in the text box. Click Add more to paste additional page URLs you want to track.
 Qtip: Use the full URL of the facebook page. Do not cut out https://
 - Click Save.
- Now it’s time to load the data.
Extracting Data from Instagram
By using the Instagram data extraction task, you can take any Instagram business profile you own and continuously pull posts, comments, and replies from it into a Qualtrics social channels project for reporting and analysis.
Instagram account requirements
The Extract data from Instagram task only works for accounts that meet the following criteria:
- Create your Instagram account from a Facebook login.
- Set your Instagram to a business account.
- Link your Instagram to Facebook.
- Create a Facebook page for the same business.
Qtip: If a colleague already created a Facebook page, they can share administrative power over the Facebook page with you.
- Connect the Facebook page to your Meta business suite.
- Connect the Instagram to your Meta business suite.
Setting Up the Task
- Select the task Extract data from Instagram.
- Select or add a user account.
 Qtip: When adding or refreshing an account, you’ll log in from Facebook. For detailed steps, see Connecting Social Media Accounts to Workflows.Attention: The connection between your Facebook user account and Qualtrics needs to be refreshed every 90 days. If you don’t perform this task, your Facebook extraction workflow may fail. See Refreshing Your Facebook-Qualtrics Connection for easy steps to follow.
 - Click Next.
- Choose between the following:

- Track your Instagram profiles: Get posts and comments from your own Instagram profiles. All Instagram profiles must be linked to the same Facebook accounts.
- Track hashtags: Get posts with specific hashtags ( # ) from your own Instagram profiles. Comments are not included with this type of tracking.
- Click Next.
- Select the Instagram accounts you’d like to track. Only accounts you own will appear.

- If you chose to Track hashtags, you’ll also get to enter the specific hashtags you want to track. Enter hashtags comma-separated, with a maximum of 30.
 Qtip: If you own multiple Instagram profiles, you can add separate hashtags for each.
 - Click Validate to add hashtags to the list being tracked for your account.
Attention: Instagram provides profile-wide limits to tracked hashtags. If your profile’s hashtags are being tracked in another external platform or software you use, those will count towards the max of 30 hashtags. This is also why you may start to set this task up and see that hashtags are already being tracked towards this limit.
- Click Save.
- Now it’s time to load the data.
Step 3: Loading Social Data to Qualtrics
Now that you’ve extracted your social media data, it’s time to tell Qualtrics where it all needs to go. If you want to keep data in Qualtrics, these steps will show the workflow how to add the social data to your Social Channels project (created in Step 1).
- Add a task or a Data Destination.

- Choose Load into a data project.

- For the Data source, choose the social media extractor you made earlier.
- Under Choose a project to load data into, select Use an existing project.
- Select the Social Channel project you made earlier.
- Click Next.
- Make sure all of your fields are mapped correctly.
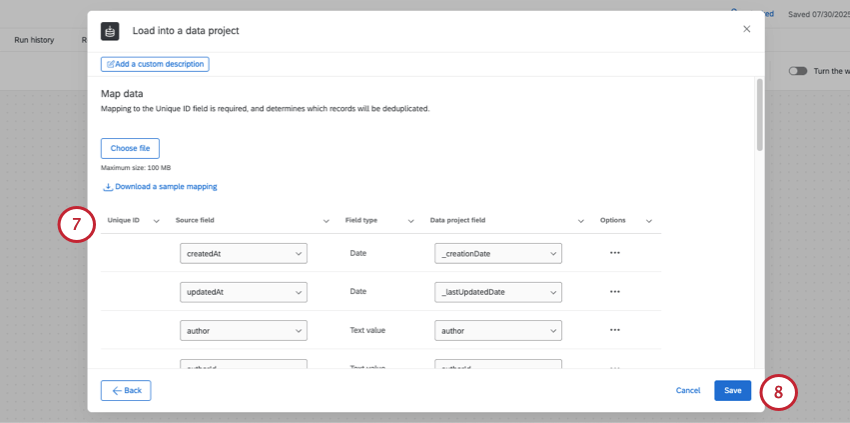 Attention: For recommended fields and their data types, see Available Social Data Fields. If you need further help with mapping fields in a data loader task, see this guide.Qtip: Qualtrics appends the following fields to all responses: _recordVersion, _lastUpdatedDate, _creationDate. These fields are unnecessary and can be deleted when at this mapping stage. All other fields will automatically map to the correct fields.
 - Click Save.
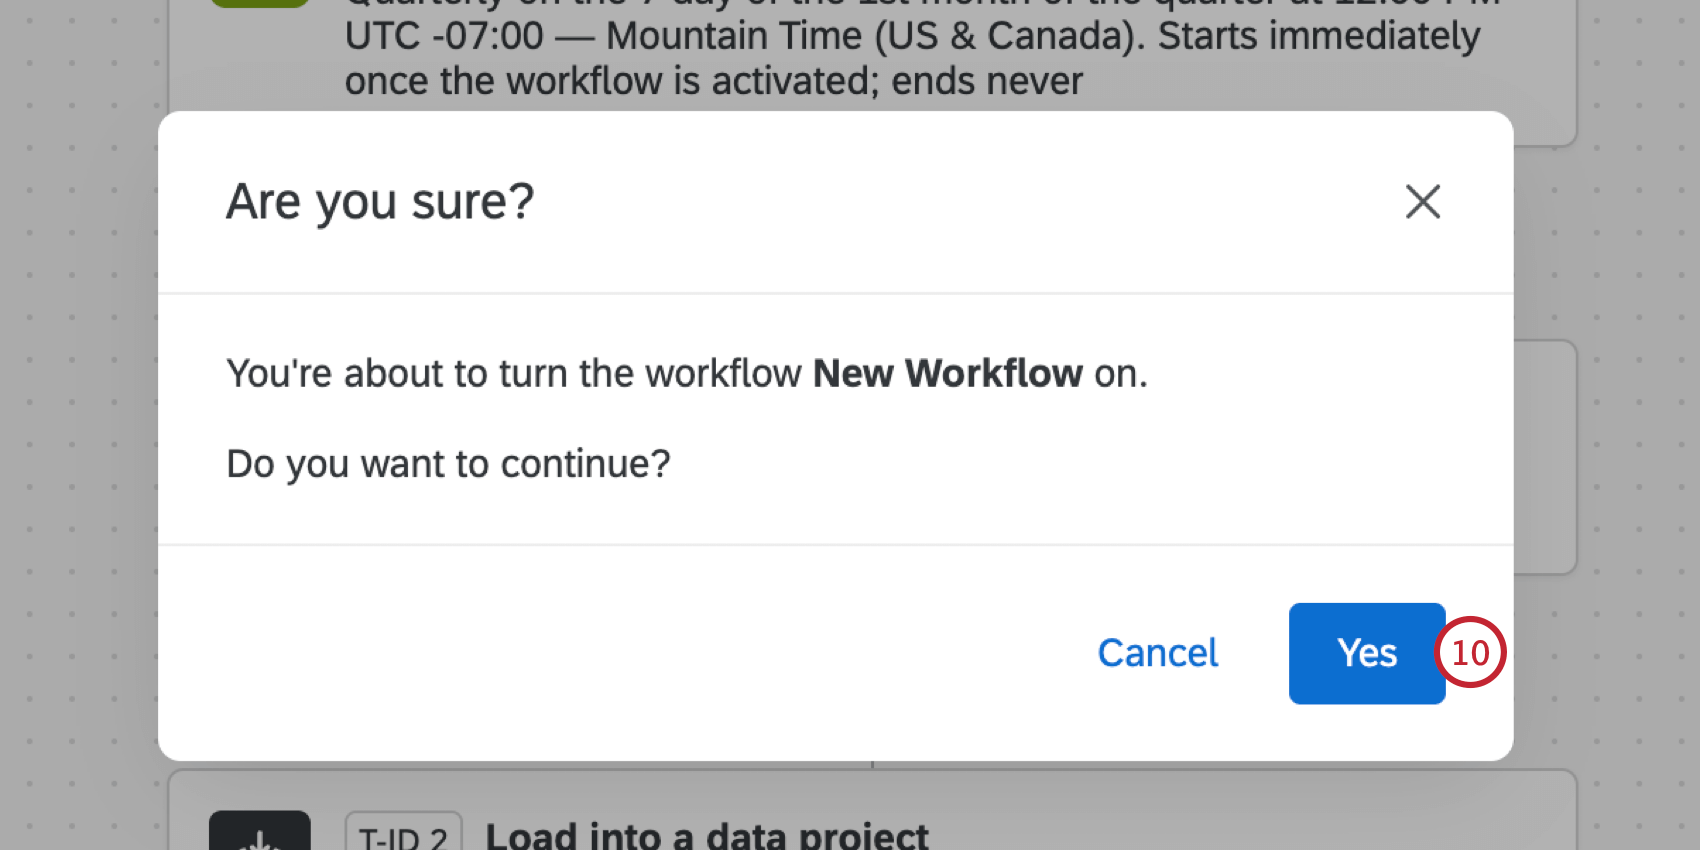
- If you’re ready, Turn the workflow on.
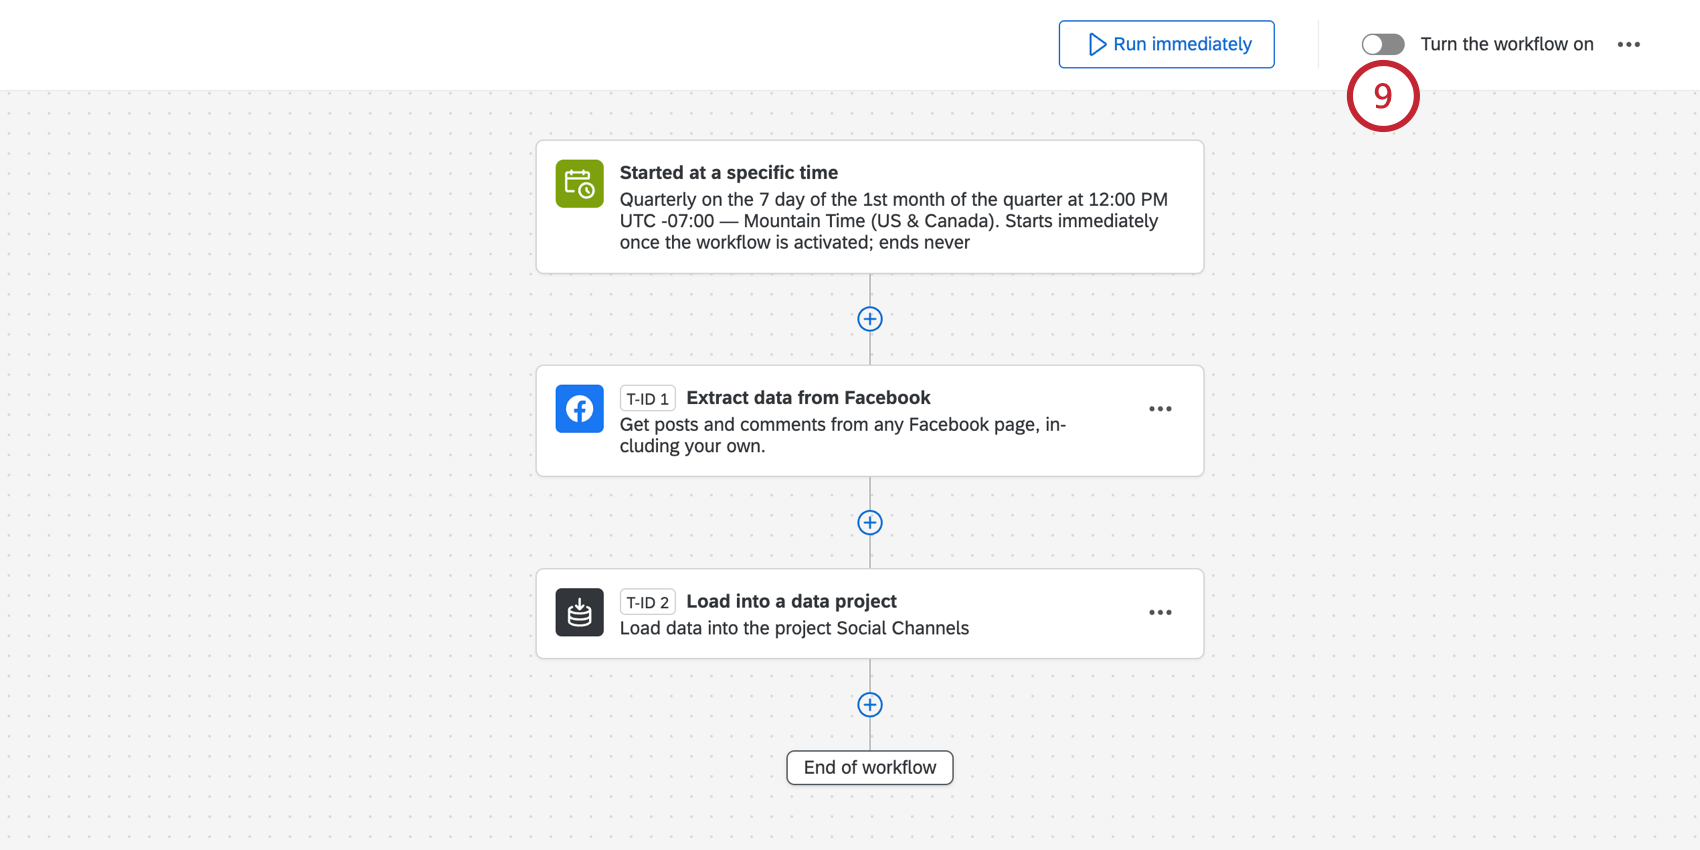
- Confirm Yes.
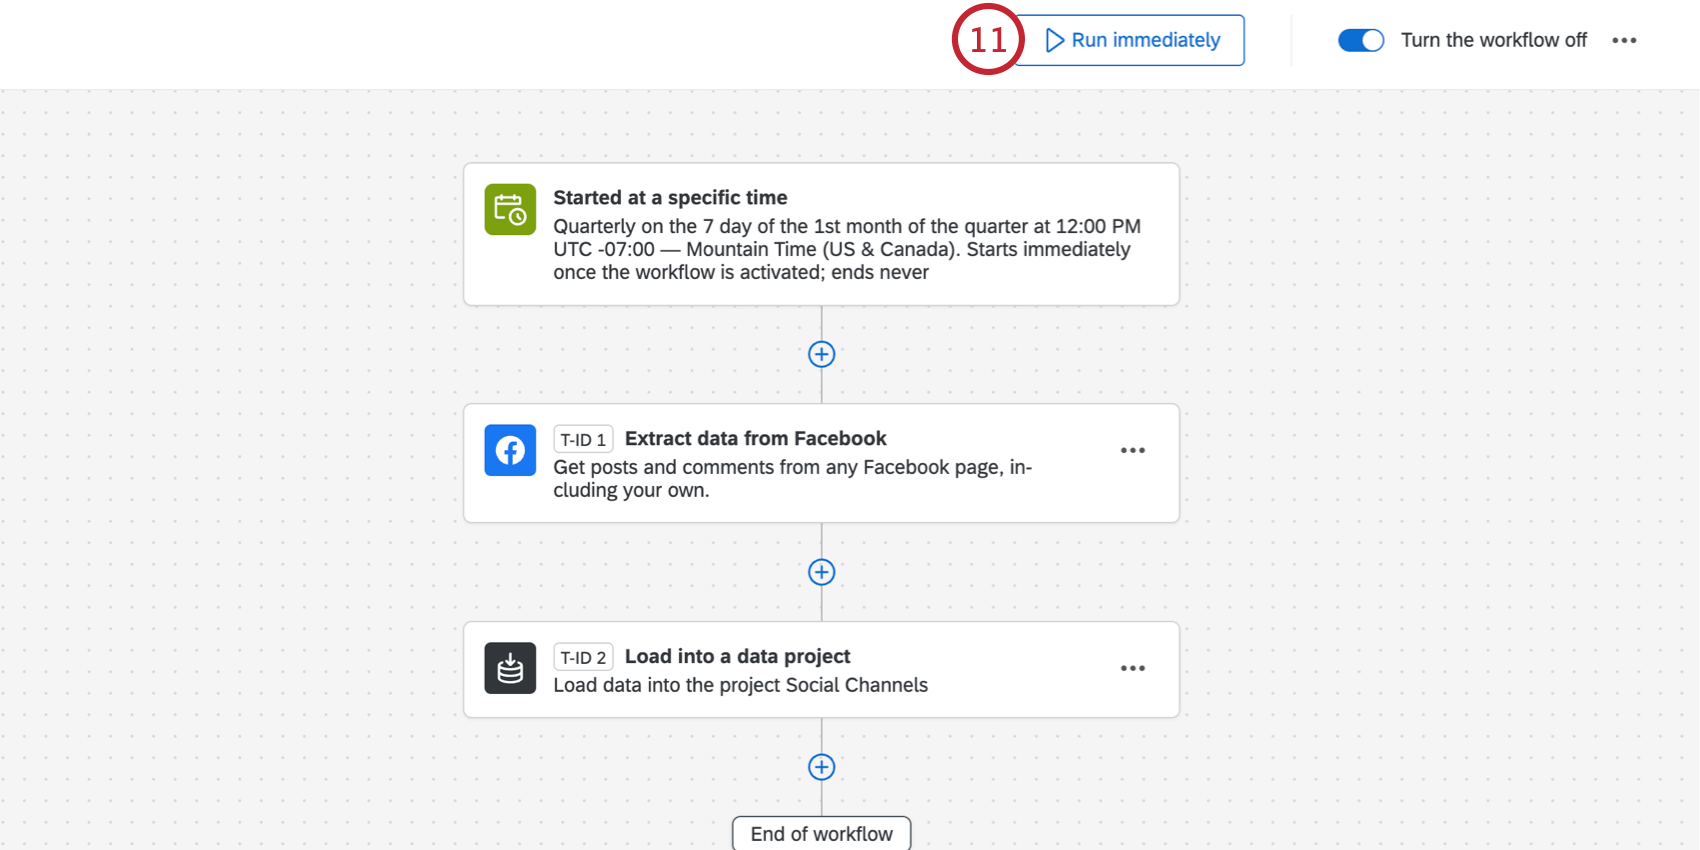
- If you want to immediately pull all eligible data into your project, click Run immediately.
Step 4: Connecting Social Data to a Dashboard
- Create a dashboard project, or open an existing one.
Qtip: You can create a dashboard project from your Social Channels project. However, whenever you need to find this dashboard, it will be listed separately on the Projects page like a standard Dashboards project, and will not be nested inside the Social Channels project in any way.

- Add a dashboard inside the Dashboards project.

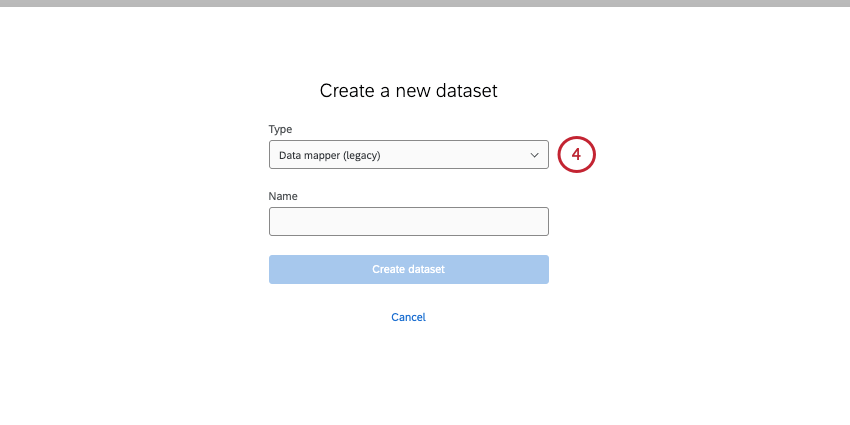
- Make a dashboard dataset.

- Choose Data mapper for the easiest setup.
- Under External Datasources, select your social channels project as a source.
 Qtip: Here we just named our project “Social Channels.” You’ll be able to search by project name in this menu, but not project type.
 - Check to make sure your fields are mapped with the recommended field types. See Available Social Data Fields.
 Qtip: You can also map multiple sources together with social channels projects. Just make sure to map the social data fields as described in the pages linked above.
 - Save your dataset.
- Select your completed social channels dataset.

- Finish adding your dataset to your dashboard.
Step 5: Customizing the Dashboard
Once your social data has loaded in your dashboard, you can customize the dashboard however you want. Show individual posts, show top social media engagement, filter for replies, perform text analysis to determine trends, and more.
To help you get started, we have a support page with recommendations of useful dashboard features to try, including specific widget setups.
Troubleshooting Social Listening
Whether you have questions about social media data extraction or the best practices for data mapping, we have many resources to help you get set up. See Tips and Tricks for Social Listening.