-

Qualtrics Platform -

Customer Journey Optimizer -

XM Discover -

Qualtrics Social Connect
Editing Standalone Creatives
About Editing Creatives
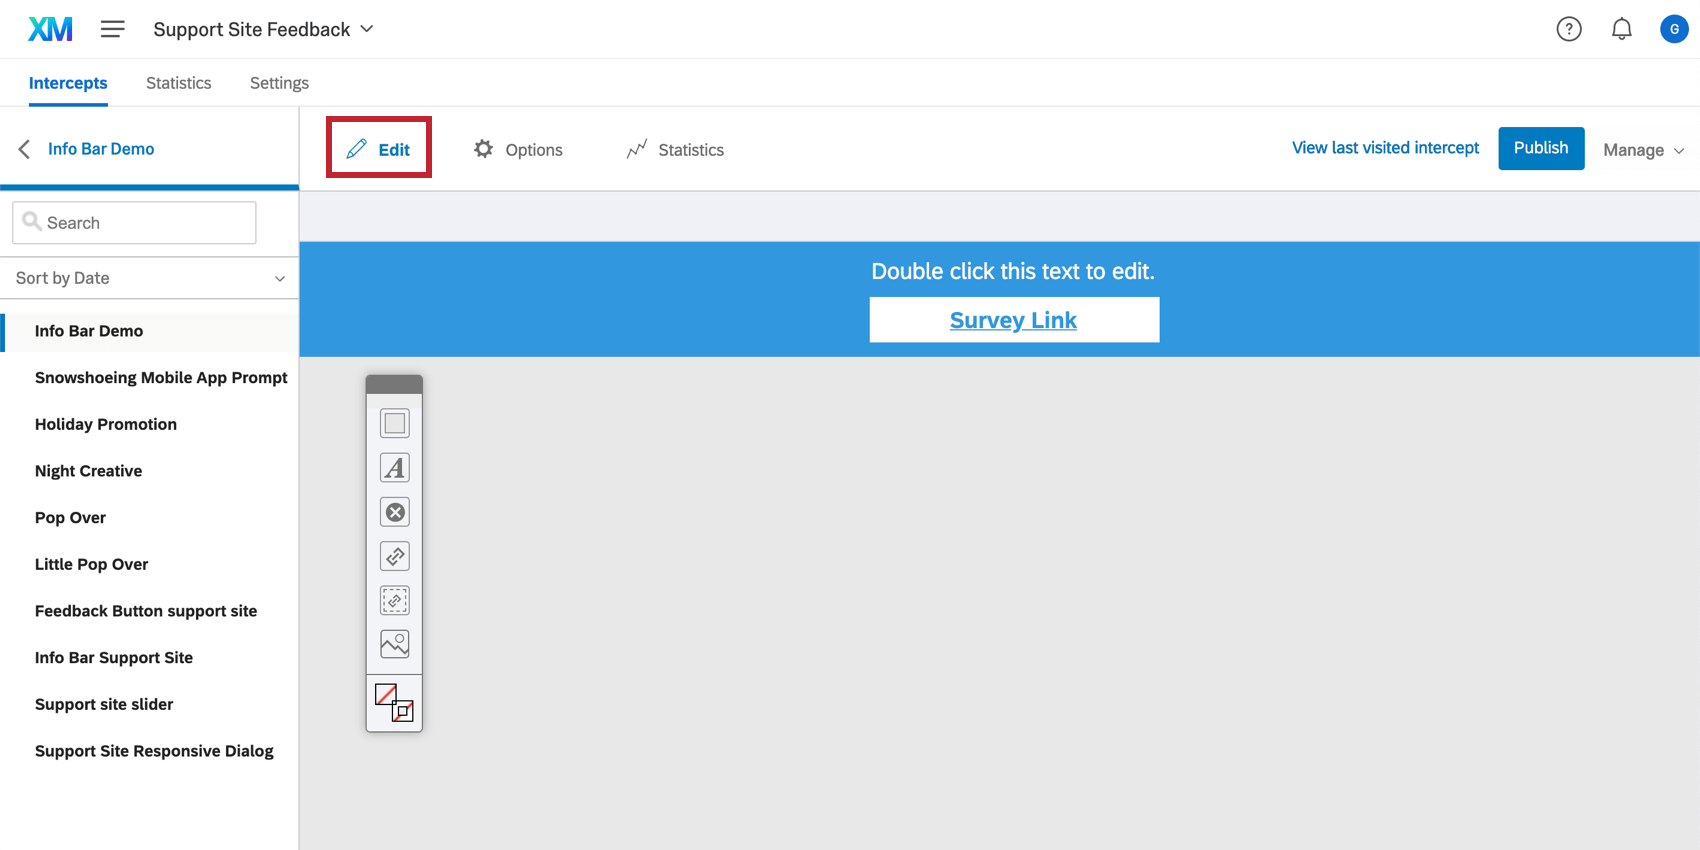
Whether you’ve generated a new creative or clicked an existing creative, you will be directed to the Edit section.
While all creative types are unique, most use the same basic editing functions. For information on options unique to a certain creative, go to that specific creative’s support page.
Moving Elements Around
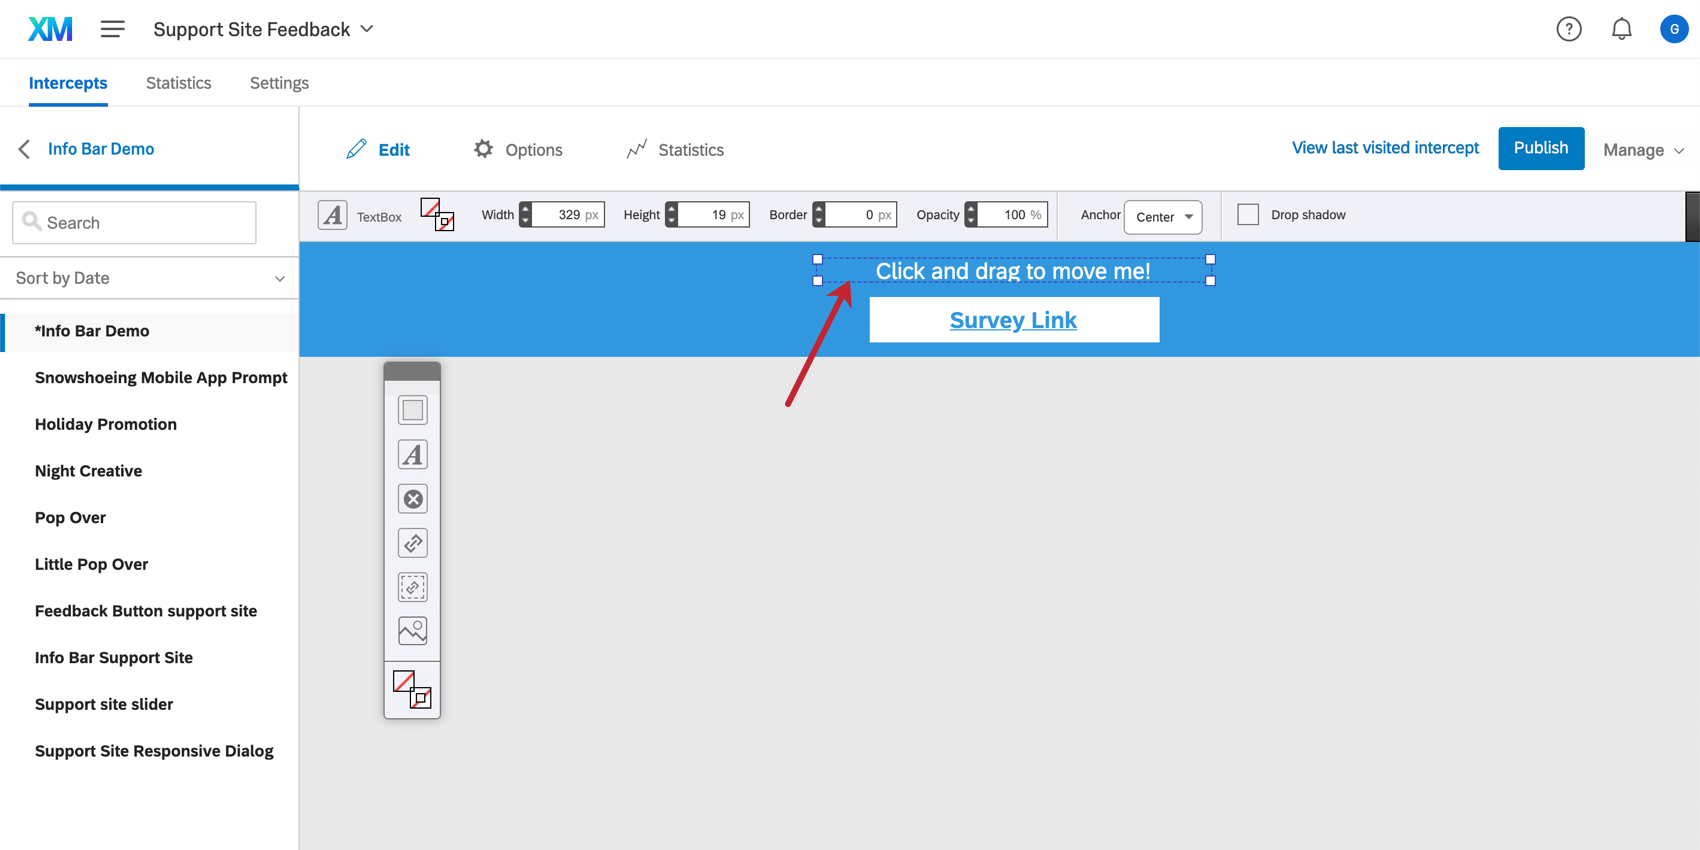
In the Edit section, you’ll notice an editing space where you can build and modify your creatives. You can move elements around by simply clicking and dragging them to the new desired position.
The following shortcuts will make it easy to make smaller, more precise adjustments:
- With any element selected, press ↑ ↓ ← or → on your keyboard to move it up, down, left, or right by mere pixels.
- With any element selected, press Shift + ↑ ↓ ← → to nudge it up, down, left, or right to move content a by larger distance (several pixels) at a time.
- Press Ctrl + H (Command + H on a Mac) to highlight all elements on your creative. This is helpful when you need to see where elements are overlapping. Use the same keys to remove the highlights.
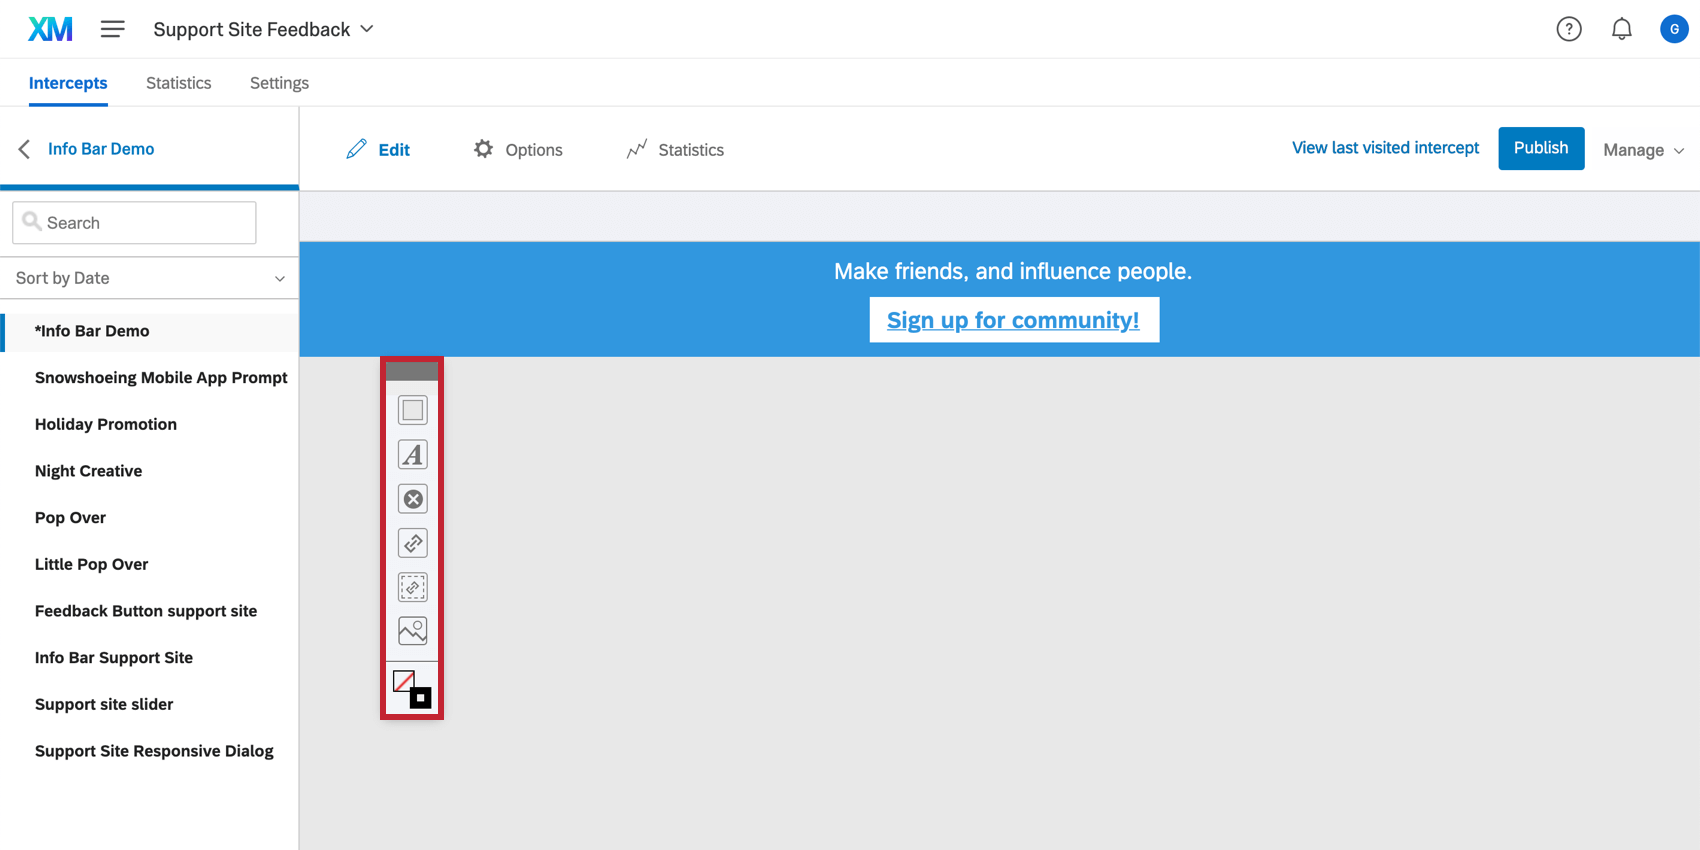
New Element Toolbar
You can add content to your creative by using the floating toolbar.
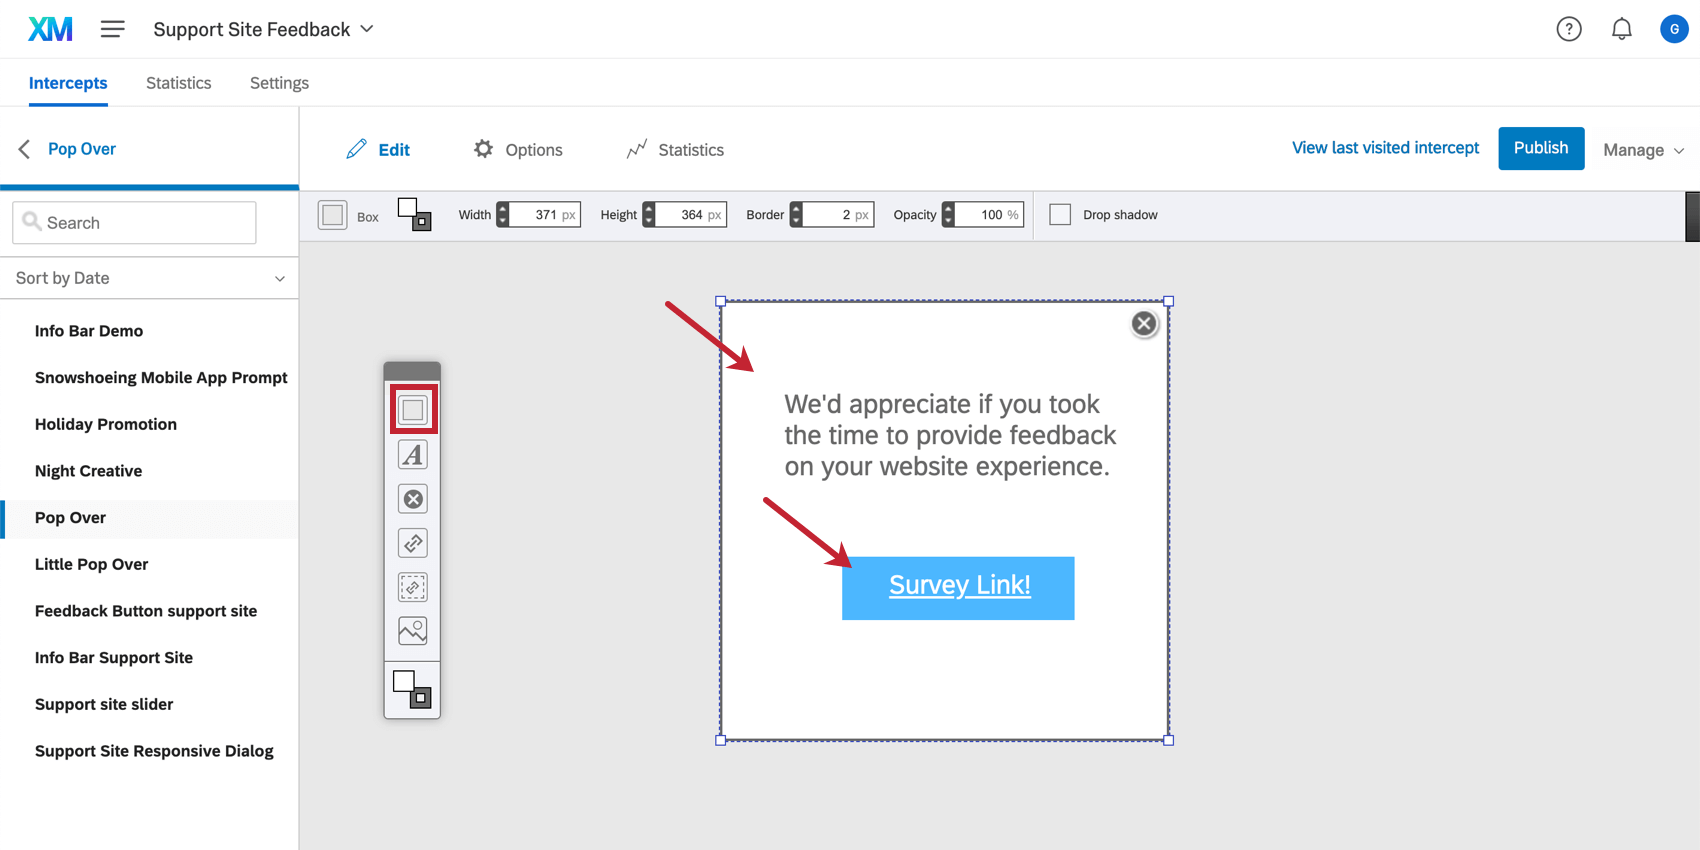
Box
The box is useful for adding a background to your creative, on which you can add other elements. You can also double-click on the box to add text.
Text Box
Display invitations, instructions, and other written content on your creative using the TextBox.

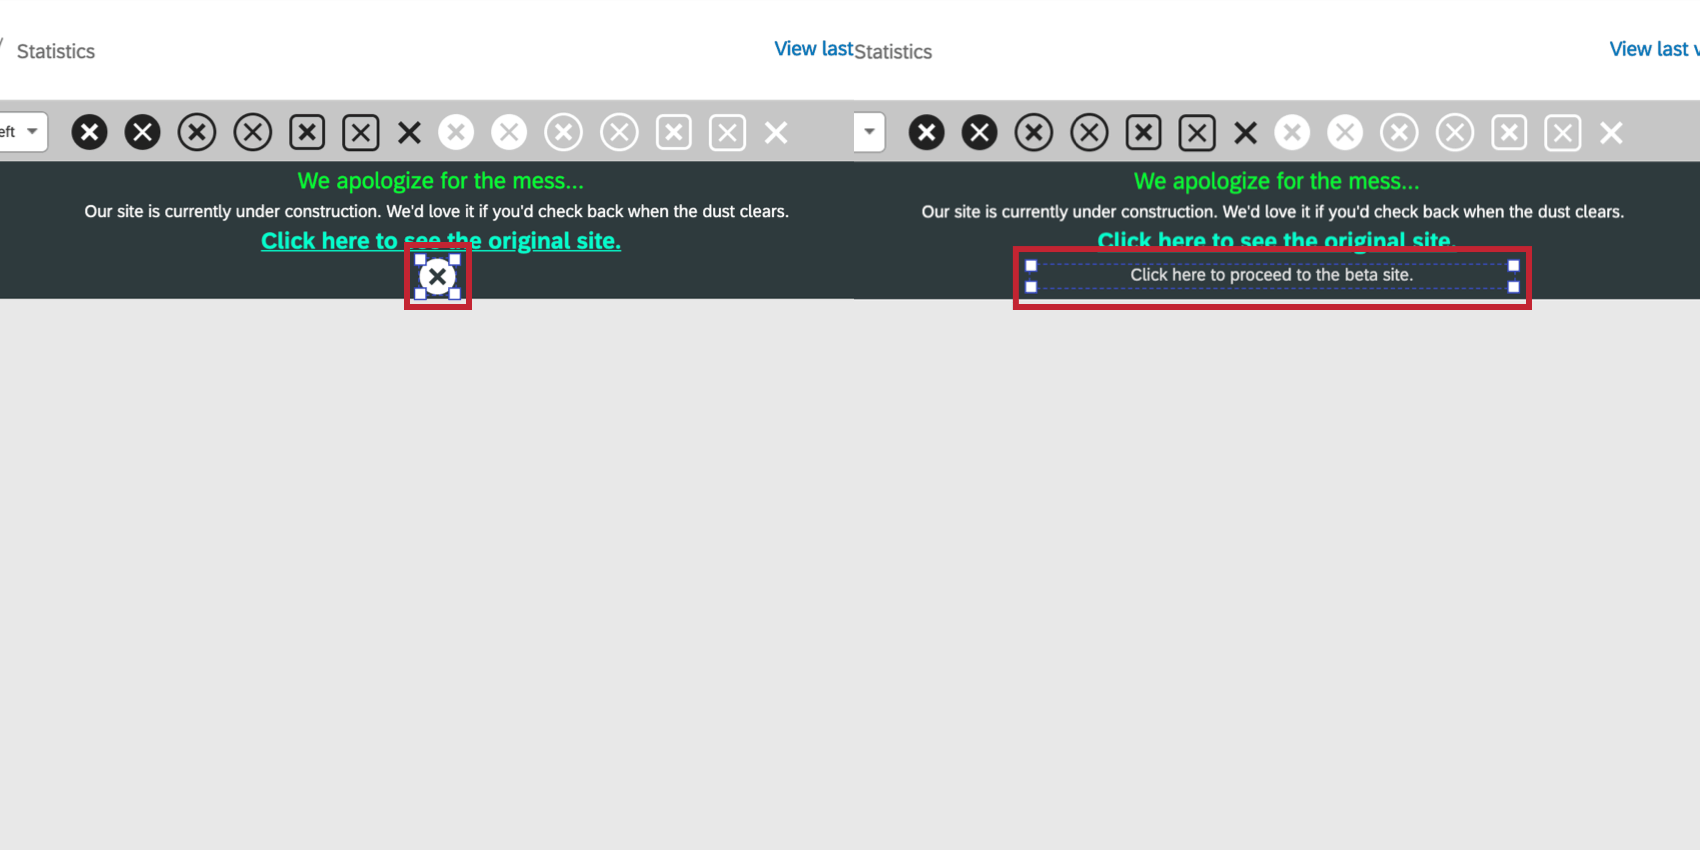
Close Button
Add a button that will close the creative when clicked. This is not available for all creative types.
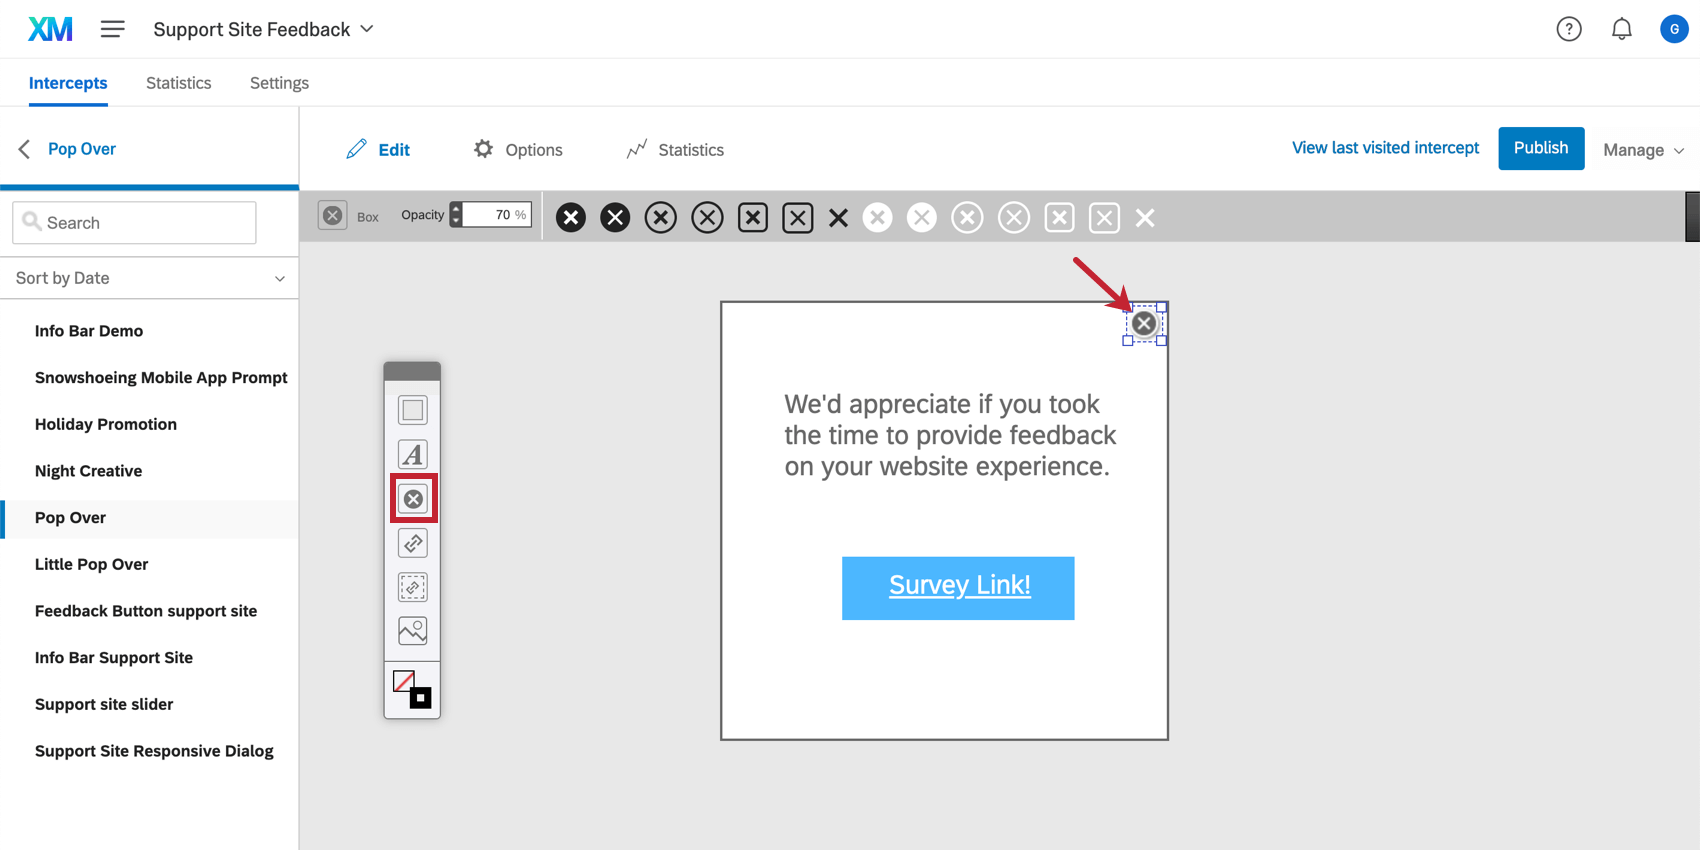
You’ll notice that when you create a Close Button, you can select a button style from the toolbar along the top.
If you want, you can replace the close button with text instead. Just double-click the close button, highlight the button icon, and either delete the icon or begin typing to replace the icon with text.
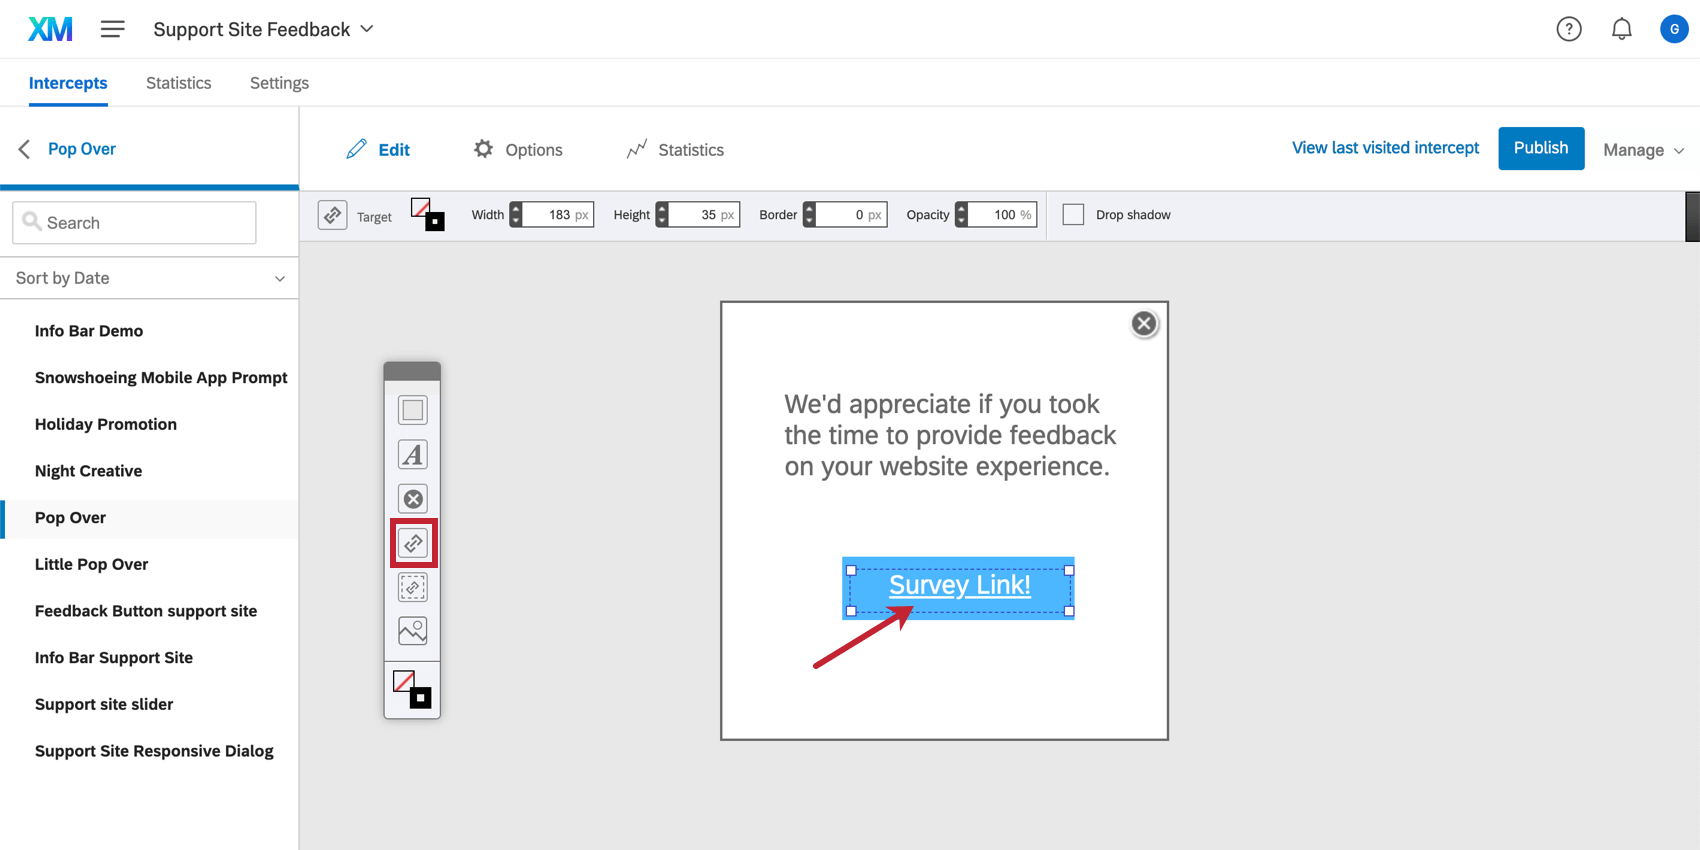
Target
Add a link that will direct visitors to your Intercept’s Target. This link is unique because its destination is not set until you are building your Intercept. This allows you to reuse your creative in multiple situations, each with its own Target. Double-click on the Target to change the text, insert an image, or make other visual changes.
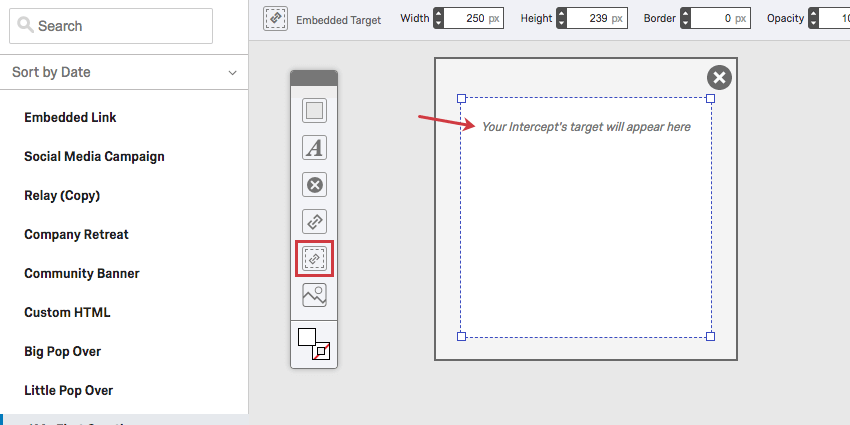
Embedded Target
Rather than visitors clicking on a link, which takes them to the Target website (usually a survey), the Embedded Target allows you to display the target within your creative.
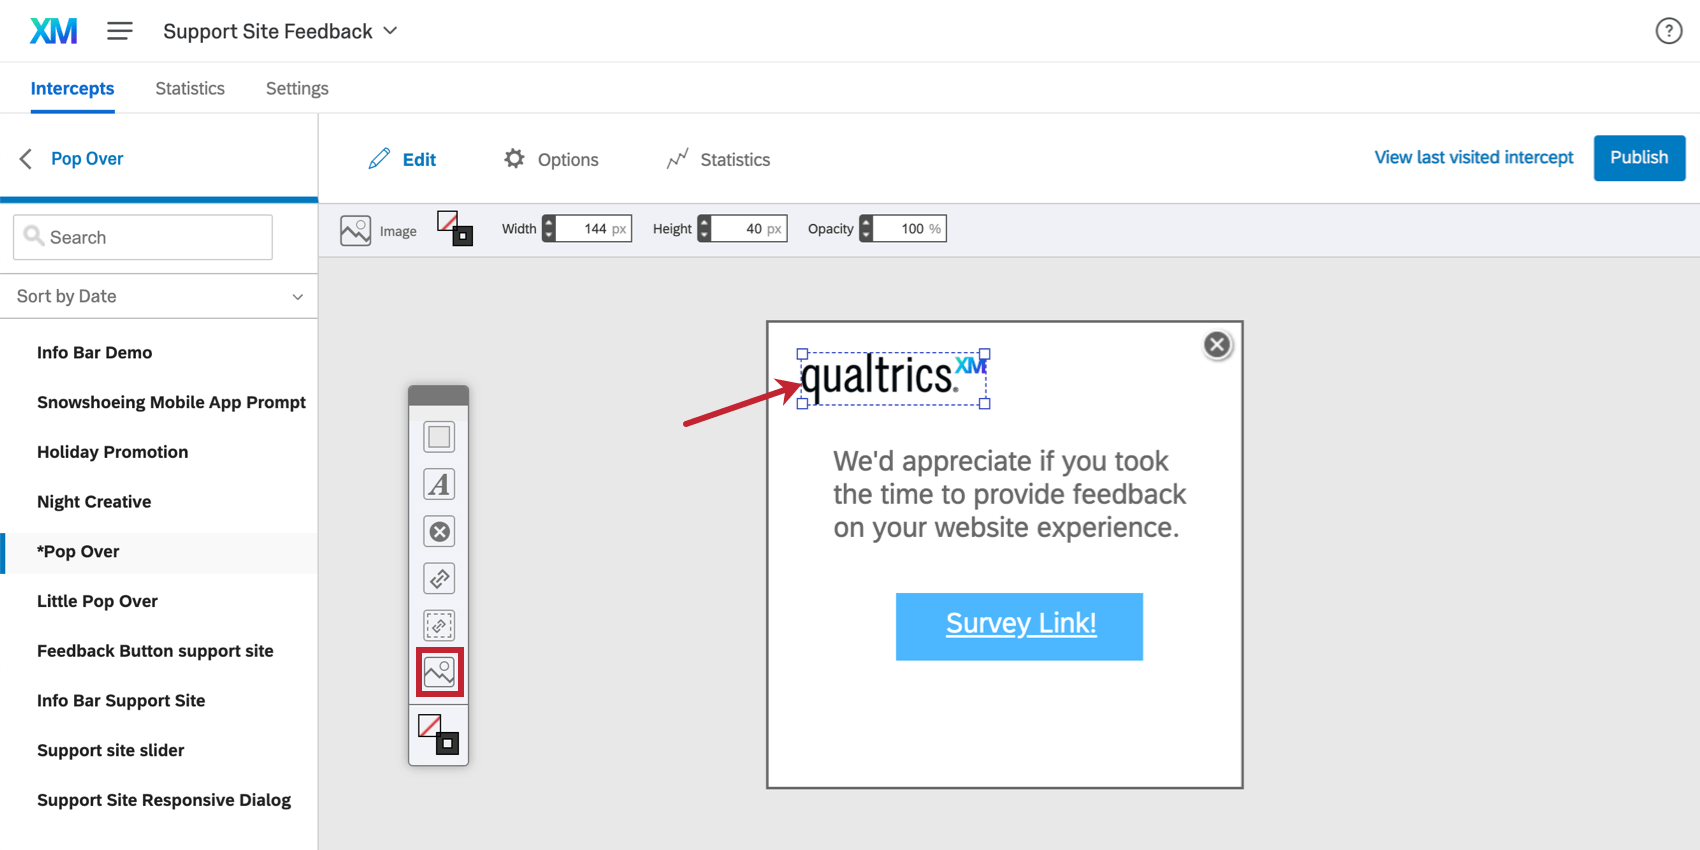
Image
Insert a general image into your creative. This is useful for branding purposes as well as for drawing visitors’ attention to your creative.
Selected Element Options
After clicking on an element, you can toggle the element options along the top of the workspace. Note that these options may change depending on the type of element selected.

Background & Border
Click the background or border options to open a color palette.

Once you click either the background or border button:
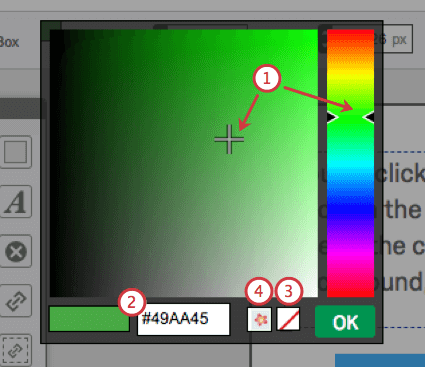
- Pick a color manually from the palette.
- Enter a HEX color code – for example, you may want to match your company’s color scheme exactly.
- Click the clear button to set the color as transparent or remove your color/image entirely.
- Click the image icon to insert a repeating background image.
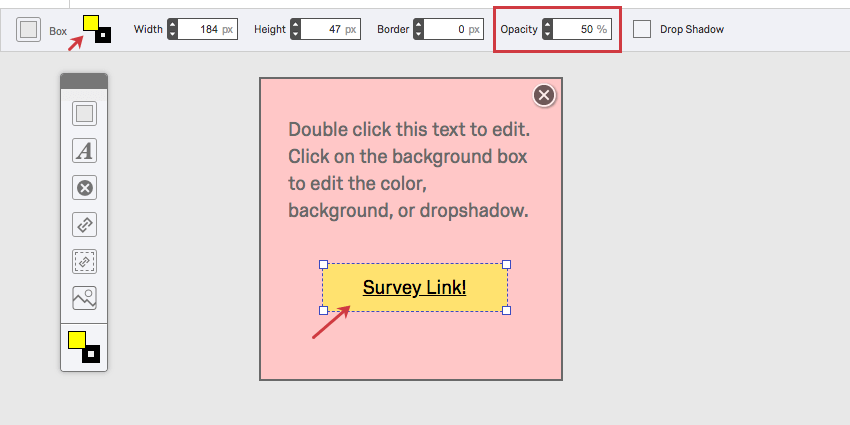
Width & Height
Set the size of your element. Note that you can also click and drag the corners of your element to resize. Using the Width and Height option is appropriate if you need to specify an exact pixel size.

Border
Set the thickness of the border for your element.

Opacity
Set the transparency level for your element. By default, it will be 100%, which means it is not at all transparent. The lower the value, the more transparent.
Element Options Dropdown
Click the dropdown menu on the right for extra options, similar to what you’ll see if you right-click the element. Click the Element Options dropdown to:
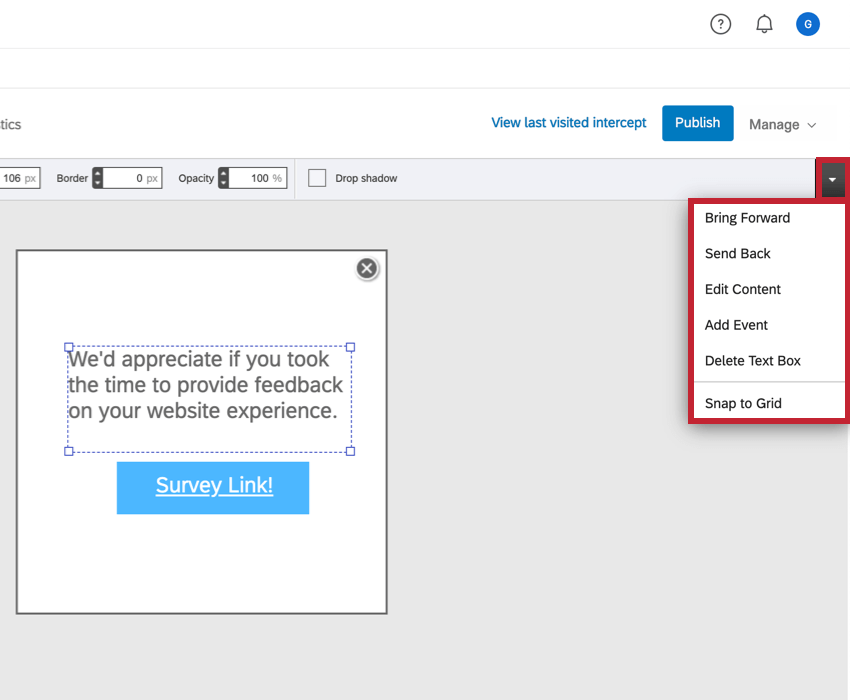
- Bring Forward: Bring an object forward one layer. For example, if you accidentally cover something up, you can select Bring Forward until it’s back on top.
- Send Back: Put the image layer back one. For example, if you accidentally insert a background last so that it covers the other elements, select Send Back until it goes behind all the other elements.
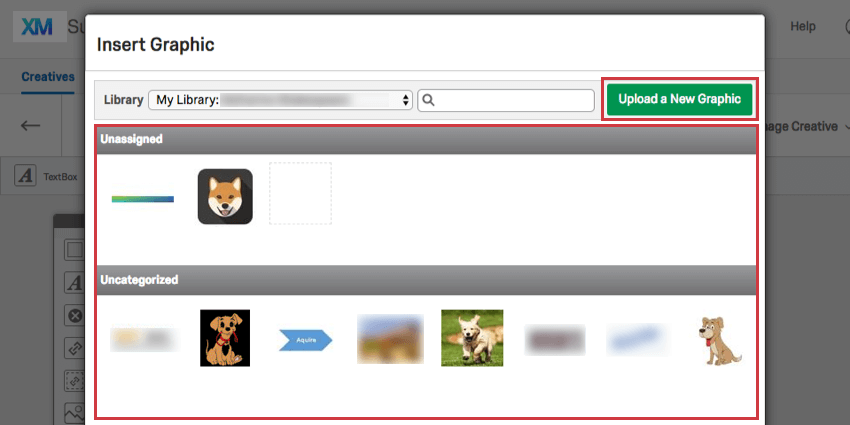
- Select Image: Insert an image. This option is only available for Targets, so you can make a pre-made button you’ve saved to your computer into a link.
- Edit Content: Edit the text. The same as double-clicking an item.
- Add Event: See our page for Event Triggering and Event Tracking.
- Embedded Data: Add information to the end of your Target link that you want to capture. See the Embedded Data page for more instructions. This option is only available for Targets.
Qtip: A singular embedded data field cannot have multiple values set within a creative. For example, if you have three different emoticons in your creative for “Happy,” “Sad,” and “Angry,” each emoticon would need its own embedded data field.
- Delete Element: Delete the element.
- Snap to Grid: Enable this to have elements move pixel by pixel and not allow them to be moved anywhere by a fractional pixel.
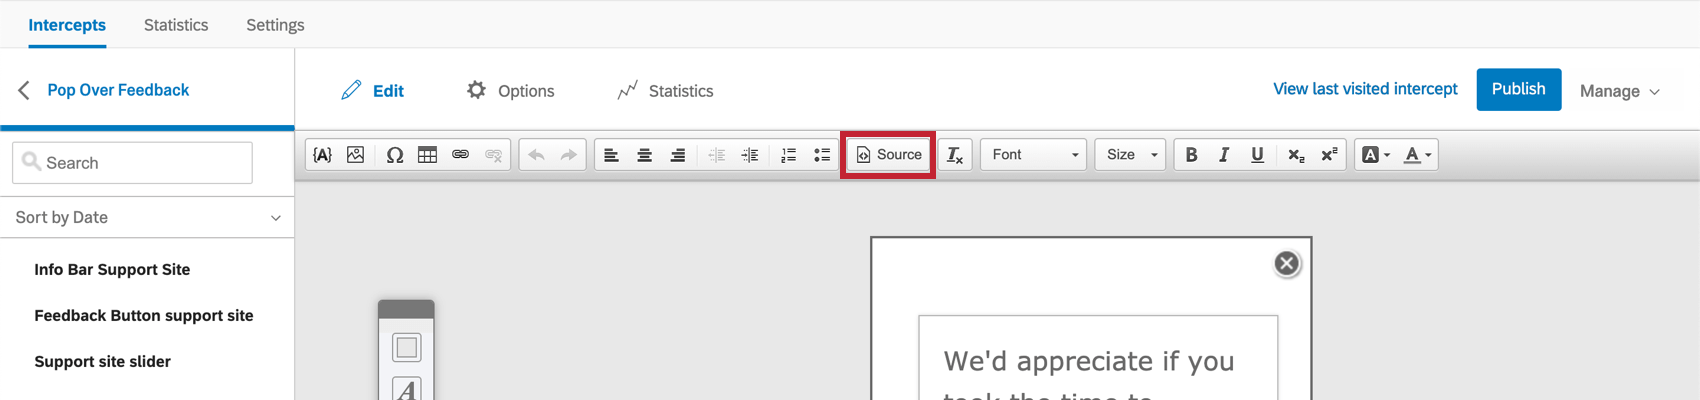
Rich Content Editor
When you double-click on an element, the Selected Element Options will be transformed into a Rich Content Editor.
Excluding the features discussed below, this Rich Content Editor has the same features and layout as the Rich Content Editor in the Survey Platform. For more information, refer to our Rich Content Editor support page.

- The Source option allows you to edit the HTML of your content directly. This is useful if you need exact control over the content of your creative.
- The Piped Text icon allows you to display dynamic content so that the creative is customized for each visitor.

The following information can be displayed through Piped Text
- Design Creative: This type of Piped Text has 1 option called Time Until Close Timer. If you are using a Pop Over or Info Bar creative and have set up Close After settings, this timer will count down until the creative closes.
- HTML Element: Enter the ID of an HTML element. When your webpage loads, Qualtrics will search for that element on your page, and display the content on your creative.
- URL Parameter: Enter the name of a parameter on the URL of your web page. Qualtrics will display the value of that parameter on your creative.
- Cookie Value: Enter the name of a cookie stored by your website on the visitor’s browser. Qualtrics will display the value of that cookie on your creative.
- JavaScript Expression: Enter a line of JavaScript and Qualtrics will display the result of your JavaScript on the creative.
- Web Service: Enter a web service URL to connect your creative to an external web service. Qualtrics will send a request for information to that web service and will display the returned information on the creative.
- GeoIP Location: Select to display the visitor’s Postal Code, City, State/Region, Area Code, Country Name, or Country Code on the creative.
Creative Selection Menu
When you enter the Edit, Options, or Statistics sections, a menu will appear to the left listing all the creatives you’ve made in the project. You can switch easily between creatives by clicking their names.
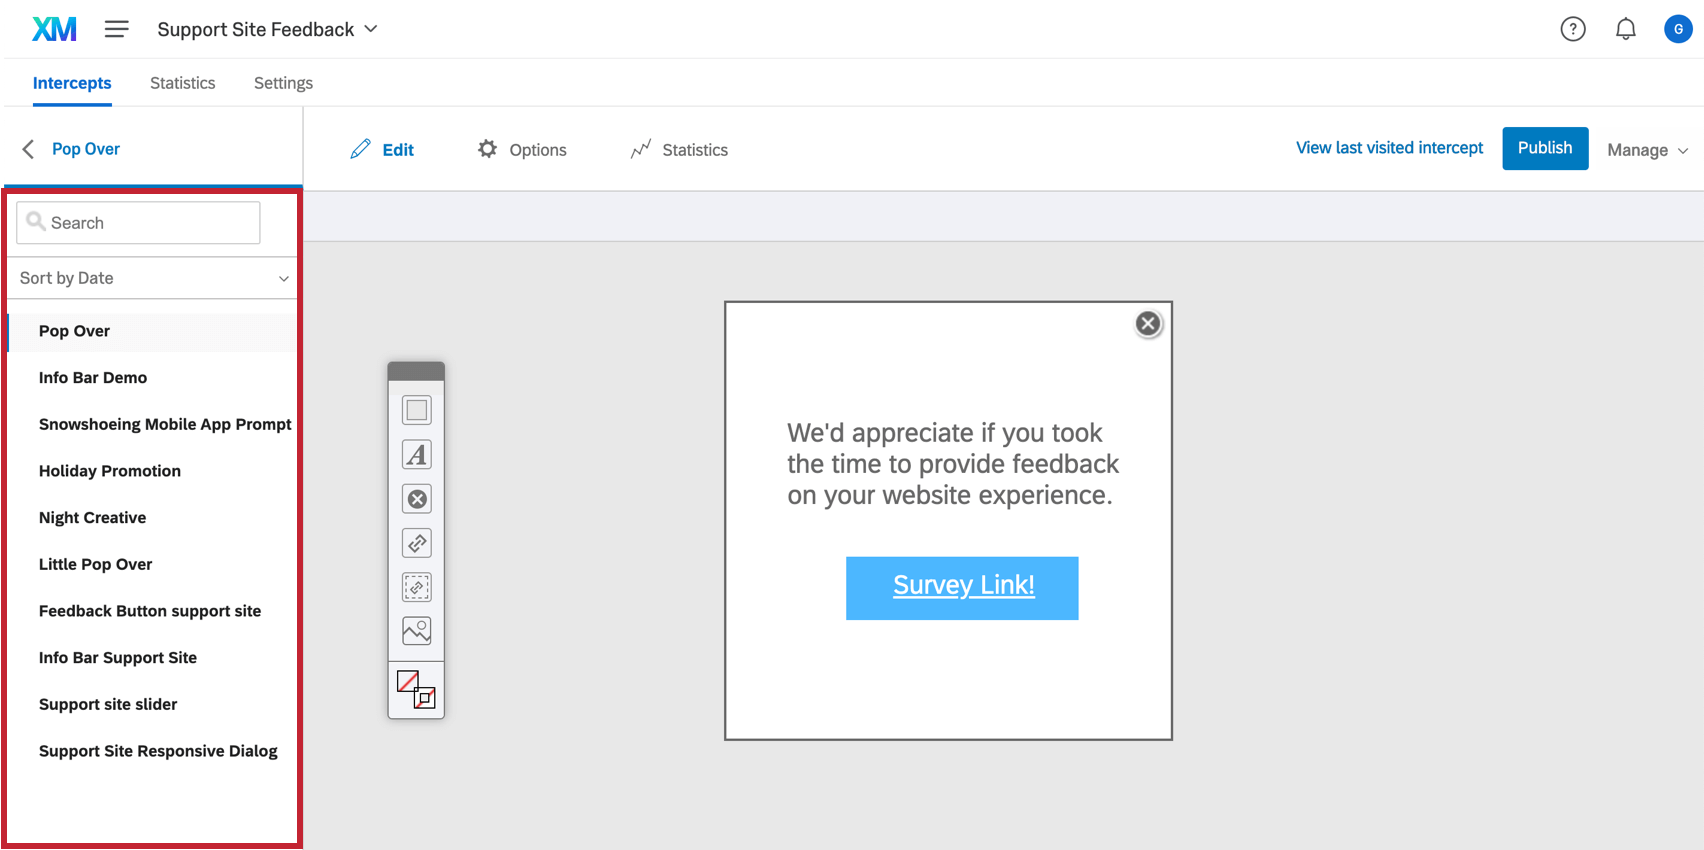
Using the Search bar, you can search creatives by name, or change the Sort by Date dropdown to sort your creatives by a different criteria.
Mobile App Prompt creatives are not included in this list.