-

Qualtrics Platform -

Customer Journey Optimizer -

XM Discover -

Qualtrics Social Connect
Evaluations Tab (Course Evaluations)
About the Evaluations Tab
In the Evaluations tab you can view evaluations that have been created, send evaluation reminders, and create new evaluations. Evaluations can be distributed manually or set to automatically distribute on a regular basis. In this tab you can also edit and delete existing evaluations.
For more information on Course Evaluations projects as a whole, see Course Evaluations Overview.
Distributing Evaluations
When you are ready to distribute evaluations for your organization, you can create a one-time evaluation that will be sent on a specific date and time, or you can configure a recurring evaluation that will be sent at the cadence you specify. For more information and instructions on sending evaluations, see Distributing Course Evaluations.
Viewing Evaluations
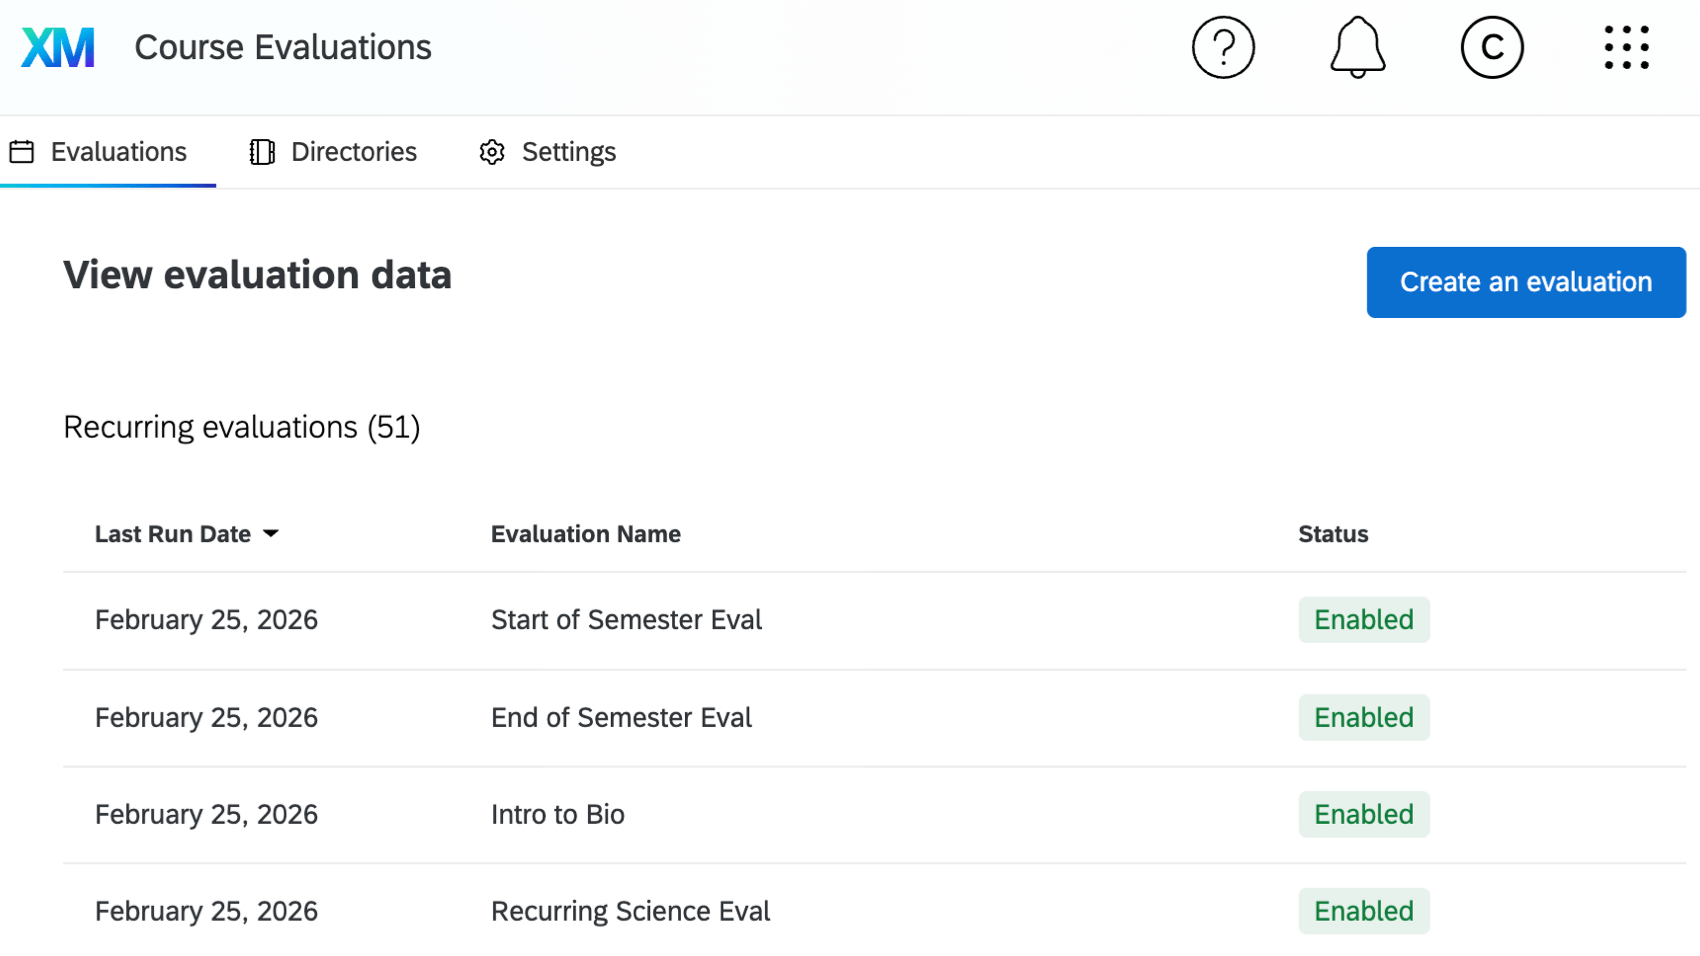
In the View evaluation data tables you can view all recurring and one-time evaluations that have been created within your organization.
These tables display the following information:
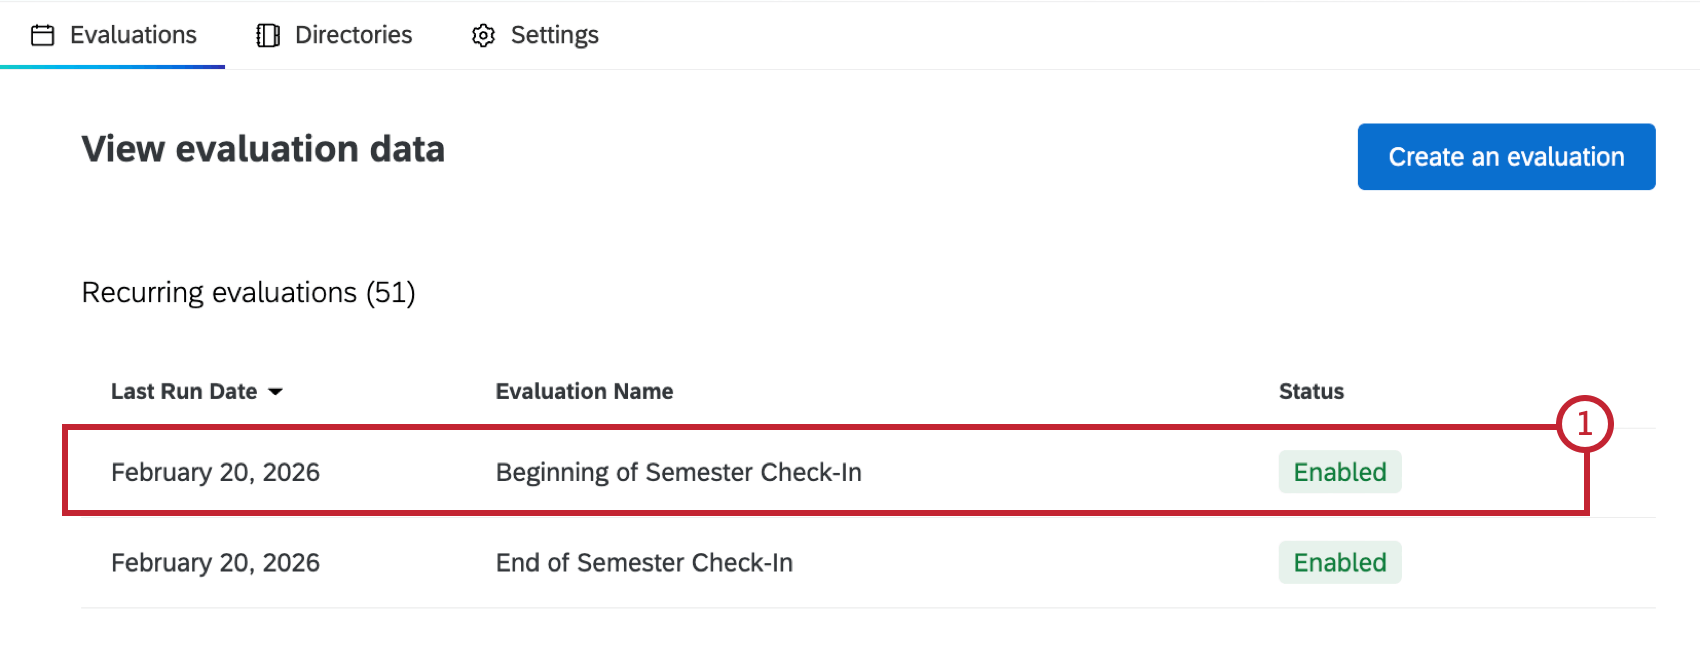
Recurring evaluations:
- Last run date: The last date the evaluation was run.
- Evaluation name: The name of the evaluation.
- Status: The status of the evaluation. This will either be “Enabled” or “Disabled”.
Click a recurring evaluation to open the evaluation history. Here you can click on individual evaluations to view more information, including the number of courses, number of recipients, response rate, and more.
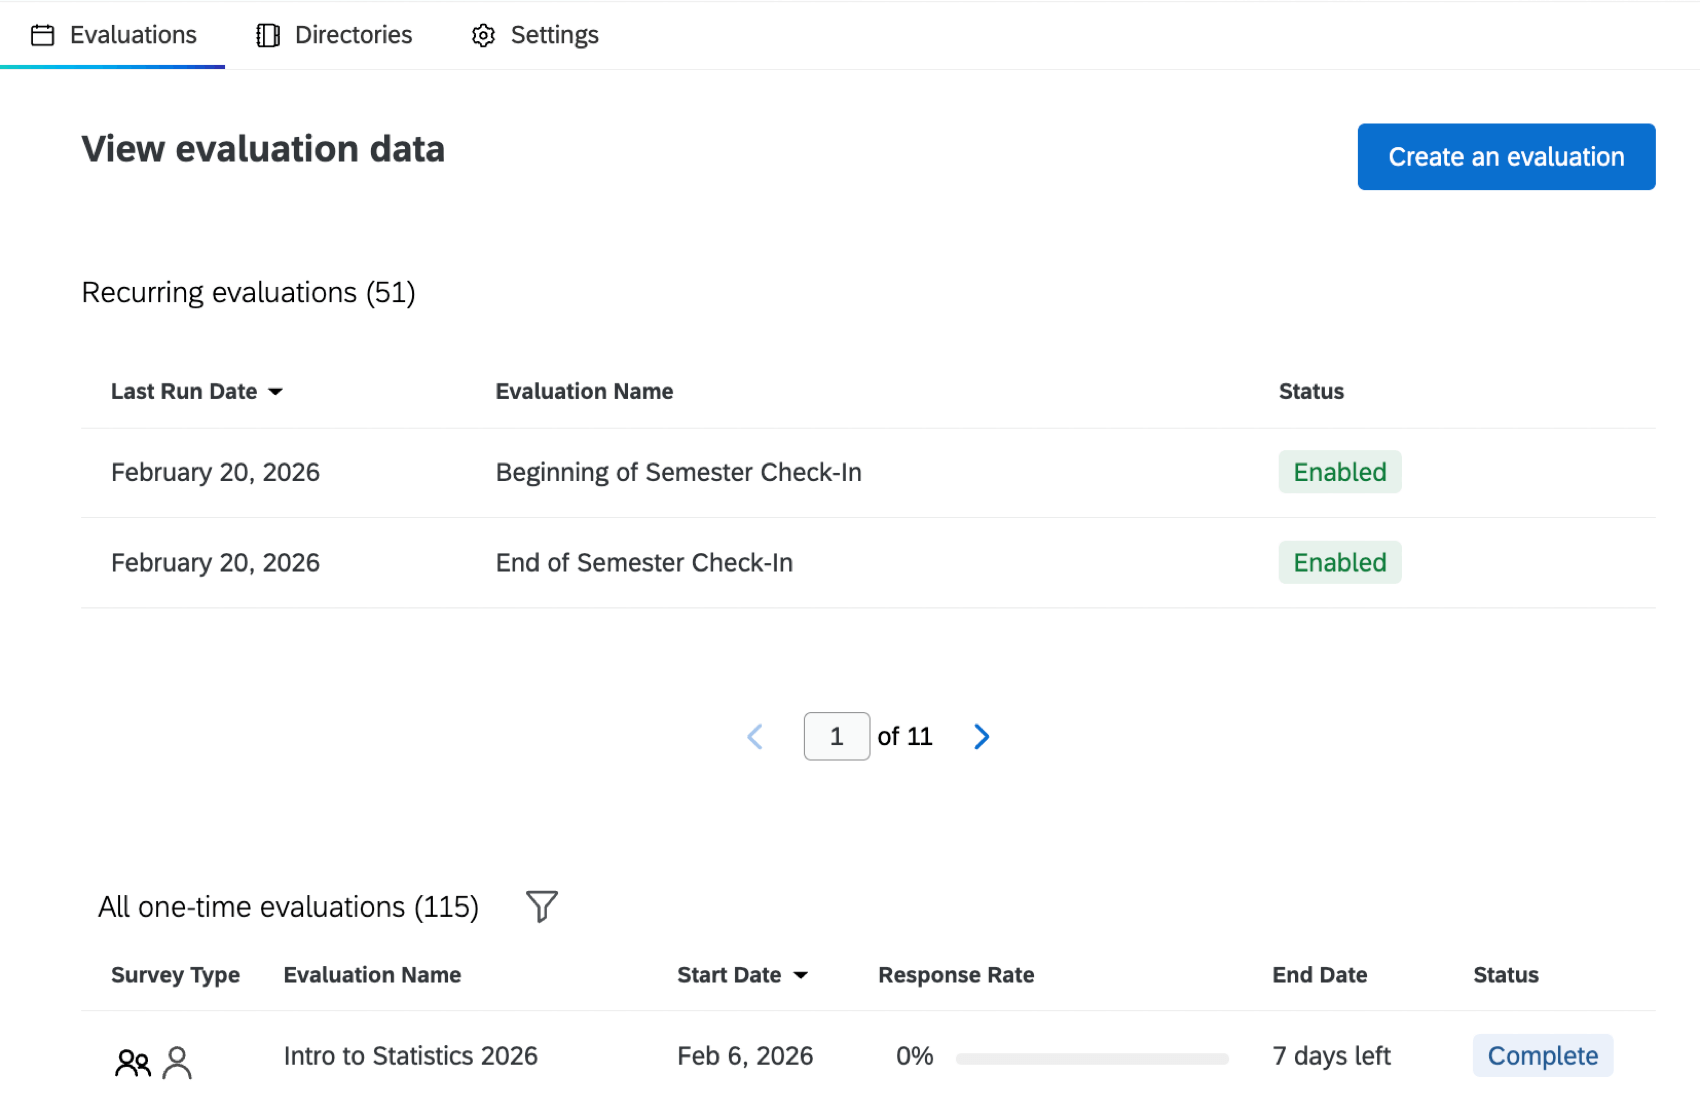
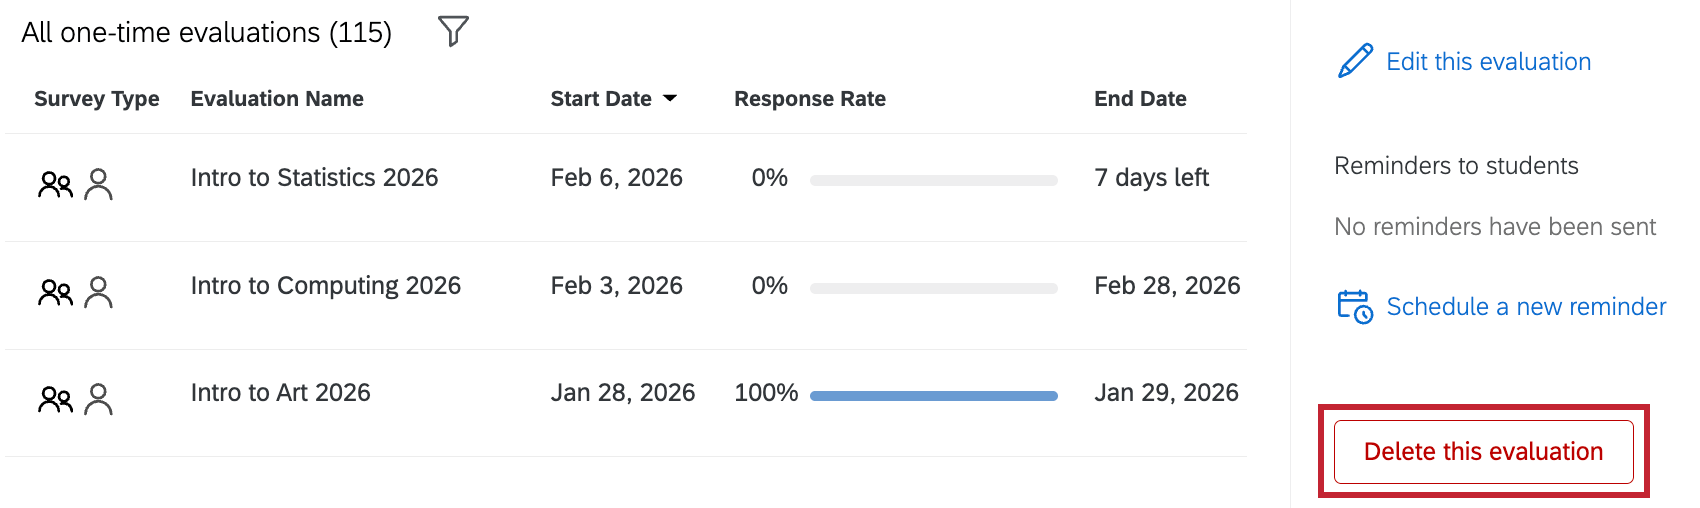
One-time evaluations:
- Survey Type: The type of evaluation that was sent. This will be either a Course Evaluation, Teacher Evaluation, or both.
- Evaluation Name: The name of the evaluation.
- Start Date: The date the evaluation was sent.
- Response Rate: The percentage of respondents that have completed the evaluation.
- End Date: The date the evaluation links expired.
Qtip: If the evaluation is still in progress, this will display how many days are left until the links expire.
- Status: The status of the evaluation. This will be one of the following:
- Distributing: The evaluation is in the process of being sent.
- Complete: The evaluation has been sent or scheduled to send.
- Failed: The evaluation failed to send.
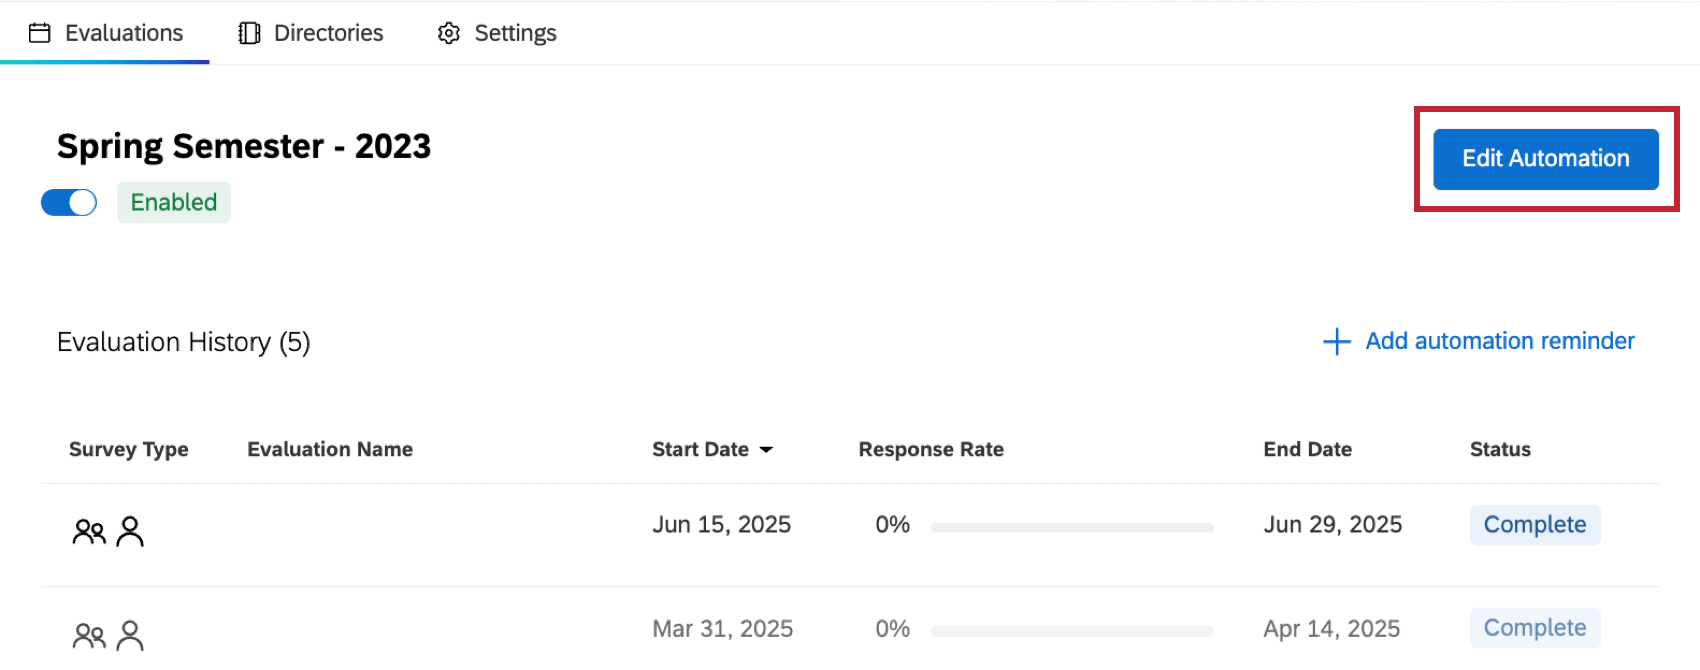
Editing Evaluations
Recurring Evaluations
To edit a recurring evaluation, click on it within the Evaluations tab and select Edit Automation. You will be taken to an overview of your automation configuration, and from there you can edit any component that needs to be edited.
One-time Evaluations
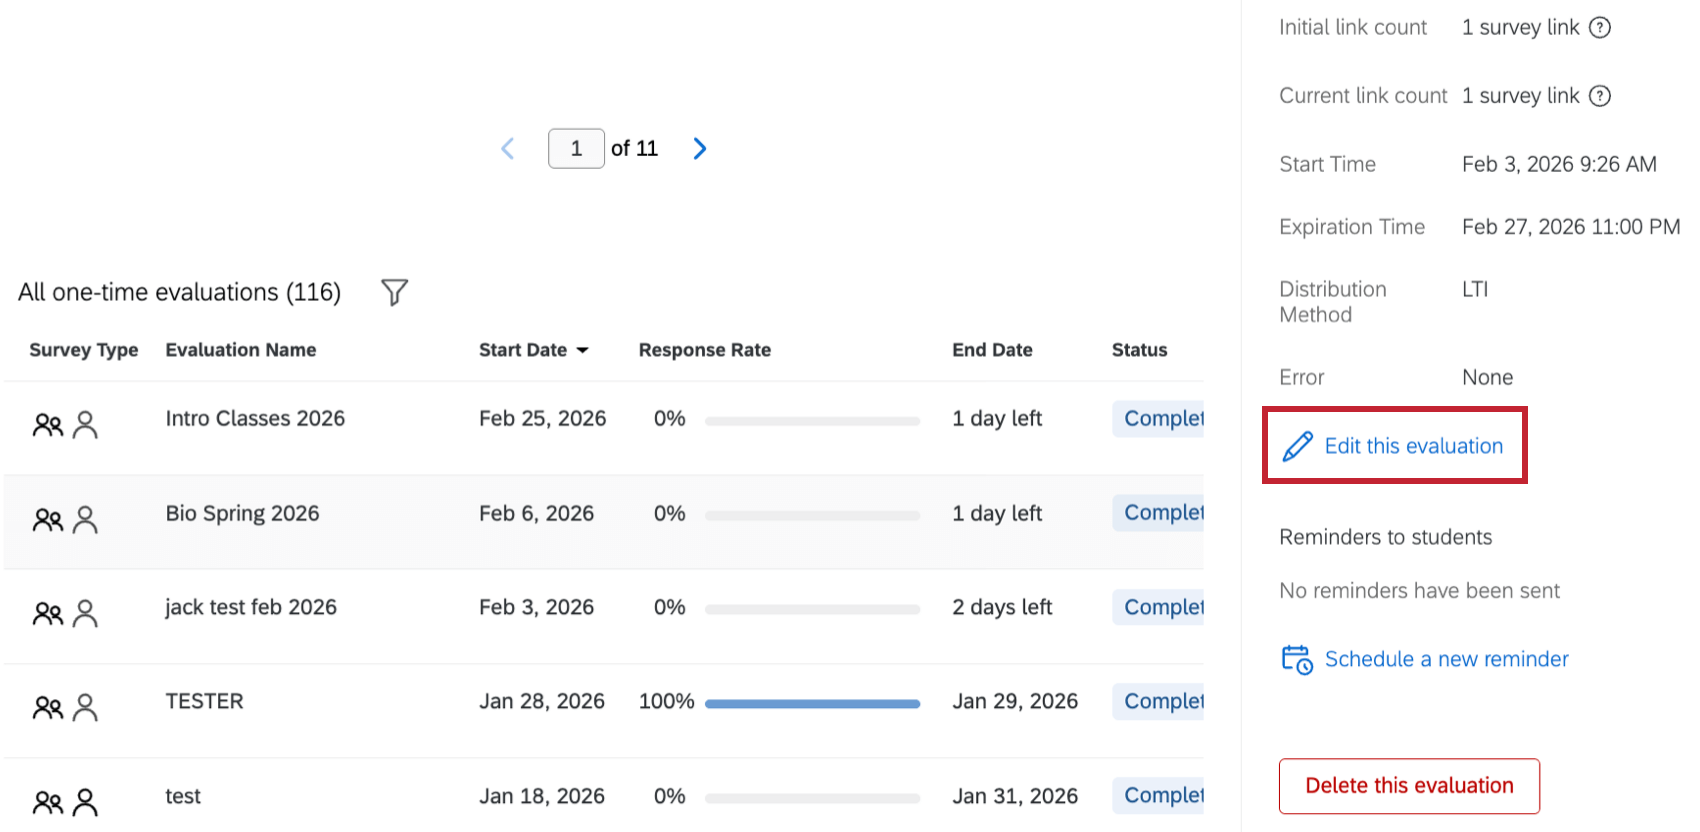
To edit a one-time evaluation, click on it within the Evaluations tab and select Edit this evaluation.
Creating Evaluation Surveys
When your organization gets access to course evaluations, you will get access to 2 survey templates. One is a course evaluation template and the other is an instructor evaluation template. These surveys can both be found within your library.
In addition to the templates, you can create your own evaluation surveys.
Scheduling Reminders
Creating Evaluation Reminders
Reminders can be created for recurring and one-time evaluations. For recurring evaluations, they will only be sent for the specific run of the evaluation you schedule them in. To set up reminders for every run of a recurring evaluation, see the section below.
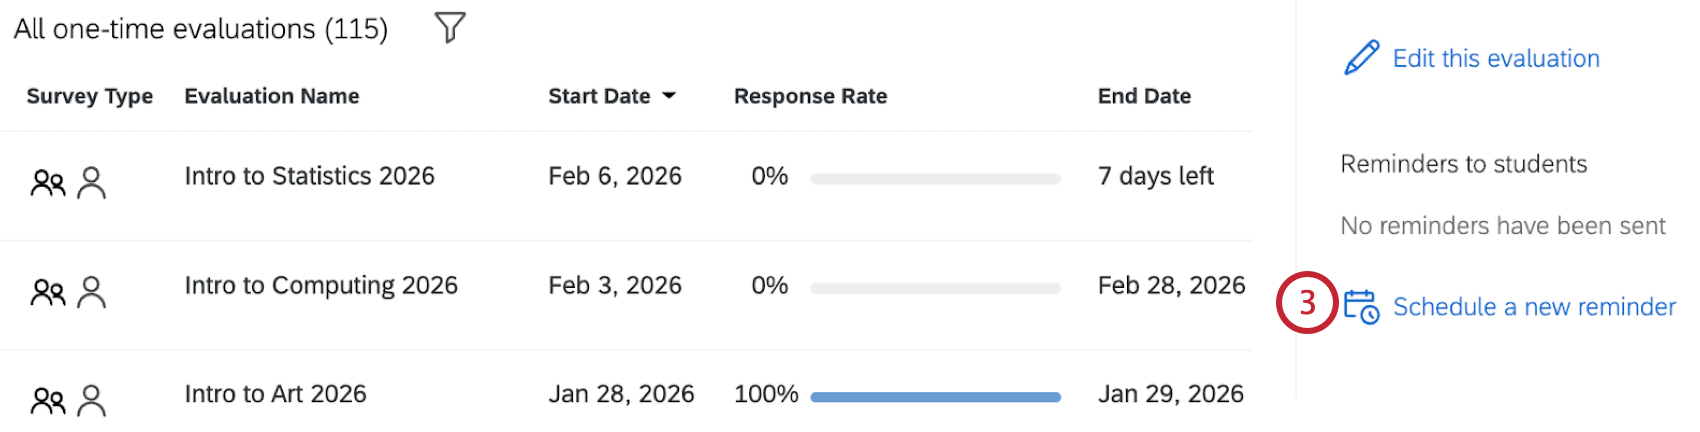
- Click a specific one-time or recurring evaluation within the table.
- If you are setting a reminder for a recurring evaluation, click a specific evaluation run from the history.
- Scroll to the bottom of the information window that opens on the right and click Schedule a new reminder.
- Decide if you want to manually select a specific date and time for the reminder, or schedule it based on when the evaluation is sent.
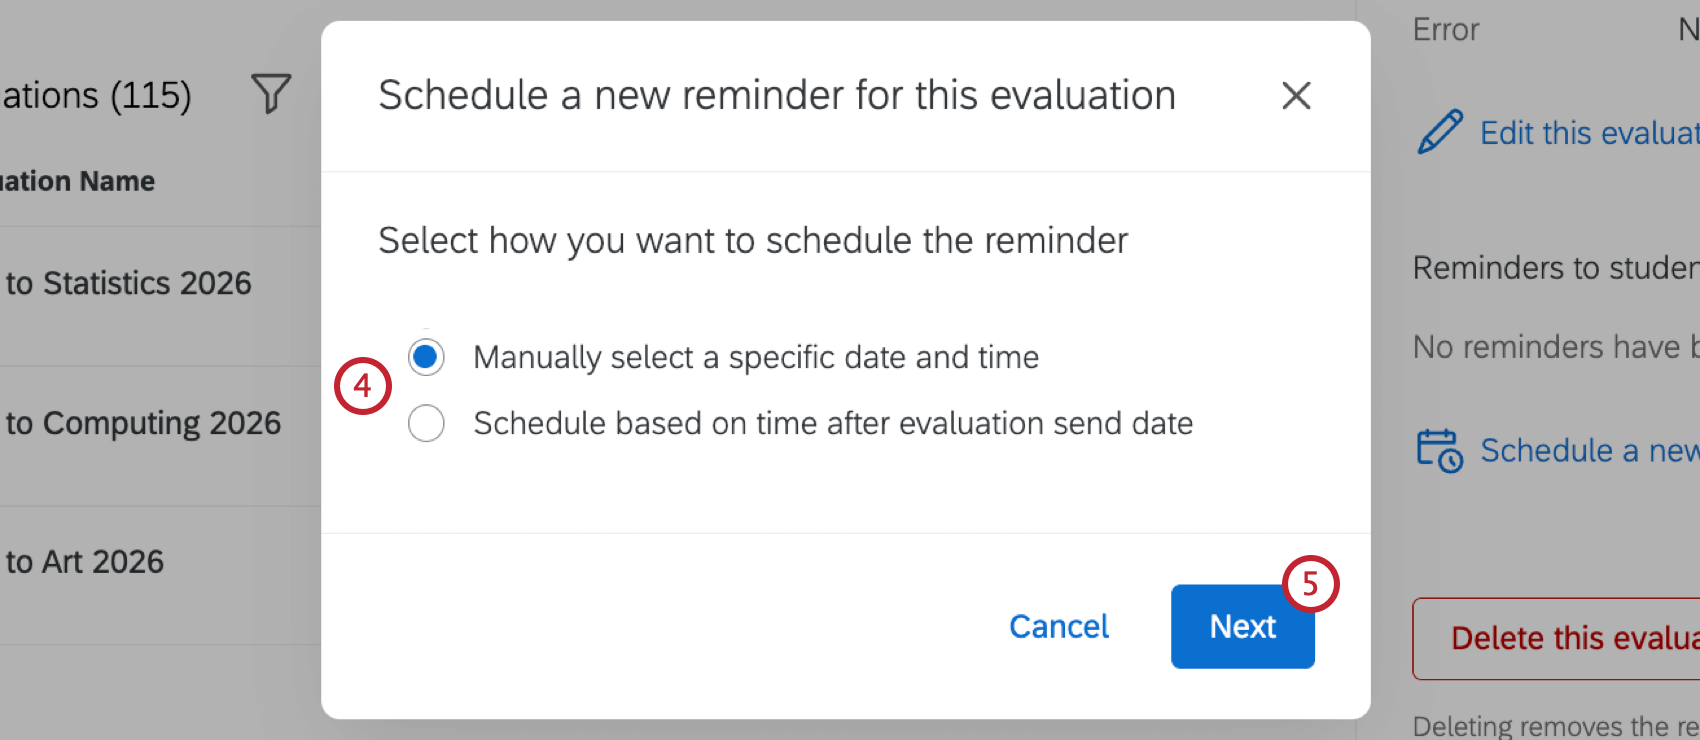
- Click Next.
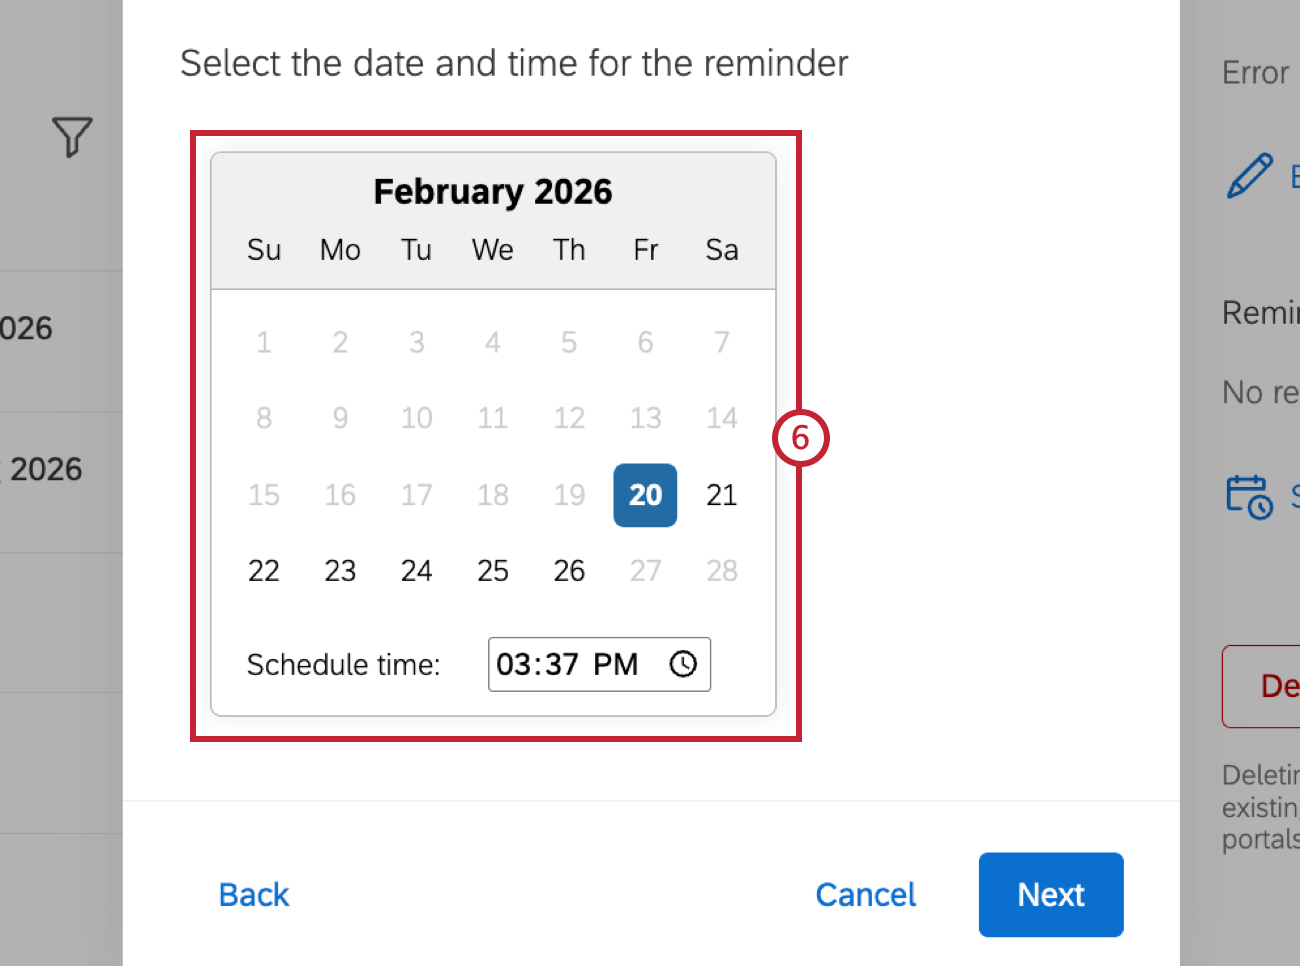
- If you chose to manually select a date and time, pick a date and time from the calendar. The date you select must be between the evaluation send date and evaluation expiration date.
- If you choose to schedule based on the evaluation send date, select the amount of time after the evaluation to send the reminder. Your chosen date and time will appear at the bottom. The reminder send date must be between the evaluation send date and evaluation expiration date.

- Click Next.
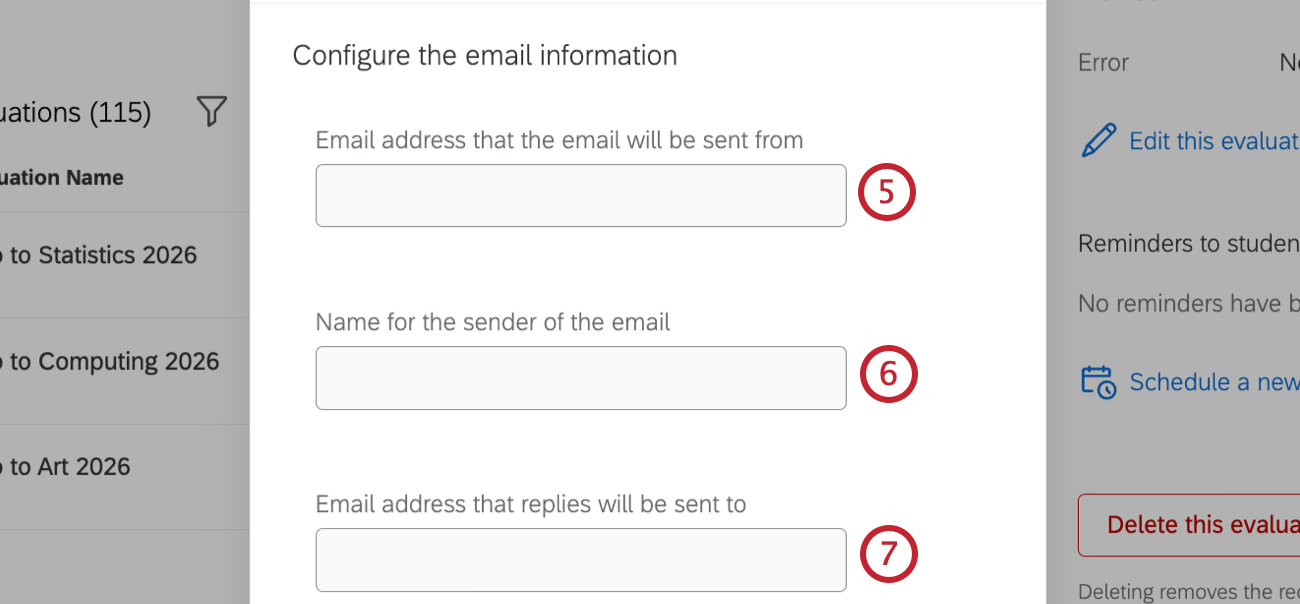
- Enter the email address the reminder email will be sent from.

- Enter a name for the sender of the reminder email.
- Enter a reply-to email address.
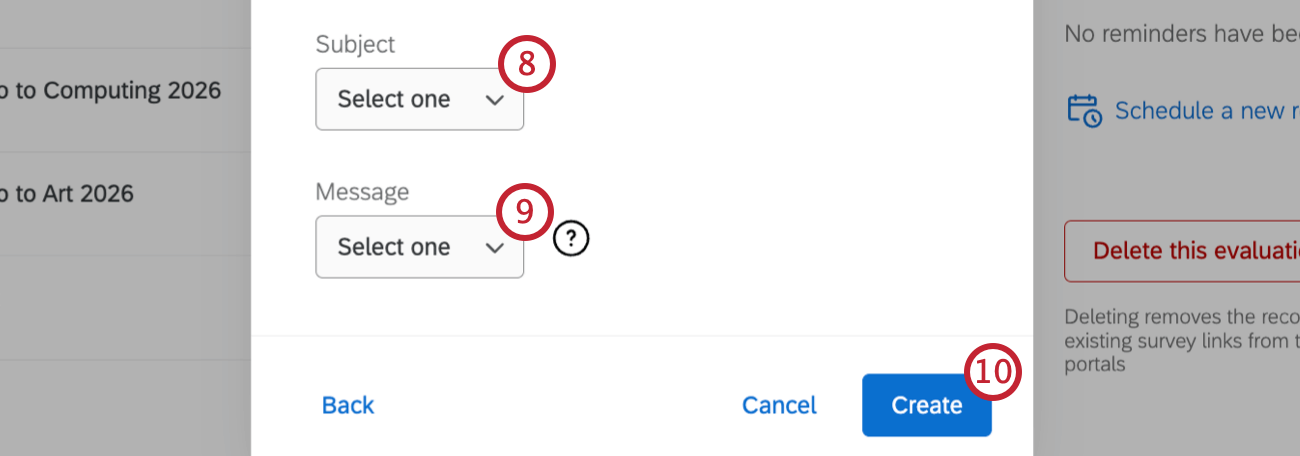
- Select an email subject from the dropdown. Email subjects must be created and edited within your Qualtrics Library. For more information, see Creating a Message in a Library.
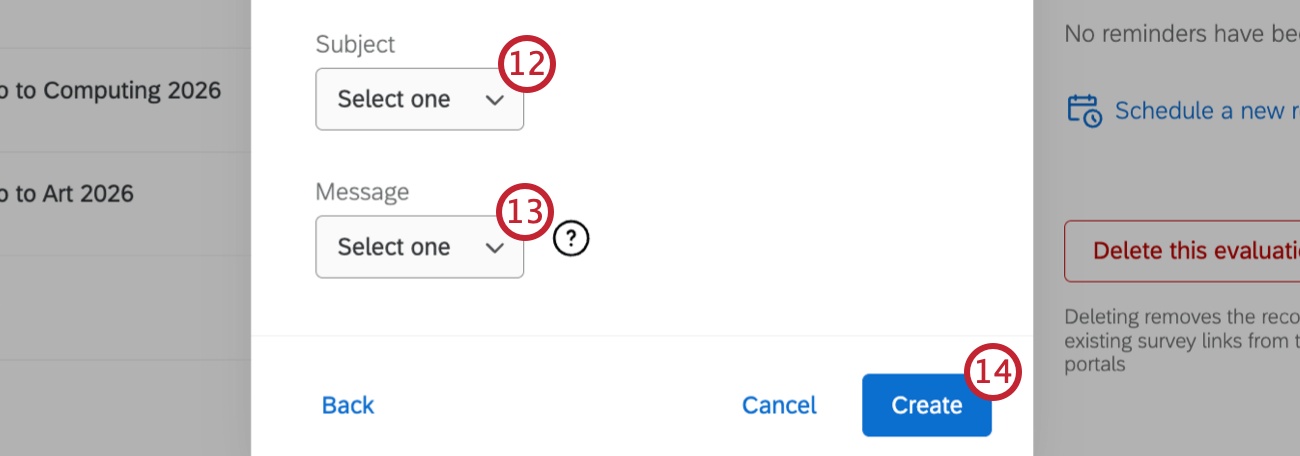
- Select an email message from the dropdown. Email messages must be created and edited within your Qualtrics Library. For more information, see Creating a Message in a Library.
- Click Create.
Creating Automation Reminders
Automation reminders can only be created for recurring evaluations. A reminder will be created for every time the recurring evaluation is sent, eliminating the need to manually schedule reminders for each individual distribution.
- Click a recurring evaluation from the table.
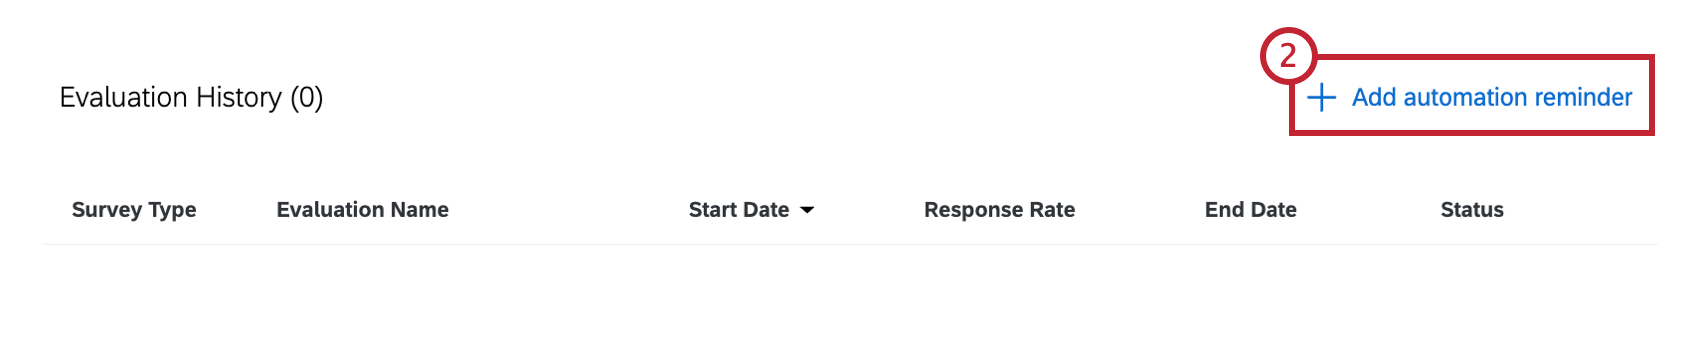
- Select Add automation reminder.
- Select the amount of time after the evaluation to send the reminder. This reminder must occur before the evaluation expiration date. You can see all existing reminders for the automation at this step.
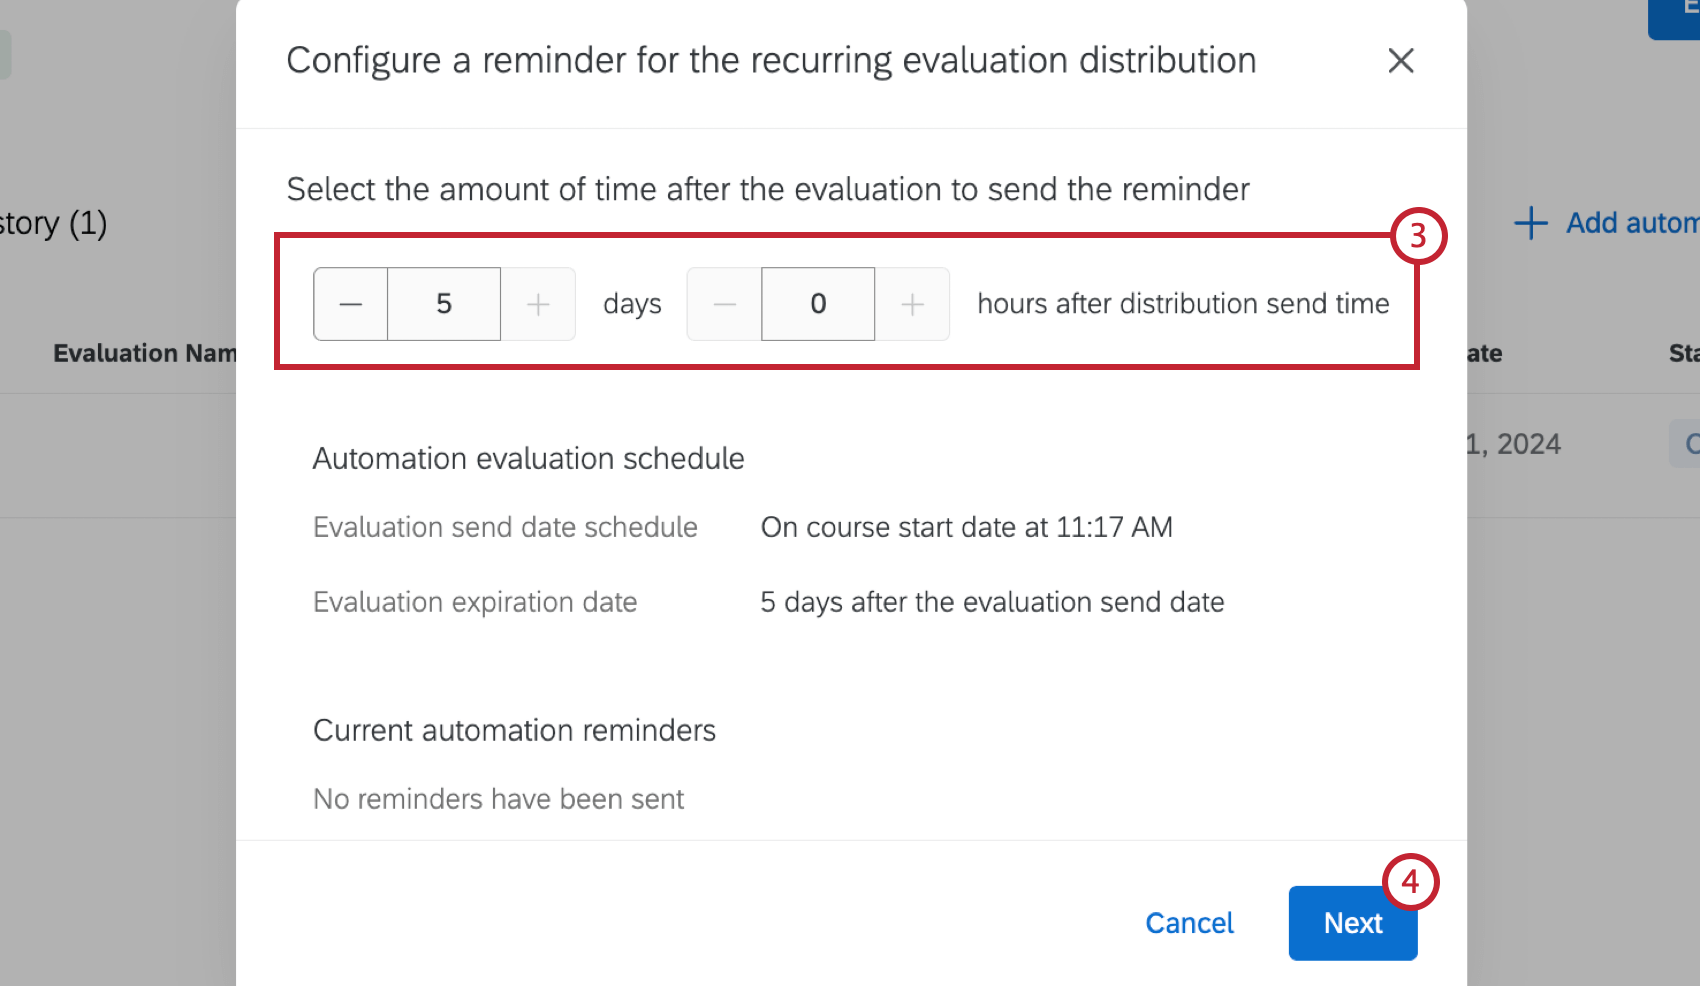
- Click Next.
- Enter the email address the reminder email will be sent from.
- Enter a name for the sender of the reminder email.
- Enter a reply-to email address.
- Select an email subject from the dropdown.
- Select an email message from the dropdown.
- Click Create.
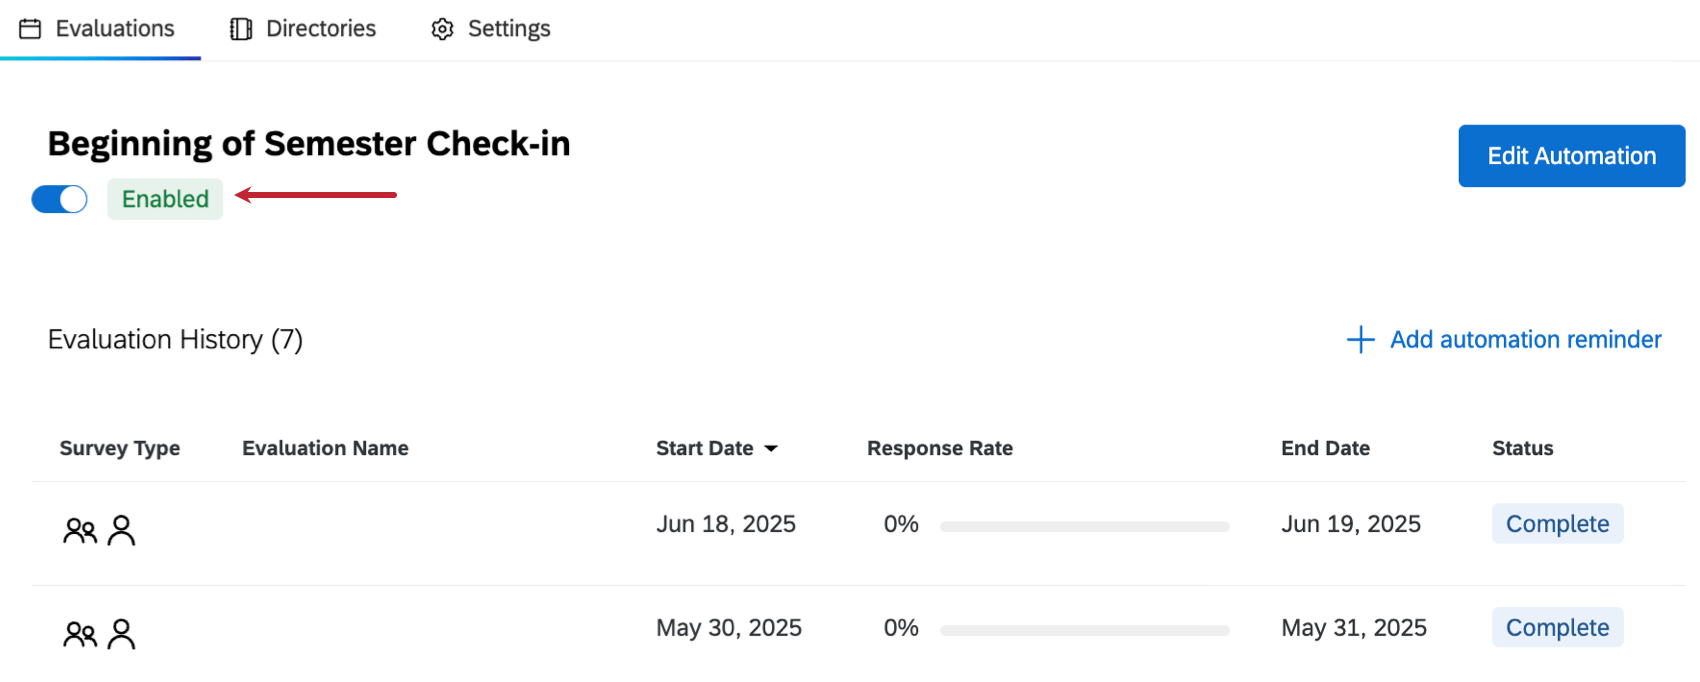
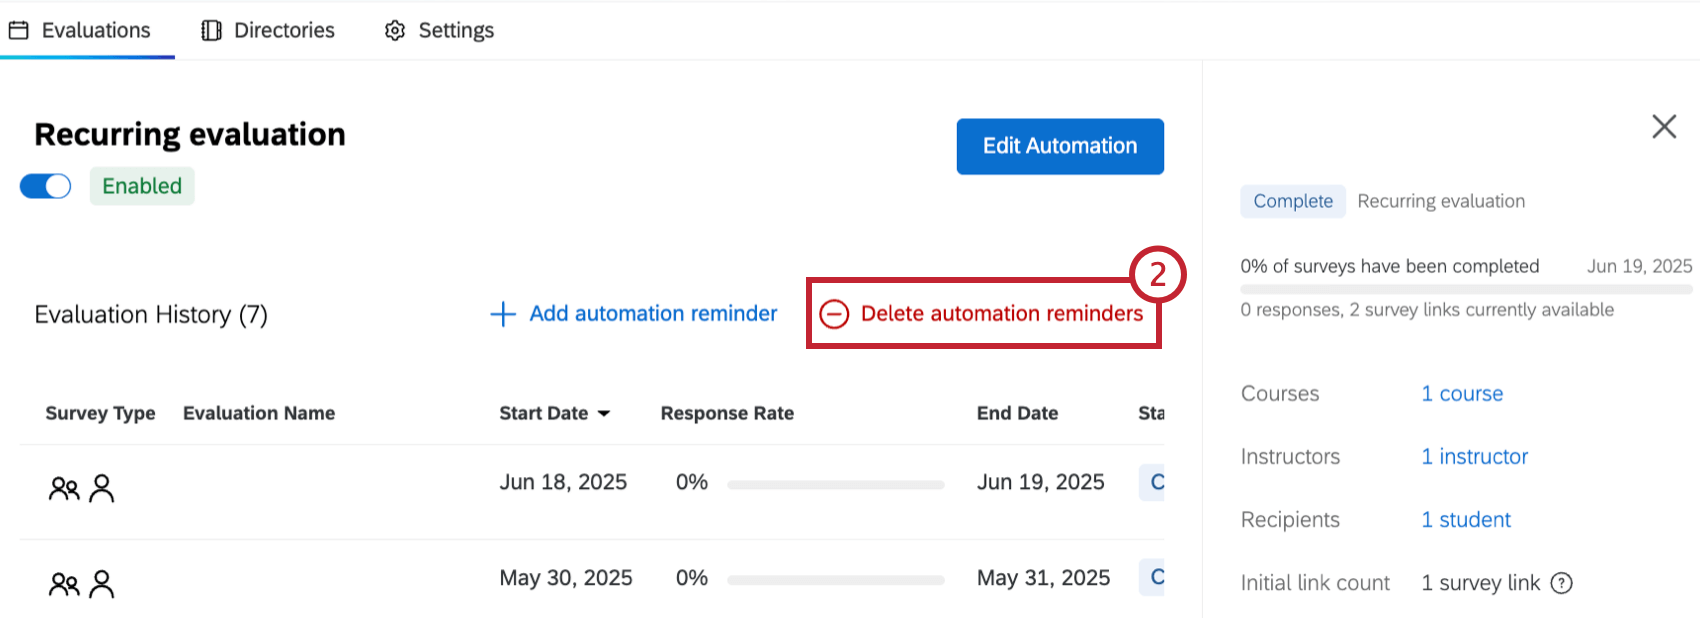
Once you have set up automation reminders, you are able to view and delete these reminders within the evaluation history page.
- Select a recurring evaluation.
- Click Delete automation reminders,
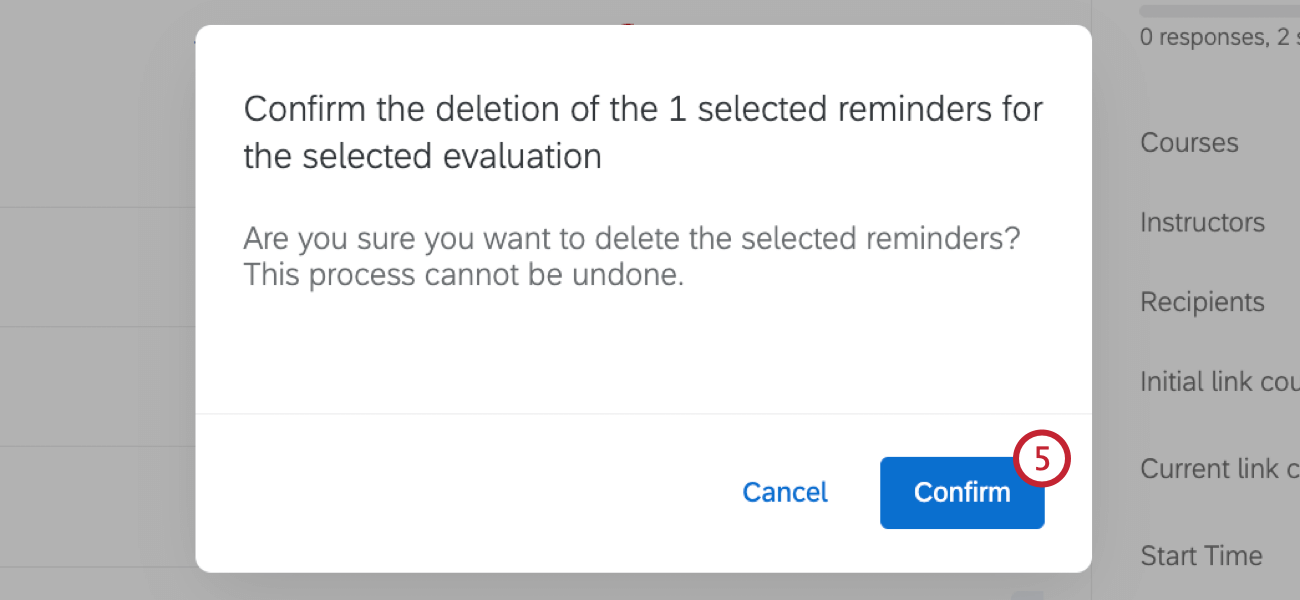
- Click the trash can to select the reminder(s) to be deleted.
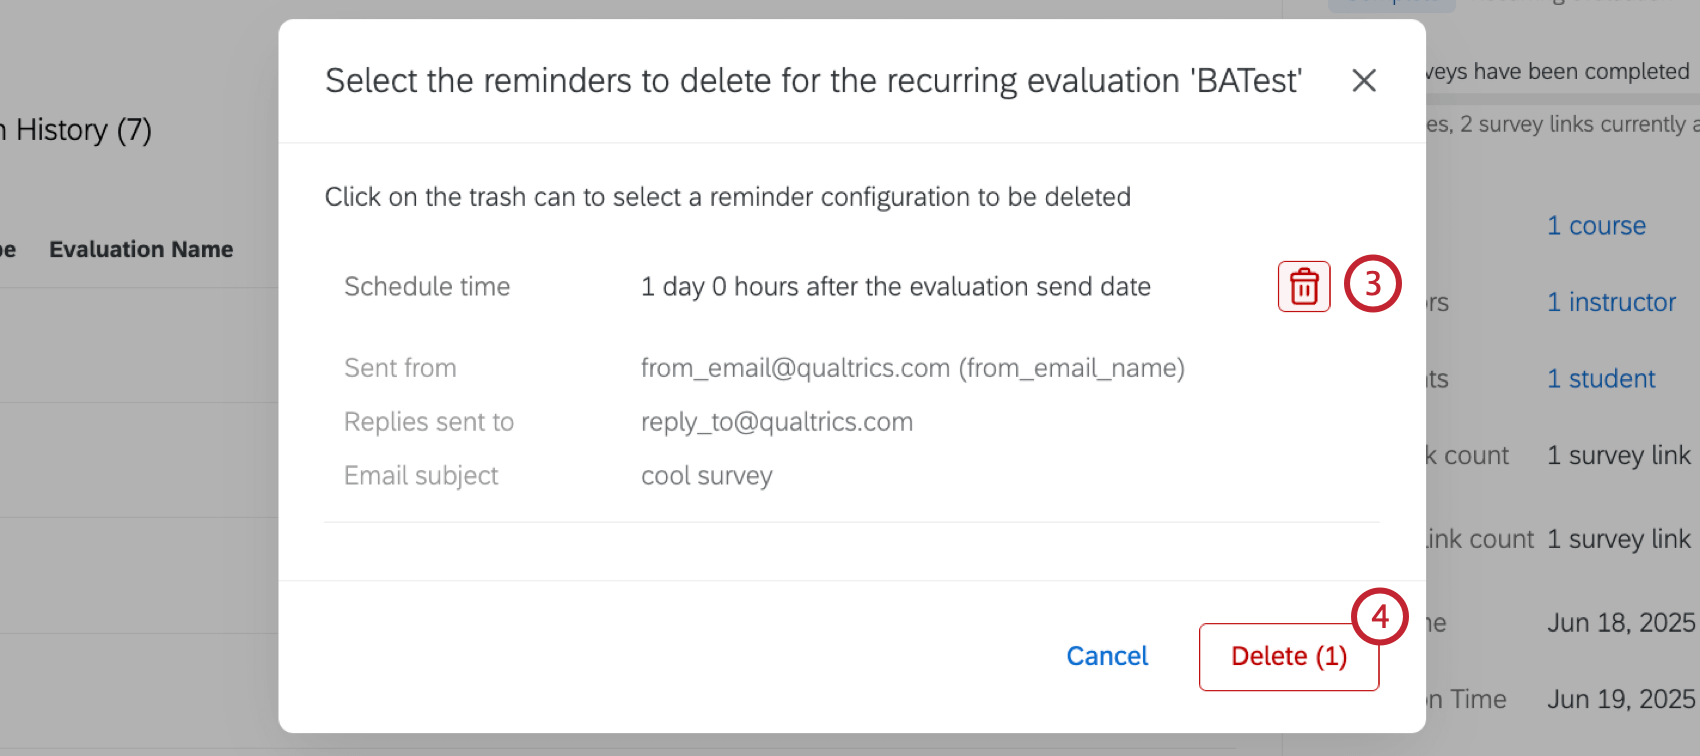
- Click Delete.
- Click Confirm.
Deleting Evaluations
To delete an evaluation, select it from the table, scroll to the bottom of the information window that opens, and click Delete this evaluation.
Disabling Recurring Evaluations
If you don’t want to delete a recurring evaluation but you want it to stop running, you can disable it. This is a good option if you plan on resuming the automation in the future, or if you want to end the automation but preserve the evaluation history. After clicking on a recurring evaluation, click the slider button next to the Enabled status to disable it.