-

Qualtrics Platform -

Customer Journey Optimizer -

XM Discover -

Qualtrics Social Connect
Ticket Reminders
About Ticket Reminders
Ticket reminders allow you to keep yourself and other interested parties up to date on their tickets. It can be a means of alerting managers to high risk tickets, reminding employees of open tickets, or even alerting a colleague without a Qualtrics account of the work yet to be done.
Setting Up Reminders
- Go to Tickets.
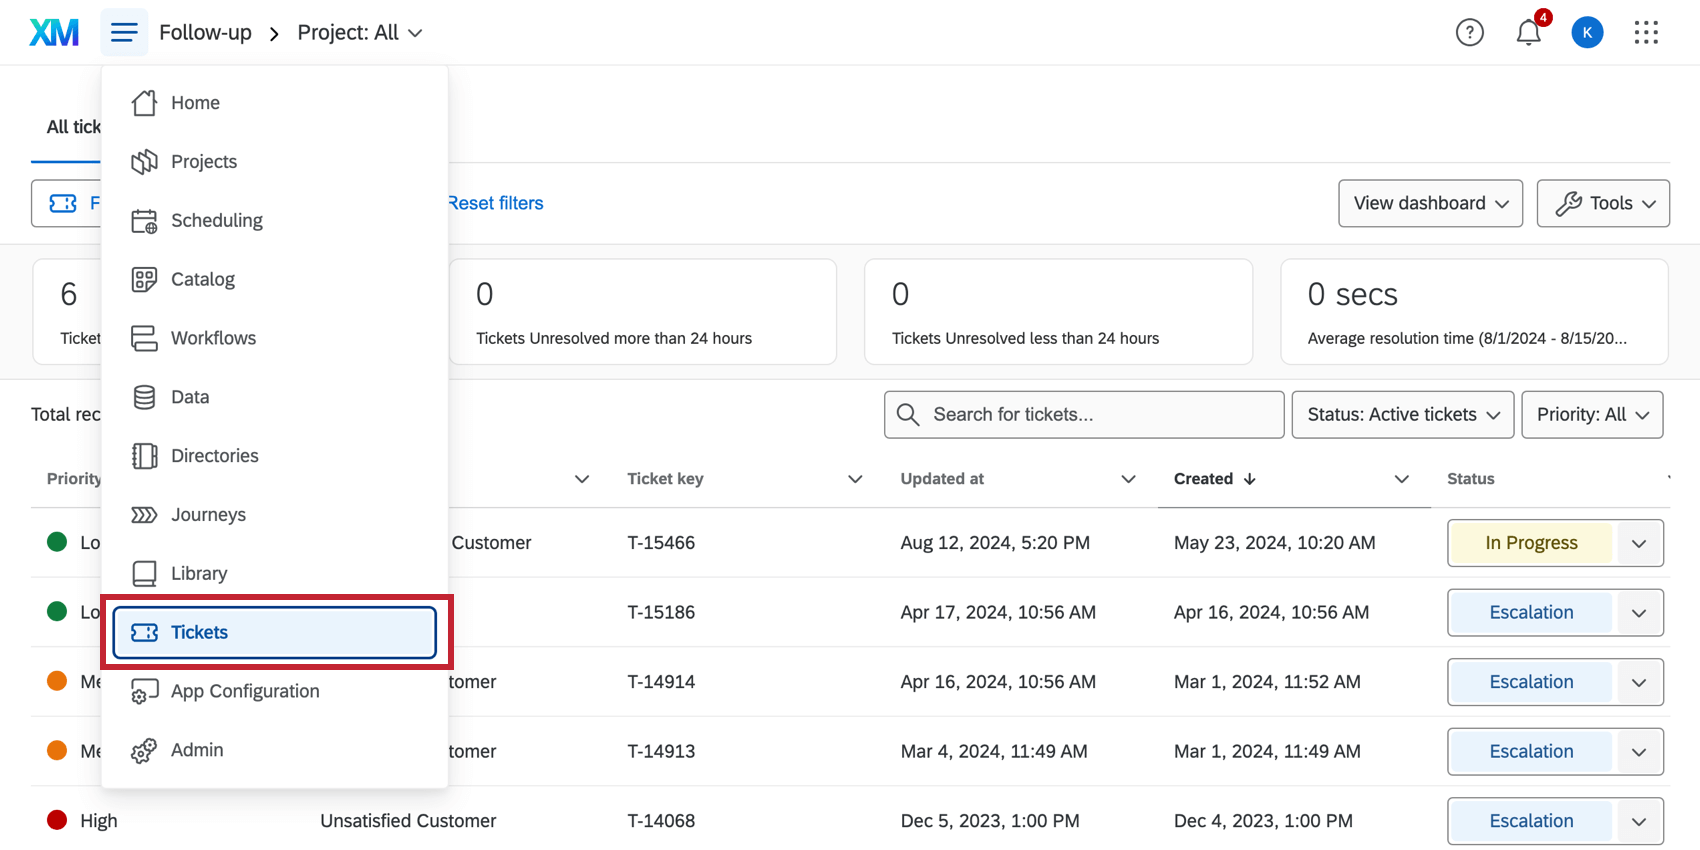
- Click Tools.
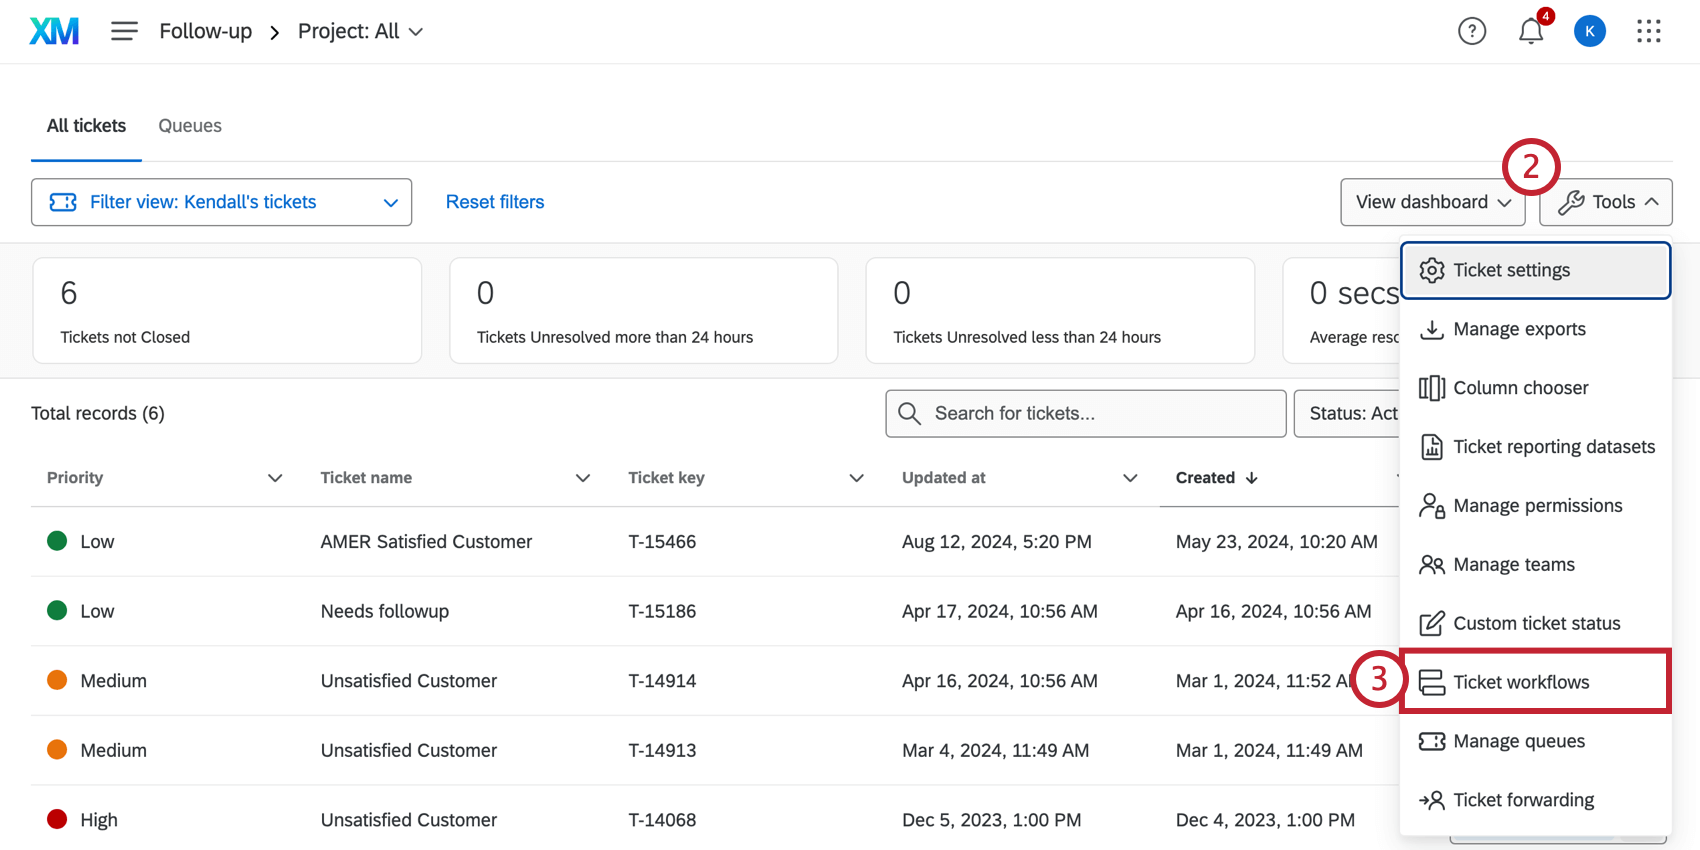
- Click Ticket Workflows.
- Click Add Ticket Workflow.
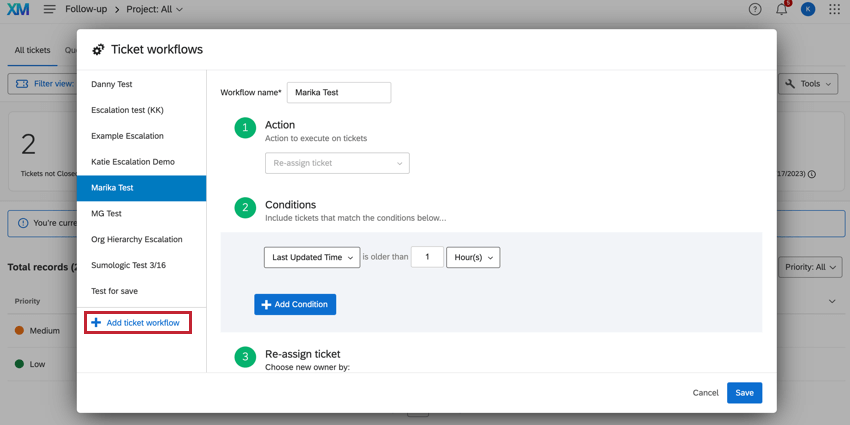
- Name your reminder.
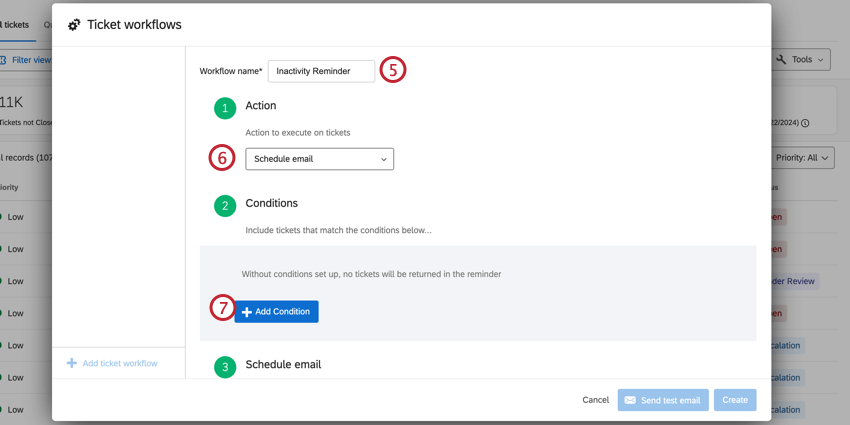
- Select Schedule Email.
- Click Add Condition to define conditions under which the ticket will be escalated.
- Priority: Specify that only tickets of a certain priority will be included in the reminder. For example, maybe you want high priority tickets to be included after 3 days, but low priority tickets to only be included if they’ve waited 10 days.
- Owner / Team: Only tickets belonging to a certain person or team will be included in a reminder.
- Status: Specify if you only want the reminder to contain tickets set as In Progress, Open, or a custom status. Most likely, you will need to set a Status condition.
- Ticket Data: Only tickets with certain ticket data values will have a workflow applied. Do not use ticket data that have special characters in their values or names.
- Project: Only tickets connected to the selected survey project will be included in the reminder.
- Created Time: Include tickets in the reminder based on when they were created.
- Last Updated Time: Include tickets in the reminder based on when they were last updated. Changing the status counts as updating a ticket.
- Click New Condition to add another condition or New Condition Set to start nesting your logic. For more information on building conditions, see Creating Conditions.
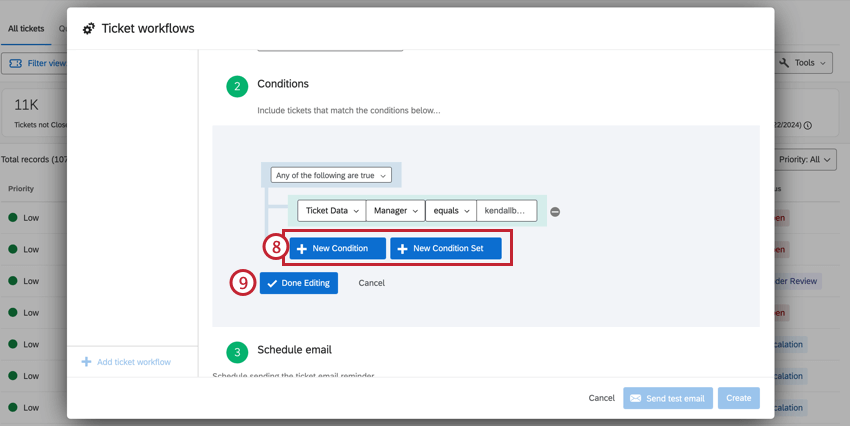
- Click Done Editing
- Choose a recipient. Learn more about your options in the Recipients section.
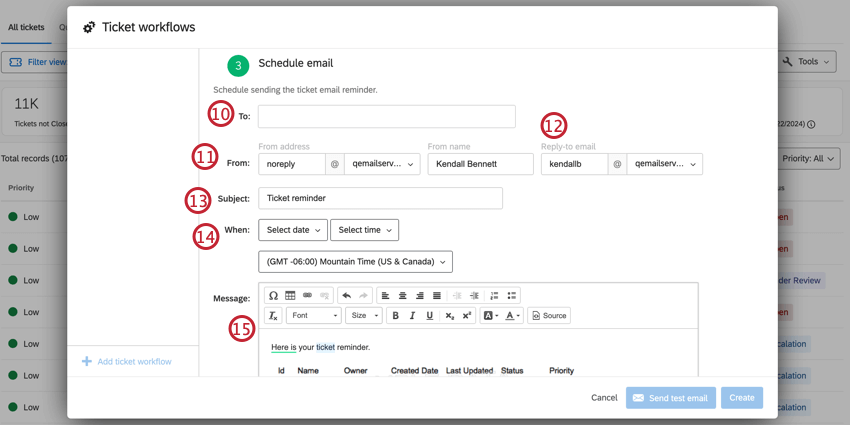
- Determine what email address and name the reminder will come from. The username in this email can be anything, regardless if it exists. You can only select from a list of approved domains.
Qtip: Learn more about changing your available domains by setting a Custom ‘From’ Address.
- Determine the email address that will receive replies if someone responds to this ticket reminder. Try to make sure this is the address of a real person who can follow up on issues.
- Type the subject of the ticket reminder email.
- Choose when this reminder will go out. You can also select a time zone.
Qtip: If you’re scheduling the reminder to be weekly, you can select multiple days of the week. To send a reminder daily, select all days of the week.Qtip: Once the time you selected comes, all tickets that fall under the conditions of this reminder will be compiled into an email. If there are no tickets that meet the reminder requirements, no email goes out.
- Type a message.
Qtip: Piped text is not compatible with ticket reminders.
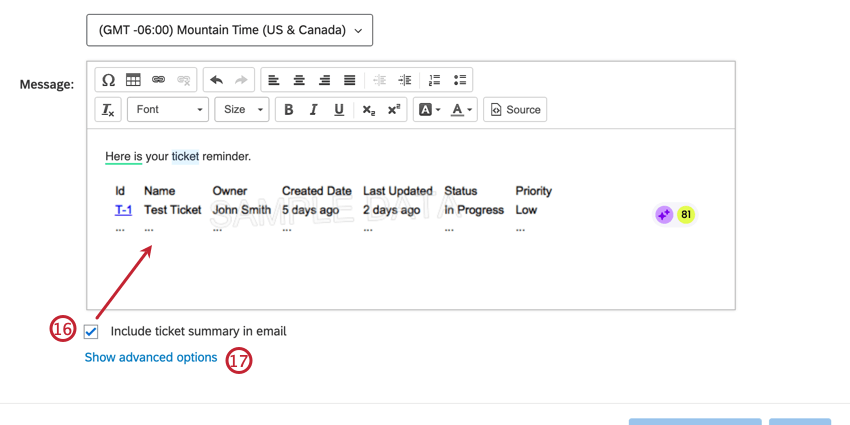
- When Include Ticket Summary is selected, a table with ticket reminders that meet the conditions will appear. Generally, you want to keep this checked.
 Qtip: The limit of tickets that will appear in this table is 300. If your filters are minimal enough to qualify for 300+ tickets, you may want to consider ticket reporting instead of reminders.Attention: Emails can only be a max of 32,768 characters. Emails larger than this will not be sent.
 - Click Show Advanced Options to see more options.
- Determine when tickets are highlighted and in what colors. Determine more rules by clicking the plus sign ( + ).
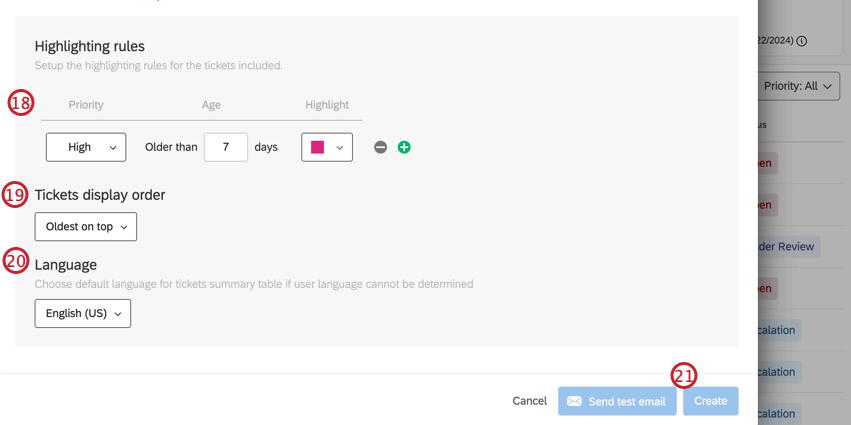
- Choose the order in which tickets will display in the reminder.
- Select the language of the email.
- Click Create to schedule your reminders.
Qtip: To send a one-time email, to yourself click Send Test Email. Note that this will go only to yourself / whoever is setting up the ticket reminder.
Recipients
Ticket reminders can be sent to anyone in your brand, but they can also be sent to the email addresses of colleagues who do not have Qualtrics accounts. You can also use dynamic ticket assignment through ticket data to determine who gets tickets.
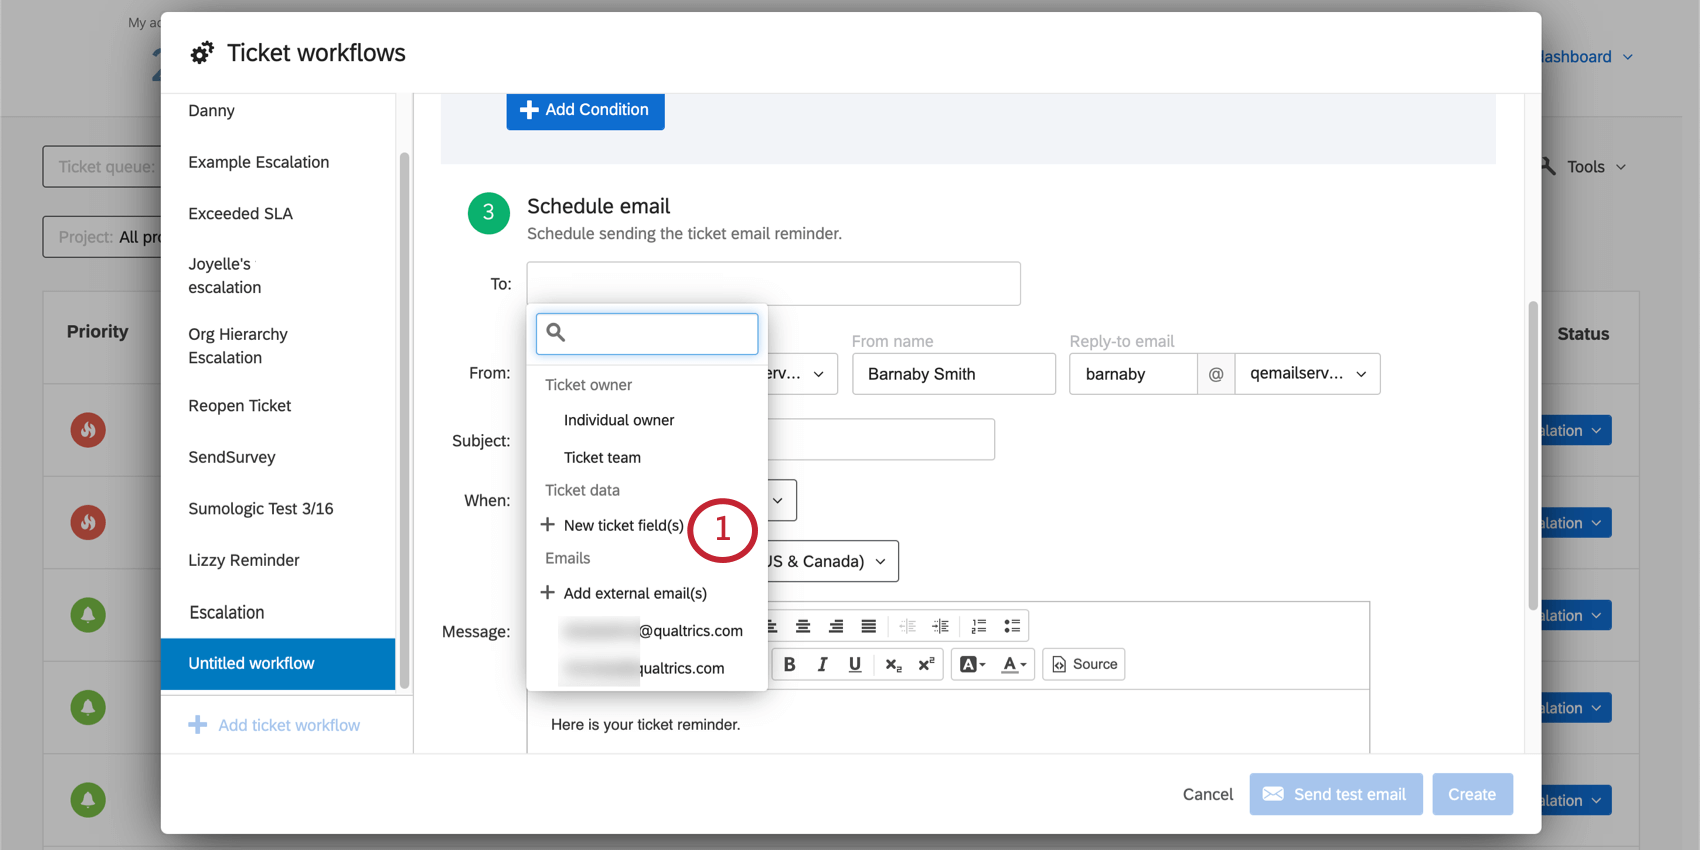
Click in the To field to see more options.

Ticket Owner
The Ticket Owner option means that whoever owns tickets meeting the reminder conditions will receive a reminder. This recipient option thus also acts as a filter; Kate will only see tickets assigned to Kate, and June will only see tickets assigned to June.
Ticket Team
Select this option if you’d like a ticket reminder to be sent to the entire team. This option can be useful if a ticket is owned by a team rather than one person, or if the ticket has been assigned to a team by dynamic ticket assignment.
Ticket Data
If you have set up ticket data to be equal to a user’s username, you can use this ticket data to determine who will receive reminders. Similar to the Ticket Owner option, ticket data acts as both a recipient and a filter.
- To add ticket data, select New Ticket Fields.
- Type the ticket data you want to act as the recipients. You can type multiple separated by commas. Make sure spelling and capitalization is exact.
 Qtip: Do not use ticket data with special characters in the names or values.Qtip: If your email needs to go to multiple recipients, create multiple ticket data fields with one recipient each. Because ticket data doesn’t support special characters, like commas, you cannot create just one ticket data field and set it equal to a list of emails.
 - Click Add.
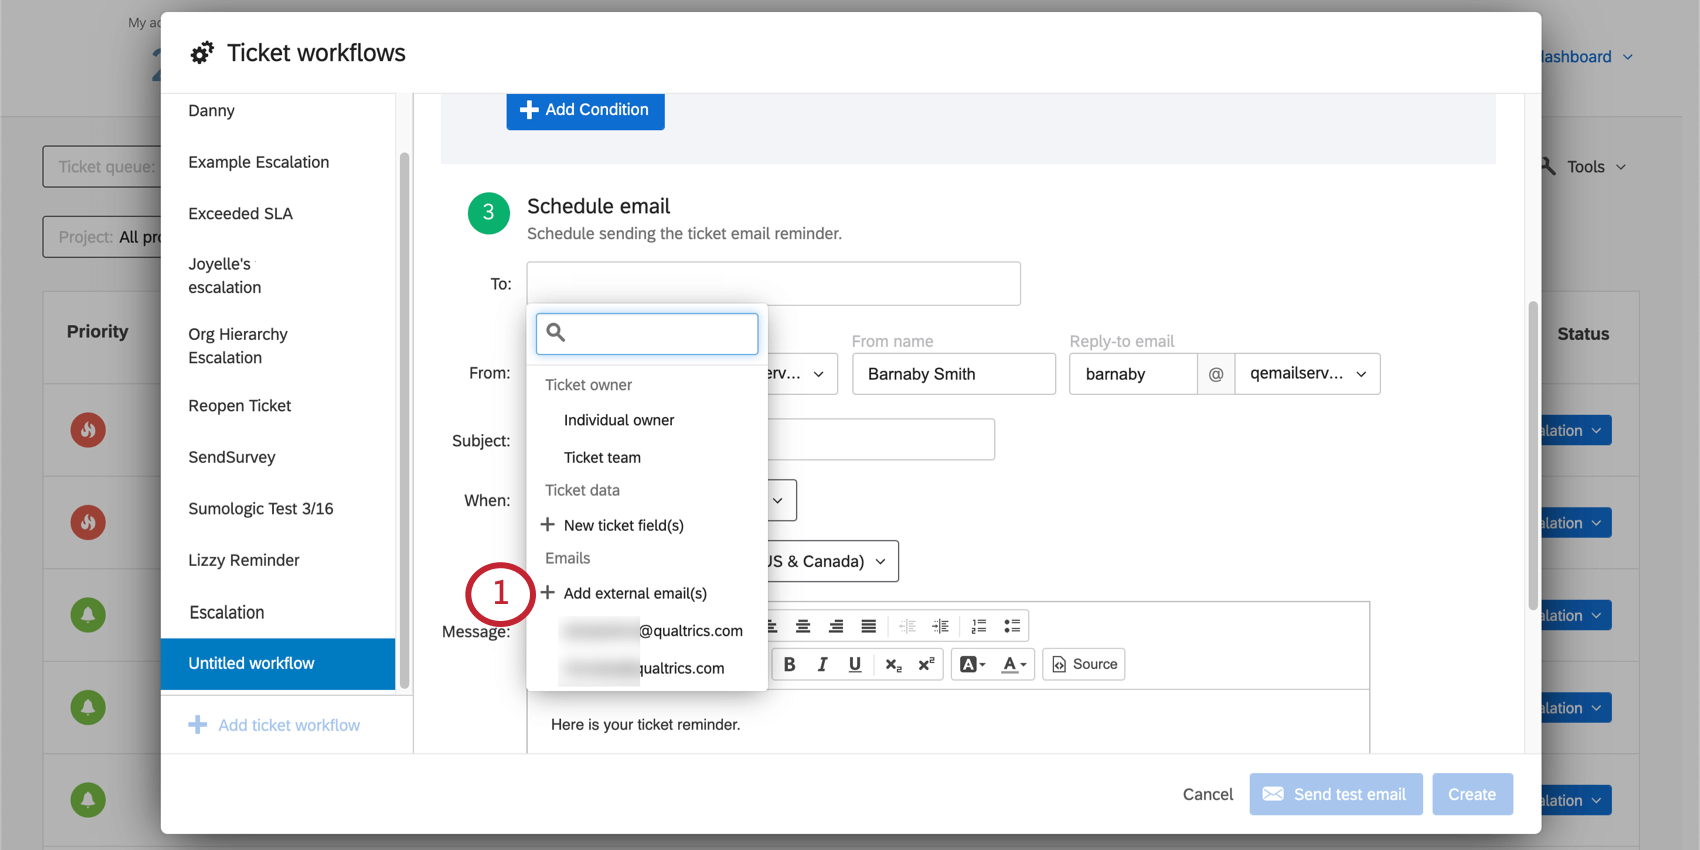
External Emails
A user doesn’t have to have a Qualtrics account to receive ticket reminders. You can also type email addresses you would like to receive reminders. This recipient does not act as a filter, and will receive any tickets that meet the conditions you set.
- To add external email addresses, select Add External Emails.
- Type the email addresses you want to act as the recipients. You can type multiple separated by commas.
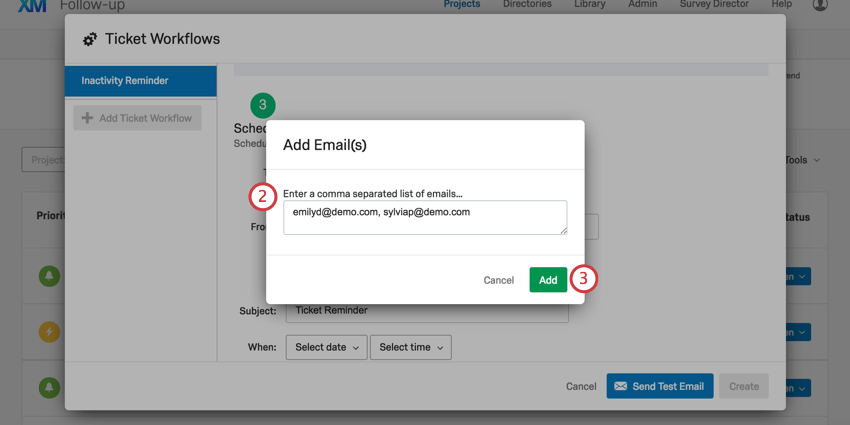
- Click Add.
Users
Type the email addresses or names of users in the search box to find existing Qualtrics users you can send the reminder to.