-

Qualtrics Platform -

Customer Journey Optimizer -

XM Discover -

Qualtrics Social Connect
Extract Data from Zendesk Task
Qtip: This page describes functionality that we intend to release starting March 25, 2026. Qualtrics may, in its sole discretion and without liability, change the timing of any product feature rollout, change the functionality for any in preview or in development product feature, or choose not to release a product feature or functionality for any reason or for no reason.
About the Extract Data from Zendesk Task
With the Extract Data from Zendesk task you can extract data from the Zendesk platform to bring into Qualtrics. After data is extracted you can then use a loader task to load it into your desired place or project in Qualtrics.
Qtip: For more information on using data loading and extracting tasks, see using Workflows tasks to build ETL.
Setting Up an Extract Data from Zendesk Task
- Follow the linked instructions to create a new ETL workflow.
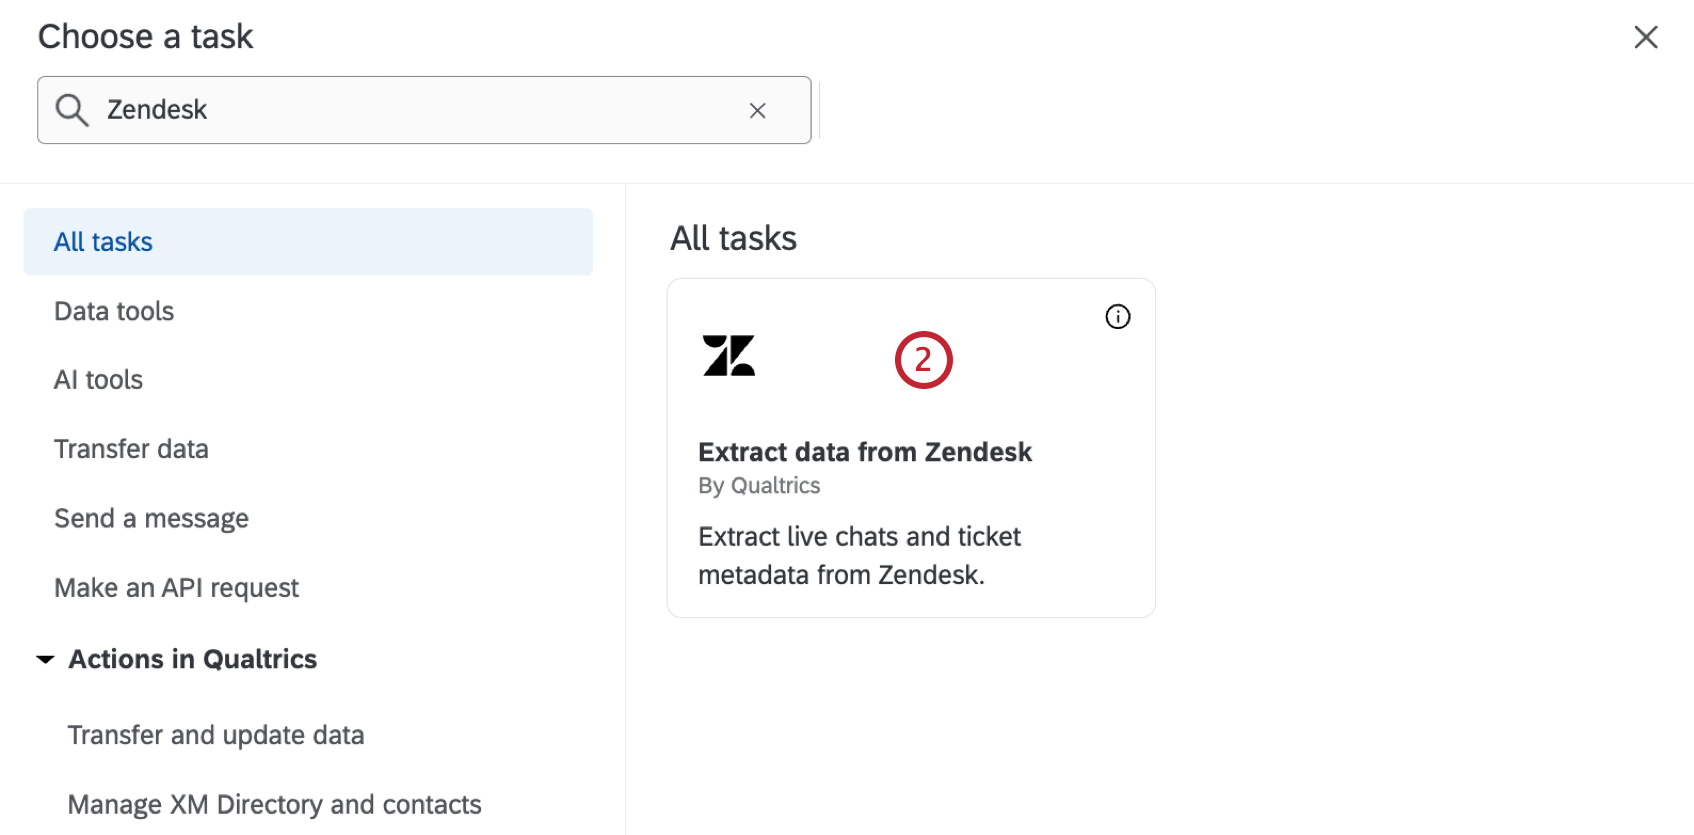
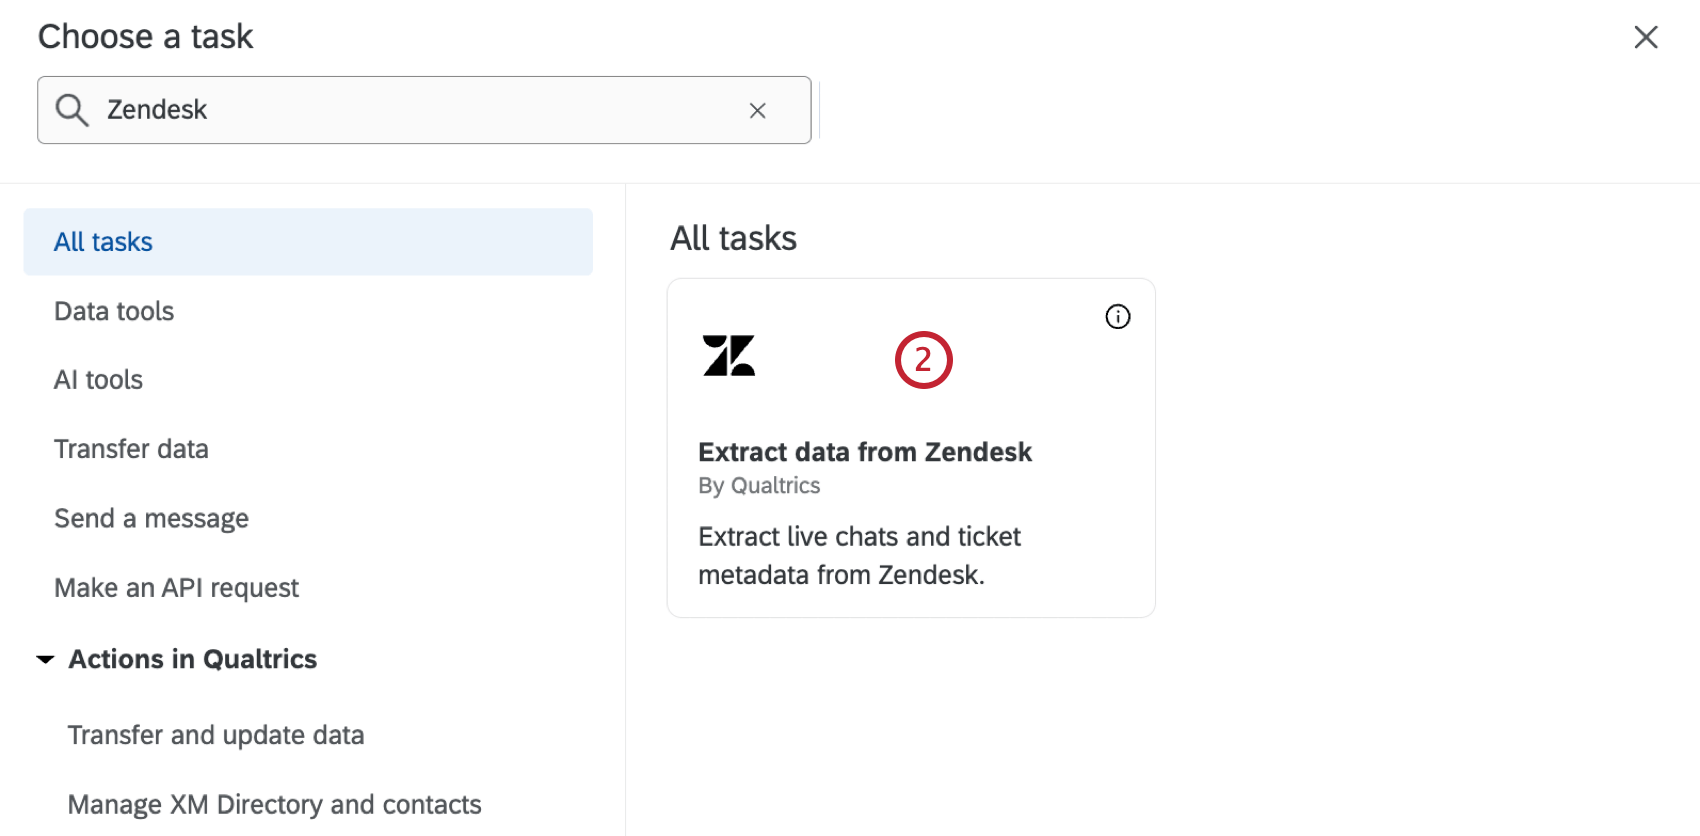
- For your data source task, choose the Extract data from Zendesk task.
- Select the Zendesk account to import data from.
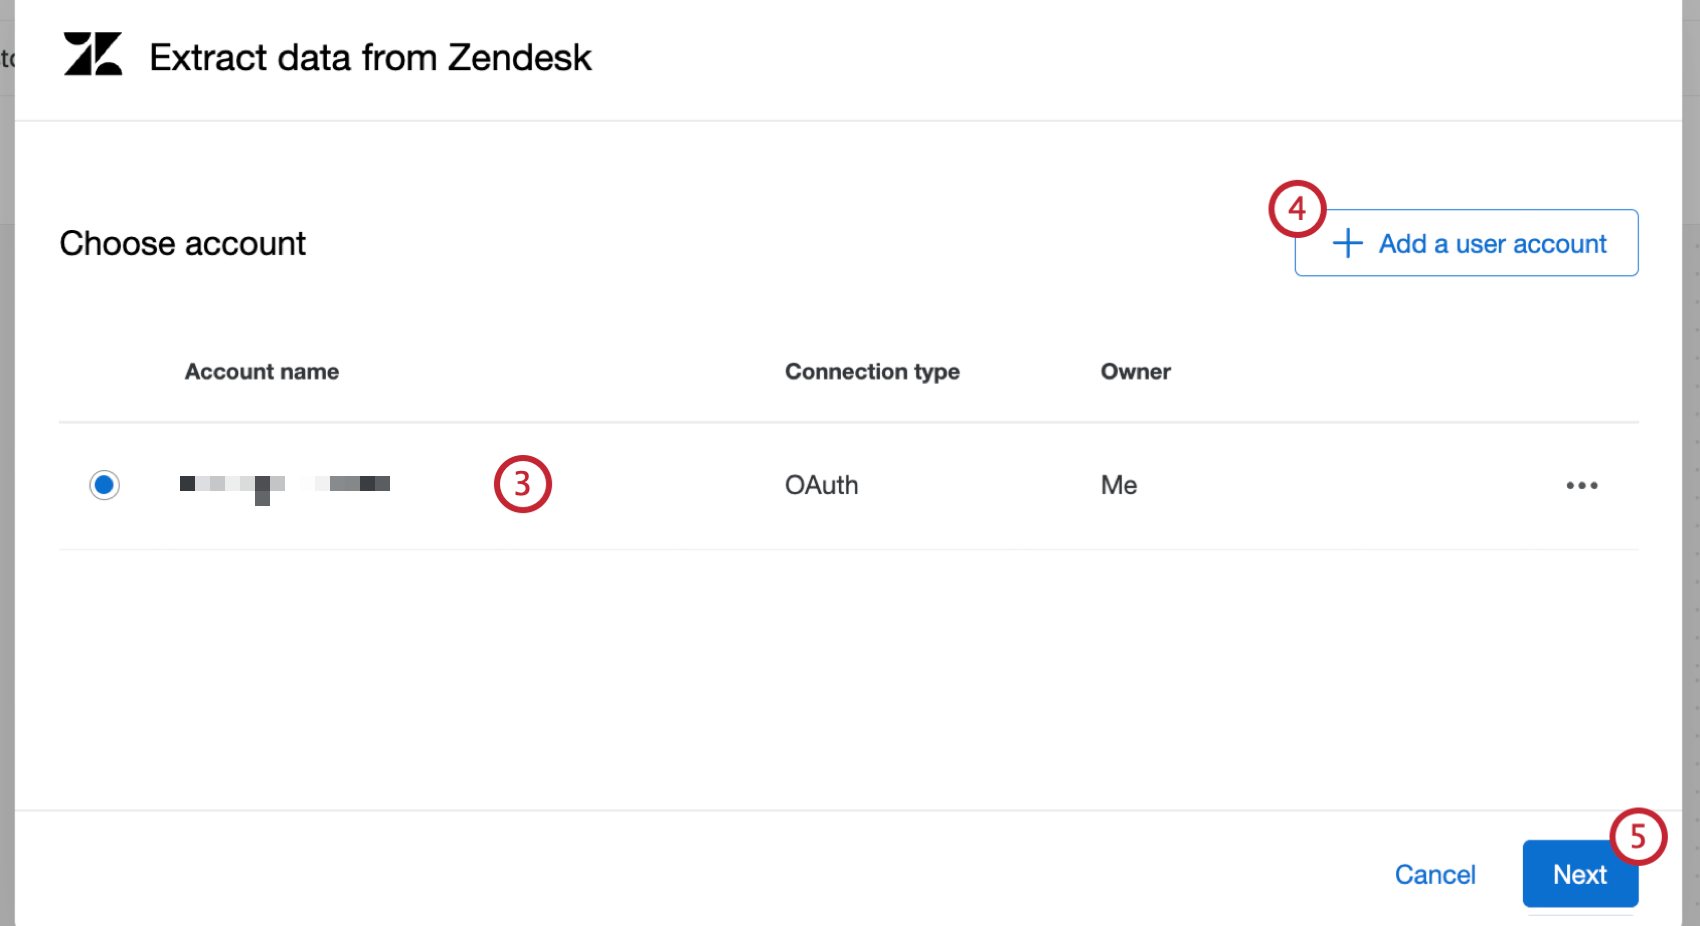 Qtip: Any Zendesk accounts you’ve previously connected as well as accounts set up by Brand Administrators will be available here.
 - If you’d like to add a new Zendesk account, click Add a user account.
Qtip: After clicking Add a user account, give the account a name and enter the account credentials, then click Connect account.
- Click Next.
- Enter your Zendesk subdomain.
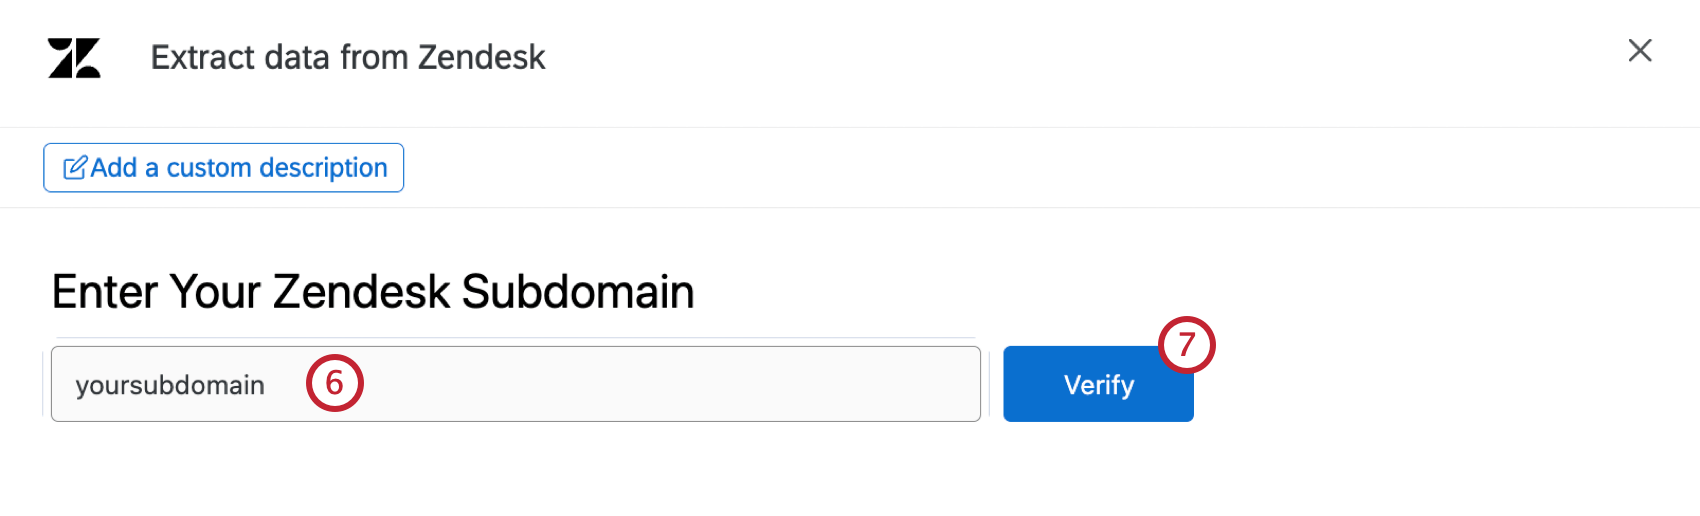
- Click Verify.
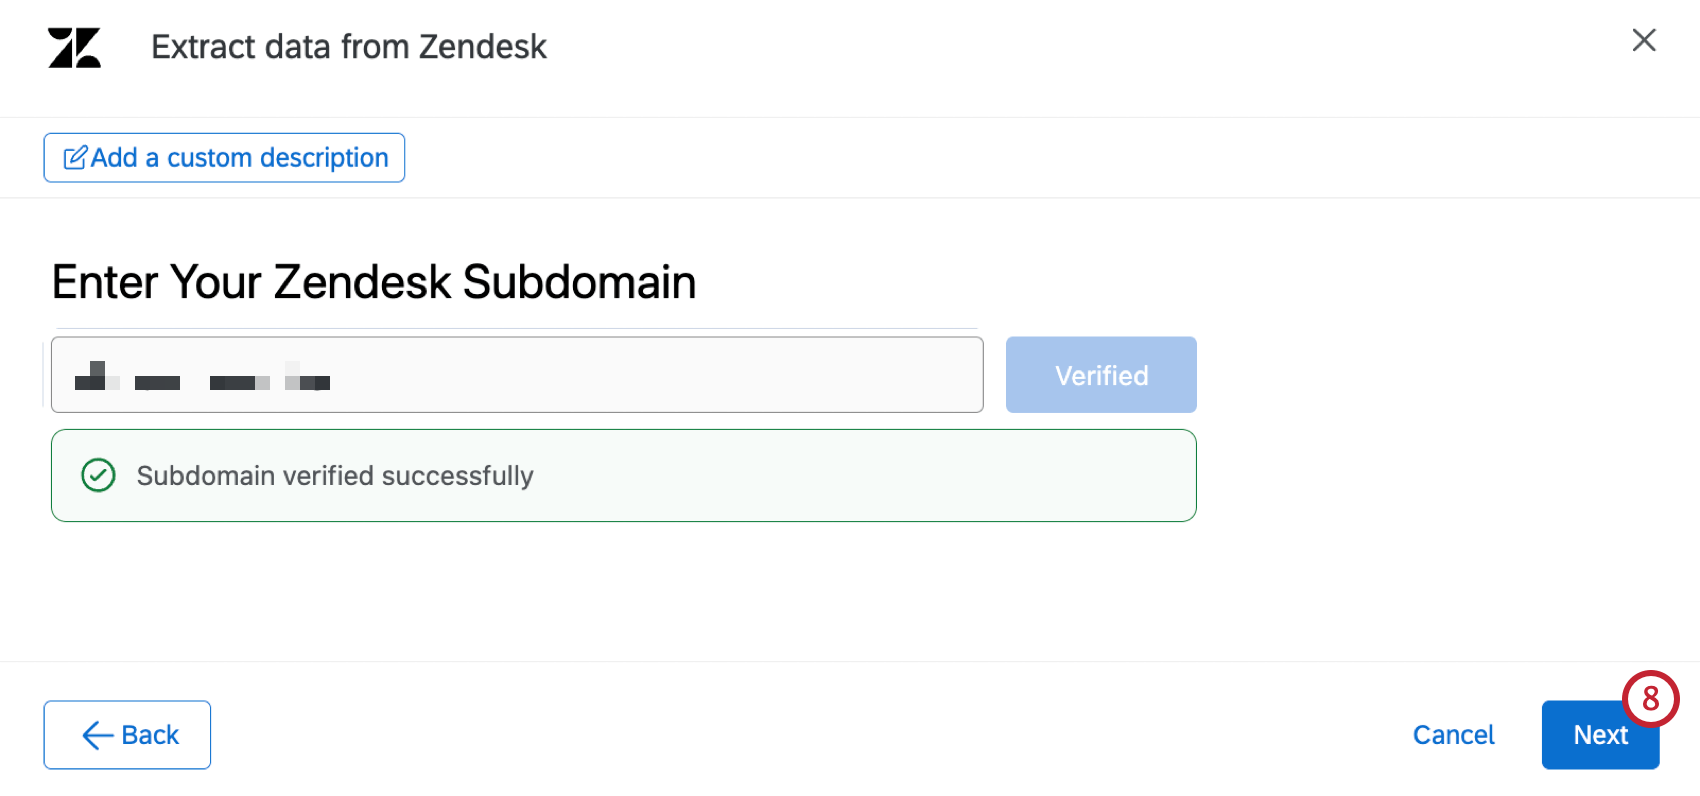
- Once your subdomain is verified, click Next.
- Select the type of data to import.
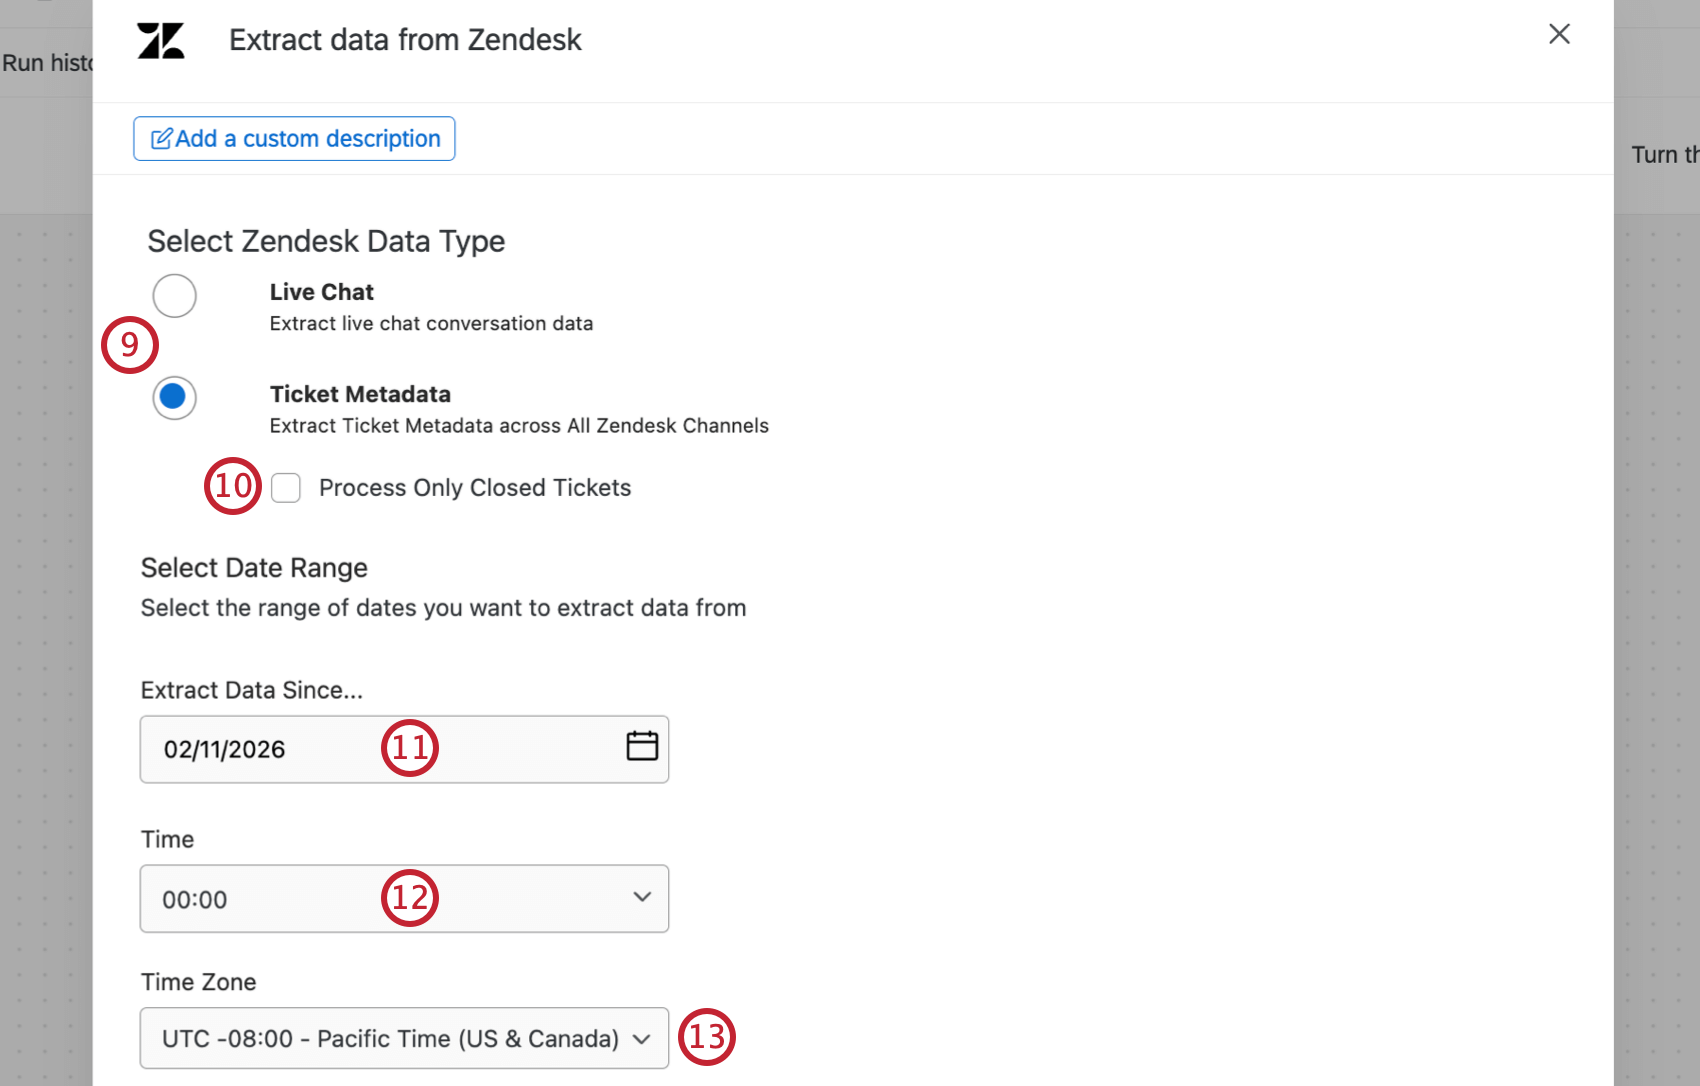
- Live chat: Extract live chat conversation data.
Qtip: Extract live chat conversation data.
- Ticket metadata: Extract ticket metadata across all Zendesk channels. This will not extract any conversational data.
- Live chat: Extract live chat conversation data.
- If you are importing ticket metadata, check the box to Process only closed tickets.
Qtip: Selecting this option will only process tickets with a status of closed. This avoids extracting the same tickets multiple times as their status changes.
- Select the start date of when you want to begin extracting data. When your task runs for the first time, it will extract data between the time you select and when the task starts.
Attention: You can go back a maximum of 30 days.
- Select a start time
- Select a time zone.
- If desired, select specific ticket tags to filter your data. Only Zendesk data that contains at least one of these tags will be extracted.
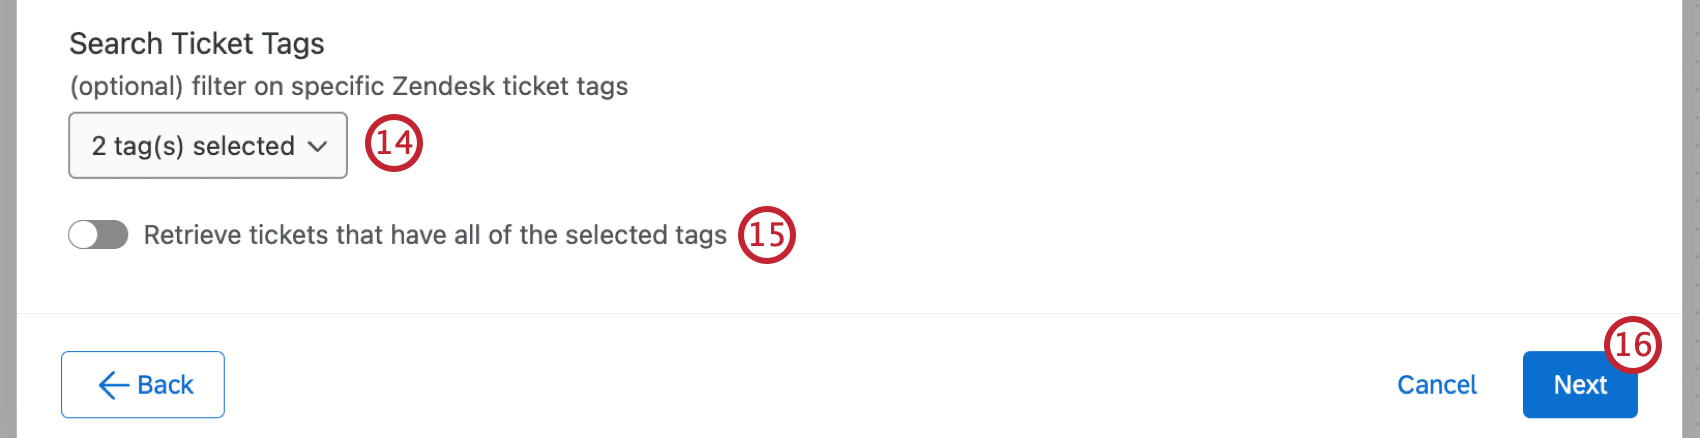
- If you selected more than 2 tags and you only want to retrieve data that contains every selected tag, click Retrieve tickets that have all of the selected tags. If this is not selected, tickets that have any of the selected tags will be extracted.
- Click Next.
- Select any additional ticket attributes you would like to extract. After selecting a field(s), click the right arrow to move it to the selected attributes table. Available fields are displayed on the left, and fields that will be imported are displayed on the right.
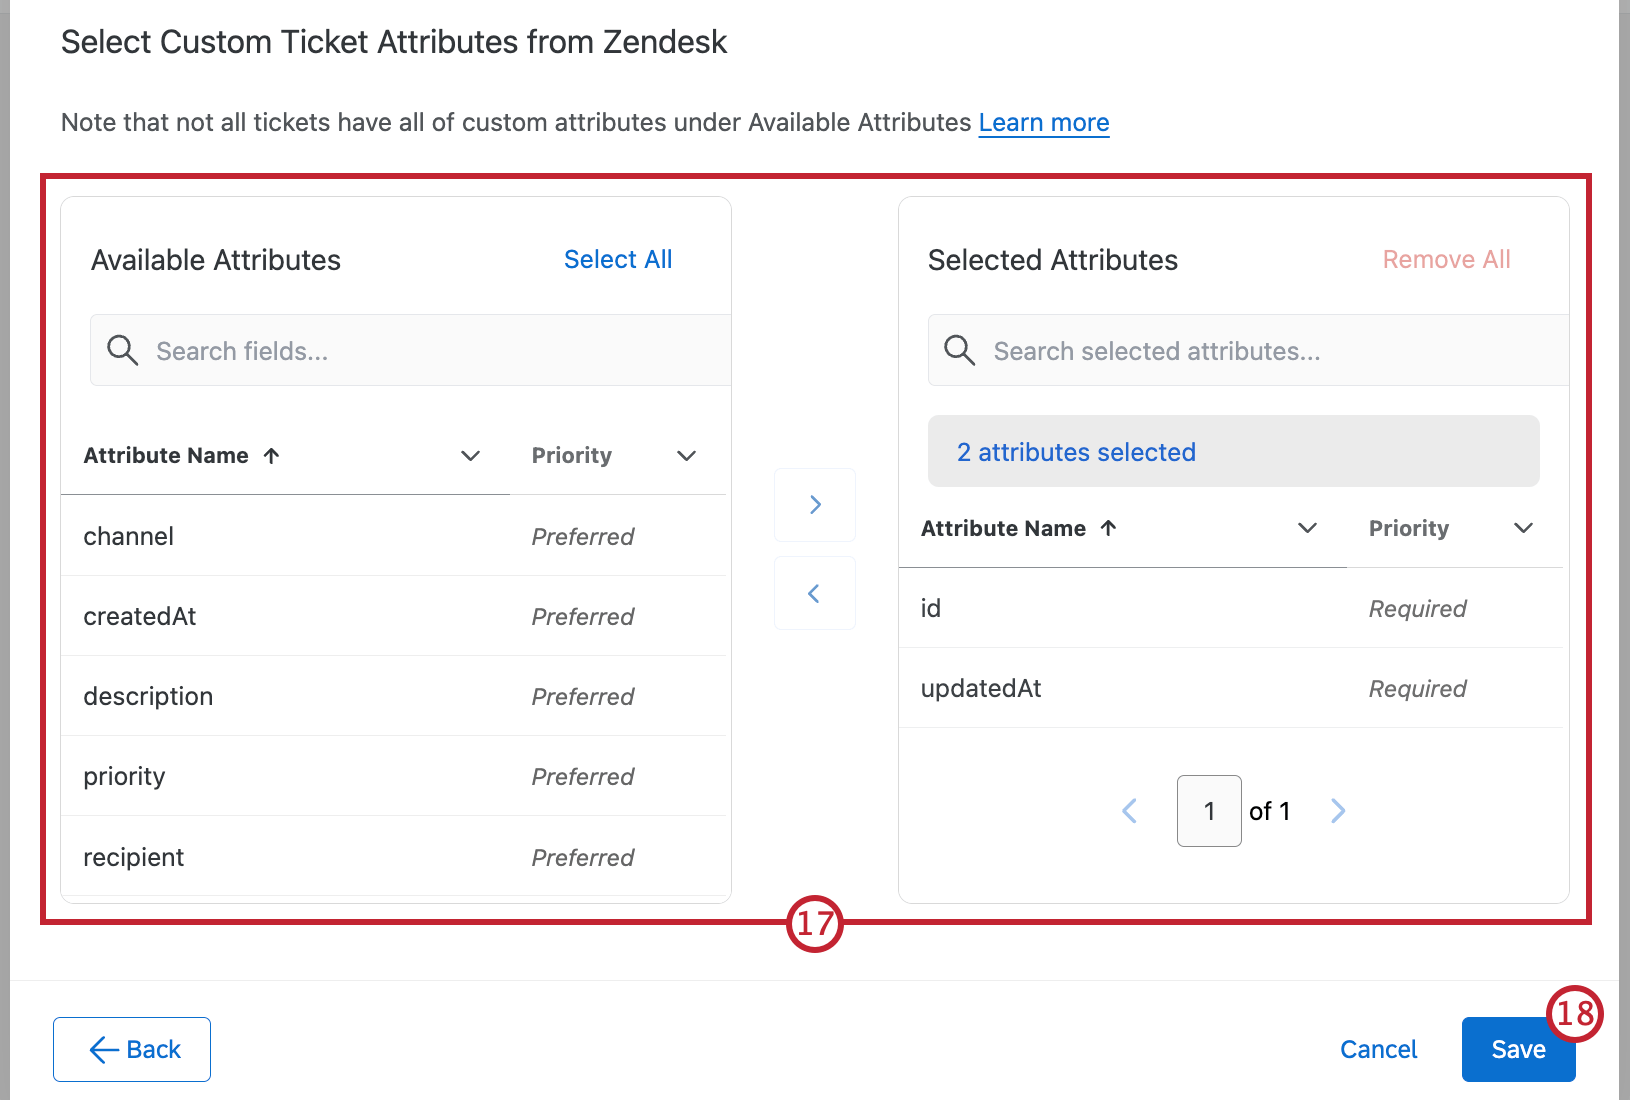
- Click Save.

After setting up your Zendesk task, you must tell Qualtrics where to save your data with a data loader task.
Qtip: We recommend running your data through a basic transform task before sending it to a data loader task. This allows you to make sure your fields are in the right format for easy mapping in the loader task.