-

Qualtrics Platform -

Customer Journey Optimizer -

XM Discover -

Qualtrics Social Connect
Qualtrics Outbound Connector
About the Qualtrics Outbound Connector
The Qualtrics outbound connector enables you perform the following actions in your Qualtrics account:
- Trigger a JSON workflow event and use XM Discover data in Qualtrics workflows.
- Export responses with XM Discover enrichments from XM Discover and import them into a Qualtrics survey dataset.
Requirements
Before setting up the connection, you’ll need the following information from your Qualtrics account:
- Your Qualtrics datacenter ID.
- Your Qualtrics API token.
- Your XM Discover Export API endpoint.
JSON Event Jobs
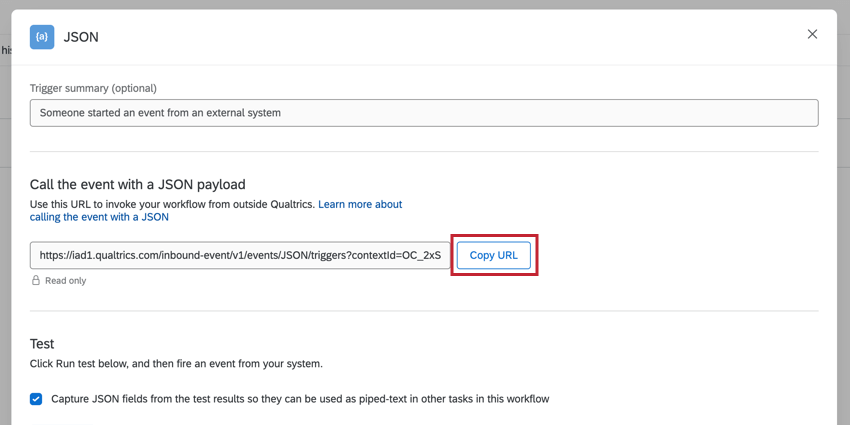
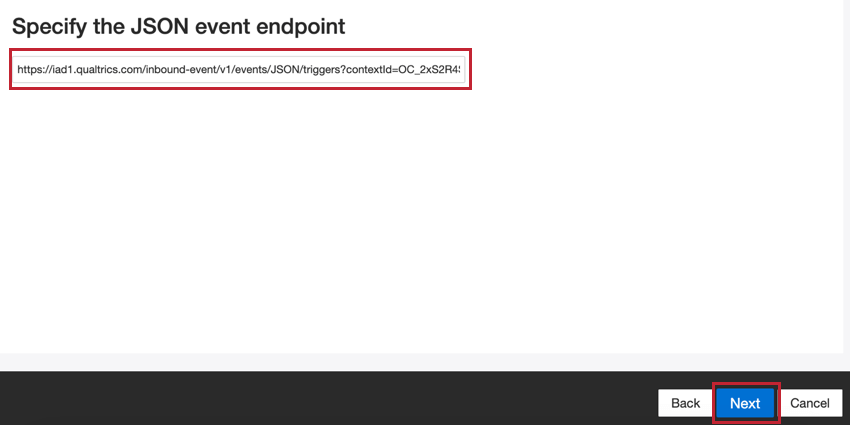
To trigger a JSON event with the Qualtrics Outbound Connector, you’ll need the JSON event’s endpoint. You can copy the endpoint by clicking Copy URL when editing the JSON event in your Qualtrics workflow.
Export Responses Job
If exporting responses to a Qualtrics survey dataset, you must make sure your data meets the following requirements:
- Your survey dataset must have fields that correspond to the XM Discover enrichments you’d like to export. If these fields do not exist, you can add them as embedded data or create them using custom fields.
- The documents you export from XM Discover must have a field that corresponds to the survey ID of the survey you want to import responses into.
Creating a Qualtrics Outbound Connector Job
- On the Jobs page, click New Job.

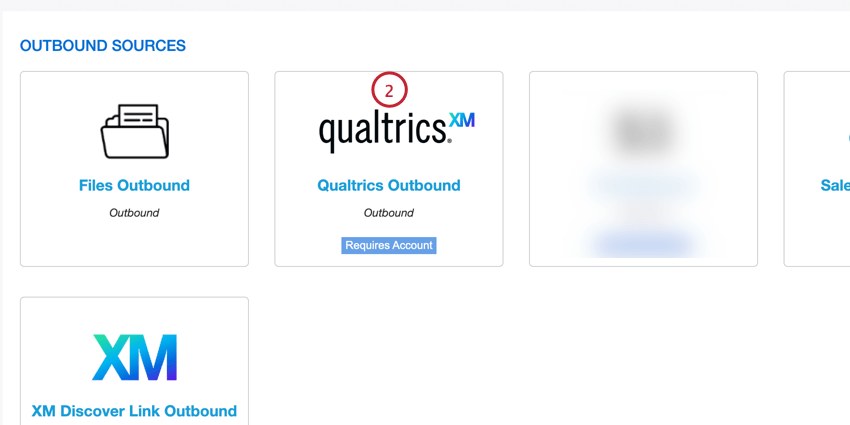
- Select the Qualtrics Outbound connector.
- Give your job a name so you can identify it.
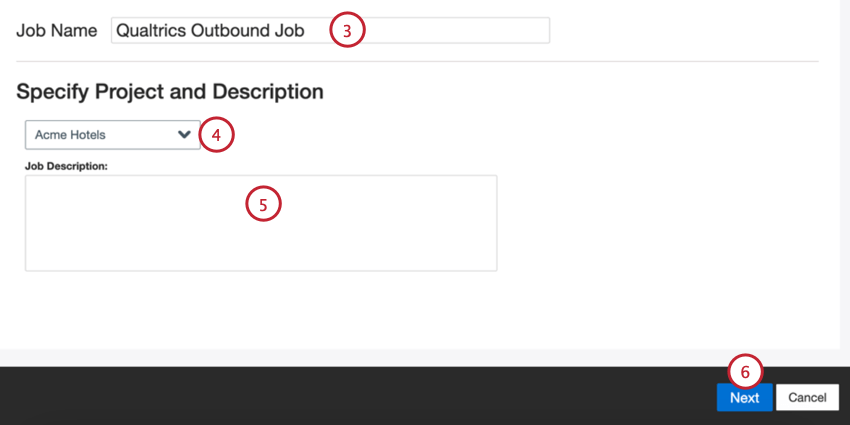
- Choose the project to load data into.
- Give your job a description so you know its purpose.
- Click Next.
- Choose the Qualtrics data type you’d like to export:

- Survey: Export response data to import into a survey dataset.
- JSON Event: Export data to trigger a JSON workflow event.
- Click Next.
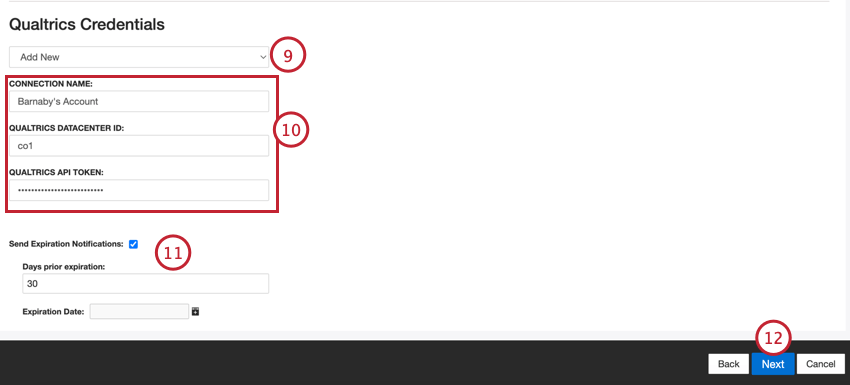
- Use the dropdown to select an existing Qualtrics connection, or choose Add New to create a new one.
 Qtip: To edit or remove an existing connection, go to your account settings.
 - When adding a new connection, provide the following:
- Connection Name: Give the connection a name so you can identify it later.
- Qualtrics Datacenter ID: Enter your Qualtrics datacenter ID.
- Qualtrics API Token: Enter your Qualtrics account’s API token.
- If you’d like the connection to expire after a period of time, enable the Send Expiration Notifications option. Use the Expiration Date field to choose when the credentials expire. In the Days prior expiration box, enter how far in advance you’d like to be notified of the connection’s expiration, up to 100 days.
- Click Next.
- Provide your XM Discover Export API endpoint.
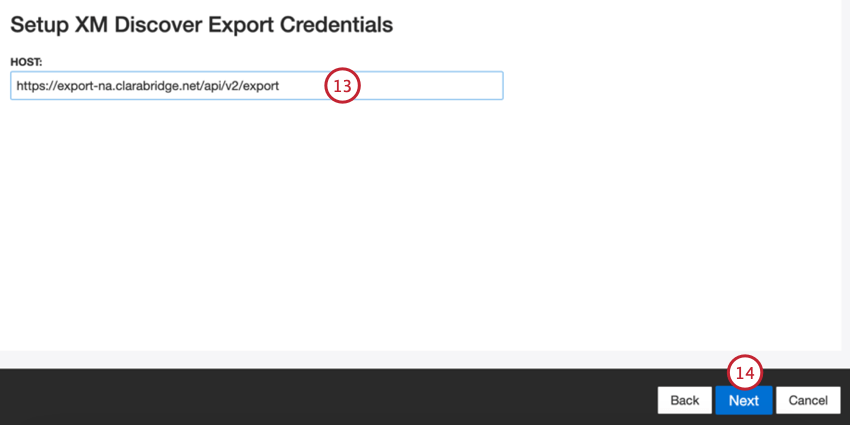
- Click Next.
- Choose the level of data you’d like to export:
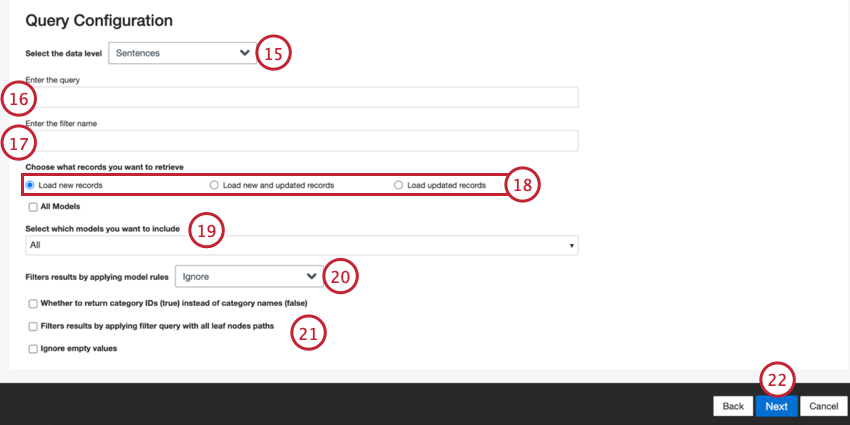
- Sentences: Use sentence-level data.
- Documents: Use document-level data.
Qtip: The remaining steps on the Query Configuration page are optional and will help you narrow down the data that is exported.
- Provide a search query to filter the outbound data by. Use the same syntax used to look up data in Designer. Leave this field empty to include all data.
Example: You can specify one or more survey IDs to only update the selected survey records using the following syntax:surveyid:sv_01
- Enter the name of the filter from your project that you’d like to be applied to the outbound data. Leave this field blank if you do not want to filter your data.
- Choose which records you’d like to import:
- Load new records: Records that were created since the last time the outbound job ran.
- Load new and updated records: Records that were either created or updated since the last time the outbound job ran.
- Load updated records: Records that were updated since the last time the outbound job ran.
- Use the dropdown menu to choose which classification models you want included in your data. Select the All Models checkbox to include the classification data for all models available in the project.
- Select how you want classifications to impact data filtering:
- Ignore: No filtering is applied based on the selected model(s).
- Currently Classified: Returns the records that were classified by the selected model(s) during the most recent classification run.
- Ever Classified: Returns the records that have been classified by the selected model(s) at any point in time.
- Choose the additional export options you’d like to use:
- Whether to return category IDs (true) instead of category names (false): Export category IDs instead of category names
- Filters results by applying filter query with all leaf nodes paths: Adds multiple models with the “leaf_only flag” parameter to the Export API call .
- Ignore empty values: Skip updating a survey document if all of its outbound values are empty.
- Click Next.
- The next step depends on if you’re exporting survey data or sending data to a JSON endpoint to trigger a workflow:
- Survey: Choose the survey you want to export data to and click Next.
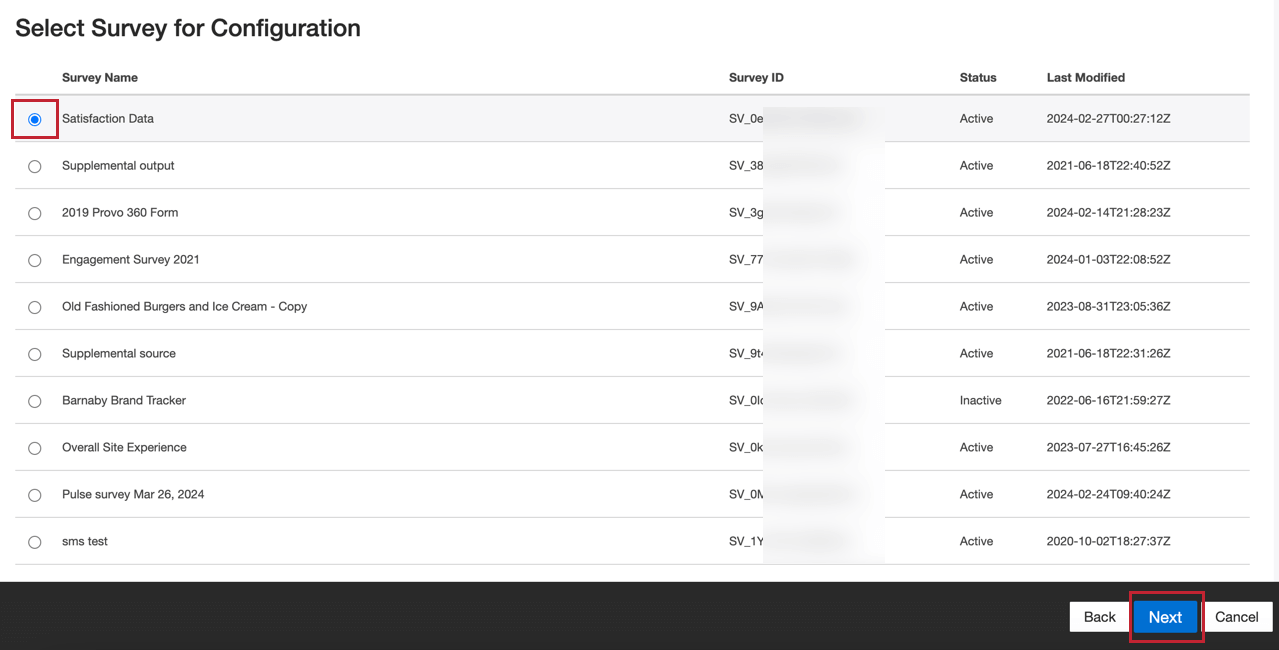
Then, select the XM Discover attribute that contains your Qualtrics Survey ID.
 Qtip: Only documents with survey ID that matches the survey selected in the previous step will be updated.
 - JSON Event: Enter the JSON endpoint from the JSON event.
- Survey: Choose the survey you want to export data to and click Next.
- Map fields from XM Discover to Qualtrics. Click the empty box and choose the XM Discover attribute you’d like to send to Qualtrics.
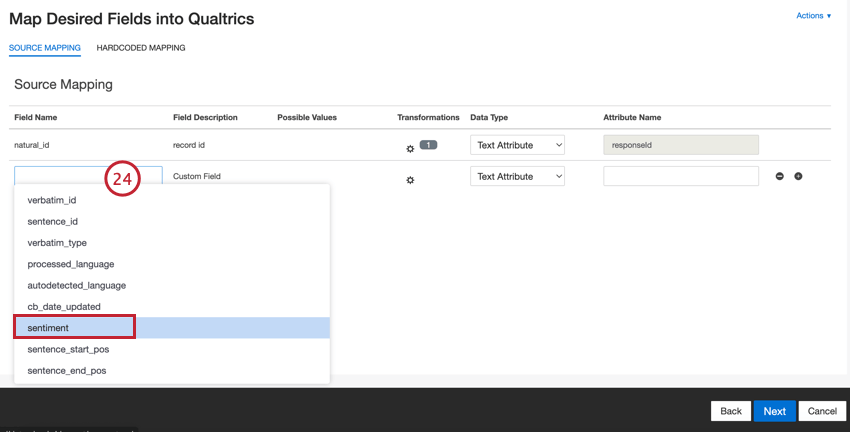
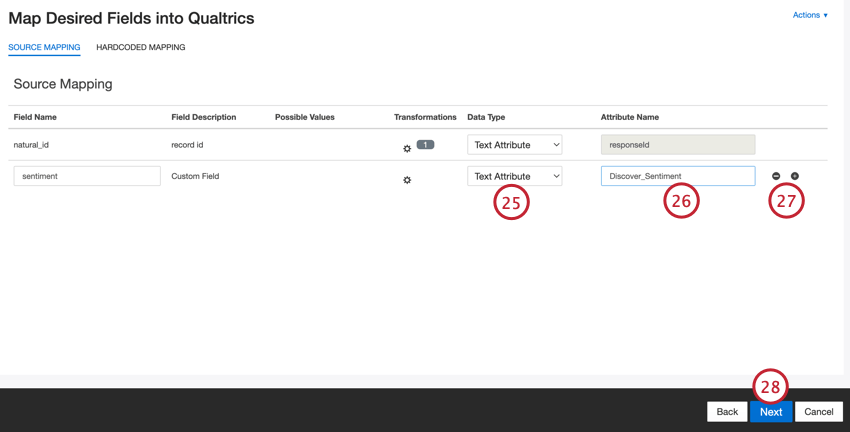
- Select the data type the field should be exported as, which corresponds to the field’s embedded data variable type in Qualtrics:
- Do Not Map: No specified variable type.
- Number Attribute: Number variable type.
- Text Attribute: Text set variable type.
- Date Attribute: Date variable type.
- Verbatim: Text variable type.
- Enter the name of the embedded field from Qualtrics that should be populated with the values of the selected XM Discover attribute.
- Use the plus ( + ) and minus ( – ) signs to add and remove fields as needed.
- Click Next.
- If desired, you can add a connector filter to filter the incoming data to limit what data is imported.
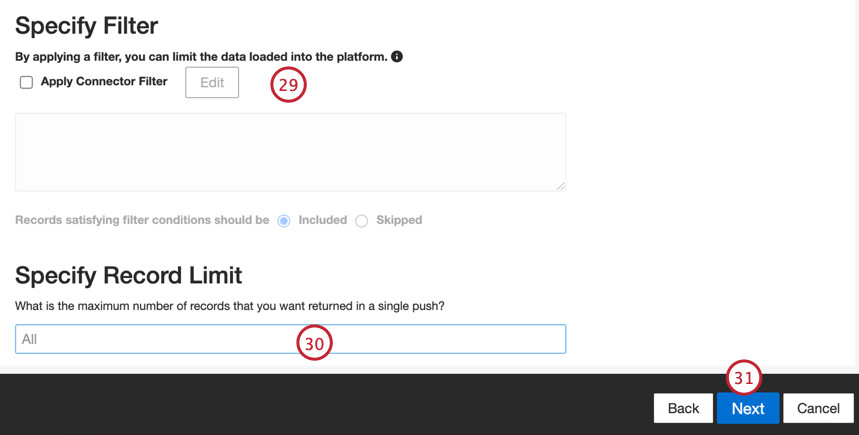
- You can also limit the number of records imported in a single job by entering a number in the Specify Record Limit box. Enter “All” if you would like to import all records.
Qtip: For conversational data, the limit is applied based on conversations rather than rows.
- Click Next.
- Choose when you’d like to be notified. See Job Notifications for more information.
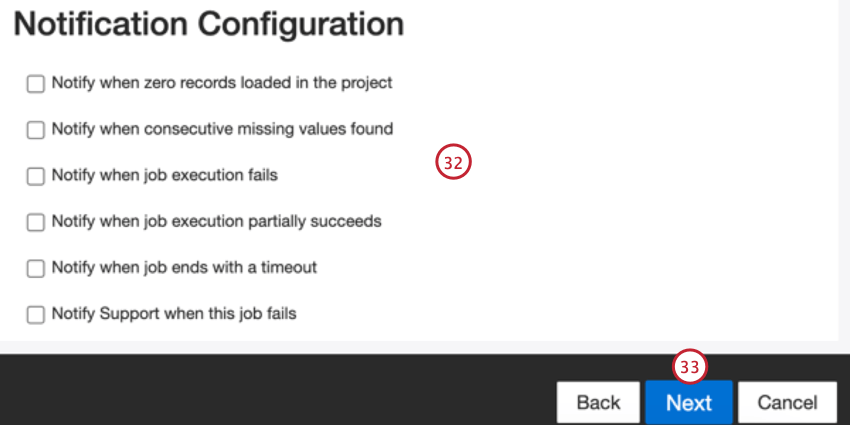
- Click Next.
- Choose when your job runs. You can do either a one-time pull or set up a recurring data pull. See Job Scheduling for more information.
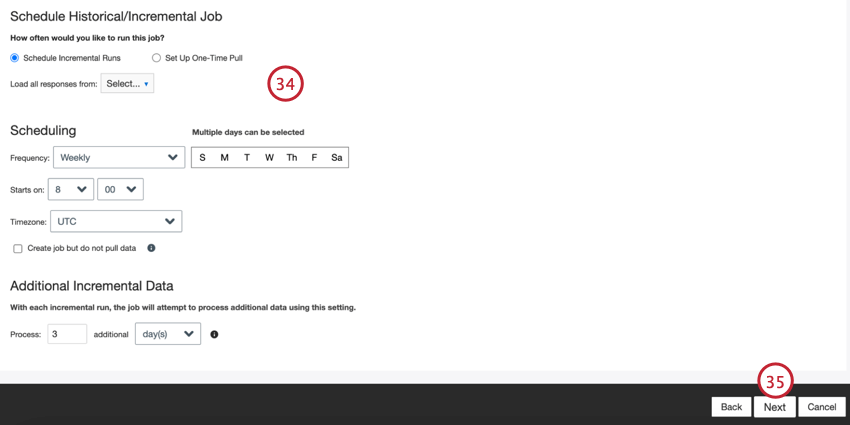
- Click Next.
- Review your setup. If you need to change a specific setting, click the Edit button to be brought to that step in the connector setup.
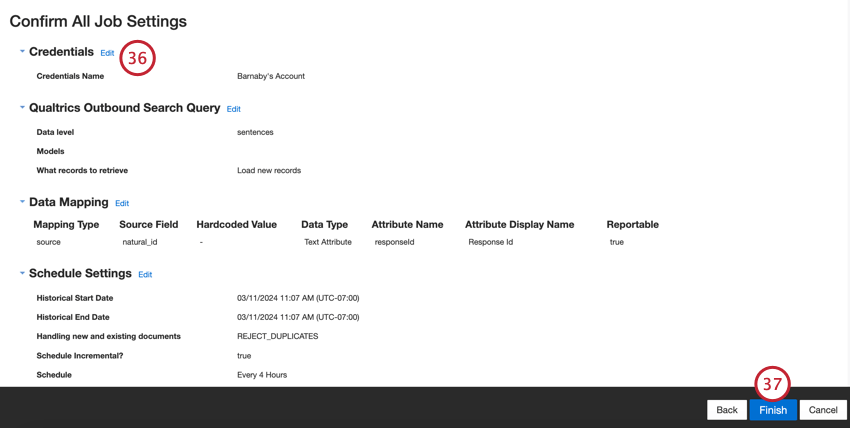
- Click Finish to save the job.
Once your job is saved, your specified data will export to Qualtrics based on the schedule you set. If you are triggering a JSON event, make sure you build the rest of your workflow, which includes adding conditions to limit when the workflow runs and tasks to determine the output of the workflow.