
Configuring Location Experience Hub
What's on this page
Attention: This feature is only available to users on the new simplified pricing and packaging plans or customers who actively participated in the Preview Program for this feature. For more information, see Qualtrics Public Preview. If you have questions about your Qualtrics pricing and packaging plan, reach out to Account Services.
About Configuring Location Experience Hub
Brand Administrators and other users with the relevant permission can manage how the Location Experience Hub appears to users. This includes choosing which tabs are displayed, and which content is displayed within those tabs.
Users with the permission to manage the Location Experience Hub can also activate and deactivate it for their organization. Once Location Experience Hub is activated, any changes will impact all users in the organization.
For more information on accessing and navigating Location Experience Hub, see Location Experience Hub Overview.
Creating a Location Experience Hub
You can create multiple location experience hubs, meaning you can create a specialized app for each of your locations.
Qtip: See more guidance on customizing user types for apps.
Qtip: If you’re embedding dashboards, make sure users have dashboard permissions updated in their roles.
Qtip: If your location experience hub doesn’t have role-based access, you may be using an older version of this app. See more about migrating to the new version of the app.
Settings Tab
In the Settings tab you can customize which tabs appear in your Location Experience Hub, as well as the content of those tabs. You can also change the display name of the hub or add a support contact from this page.
You can choose whether to display a number of helpful tabs to your app users, including:
- A centralized homepage, highlighting actions and key metrics.
- A page for managing tickets and queues.
- A number of custom tabs that highlight specialized key dashboards you’ve made, such as ones with key insights, recommended actions, action planning, distribution reporting, and more.
For information on configuring tabs as an administrator, see Settings Tab (Location Experience Hub).
Design Tab
In the Design tab you can customize the appearance of your Location Experience Hub header to match your organization’s branding.
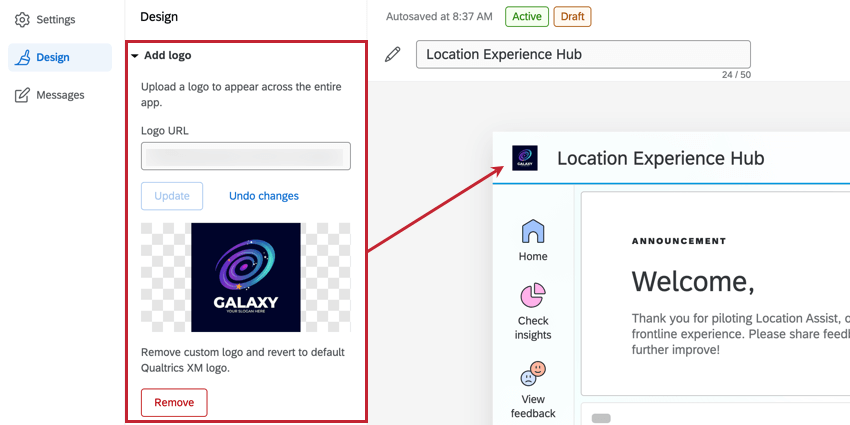
Add Logo
Here you can upload a logo that will appear in the header across every component of Location Experience Hub. Enter the URL of your logo and click Upload.
To use a logo from your Qualtrics library, upload the image and copy the graphic URL. For more information, see Adding a Graphic and Library Options.
Qtip: If no logo is uploaded, the header will default to the Qualtrics XM logo.
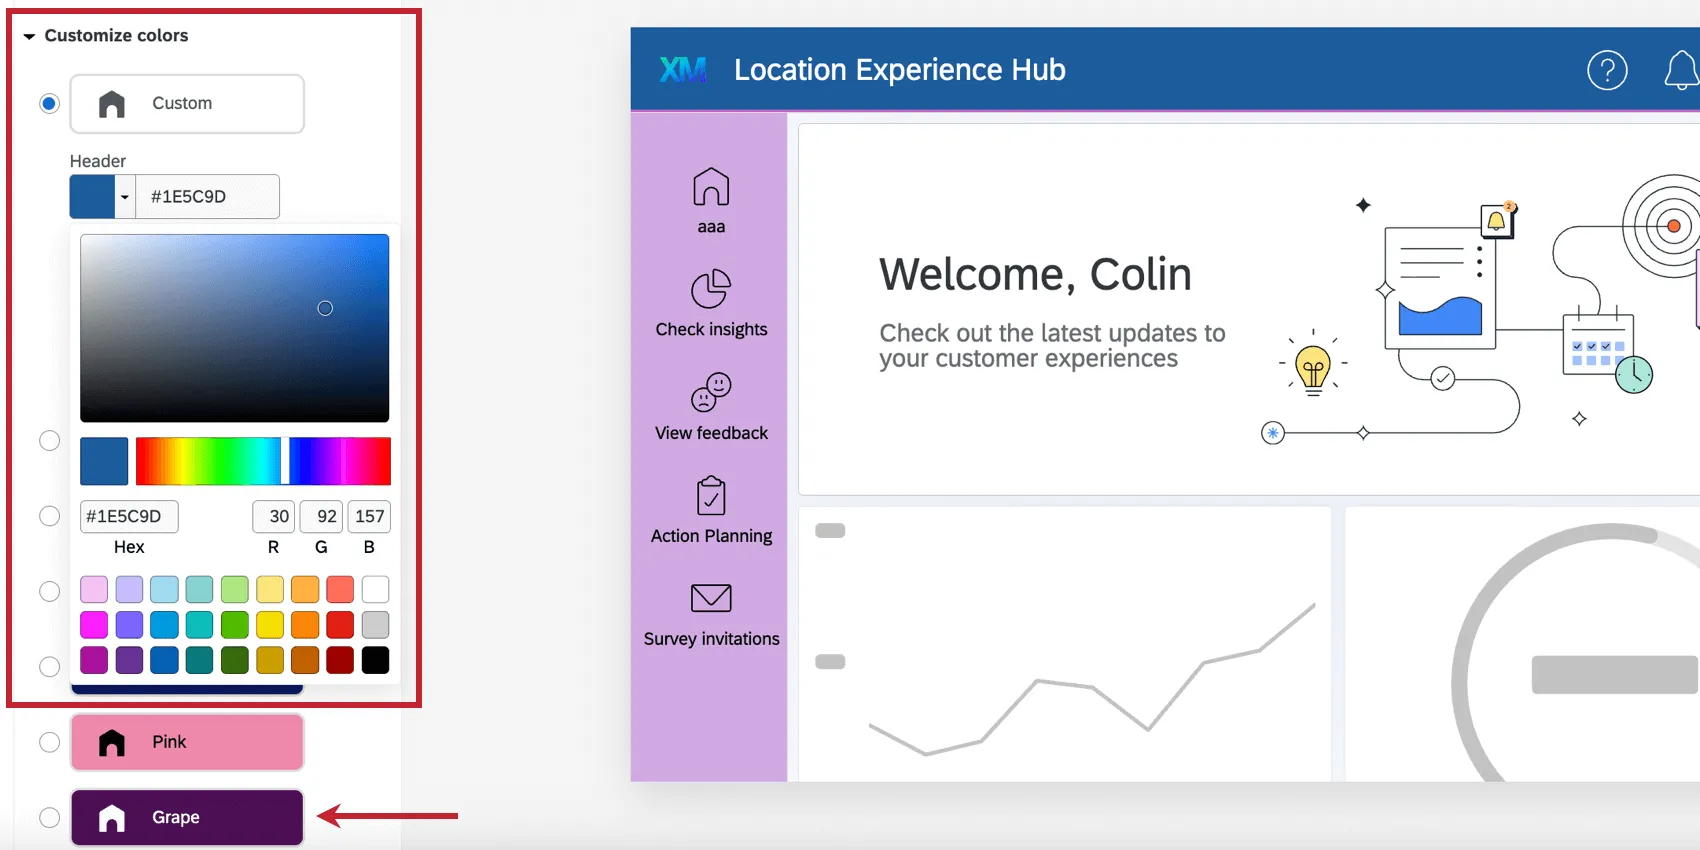
Customize Color
Here you can customize the color palette of your hub. You can choose from one of the preconfigured palettes, or select Custom to define your own colors. You can separately customize the header, header border, and side panel colors. When choosing a custom color, you can enter the color’s HEX or RGB code, or use the color picking tool to manually select a color.
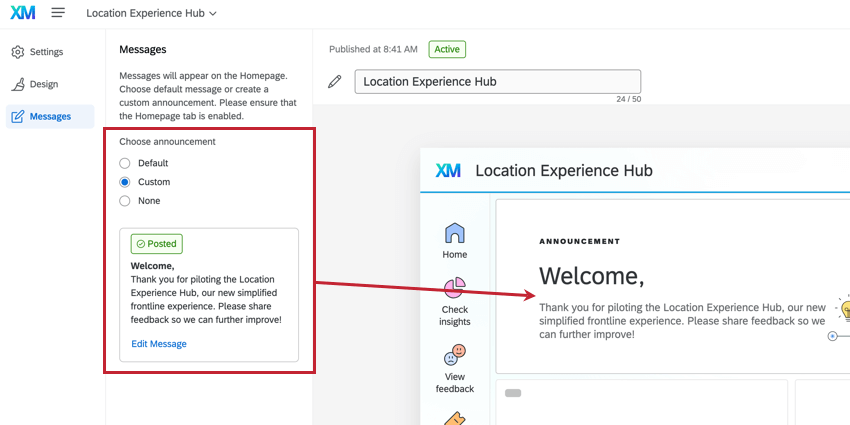
Messages Tab
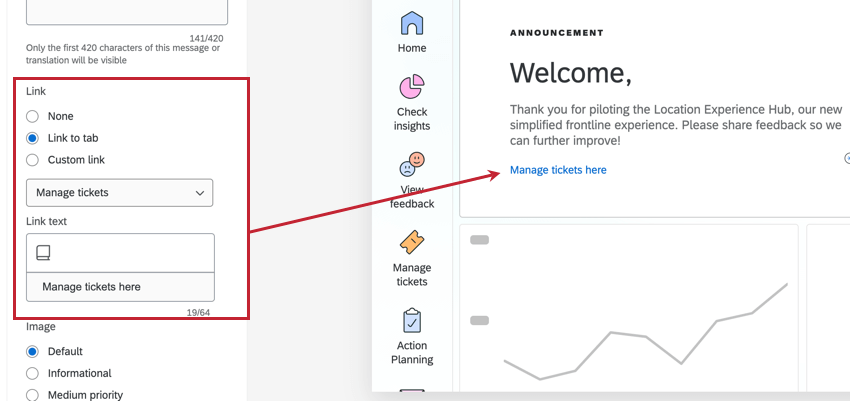
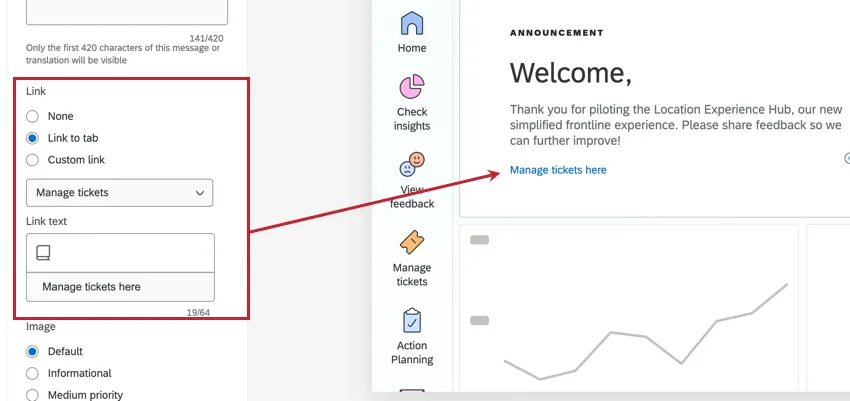
In the Messages tab you can select a message to appear to all users as a banner on the Home tab. You can choose the default message, create a custom one, or select no message.
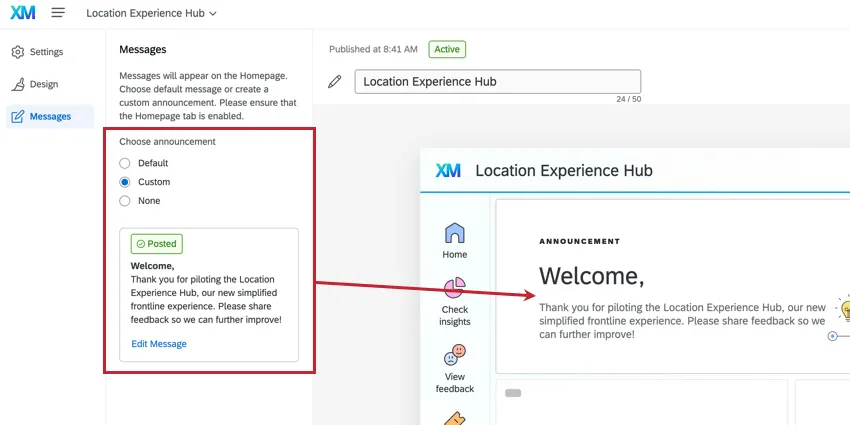
Qtip: Messages that are live to users will say Posted, while messages that are not yet live will say Draft.
To edit the custom message, select Edit Message. You can then edit the headline and message body.
Qtip: You can use a library message for the headline and the body. You can only use messages saved in a group library that is marked Available to all users for this brand. You cannot use messages saved in your personal account (default) library. You can only use the General message type for the headline and body. Piped text used in these hub messages will not populate with any information.
You can also add a direct link to another tab within the Location Experience Hub, or a custom link.
To add a message expiration, select Set message expiration, and enter an expiration date and time. Once the message expires, it will reset to the default message.
Previewing Location Experience Hub
When you’ve finished configuring the Location Experience Hub, you can enable a preview for users with the Manage Location Experience Hub App permission before it is available for your whole organization. See Previewing Apps for instructions on activating the preview.
Activating Location Experience Hub
After activating the preview of the Location Experience Hub, you can activate it for your organization. Note that it will only be visible to users with the permission to access Location Experience Hub. See Activating Apps for instructions on activating the app.
For information on deactivating Location Experience Hub, see Deactivating Apps.
Sharing Location Experience Hub
To give individual users or a whole user type access to Location Experience Hub, assign them the necessary permission within the Admin tab.
To share a Location Experience Hub instance with a CX Dashboard Role, add the app to a role within the Role access tab of the app. See Role-Based App Access for instructions.
Note that each tab will retain the user access and data restrictions that are already in place. Users must also have the relevant dashboard selected for each tab shared with them to be able to view it.
Example: If your dashboard within the Check insights tab is shared with a specific CX Dashboard role, only users within this role who have access to Location Experience Hub will be able to see the dashboard within Location Experience Hub.
That's great! Thank you for your feedback!
Thank you for your feedback!