-

Qualtrics Platform -

Customer Journey Optimizer -

XM Discover -

Qualtrics Social Connect
Adding Reviews from Sources
About Adding Reviews from Sources
Reputation Management (RM) projects are a means of pulling online reviews for your business into your larger Qualtrics program. On this page, we’ll talk about how to build a project that adds reviews directly from their apps.
Integrating with an App
Attention: This step is crucial to a successful setup.
Before you can create your project, you need to have access to either a social data collection platform or a direct source where reviews are left by customers.
We currently support:
- Facebook for Business (See also FAQs)
- Brandwatch
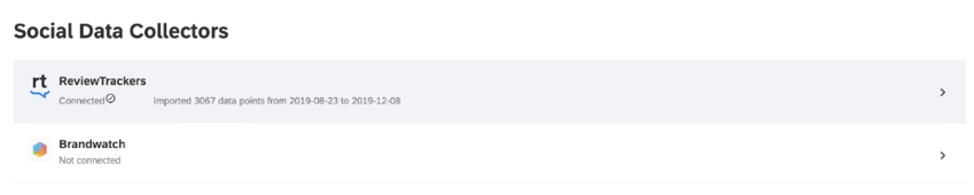
- ReviewTrackers
The Facebook app is available to anyone who has created a page for their business on Facebook and then enabled ratings and reviews. The Google app is available for anyone who is an owner or manager for the locations whose reviews you want to pull into Qualtrics.
Brandwatch and ReviewTrackers collect data from multiple sources and compile it into one source. Right now, you can only choose between one of the options listed above per Online Reputation Management project. If you create multiple projects, you can try out multiple apps.
For demos, pricing, and more, please make sure to check the appropriate site (e.g., the Brandwatch site for Brandwatch pricing, the ReviewTrackers site for ReviewTrackers pricing, etc.). Alternatively, if you are getting an implementation with Qualtrics, we can help you get set up with any one of these platforms. Reach out to your Account Executive or XM Success Manager to learn more about implementation options.
Once you have login credentials, you can head over to Qualtrics to create your project.
Creating a Reputation Management Project
Go to the catalog and select Reputation Management.
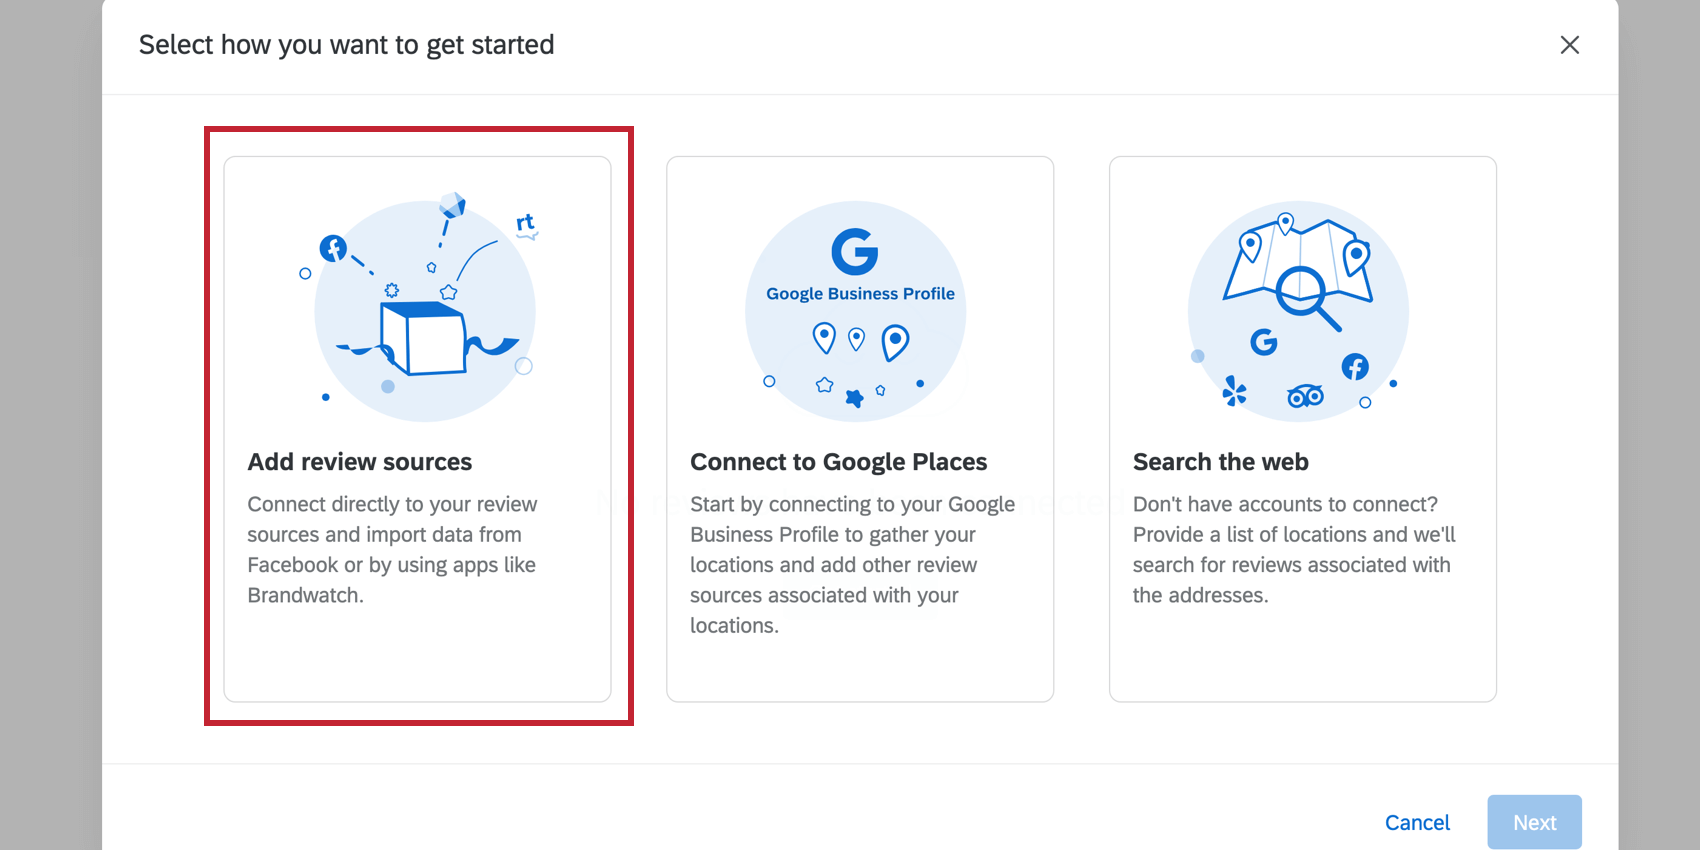
Once your project is named and put inside a folder, select Add review sources.
Choosing an App to Connect With
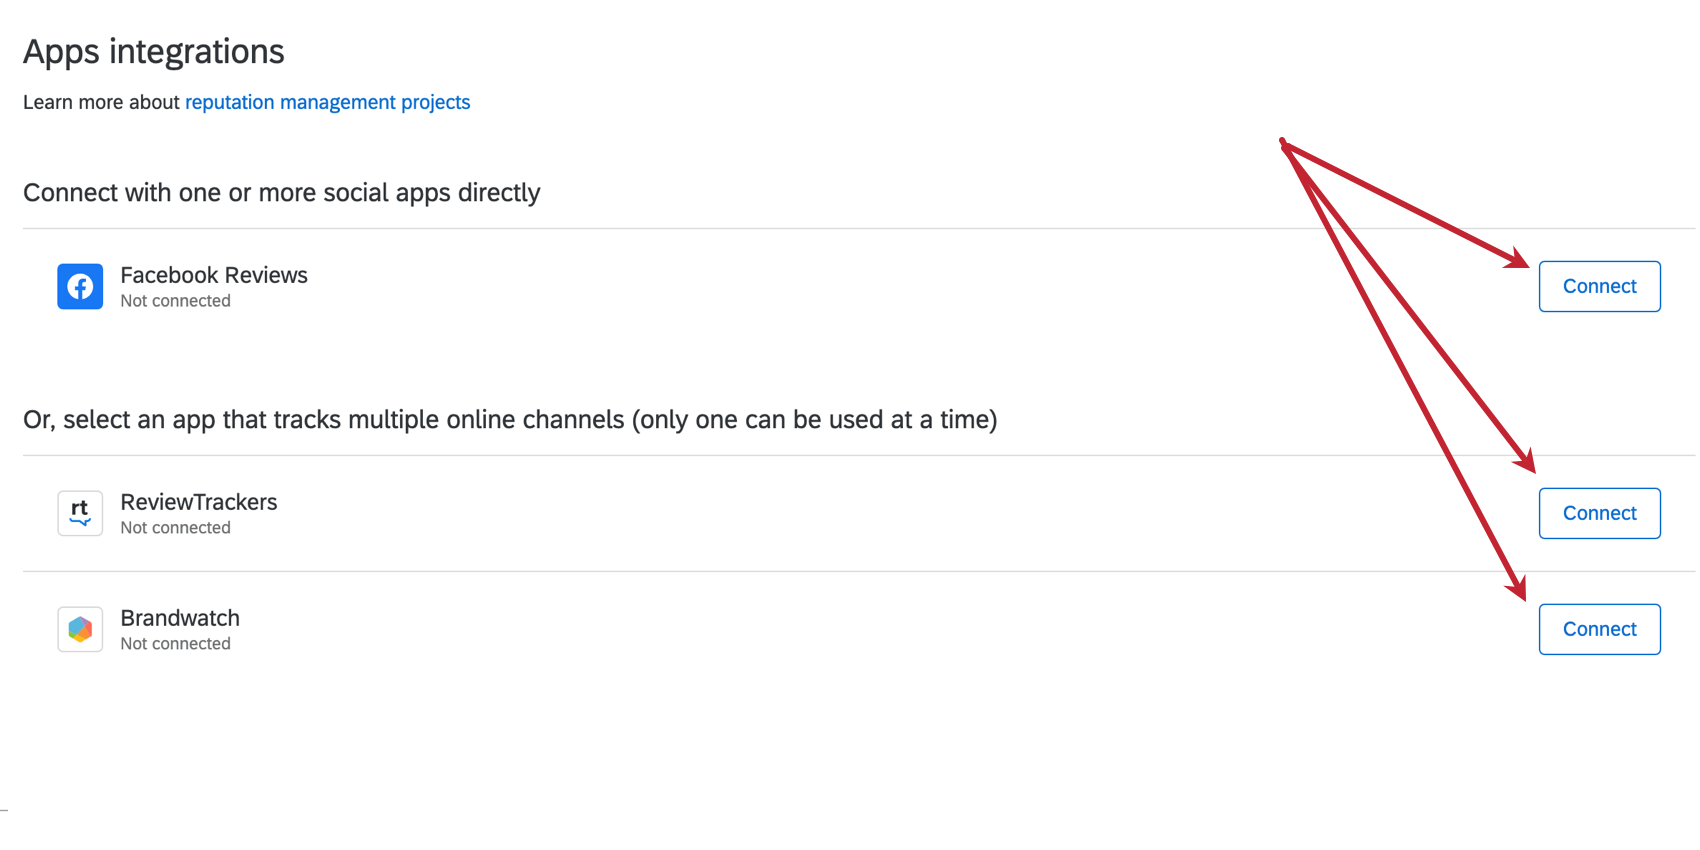
The Apps tab of your Reputation Management project is where you specify where these online reviews are coming from. Here, you will log into your Facebook, Brandwatch, or ReviewTrackers account and integrate it with Qualtrics.
- Go to the Apps tab of your project.
Qtip: Are you a Brand Admin? Would you like the rest of your brand to be able to use these social data collector credentials? Complete the following steps on the Extensions page instead.
- Select from the list of apps. You can choose Facebook, or you can choose just one from the second section (ReviewTrackers, Brandwatch).
 Attention: Remember you can always create additional Online Reputation Management projects to report on additional apps.Qtip: The Facebook app requires that you have the Online Reputation Facebook permission enabled. This can both be found under “Extensions.”
 - Choose from an existing list of credentials, or click Add user account to integrate for the first time.
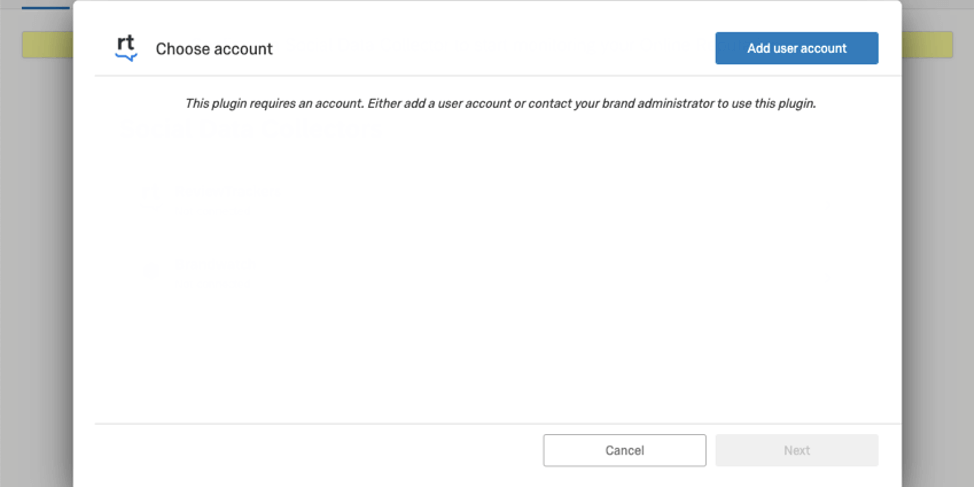
- Give a name for the account. This is for identifying purposes.
- Enter your username and password.
 Qtip: If you chose Facebook, log into the account that has administrative power over the business page. This may be a personal account where you created the page, or it may be a shared business account.
 - Click Connect account.
- The next setup steps vary based on the app(s) you selected.
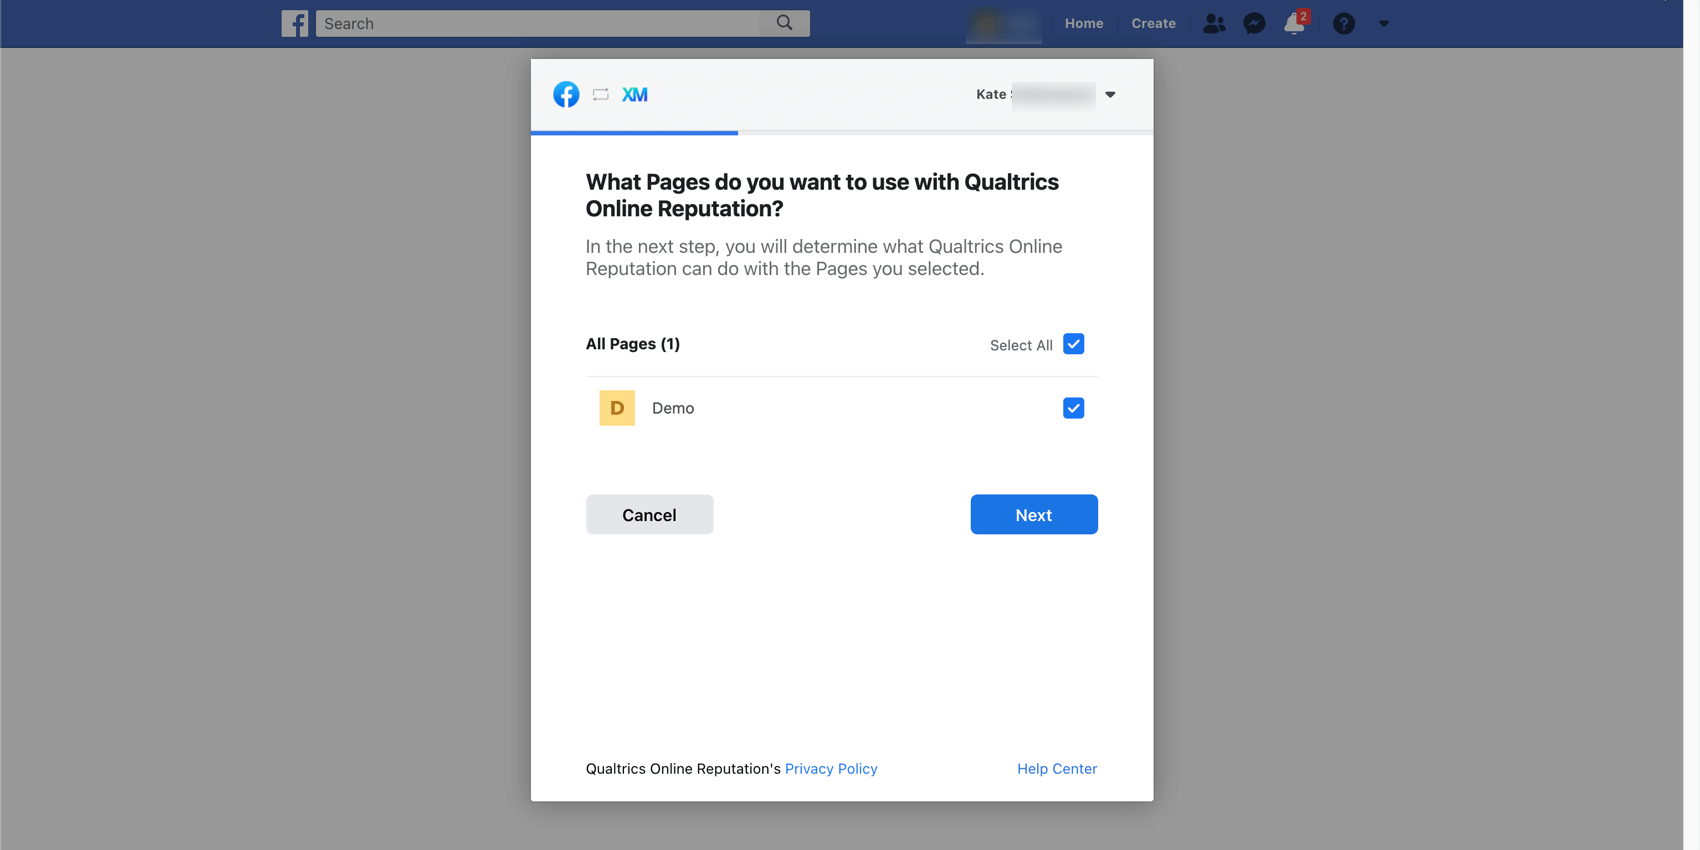
For Facebook, you’ll need to specify the pages you want to draw data from in the Online Reputation Management project. Only pages with the Reviews tab enabled will return data.
- Once you’ve logged into the correct Facebook account, you’ll be asked to select all pages you’d like to connect to.
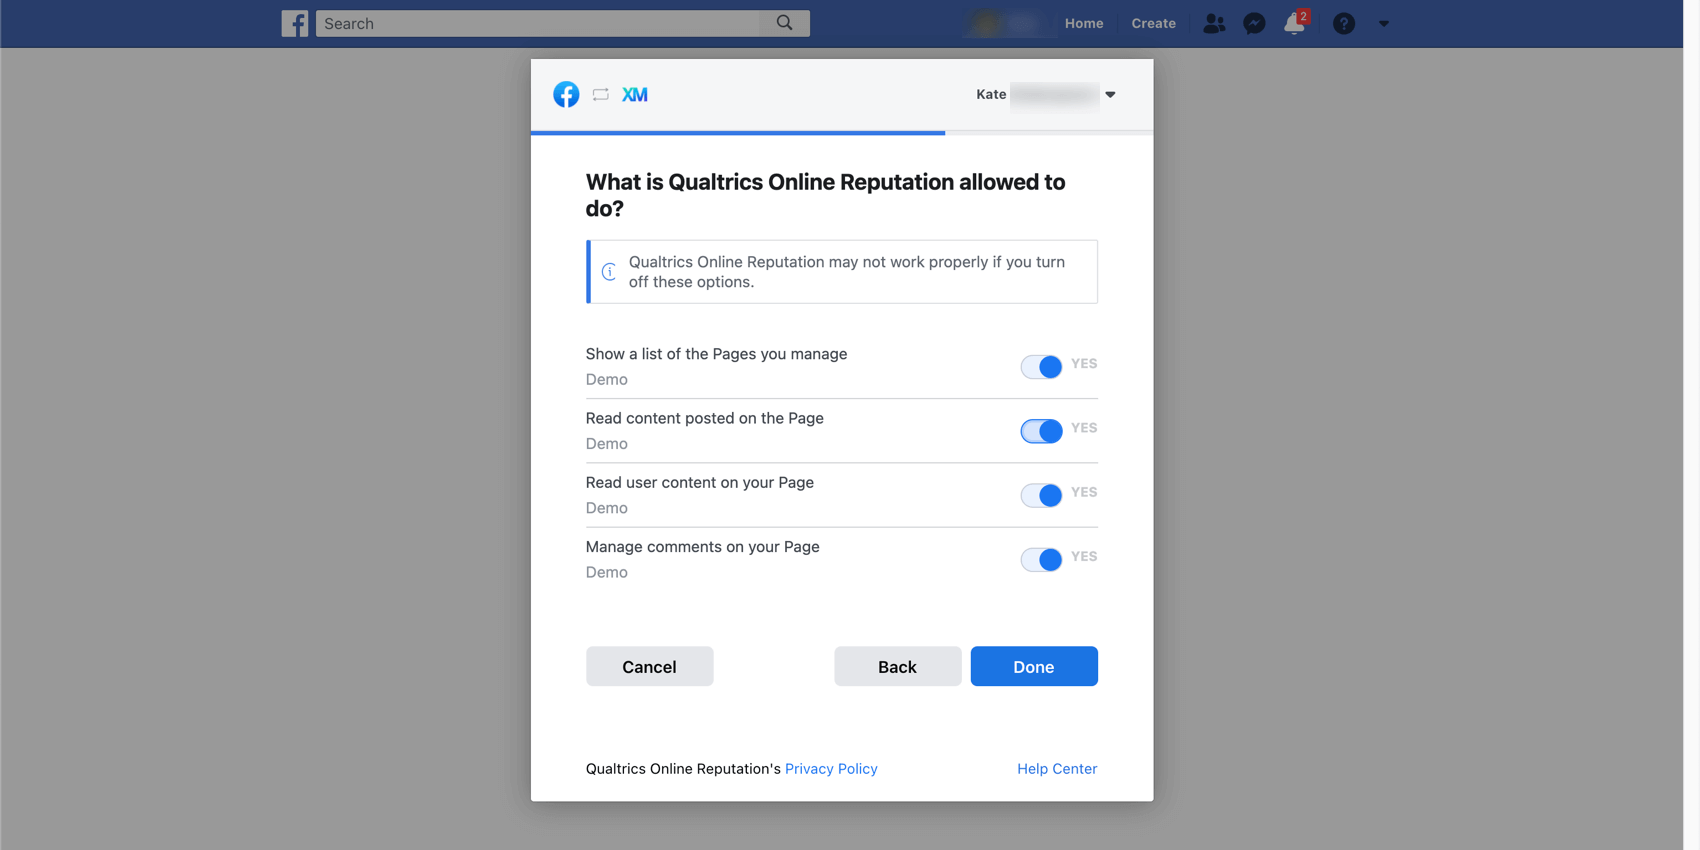
- Then you’ll be asked whether you’d like to configure access permissions for Online Reputation Management. Please note that if you choose to disable any of the permissions listed, it may not work as expected.
- Continue through the prompts until you reach the screen shown below. Here, you will be able to choose which Facebook pages you’d like to include in the project using the Pages dropdown. You can also choose whether you’d like to include all the review data ever collected on the chosen pages, or whether you’d like to only include partial data. If you choose partial data, you must specify the number of days prior to today that you want to use data from. You can enter any value you want.
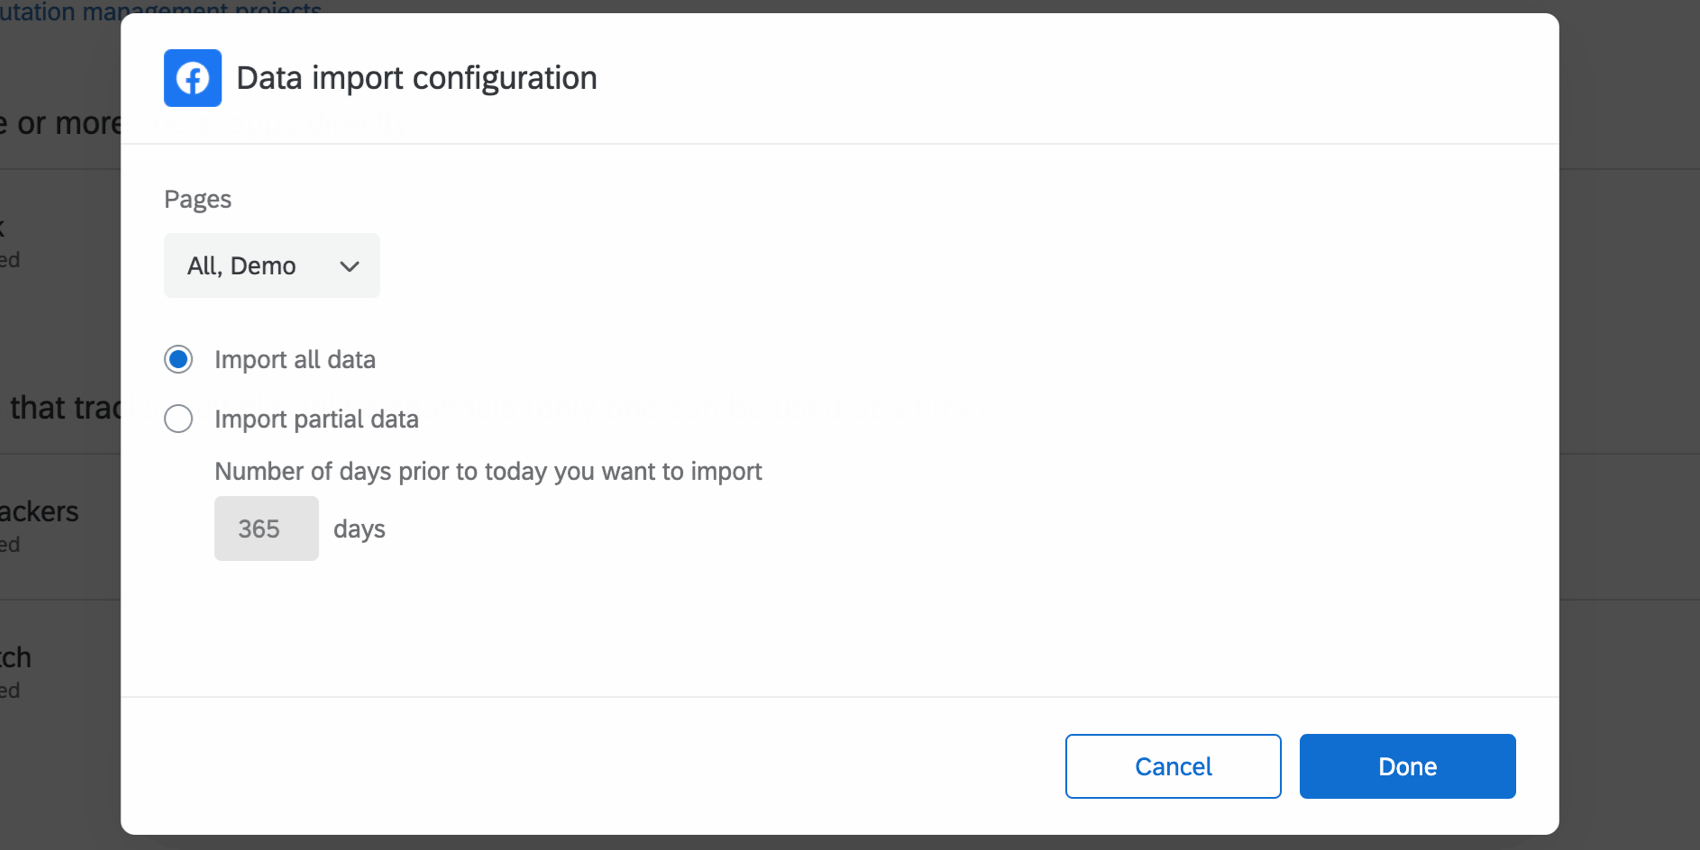
- Once you’ve finished configuring your chosen app, click Done.
ReviewTrackers
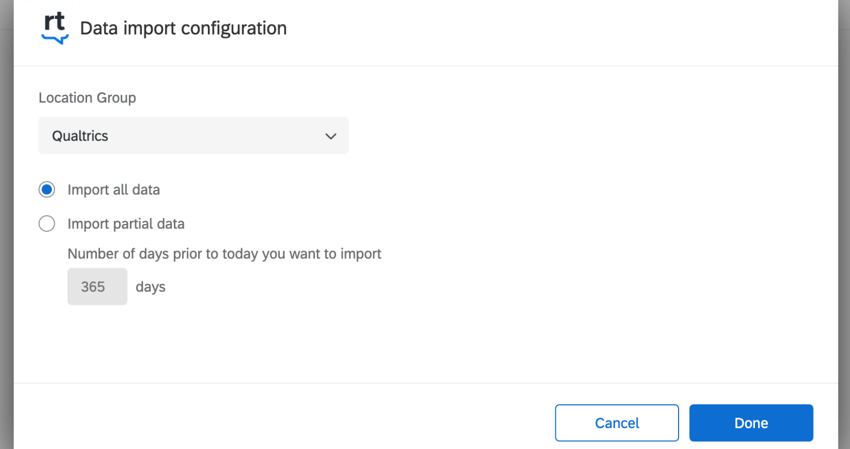
For ReviewTrackers, choose the Location Group and the amount of data you’d like to import. The Location Group specifies the locations you want to pull in data for, or you can leave this field blank to pull in all locations’ data. For the data import, decide how many days worth of data you want to use. Your options include:
- Import all data: Imports all your ReviewTracker data.
- Import partial data: Imports a subset of your data relative to today’s date. Enter the number of days prior to today you’d like to import. You can enter any value you want.
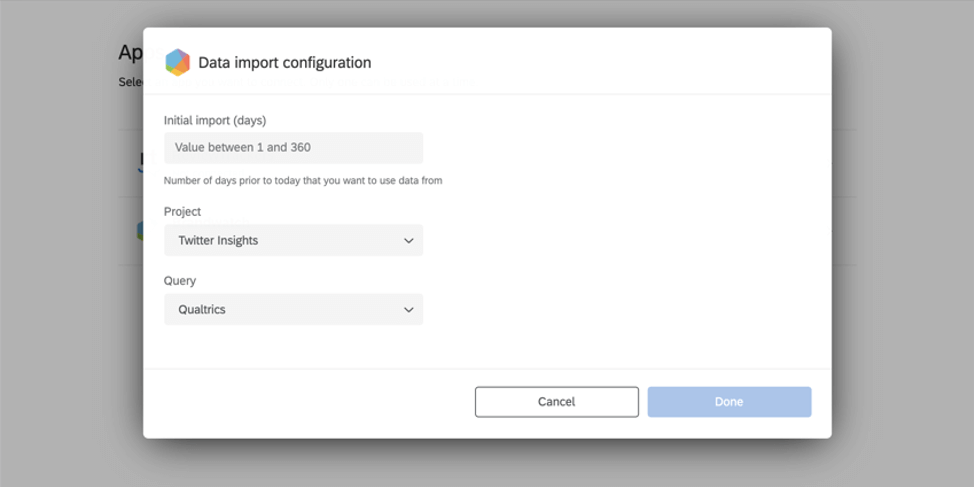
Brandwatch
Brandwatch will ask you to select the Project and Query. You must fill out both fields before you can proceed. You will also need to enter an Initial import value, which is the number of days prior to today that you want to use data from. You must enter a value between 1 and 360.
Deleting Social Data
Once you’ve added social data to an Online Reputation Management project, that data is also available to be mapped into dashboards on your account. However, if you no longer want this data to exist either in your Reputation Management project or in your dashboards, you can delete this data.
- Go to your Online Reputation Management project.
- Click Apps.
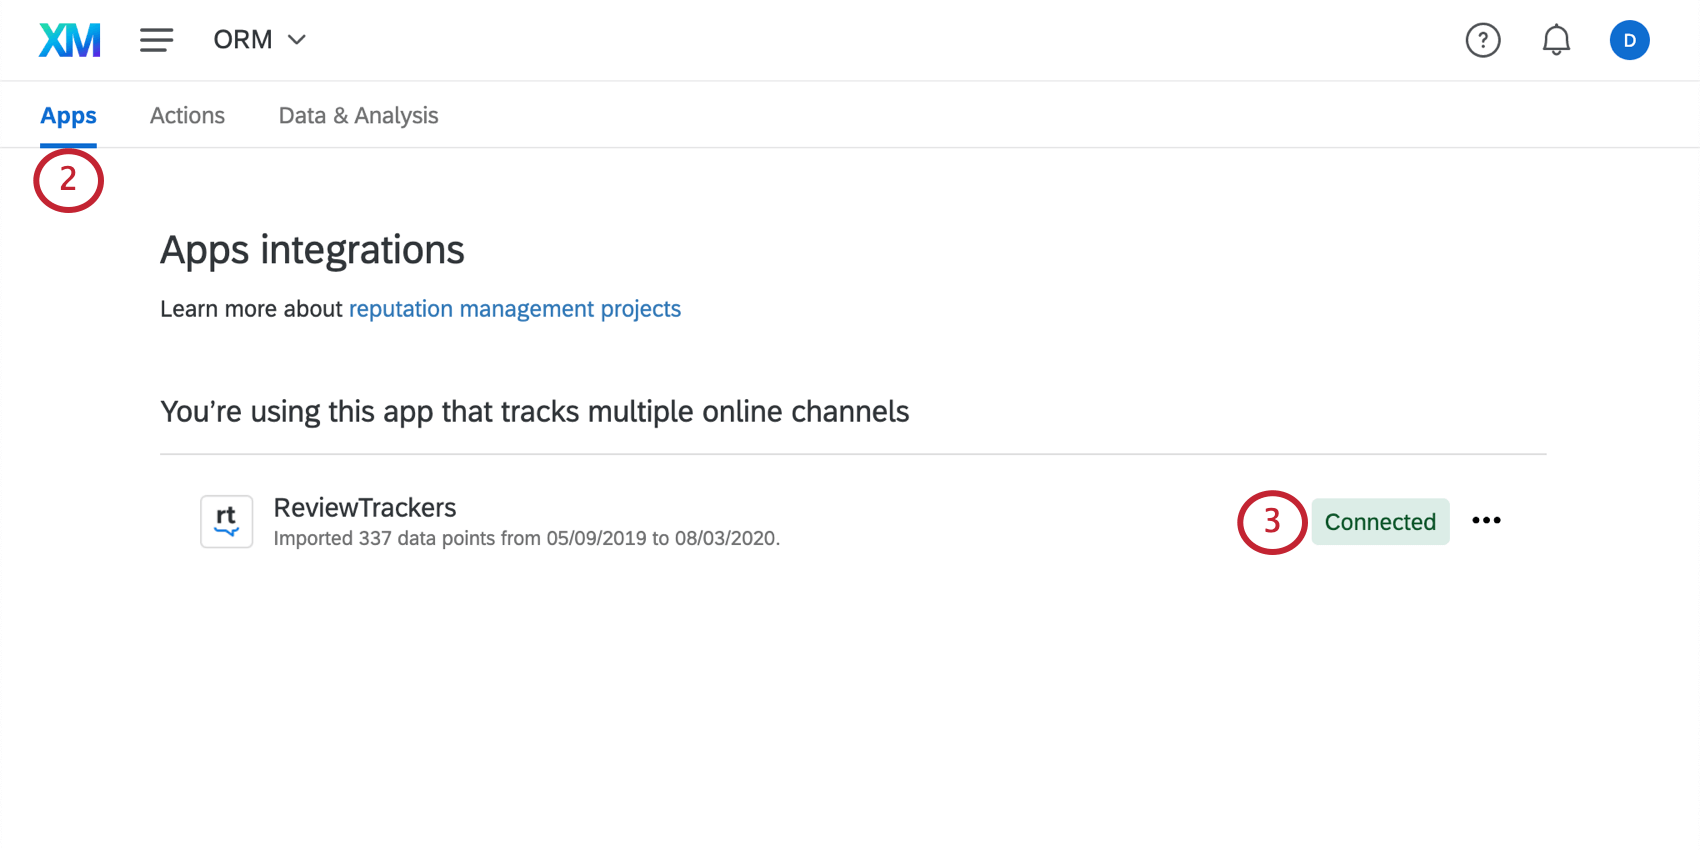
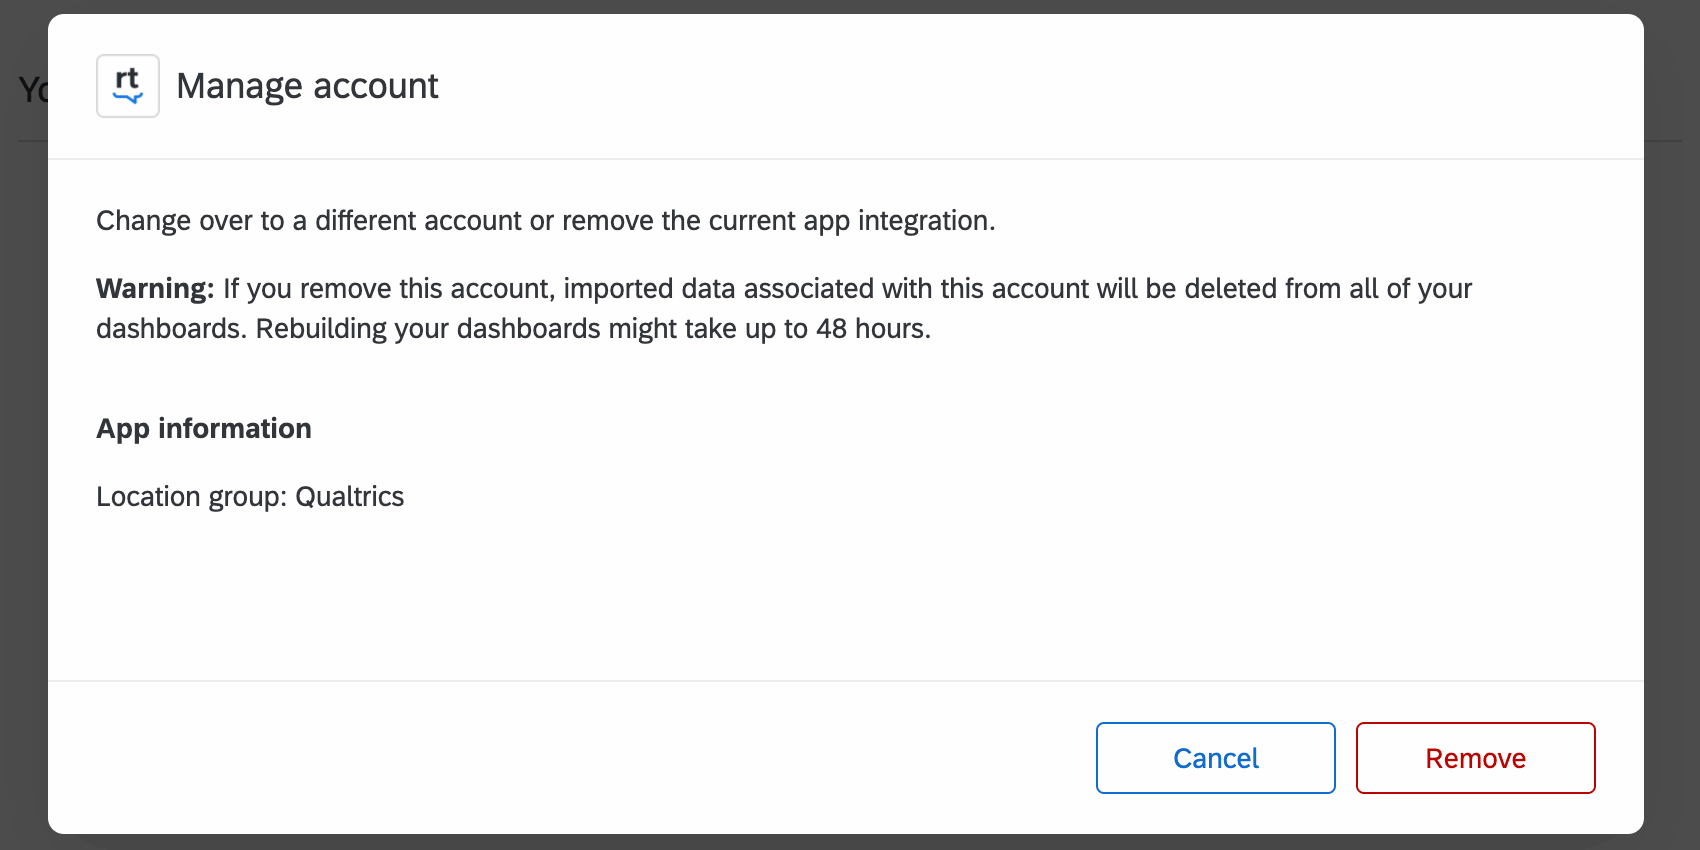
- Click on your connected source.
- Click Remove.
Updating Credentials
Attention: You must be a Qualtrics Administrator to update credentials.
- Navigate to Admin.
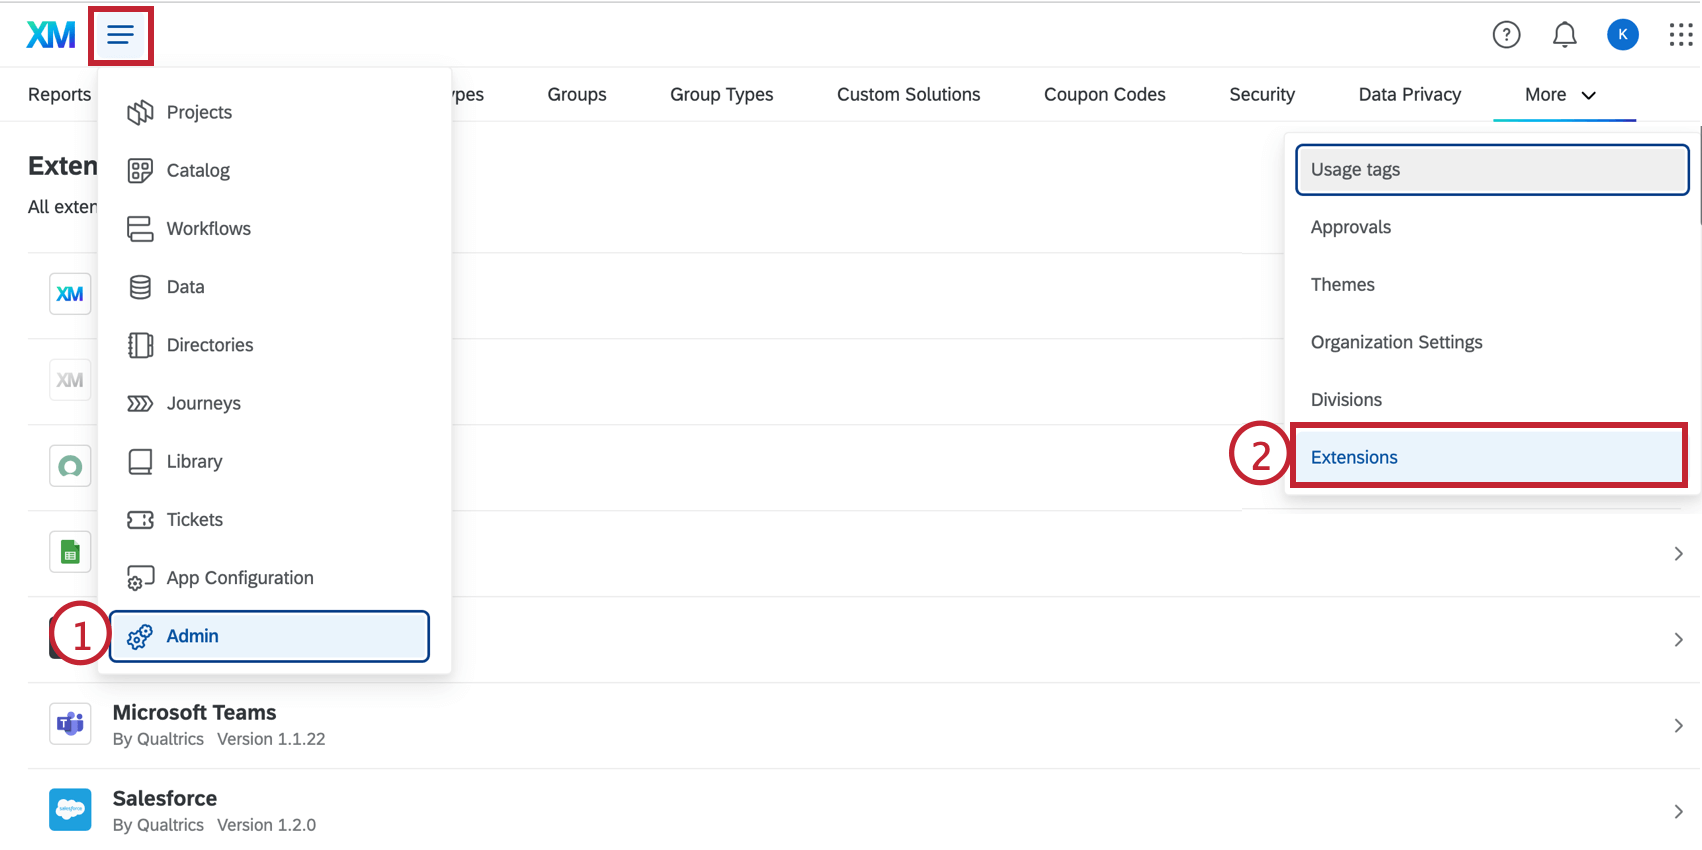
- Select Extensions.
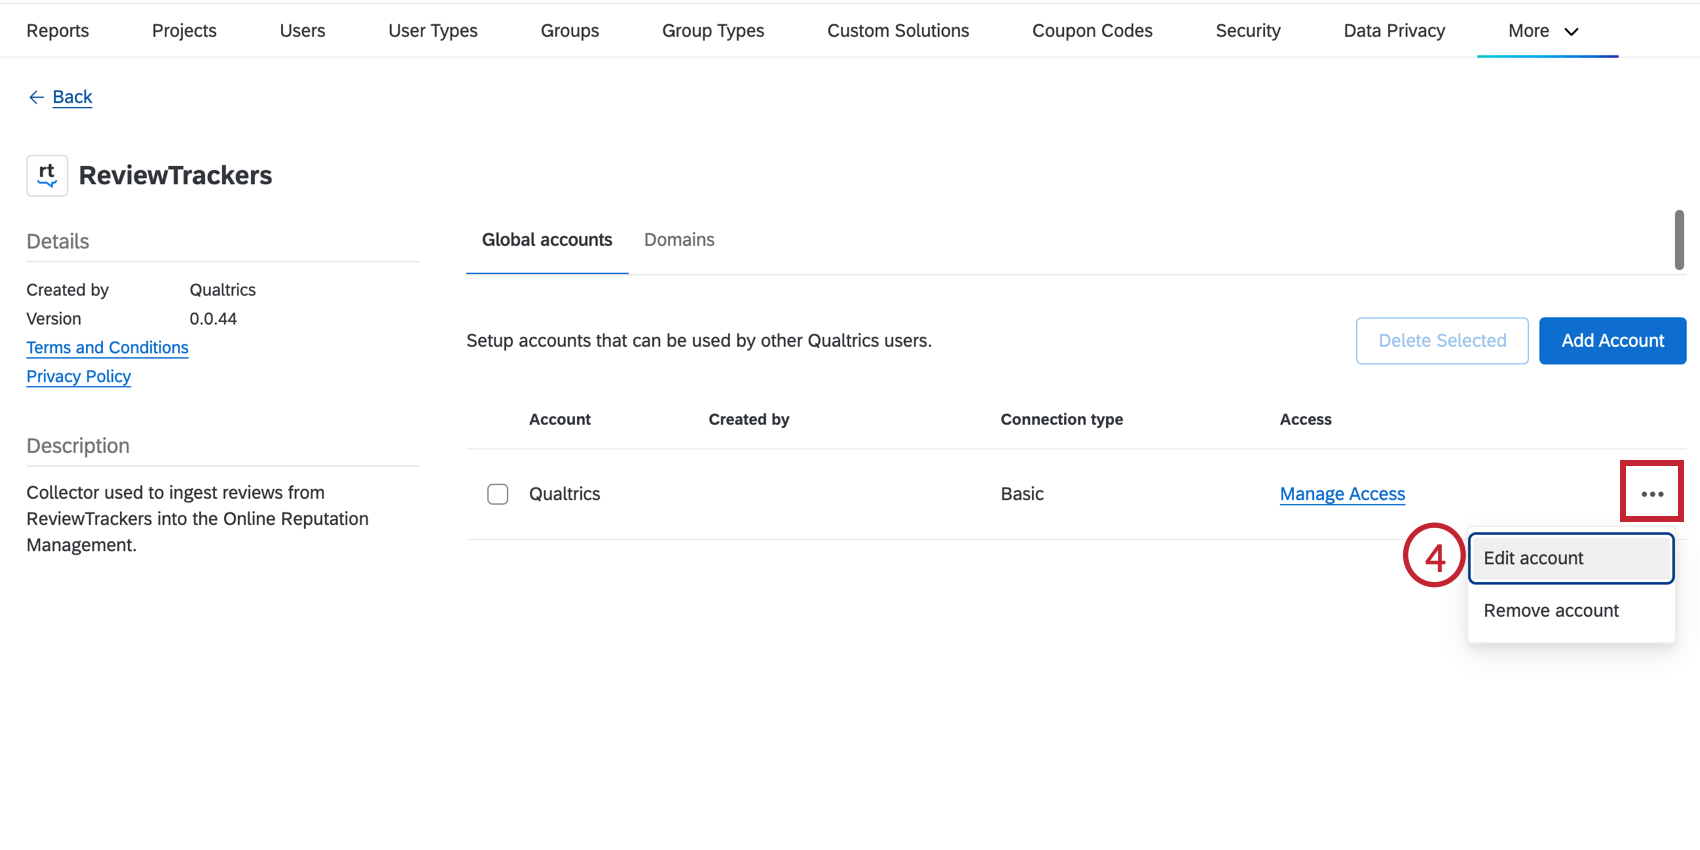
- Click on the source you would like to refresh.
- Click the three-dot menu next to the account, then select Edit account.
- Edit your credentials.
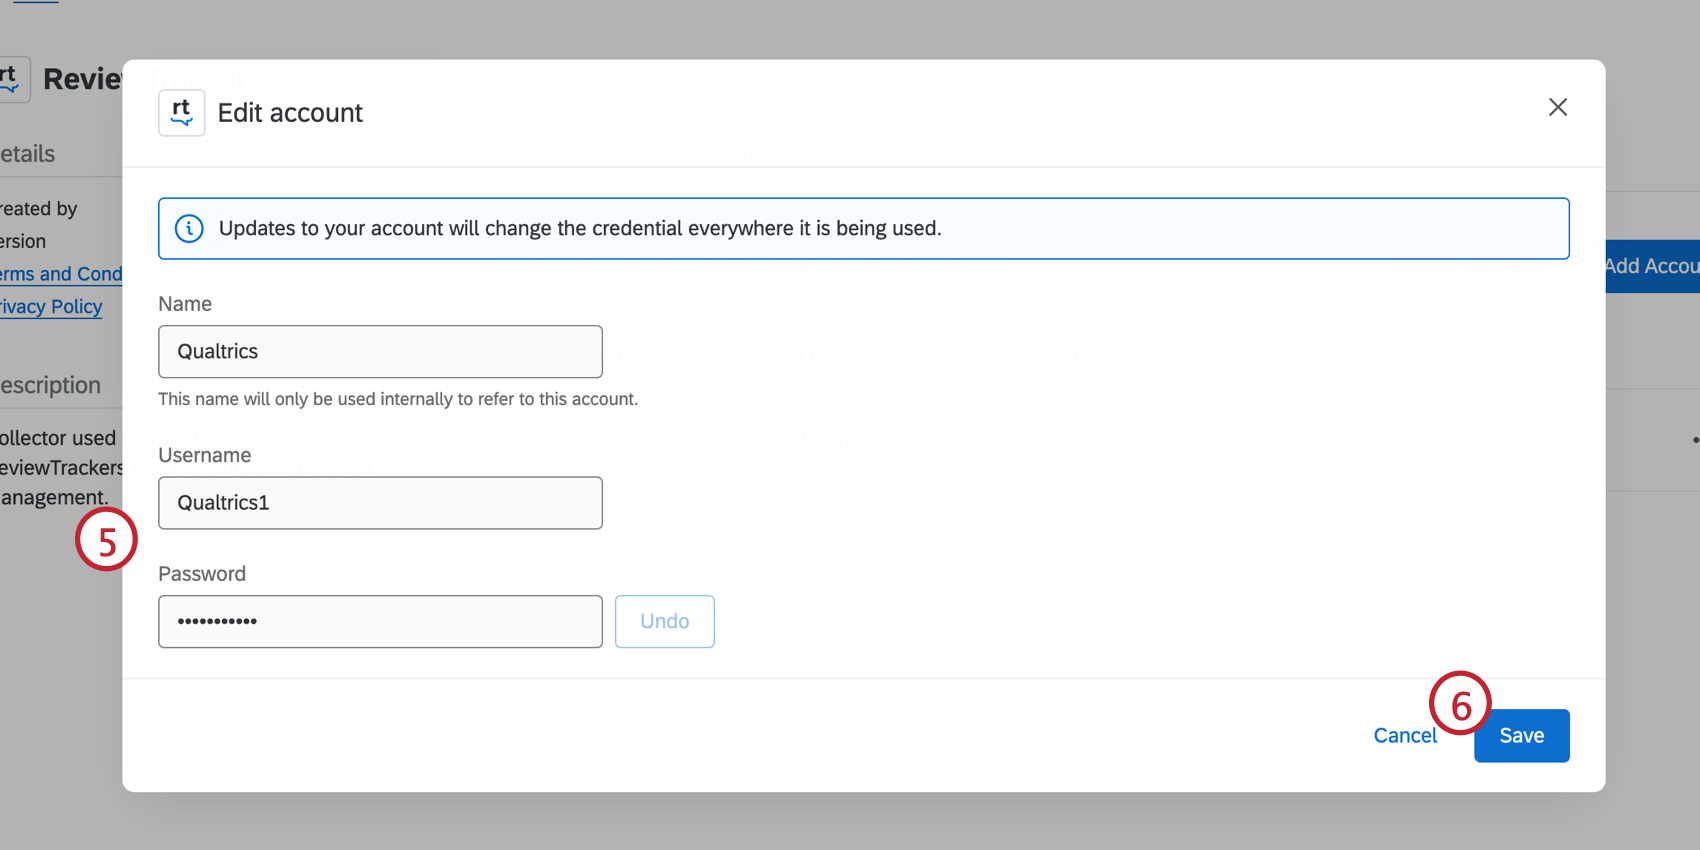
- Click Save.